

Garmin Monterra Owners Manual
™
Monterra
Owner’s Manual
October 2013 190-01601-00_0A Printed in Taiwan

All rights reserved. Under the copyright laws, this manual may not be copied, in whole or in part, without the written consent of Garmin. Garmin reserves the
right to change or improve its products and to make changes in the content of this manual without obligation to notify any person or organization of such
changes or improvements. Go to www.garmin.com for current updates and supplemental information concerning the use of this product.
Garmin®, the Garmin logo, BlueChart®, City Navigator®, and TracBack® are trademarks of Garmin Ltd. or its subsidiaries, registered in the USA and other
countries. ANT™, ANT+™, Garmin Connect™, BaseCamp™, chirp™, HomePort™, tempe™, and Monterra™ are trademarks of Garmin Ltd. or its subsidiaries.
These trademarks may not be used without the express permission of Garmin.
The Bluetooth® word mark and logos are owned by the Bluetooth SIG, Inc. and any use of such marks by Garmin is under license. Mac® is a registered
trademark of Apple Computer, Inc. Windows® and Windows NT® are registered trademarks of Microsoft Corporation in the United States and other countries.
microSD™ and the microSDHC logo are a trademarks of SD-3C, LLC. Wi-Fi® is a registered mark of Wi-Fi Alliance Corporation. Google, Google Play, and
other marks are trademarks of Google Inc. NOAA® is a registered service mark of the National Oceanic and Atmospheric Administration. Other trademarks
and trade names are those of their respective owners.
This product is ANT+™ certified. Visit www.thisisant.com/directory for a list of compatible products and apps.

Table of Contents
Introduction.................................................................... 1
Device Overview........................................................................ 1
Battery Information..................................................................... 1
Installing the Battery Pack..................................................... 1
Installing AA Batteries........................................................... 2
Turning On the Device............................................................... 2
Setting Up the Device................................................................ 2
Using the Touchscreen.............................................................. 2
Home Screen............................................................................. 2
Viewing Notifications............................................................. 2
Enabling GPS............................................................................ 2
Updating the Device Software................................................... 2
Locking and Unlocking the Touchscreen................................... 2
Waypoints, Routes, and Tracks ...................................2
Waypoints.................................................................................. 2
Creating a Waypoint.............................................................. 2
Marking a Waypoint Using the Map...................................... 2
Finding a Waypoint............................................................... 2
Editing a Waypoint................................................................ 3
Deleting a Waypoint.............................................................. 3
Increasing the Accuracy of a Waypoint Location.................. 3
Projecting a Waypoint........................................................... 3
Where To? Menu....................................................................... 3
Optional Maps....................................................................... 3
Finding a Location by Name................................................. 3
Finding a Location Near Another Location............................ 3
Finding an Address............................................................... 3
Routes........................................................................................ 3
Creating a Route................................................................... 3
Editing the Name of a Route................................................. 3
Viewing a Route on the Map................................................. 3
Editing a Route...................................................................... 3
Deleting a Route................................................................... 3
Viewing the Active Route...................................................... 3
Reversing a Route................................................................ 3
Tracks........................................................................................ 4
Pausing Track Recording...................................................... 4
Customizing Your Track Log................................................. 4
Following Your Track Log..................................................... 4
Saving the Current Track...................................................... 4
Viewing the Elevation Plot of a Track.................................... 4
Changing the Track Color..................................................... 4
Archiving Saved Tracks........................................................ 4
Clearing the Current Track.................................................... 4
Deleting a Track.................................................................... 4
Garmin Adventures.................................................................... 4
Sending Files to BaseCamp.................................................. 4
Creating an Adventure.......................................................... 4
Starting an Adventure........................................................... 4
Navigation.......................................................................4
Navigating to a Destination........................................................ 5
Stopping Navigation.............................................................. 5
Navigating with the Map............................................................. 5
Navigating a Driving Route................................................... 5
Navigating with the Compass.................................................... 5
Calibrating the Compass....................................................... 5
Course Pointer...................................................................... 5
Navigating with Sight 'N Go....................................................... 5
Elevation Plot............................................................................. 5
Navigating to a Point on the Plot........................................... 5
Changing the Plot Type......................................................... 5
Resetting the Elevation Plot.................................................. 5
Calibrating the Barometric Altimeter..................................... 5
Trip Computer
Resetting the Trip Computer................................................. 6
............................................................................ 5
Photos and Video...........................................................6
Taking a Photo........................................................................... 6
Taking a Panoramic Photo.................................................... 6
Recording a Video..................................................................... 6
Viewing Photos and Videos....................................................... 6
Geocaches...................................................................... 6
Downloading Geocaches........................................................... 6
Filtering the Geocache List........................................................ 6
Creating and Saving a Geocache Filter................................ 6
Applying a Saved Geocache Filter........................................ 6
Editing a Custom Geocache Filter........................................ 6
Navigating to a Geocache.......................................................... 6
Logging the Attempt................................................................... 6
chirp™........................................................................................ 6
Finding a Geocache with a chirp Device............................... 7
Applications................................................................... 7
Installing Applications................................................................ 7
Setting a Proximity Alarm........................................................... 7
Using the Flashlight................................................................... 7
Calculating the Size of an Area.................................................. 7
Satellite Page............................................................................. 7
Changing the Satellite View.................................................. 7
Listening to NOAA® Weather Radio.......................................... 7
Listening to FM Radio................................................................ 7
Viewing Weather Data............................................................... 7
Customizing the Device................................................ 7
Adding Shortcuts and Widgets to the Home Screen.................. 7
Rotating the Screen................................................................... 8
Locking the Screen Orientation............................................. 8
Map Settings.............................................................................. 8
Custom Data Fields and Dashboards........................................ 8
Enabling the Map Data Fields............................................... 8
Customizing the Data Fields................................................. 8
Customizing Dashboards...................................................... 8
Tracks Settings.......................................................................... 8
Routing Settings......................................................................... 8
Changing the Units of Measure................................................. 8
Position Format Settings............................................................ 8
Heading Settings........................................................................ 9
Altimeter Settings....................................................................... 9
Proximity Alarms Settings.......................................................... 9
Connecting to a Wireless Network............................................. 9
Pairing Bluetooth® Devices....................................................... 9
Pairing Your ANT+™ Sensors................................................... 9
Enabling Airplane Mode............................................................. 9
Profiles....................................................................................... 9
Selecting a Profile................................................................. 9
Creating a Custom Profile..................................................... 9
Editing a Profile Name........................................................ 10
Deleting a Profile................................................................. 10
Sound Settings......................................................................... 10
Display Settings....................................................................... 10
Adding Accounts...................................................................... 10
Changing the Lock Screen Security......................................... 10
Language and Input Settings................................................... 10
Backing Up Your Data............................................................. 10
Resetting to Factory Defaults................................................... 10
Date and Time Settings........................................................... 10
Device Information.......................................................11
Battery Information................................................................... 11
Maximizing the Battery Life................................................. 11
Saving Energy While Charging the Device......................... 11
Table of Contents i

Long-Term Storage............................................................. 11
Device Care............................................................................. 11
Cleaning the Device............................................................ 11
Cleaning the Touchscreen.................................................. 11
Water Immersion................................................................. 11
Specifications........................................................................... 11
Data Management................................................................... 11
File Types............................................................................ 11
Installing a Memory Card.................................................... 11
Connecting the Device to Your Computer........................... 12
Transferring Files to Your Device........................................ 12
Deleting Files...................................................................... 12
Disconnecting the USB Cable............................................. 12
Troubleshooting....................................................................... 12
Viewing Device Information................................................. 12
Updating the Software......................................................... 12
Resetting the Device........................................................... 12
Registering Your Device..................................................... 12
Getting More Information.................................................... 12
Appendix.......................................................................12
Optional Maps.......................................................................... 12
tempe....................................................................................... 12
Index..............................................................................13
ii Table of Contents
Introduction
WARNING
See the Important Safety and Product Information guide in the
product box for product warnings and other important
information.
Device Overview
Camera
À
Microphone
Á
Power key
Â
LED flash
Ã
Volume keys
Ä
Battery cover D-ring
Å
Waterproof speaker
Æ
Headphone jack (under weather cap)
Ç
Mini-USB port (under weather cap)
È
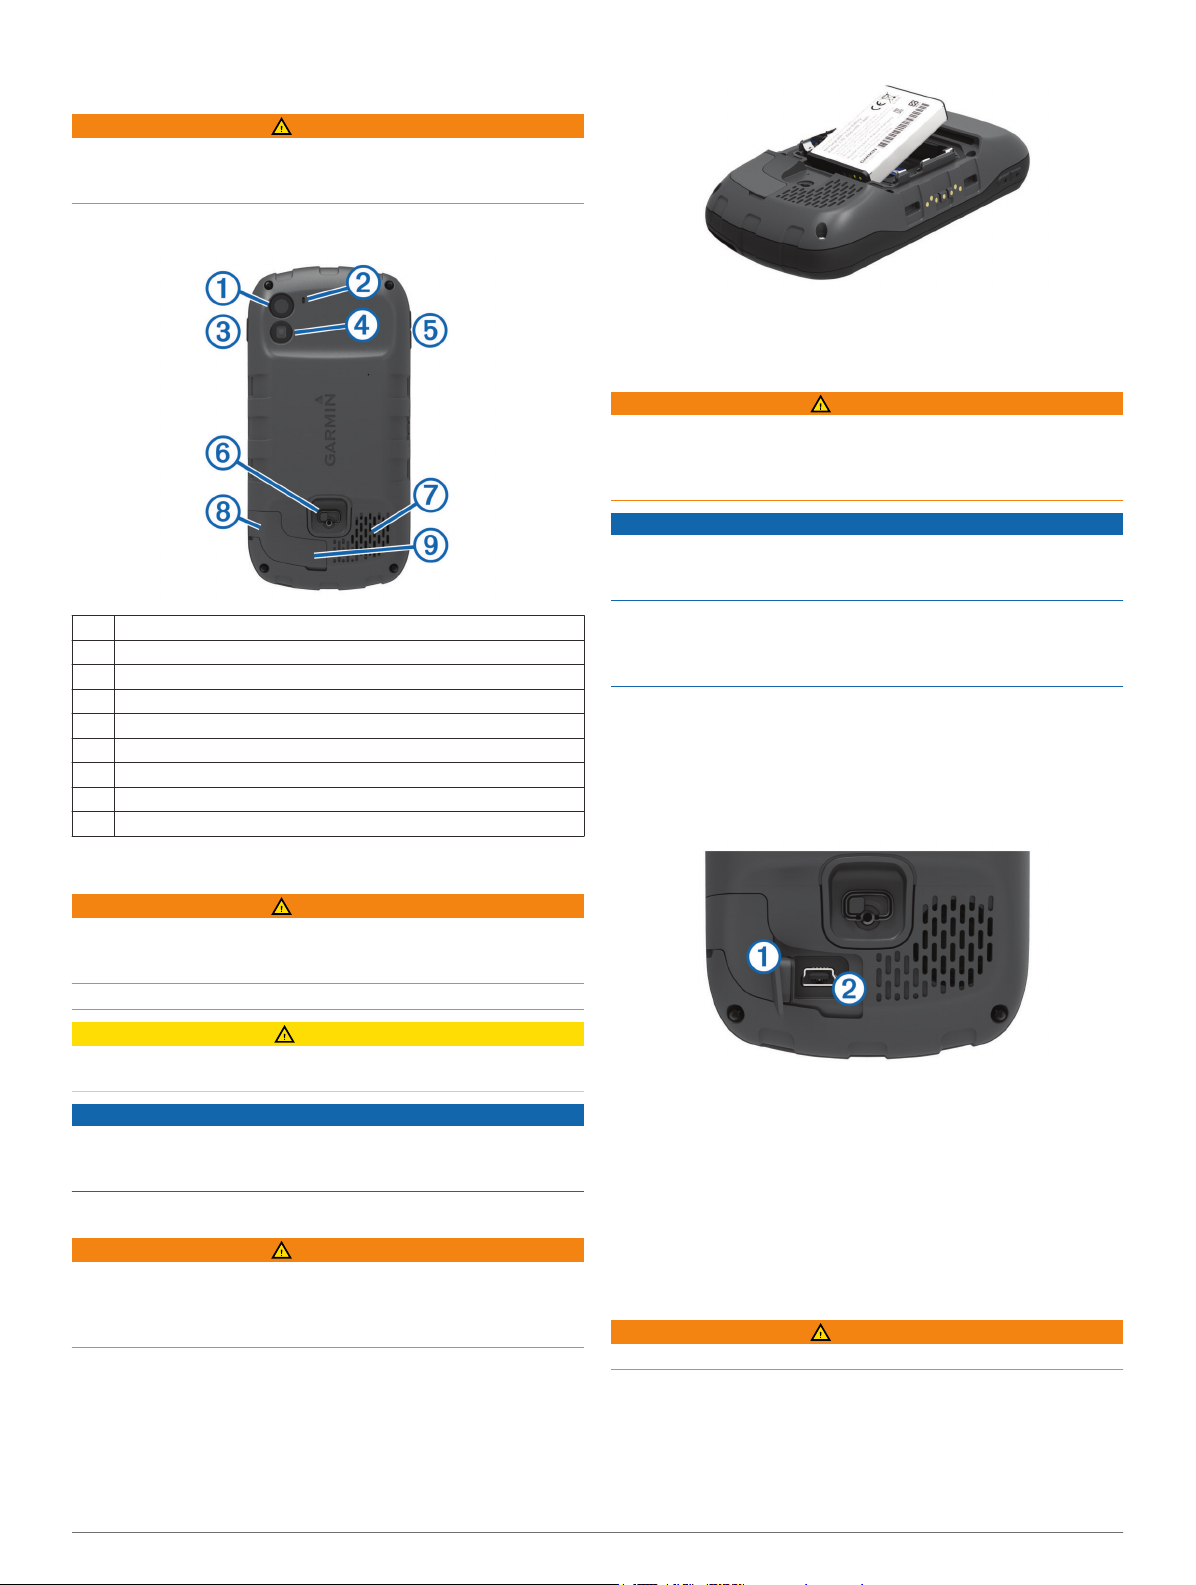
Press the battery into place.
4
Replace the battery cover, and turn the D-ring clockwise.
5
Charging the Battery Pack
WARNING
This product contains a lithium-ion battery. To prevent the
possibility of personal injury or product damage caused by
battery exposure to extreme heat, store the device out of direct
sunlight.
NOTICE
To prevent corrosion, thoroughly dry the mini-USB port, the
weather cap, and the surrounding area before charging or
connecting to a computer.
Do not attempt to use the device to charge a battery that was
not provided by Garmin®. Attempting to charge a battery that
was not provided by Garmin can damage the device and void
the warranty.
NOTE: The battery will not charge when outside the
temperature range of 32°F to 113°F (0°C to 45°C).
You can charge the battery using the included AC adapter. You
can also use an optional battery charger accessory. Go to
www.garmin.com/outdoor for more information.
Pull up the weather cap À from the mini-USB port Á.
1
Battery Information
WARNING
The temperature rating for the device may exceed the usable
range of some batteries. Alkaline batteries can rupture at high
temperatures.
Do not use a sharp object to remove batteries.
CAUTION
Contact your local waste disposal department to properly
recycle the batteries.
NOTICE
Alkaline batteries lose a significant amount of their capacity as
the temperature decreases. Use lithium batteries when
operating the device in below freezing conditions.
Installing the Battery Pack
WARNING
This product contains a lithium-ion battery. To prevent the
possibility of personal injury or product damage caused by
battery exposure to extreme heat, store the device out of direct
sunlight.
Turn the D-ring counter-clockwise, and pull up to remove the
1
cover.
Locate the metal contacts on the end of the lithium-ion
2
battery.
Insert the battery into the compartment, contacts first.
3
Plug the small end of the USB cable into the mini-USB port.
2
Plug the USB end of the cable into the AC adapter.
3
Plug the AC adapter into a standard wall outlet.
4
When you connect the device to a power source, the device
turns on.
Charge the battery completely.
5
The battery charge level is indicated in the notification bar.
Remove the USB cable and fully close the weather cap.
6
Removing the Battery Pack
WARNING
Do not use a sharp object to remove batteries.
Turn the D-ring counter-clockwise, and pull up to remove the
1
cover.
Pull up on the side of the battery pack closest to the power
2
button.
Introduction 1
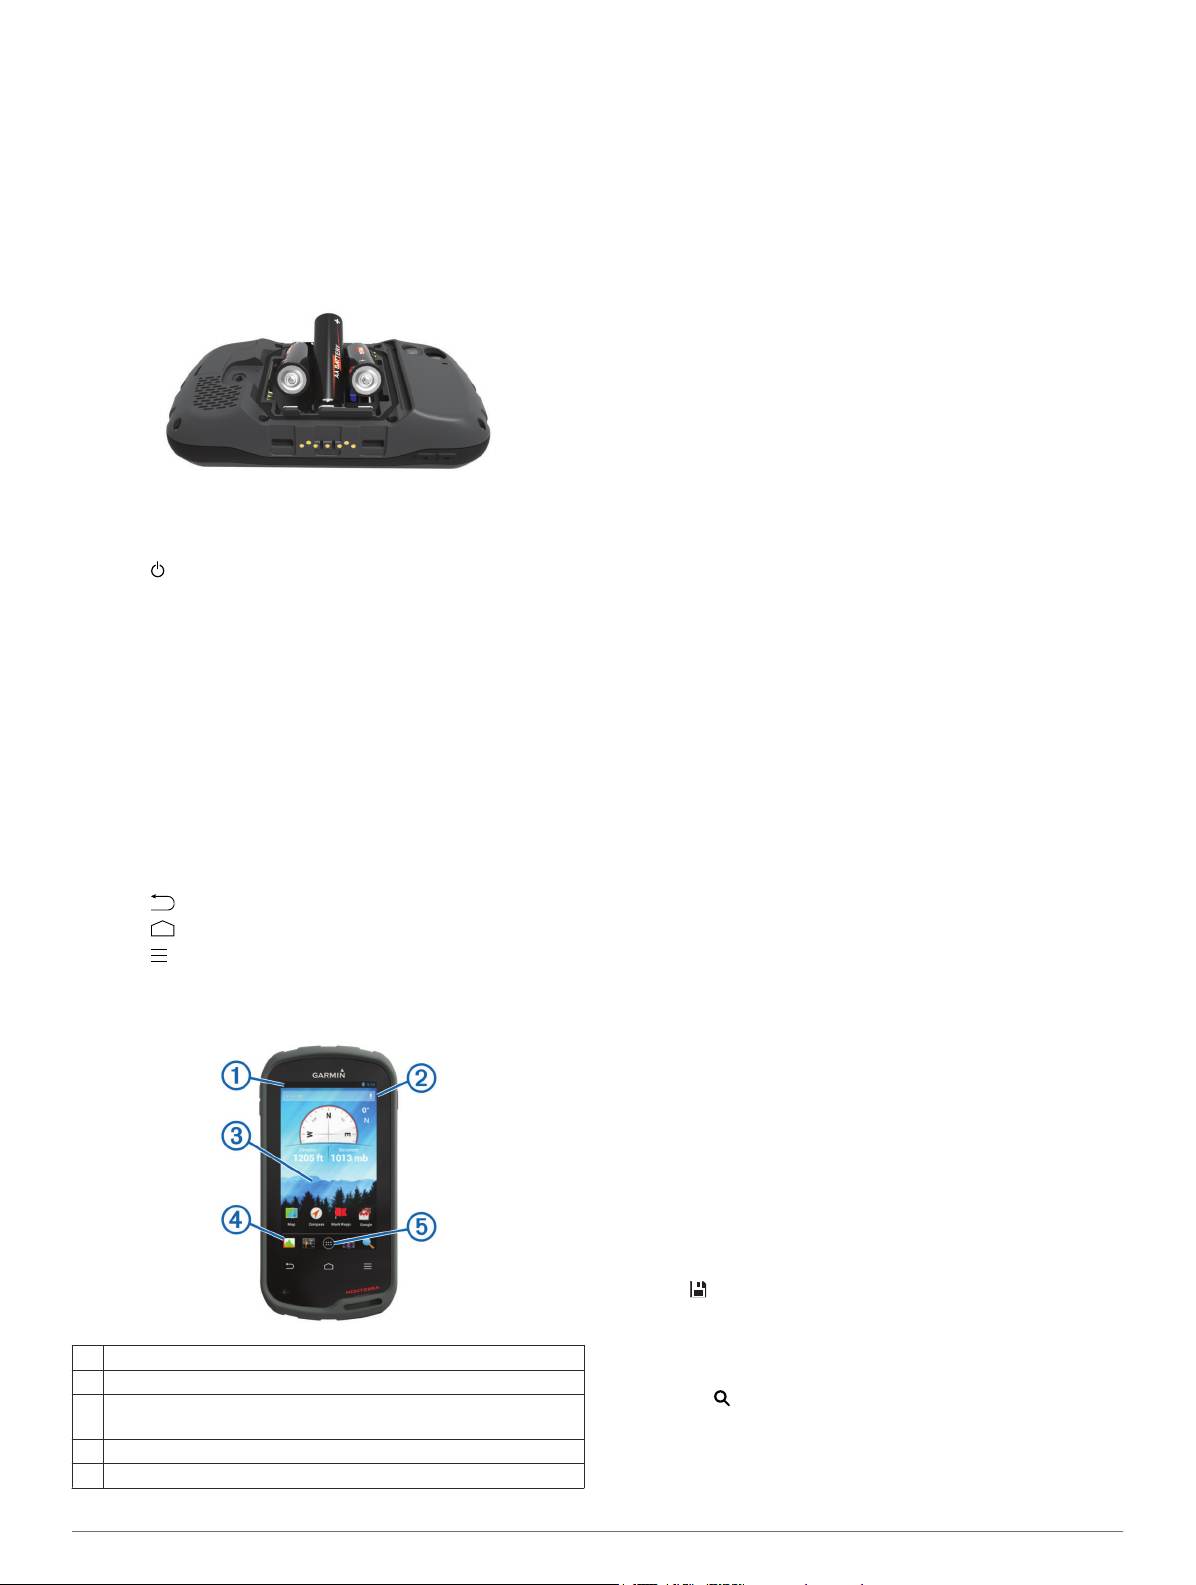
Installing AA Batteries
Instead of the battery pack (page 1), you can use alkaline,
NiMH, or lithium AA batteries. This is useful when you are on
the trail and cannot charge the battery pack. Use NiMH or
lithium batteries for best results.
NOTE: Standard alkaline batteries are not recommended when
using the camera feature.
Turn the D-ring counter-clockwise, and pull up to remove the
1
cover.
Insert three AA batteries, observing polarity.
2
Replace the battery cover, and turn the D-ring clockwise.
3
Turning On the Device
Select .
Setting Up the Device
The first time you turn on the device, you must set up basic
device settings. You can also set up accounts.
Turn on the device.
1
Follow the on-screen instructions.
2
Using the Touchscreen
• Drag or swipe your finger across the screen to pan or scroll
the screen.
• Pinch two fingers together to zoom out.
• Spread two fingers to zoom in.
• Make each touchscreen selection a separate action.
• Select to return to the previous page.
• Select to return to the home screen.
• Select to view additional options for the page you are
viewing.
Home Screen
Swipe down to view notifications.
À
Enter text to start a search.
Á
Swipe left and right to switch pages.
Â
Hold to customize shortcuts, widgets, or wallpaper.
Hold to drag shortcuts in or out of the dock.
Ã
Touch to view all installed apps.
Ä
Viewing Notifications
Swipe down from the top of the screen.
1
The list of notifications appears.
Select an option:
2
• To launch the action or app mentioned in the notification,
select the notification.
• To dismiss a notification, swipe the notification to the
right.
Enabling GPS
For more information about GPS, go to www.garmin.com
/aboutGPS.
Select Settings > Location services > GPS satellites.
Updating the Device Software
Before you can update the device software, you must be
connected to a wireless network.
The device checks for software updates periodically when it is
connected to a wireless network. A notification appears when a
software update is available. You can also check for updates
manually.
Select an option:
1
• When a software update notification appears, swipe down
from the top of the screen, and select New software
update available.
• To check for an update manually, select Settings >
About Monterra > System updates.
The device checks for available updates. This may take
several minutes.
Select Download, and follow the on-screen instructions.
2
Locking and Unlocking the Touchscreen
You can lock the screen to prevent inadvertent screen touches.
Hold the power key.
1
Select Touch Lock to toggle the screen lock on or off.
2
Waypoints, Routes, and Tracks
Waypoints
Waypoints are locations you record and store in the device.
Creating a Waypoint
You can save your current location as a waypoint.
Select Mark Waypoint.
1
If necessary, select Edit to change the name or other
2
waypoint data.
Select Save.
3
Marking a Waypoint Using the Map
Select Map.
1
Select a location on the map.
2
Select the information bar at the top of the screen.
3
Select .
4
Finding a Waypoint
Select Waypoint Manager.
1
Select an option:
2
• Select to search using the name of the waypoint.
• Select All, and select a symbol type to search using the
symbol of the waypoint.
2 Waypoints, Routes, and Tracks
 Loading...