

Garmin GPSMAP740s/GMR18HD Bundle, GPSMAP 750s, GPSMAP 750, GPSMAP 740, GPSMAP 720s Quick Reference
...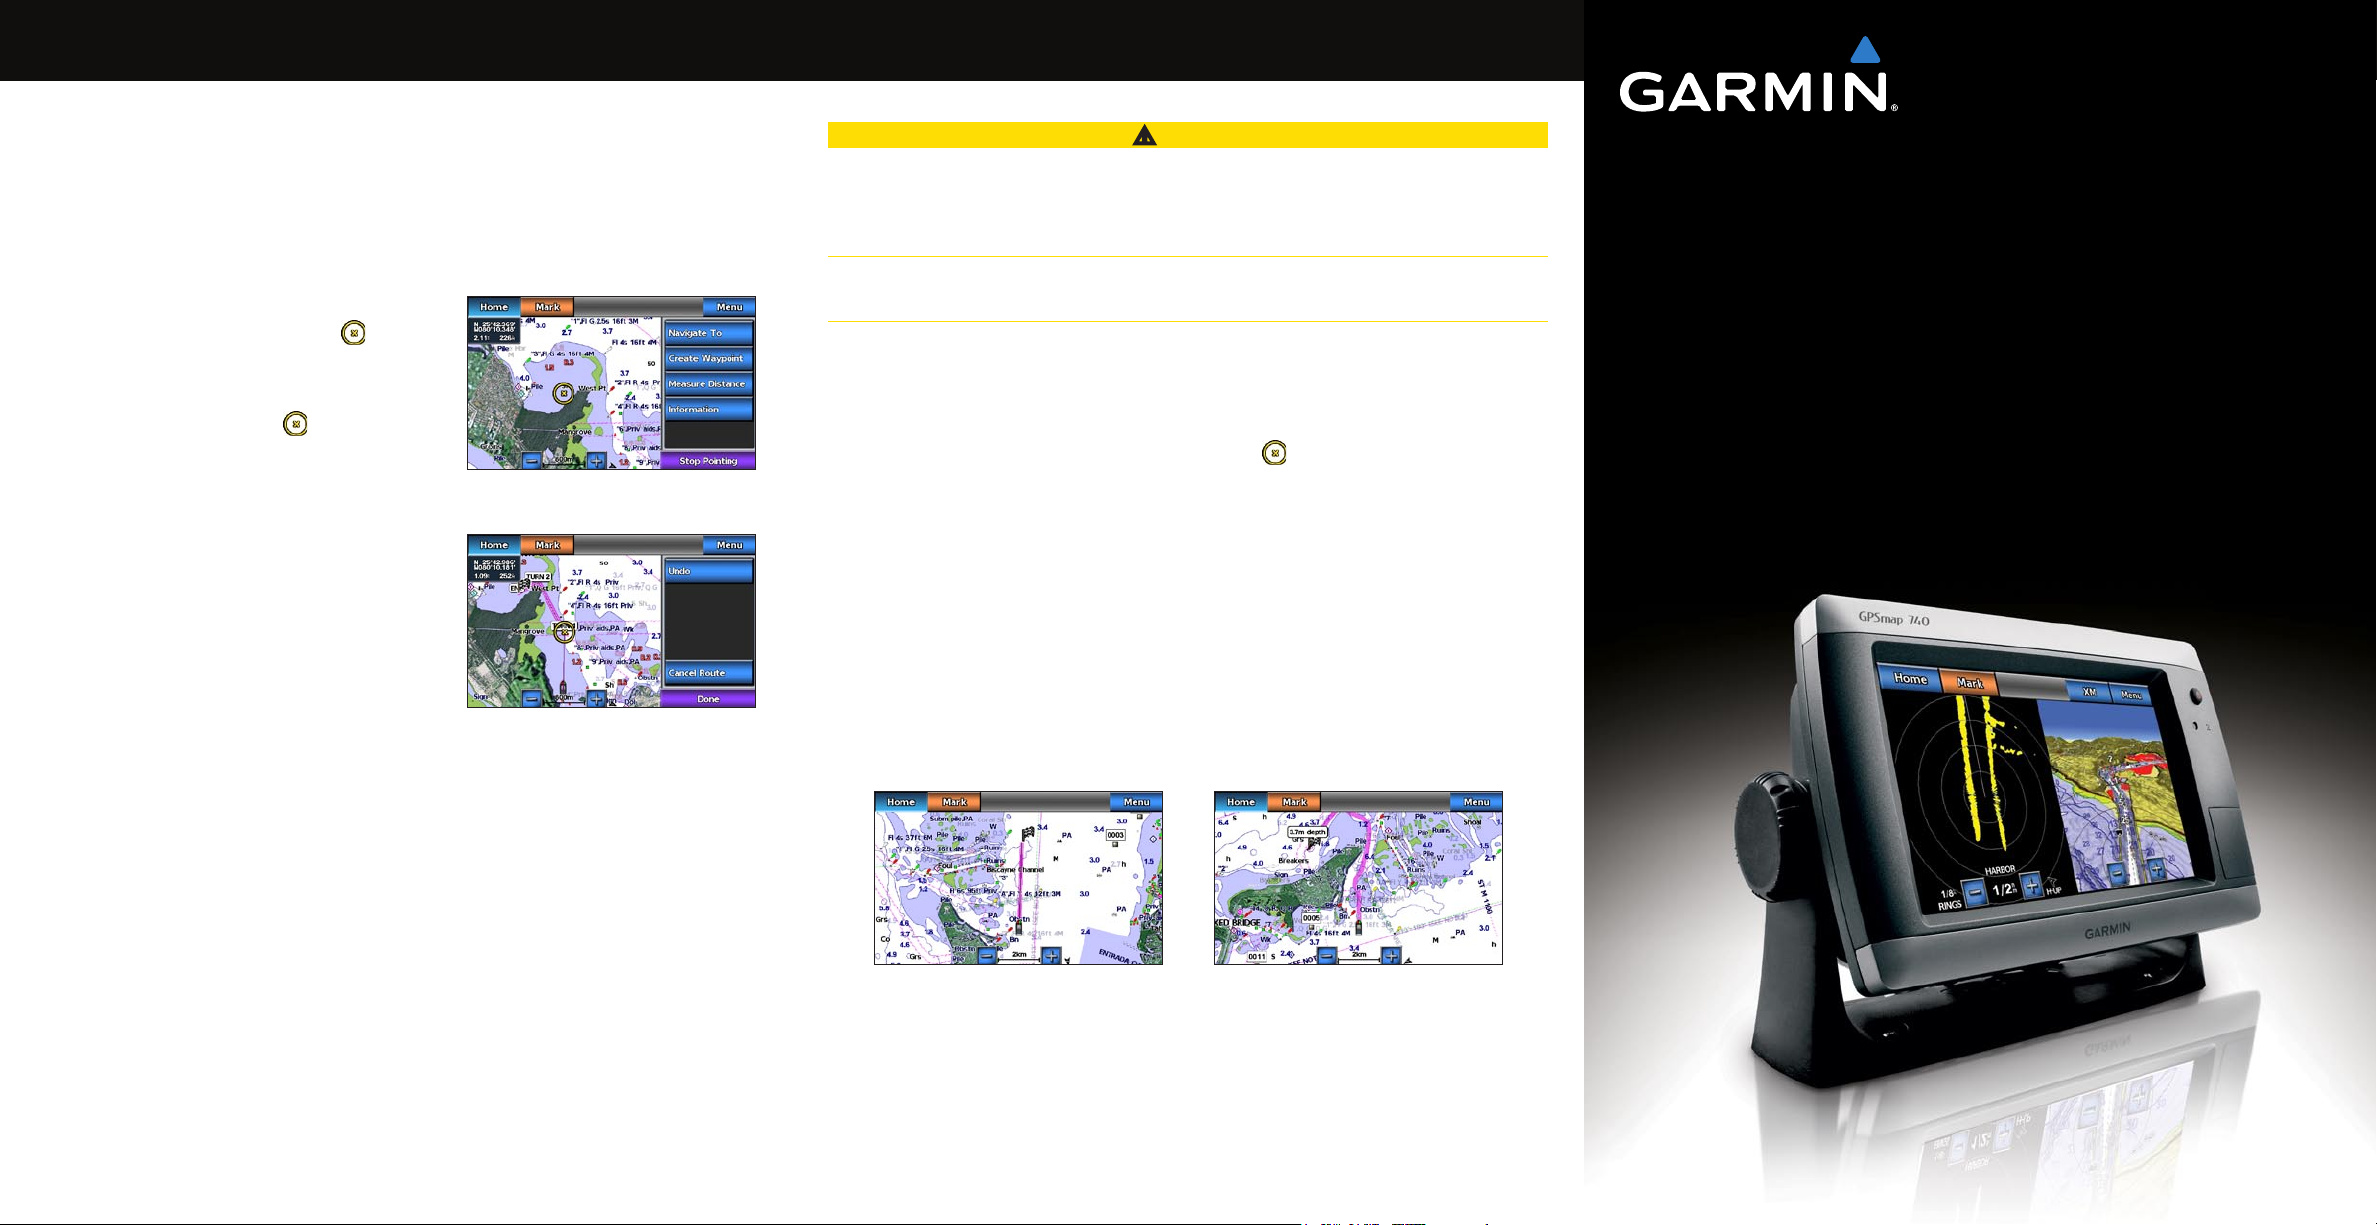
Creating and Navigating a Route
Navigating Using a Chart
Creating and Navigating a Route from Your Present
Location
You can create and immediately navigate a route on the Navigation chart or the Fishing chart.
When you have reached the destination, you can choose to save the route.
NOTE: The Fishing chart is available with a preprogrammed BlueChart g2 Vision data card.
1. From the Home screen, select
2. Select
3. Touch a destination using the cursor (
4. Select
5. Touch the location where you want to make the last
6. Select
7. If you want to add additional turns, repeat steps 5
8. Select
9. Review the course indicated by the magenta line.
10. Follow the magenta line, steering to avoid land,
11. Complete an action:
Navigation Chart or Fishing Chart.
Navigate To > Route To.
turn toward your destination ( ).
Add Turn.
and 6, working backward from the destination to
the present location of your boat.
The last turn you add should be where you want to
make the rst turn from your present location. It
should be the turn that is closest to your boat.
Done when the route is complete.
shallow water, and other obstacles.
When you have reached the destination, you are prompted to save the route.
Select No
•
Select Yes > Edit Route > Name. Enter the name of the Route. Select Done.
•
Chart.
).
Destination Selected
Turn Selected
Navigating to a Point on the Chart
CAUTION
The Auto Guidance feature of the Bluechart g2 Vision data card is based on electronic chart
information. That data does not ensure obstacle and bottom clearance. Carefully compare the
course to all visual sightings and avoid any land, shallow water, or other obstacles that may be
in your path.
When using Go To, a direct course and a corrected course may pass over land or shallow water.
Use visual sightings and steer to avoid land, shallow water, and other dangerous objects.
NOTE: The Fishing chart is available with a preprogrammed BlueChart g2 Vision data card.
1. From the Home screen, select
2. Select
3. Touch the chart to select the location using the cursor (
4. Select
5. Complete an action:
6. Review the course indicated by the magenta line.
7. Follow the magenta line, steering to avoid land, shallow water, and other obstacles.
Navigation Chart or Fishing Chart.
Navigate To.
Select Go To to navigate directly to the location.
•
Select Route To to create a route to the location, including turns.
•
Select Guide To to use Auto Guidance.
•
NOTE: When using Auto Guidance, a gray line within any part of the magenta line indicates
that Auto Guidance cannot calculate part of the Auto Guidance line. This is due to the
settings for minimum safe water depth and minimum safe obstacle height.
Charts.
).
®
GPSMAP
700 series
quick reference guide
Guide To ScreenGo To Screen
Turning the Chartplotter On or Off
WARNING
See the Important Safety and Product Information guide in the product box for product
warnings and other important information.
Turning On the Chartplotter
Press and release the Power key.
Turning Off the Chartplotter
Press and hold the Power key.
Marking a Waypoint or an MOB Location
Marking Your Present Location as a Waypoint
From the Home screen, select Mark.
Mark your present position from any other screen by touching Mark at the top of
NOTE:
the screen.
Creating a Waypoint at a Different Location
1. From the Home screen, select Charts.
2. Select Navigation Chart or Fishing Chart..
3. Complete an action:
Touch a location on the chart.
•
Touch and drag the screen to pan to a new location. Touch a location on the chart.
•
4. Select
5. If you want to name the waypoint, select the waypoint on the right side of the screen and
6. Select
Create Waypoint.
select Edit Waypoint.
Name and enter a name.
Adjusting the Backlight
Adjusting the Backlight
1. From the Home screen, select Congure > System > Beeper/Display > Display.
Press and release the Power key from any screen to open the Display screen.
TIP:
2. Select
3. Adjust the backlight:
NOTE:
Backlight.
Select Auto to allow the chartplotter to adjust the backlight automatically, based on
•
ambient light.
Adjust the slider manually.
•
Select Auto to switch between Auto and Manual mode.
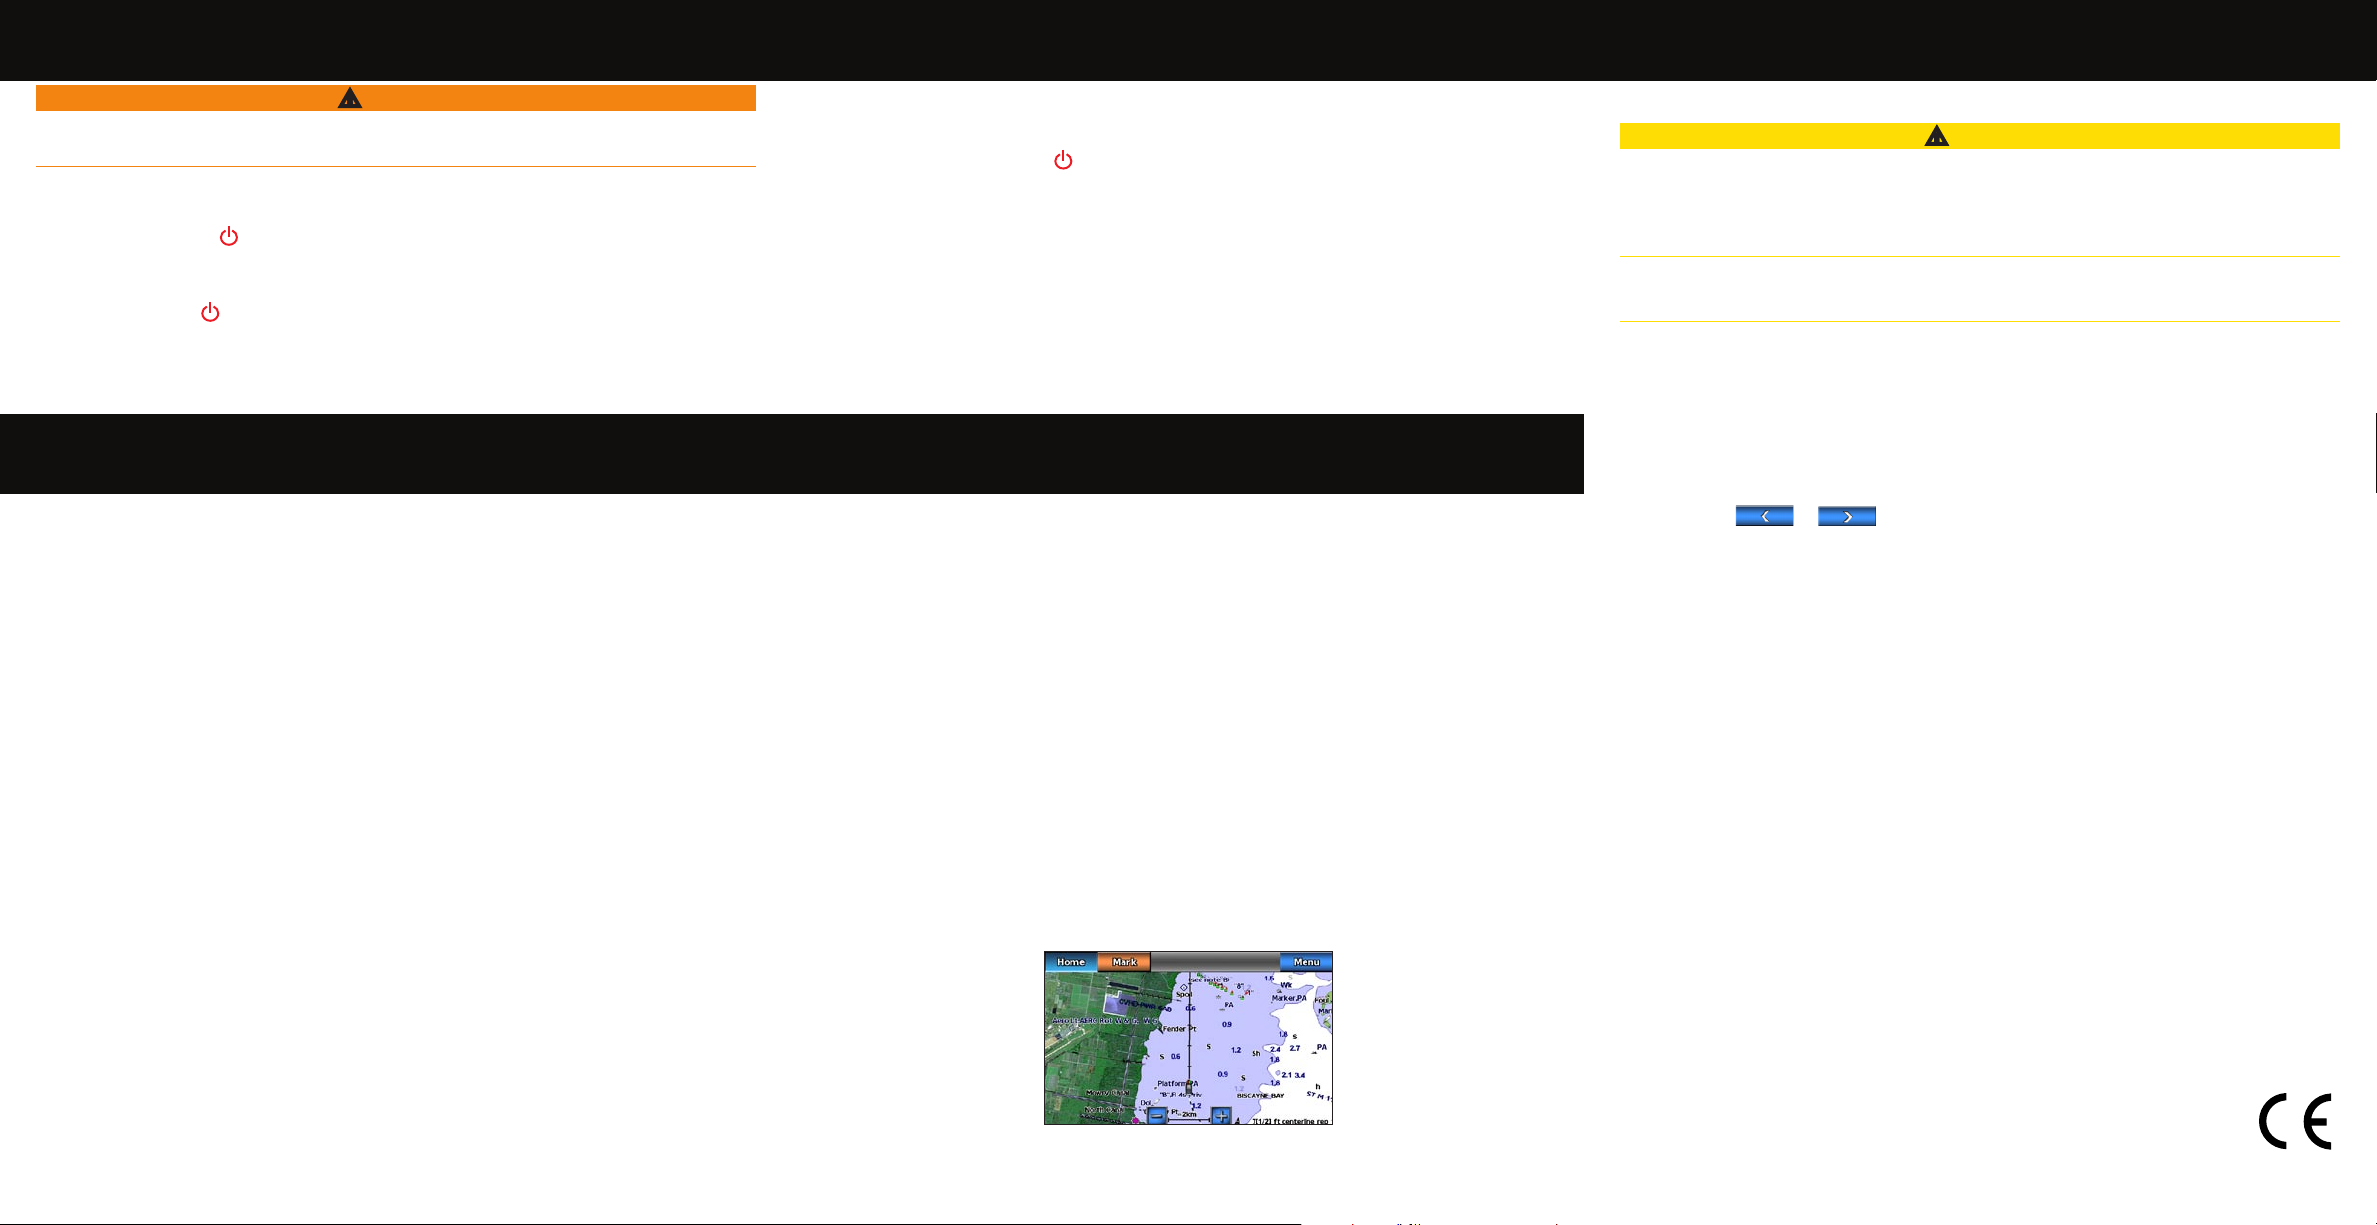
Showing and Conguring the Heading Line
The heading line is an extension drawn on the map from the bow of the boat in the direction
of travel. You can congure the appearance of the heading line for the Navigation chart or the
Fishing chart.
NOTE: The Fishing chart is available with a preprogrammed BlueChart g2 Vision data card.
1. From the Home screen, select
2. Complete an action:
Select Navigation Chart > Menu > Navigation Chart Setup > Chart Appearance >
•
Heading Line.
Select Fishing Chart > Menu > Fishing Chart Setup > Chart Appearance > Heading
•
Line.
3. Complete an action:
Select Distance. Enter the distance to the end of the heading line.
•
Select Time. Enter the amount of time until you reach the end of the heading line.
•
4. Select
Done.
Charts.
Navigating to a Marine Service
Navigating to a Marine Services Destination
CAUTION
The Auto Guidance feature of the BlueChart g2 Vision data card is based on electronic chart
information. That data does not ensure obstacle and bottom clearance. Carefully compare the
course to all visual sightings and avoid any land, shallow water, or other obstacles that may be
in your path.
When using Go To, a direct course and a corrected course may pass over land or shallow water.
Use visual sightings and steer to avoid land, shallow water, and other dangerous objects.
NOTE: Auto Guidance is available with a preprogrammed BlueChart g2 Vision data card.
1. From the Home screen, select
2. Select the marine service category to which you want to navigate.
The chartplotter shows a list of the 50 nearest locations and the distance and bearing to each.
3. Select a destination.
TIP: Select or to view additional information or to show the location on a
chart.
4. Complete an action:
Select Go To.
•
Select Route To.
•
Select Guide To to use Auto Guidance.
•
5. Review the course indicated by the magenta line.
NOTE: When using Auto Guidance, a gray line within any part of the magenta line indicates
that Auto Guidance cannot calculate part of the Auto Guidance line. This is due to the
settings for minimum safe water depth and minimum safe obstacle height.
6. Follow the magenta line, steering to avoid land, shallow water, and other obstacles.
Where To? > Offshore Services.
Marking and Navigating to an MOB Location
When you mark your current location as a waypoint, you can designate it as a man overboard
(MOB) location.
Complete an action.
From any screen, select Mark > Man Overboard.
•
From the Home screen, select Man Overboard.
•
An international MOB symbol marks the active MOB point and the chartplotter sets a course
back to the marked location using the Go To feature.
Go to www.garmin.com for additional documentation and information.
Garmin®, the Gamin logo, GPSMAP®, BlueChart®, and g2 Vision® are trademarks of Garmin
Ltd. or its subsidiaries, registered in the USA and other countries. These trademarks may not be
used without the express permission of Garmin.
© 2010 Garmin Ltd. or its subsidiaries
May 2010 Part Number 190-01155-01 Rev. B Printed in Taiwan
 Loading...