

Page 1
EPILEPSY WARNING
A very small percentage of individuals may
experience epileptic seizures when exposed to
certain light patterns or flashing lights. Exposure
to certain patterns or backgrounds on a television screen or while playing video games may
induce an epileptic seizure in these individuals.
Certain conditions may induce previously undetected epileptic symptoms even in persons who
have no history of prior seizures or epilepsy. If
you, or anyone in your family, has an epileptic
condition, consult your physician prior to playing. If you experience any of the following while
playing a video game – dizziness, altered vision,
eye or muscle twitches, loss of awareness, disorientation, any involuntary movement, or
convulsions – IMMEDIATELY discontinue use and
consult your physician before resuming play.
STILL SEARCHING IN THE DARK FOR HELP?
Call the EIDOS Interactive Hint Line
1-900 -77EIDOS (773-4367) U.S. Only
Cost of call: $0.99/minute. Must be 18 years or have
parent’s permission. Touch-tone phone required.
ESRB RATING
This product has been rated by the Entertainment
Software Rating Board. For information about the
ESRB rating, or to comment about the appropriateness of the rating, please contact the ESRB at
1-800-771-3772.
HANDLING YOUR COMPACT DISC
• The PC compact disc is intended for use exclusively on IBM compatible systems with the
minimum configurations specified on the system
requirements of the game purchased.
•Avoid bending the disc. Do not touch, smudge or
scratch its surface.
•Do not leave the disc in direct sunlight or near a
radiator or other source of heat.
•Take occasional rest breaks during extended play.
• Always store the disc in its protective case.
EIDOS INTERACTIVE LIMITED WARRANTY
EIDOS Interactive warrants to the original purchaser that this EIDOS Interactive disc is free from
defects in materials and workmanship for a period of ninety (90) days from the date of purchase. This EIDOS Interactive disc is sold “as is” without expressed or implied warranty of any
kind, and EIDOS Interactive is not liable for any losses or damages of any kind resulting from
use of this program. EIDOS Interactive agrees for a period of ninety (90) days to either repair or
replace, at its option, free of charge, any EIDOS Interactive disc, postage paid, with proof of
date of purchase, at its Factory Service Center.
This limited warranty is not applicable to normal wear and tear. This limited warranty shall not
be applicable and shall be void if the defect in the EIDOS Interactive disc has arisen through
abuse, unreasonable use, mistreatment or neglect. This limited warranty is in lieu of all other
warranties and no other representations or claims of any nature shall be binding on or obligate
EIDOS Interactive. Any implied warranties of merchantability and fitness for a particular purpose
are limited to the ninety (90) day period described above. In no event will EIDOS Interactive be
liable for any special, incidental or consequential damages resulting from possession, use or
malfunction of this disc.
Some states do not allow limitation as to how long an implied warranty lasts and/or exclusions or limitations of incidental or consequential damages, so the above limitations and/or
exclusions of liability may not apply to you. This warranty gives you specific legal rights, and
you may also have other rights which vary from state to state.
iii
Page 2
Prophecy
I Semerkhet, high priest
of Horus, forewarn that
he who removes the Amulet
shall have released Set.
He who walked abroad
with the Jackals at the dawn
of man shall once again
violate the earth.
Set, Ruler of Evil, will
again be Free at the turn
of a distant Millennia.
At his heel plagues
and locusts.
Harvests fail under the
broken skies.
And Set sayeth: “I am
the shadow across the sun;
I am the bringer of plagues.
My wrath will consume
all lands, and shall be
ceaseless.”
Contents
INSTALLATION 2
CONTROLS
MENU CONTROLS 5
MAIN MENU 5
PAUSE MENU 6
THE BEGINNING 7
ACTIONS 8
MOVING 8
SWIMMING 9
AT T ACKING 9
OTHER ACTIONS 10
INVENTORY 13
MEDIPACKS 13
SAVE/LOAD GAME 13
CREDITS 14
(DEFAULT)
3
Page 3
Installation
Quit all applications and close all
windows on your desktop.
Place the Tomb Raider – The Last
Revelation CD in your CD-ROM drive.
When you close the drive, the Tomb
Raider installation menu will appear.
If AutoPlay is disabled, the menu will
not appear. To manually access the
installation menu follow these simple
instructions:
• Double-click on the My Computer
2 3
icon on your desktop, and then
double-click on the CD-ROM icon
that appears in the newly opened
window. Finally, double-click
“autorun.exe” to open the
installation menu.
Fr om this point, follow the on-screen
prompts to guide you through the
installation process.
At the completion of Installation you
will be presented with the options to
play the game, quit without playing
the game or read the Readme text file.
Refer to the Readme file for updates,
manual alterations and troubleshooting.
controls(DEFAULT)
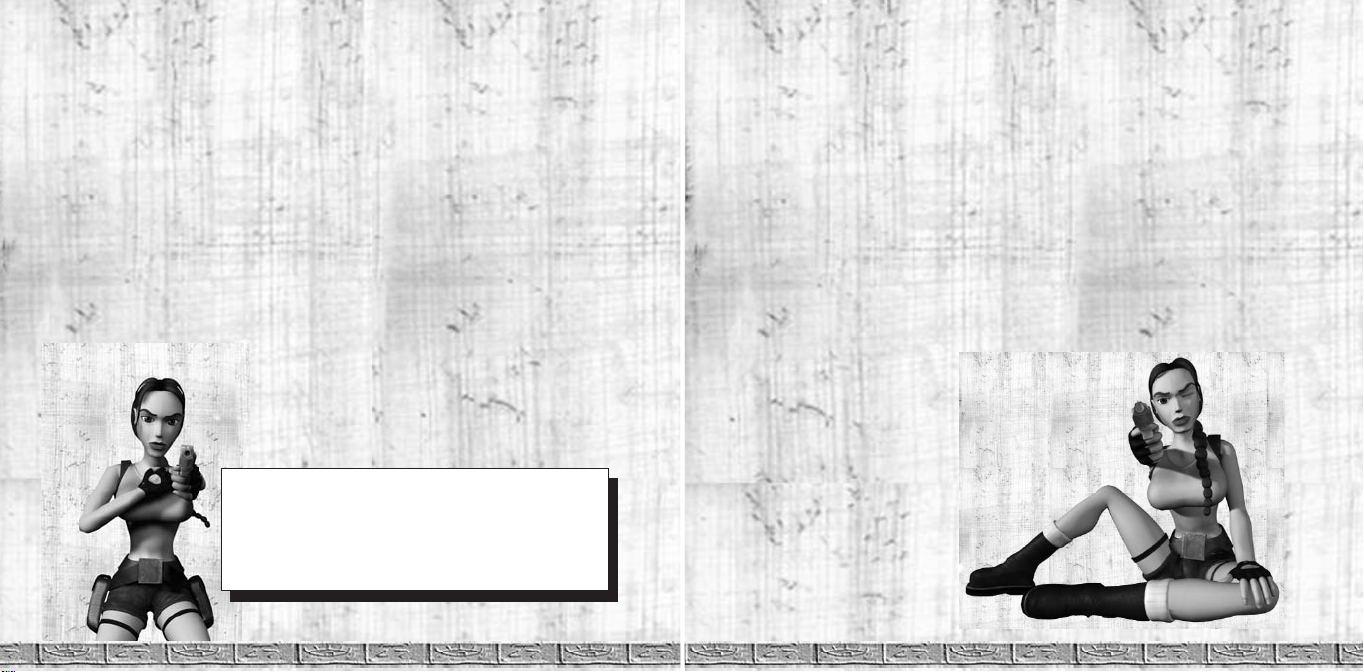
Lara
Cursor Keys Move Lara around playing area
Ctrl Action
Space Bar Draw/Holster Weapon
Alt Jump
End Roll
< Draw/Throw flare
Shift (+ Cursor Keys) Walk
Delete Sidestep left
Pg Dn Sidestep right
? Sprint when moving forward (Pressing Alt will make Lara
dive and roll forward)
Ins or Keypad 0 (+ Cursor Keys) Look around/Tap to assign or change
target (Manual Targeting)/Tap to change target (Auto
Targeting)/Press and hold to use laser sight
> Duck
> (+ Cursor Keys) Crawl
Esc Pause and display Inventory
> / ? (while using binoculars/laser sight) Zoom in/out
Space Bar (while using binoculars) Return to normal view
Page 4

Hot Keys
1 ~ 8 Directly select available weapons
9Use large MediPak
10 Use small MediPak
F5 Shortcut to Save Game
F6 Shortcut to Load Game
Alt & + * Increase resolution
Alt & - * Decrease resolution
Alt & Enter * Toggle between Window and Full Screen mode
* These options are dependent on graphic card support.
Vehicles
MOTORCYCLE & SIDECAR
Left/Right Cursor Keys Turn left/right
Down Cursor Pull back
Ctrl Accelerate
Alt Brake
End (when stationary) Dismount
? Activate Nitro
JEEP
Left/Right Cursor Keys Turn left/right
Ctrl Accelerate
Shift Shift up
? Shift down
End (when stationary) Exit vehicle
Menu Controls
Use Up and Down Cursor Keys to
navigate through the Menu Screens,
use Esc to return one level and
the Action Key or Return to select
throughout all menus. The Esc or
Action Key also quits FMV.
Use Right and Left Cursor Keys
to toggle through individual
category options.
main Menu
Following a short introductory FMV
sequence you will see the Main Menu.
At this screen the following options are
available:
NEW GAME – Join Lara on a new
adventure.
LOAD GAME – Access the Saved Game
Screen, where you can choose to load
a previously saved game.
OPTIONS – Access the Options Screen
with the following options:
CONTROL CONFIGURATION – Preselect your preferred control method,
Keyboard or Joystick, and reconfigure
the default controls to your preference.
Use Left/Right Cursor Keys to select
the user configurable keys. Once here,
use the Cursor Keys to highlight any
key you wish to change. Pressing
Action or Return on a highlighted
control followed by another key will
change control to that particular key.
54
Page 5

If you select Joystick as your control
method, the directional buttons
replace the cursor keys. Highlight
any control you wish to change.
Pressing Action or Return on a
highlighted control followed by a
button on your Joystick will change
control to that particular button.
To reset the controls to default,
highlight and select Reset.
MUSIC VOLUME – Use Left/Right
Cursor Keys to raise or lower the
music volume.
SFX VOLUME - Use Left/Right
Cursor Keys to raise or lower the
volume of in-game sound effects.
SOUND QUALITY – Set the level
of quality of music playback. Your
settings will be automatically saved
when you exit the game.
TARGETING – Use Left/Right Cursor
Keys to toggle between Auto and
Manual Targeting.
EXIT – Return to Windows.
Pause Menu
Pressing the P key will pause the game
and display the Pause Menu with the
following options:
STATISTICS – See how well you’re
progressing through the level.
OPTIONS – Access the Options
Screen. For more detail, refer to the
Options text on page 5.
EXIT TO TITLE – Return to the Title
Screen/Main Menu without saving
your game.
Press Esc to exit the Pause Menu.
The Beginning
The daughter of Lord Henshingly
Croft, Lara was brought up in the
secure world of aristocracy. Wanting
for nothing, she was surrounded by
servants, social events and high
society.
Lara attended Wimbledon High
School for Girls from the age of 11.
Now that she was 16, her parents
decided that Lara should broaden her
education by studying for her A levels
at one of England’s most prominent
boarding schools. An adventurous
soul, Lara found the idea of being sent
away from home an exciting prospect.
By chance one day Lara came across
a copy of National Geographic on the
hall table. The front cover featured a
familiar name – Professor Werner Von
Croy. A respected archaeologist, Von
Croy had once lectured at Lara’s
school to pupils and parents alike.
The experience had a profound effect
on Lara, triggering a desire for travel
to remote locations in search of
adventure. In some ways Von Croy had
become an inspirational figure for Lara.
As Lara read further, she learned that
Von Croy was currently preparing for
an archaeological tour across Asia,
culminating in a potential new
discovery to be made in Cambodia.
Unable to contain herself, Lara burst
into the room, thrust the article in front
of her parents and without hesitation
demanded she accompany Von Croy
on his expedition. Lord Croft could
hardly disagree that travel was an
education in itself.
As Lara argued the case further, he
found himself walking over to the desk
and penning a letter to Von Croy,
introducing himself as an influential
society figure and offering financial
assistance in exchange for his
daughter’s place on the expedition.
Von Croy’s reply assured the
Henshingly Crofts that the territories
were friendly and that he had ample
76
Page 6

experience to look after both his and
Lara’s well being. Lara’s company as an
assistant would be welcome, as was
the offer of such a generous check. He
remembered Lara from his lecture – her
incessant yet insightful questions had
made quite an impression upon him.
And so it was agreed by all that Lara
would accompany Von Croy for the
duration of the tour ...
Once the game begins, listen carefully
to Von Croy. His teachings and advice
will prove invaluable on your travels ...
Actions
Moving
RUNNING/SPRINTING
Pressing Up moves Lara forward at a
running pace; pressing the Sprint Key
makes her temporarily sprint. A small
energy bar appears; when the bar
depletes Lara will revert back to a run.
Pressing Down makes Lara jump back
a short distance. Pressing Left/Right
turns Lara left/right.
WALKING/SIDESTEPPING
Press the Walk Key with the Up/Down
Cursor Keys to make Lara carefully walk
forward or backward. Press the Walk Key
with the Left/Right Cursor Keys to make
Lara sidestep. While the Walk Key is held,
Lara will not fall off any edge - if you walk
up to an edge Lara will automatically stop.
ROLL
Pressing the Roll Key makes Lara roll
forward, and finish up facing the opposite
direction. This also works underwater.
JUMPING
Press the Jump Key to make Lara jump
straight up. If you press a Cursor Key
immediately after pressing Jump, Lara will
jump in that direction. Pressing Down or
Roll right after starting a forward jump
makes Lara somersault in the air and land
facing the opposite direction. This also
works when jumping backward by
pressing Up or Roll immediately after
takeoff. Press Jump while holding the
Action Key to make Lara “inch” forward
and grab those tricky ledges.
Swimming
UNDERWATER
Lara can jump in and swim around in
deep pools of water. She can hold her
breath for about one minute (shown by
an on-screen air bar). If she remains
underwater after that, her health bar
deteriorates; if it empties, she drowns.
Pressing Up, Down, Left or Right
makes Lara rotate in that direction.
Pressing the Jump Key makes Lara
swim. Lara can pull levers and pick up
objects under water. Position Lara as
close as you can to the object and
press the Action Key.
SWIMMING ON THE SURFACE
Left and Right rotate Lara, and Up and
Down make her swim in those
directions. You can also use the
Sidestep actions to swim left or right
when on the surface of the water.
Pressing the Jump Key makes Lara
dive under the surface again. Pressing
the Action Key along with the Up
Cursor Key when Lara is close to an
edge makes her climb out.
WADING IN SHALLOW WATER
Lara won’t swim in waist-deep water;
instead she wades. The controls are
basically the same as when she is on
dry land, except it is slower going
and she can only jump on the spot,
not in a direction.
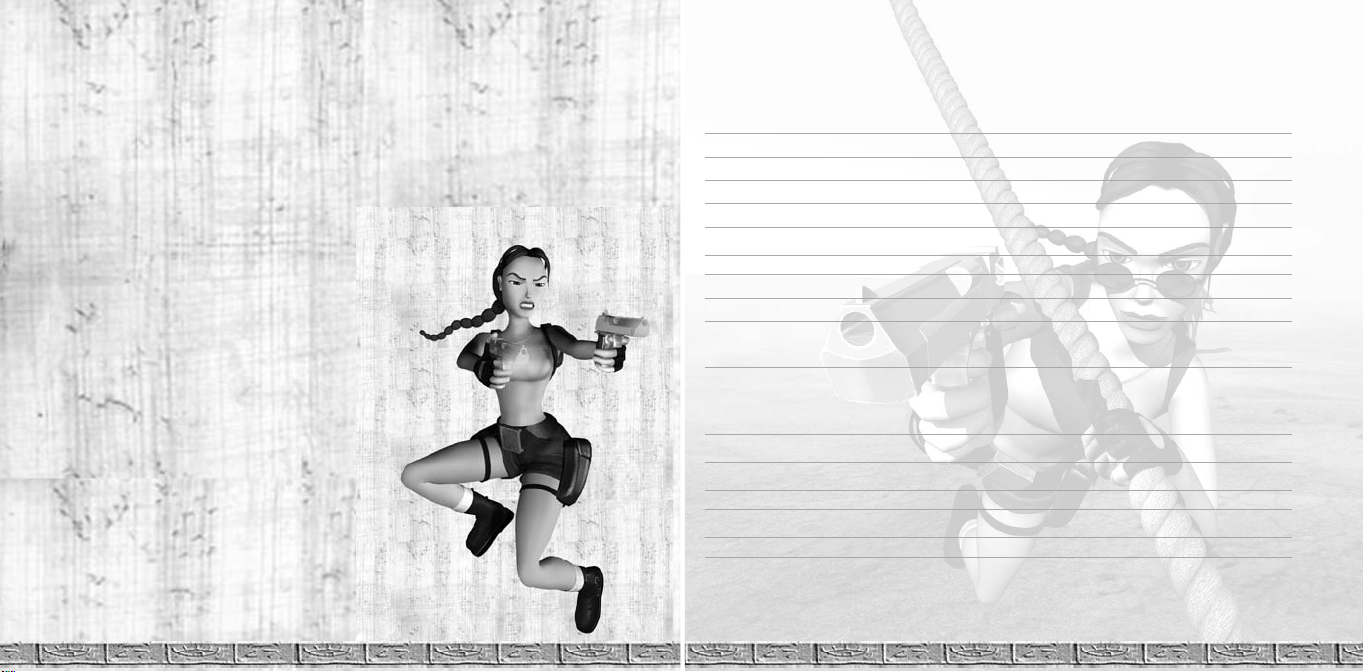
At tacking
DRAWING AND FIRING WEAPONS
Press the Draw Key to arm Lara with
her currently selected weapon. Press
the Action Key to fire the weapon.
TARGETING
There are now two Targeting Modes:
Auto and Manual. Both modes allow
you to switch lock-on from one enemy
to another. To switch targets, tap the
Look Key. Set Targeting Mode in
Options Mode from the Main Menu.
AUTO LOCK-ON
Press the Draw Key to make Lara draw
her weapon. If she sees a potential
target, she will lock onto it. If there are
98
Page 7

multiple enemies, tap the Look Key to
change targets. Press the Action Key
to shoot at the selected target; tap
the Look Key to switch to another
enemy. If Lara loses sight of the
enemy, the lock-on is broken.
MANUAL LOCK-ON
In this mode, you must tap the Look
Key for the initial enemy lock-on.
You can then cycle through targets
by tapping the Look Key repeatedly.
LOCK-ON LIMITATION
While Lara has her guns drawn,
she cannot do anything using her
hands. These actions are described in
the following section, Other Actions.
LASER SIGHT TARGETING
By combining the laser sight with
some weapons, Lara can enter a
targeting mode used to solve some
puzzles and defeat certain enemies.
When the laser sight is combined with
a weapon, press and hold the Look
Key to enter Targeting Mode. Use
the Duck and Sprint Keys to adjust
your aim by zooming in/out. While in
Targeting Mode, Lara cannot move.
Oth er Actions
VAULTING
If Lara is faced with an obstacle that she
can climb over, pressing Up and the
Action Key makes her vault onto it.
CLIMBING WALLS
Some walls are climbable. If Lara comes
across such a surface, pressing Up and
the Action Key makes her jump up (if
there is room) and catch handholds on
the wall. She will only hang on while
Action is held down. She can then climb
up, down, left and right when you press
the Cursor Keys. Lara can also climb
around the edges of some surfaces.
Pressing the Jump Key makes Lara
jump backward away from the wall.
When Lara arrives at the top of the
ladder, she may be faced with a small
opening. Pressing the Crawl Key makes
Lara duck and pressing Up Cursor Key
makes her crawl into the gap (if she
will fit).
CLIMBING POLES
Lara will come across certain poles that
she can climb. Either walk up to the
pole and press and hold the Action
Key, or run, jump and grab the pole.
While climbing, keep the Action Key
pressed or Lara will let go.
While on the pole, press Up and Down
Cursor Keys to make Lara climb up and
down, Left or Right to make her rotate
around the pole and the Jump Key
to backflip off.
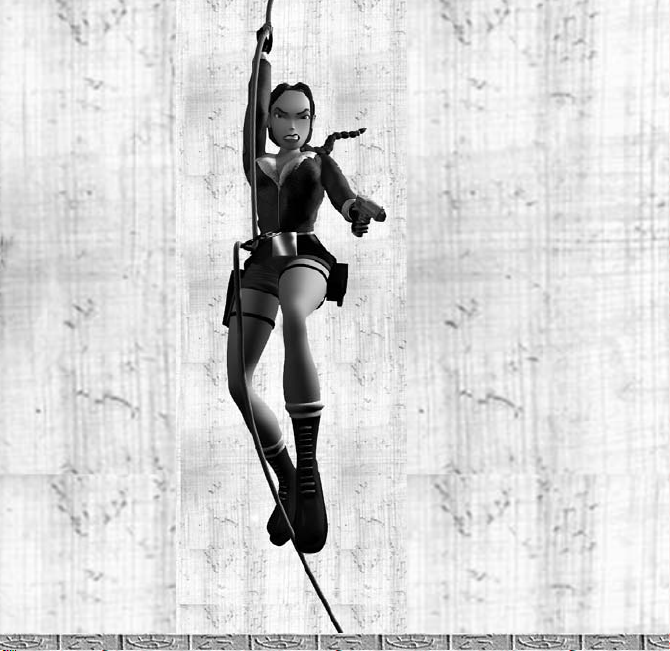
CLIMBING ROPES
Lara grabs hold of ropes, rotates, climbs
up and down and jumps off the same
way as when climbing poles. To make
the rope swing from side to side, press
the Sprint Key. Press the Jump key to
make Lara jump forward off the rope.
DUCK AND CRAWL
You can make Lara duck by pressing
the Crawl Key and crawl by keeping
that key pressed while using a Cursor
Key to move her.
GRABBING HOLD OF LEDGES
If Lara is near a ledge while she is
jumping, pressing and holding the
Action Key allows her to grab the
ledge in front of her and hang there.
If a wall is climbable, Lara can catch
onto it anywhere (not just on ledges).
Press Left or Right, and Lara will
shimmy sideways and even around
corners of certain surfaces. Pressing
Up makes Lara climb up to the level
above. Release the Action Key and
Lara will drop.
MONKEY SWING
If Lara discovers an overhead frame,
she may decide to monkey swing
across it. To perform this, press the
Jump Key to jump up to the frame,
and immediately press the Action
Key to grab onto the frame. While
still holding the Action Key, press Up
Cursor Key to swing forward. Pressing
Left/Right Cursor Keys makes Lara
hang and rotate. Releasing the Action
Key causes Lara to release the bars.
1110
Page 8

PICKING UP OBJECTS
Lara can retrieve objects and store
them in her Inventory. Position Lara in
front of the object you want to retrieve.
Press the Action Key and she will pick
it up.
Often, enemies drop objects when they
are defeated; it’s always worth
checking out their bodies just in case.
Some objects can be broken, revealing
valuable pick-ups. Objects may also be
placed on blocks and hidden inside
walls – in this case press the Action
Key to reach in and grab it.
USING SWITCHES/SOLVING
PUZZLES
Many puzzles await Lara; these will
take many unusual forms. You may
simply need to flick a switch by
positioning Lara near the switch and
pressing the Action Key. For other
puzzles you may need to collect two
halves of an object, combine them in
the Inventory and use them as a key.
THE CROWBAR
Lara may need to pry items from walls
or pry open doors. To do this she’ll
need a crowbar. Select the crowbar
from the Inventory to use it.
USING FLARES
If Lara finds herself in the dark and
has any flares in her Inventory, she
can get one out and light it by pressing
the Flare Key. This will light up her
surroundings for a minute or so. While
she is carrying the flare she can still
vault or climb – flares even work
underwater. To discard the flare, drop
it by pressing the Draw Key. To throw
the flare a longer distance, press
the Flare Key again.
PUSHING/PULLING OBJECTS
Lara can push certain objects around
and use them to operate pressuresensitive pads. Stand in front of the
object and hold down the Action Key.
Lara will get into her ready stance.
Press Down to pull the block, and Up
to push it. To end this task, release
the Action Key.
LOOKING AROUND
Pressing the Look Key makes the
camera go directly behind Lara and
look in the direction that you are
currently pointing at. With the Look
Key held down, the Cursor Keys
allow Lara to look around her. Once
you release the Look Key, the view
returns to normal.
TIP: When lining Lara up for a jump,
pressing the Look button will show
you what direction she is facing in.
Inventory
While in-game, press the Esc Key to
display the Inventory. Use the Cursor
Keys to navigate and the Action Key
to select. Depending on the object
highlighted, a menu may be displayed.
For example, highlighting the crossbow
presents these options:
EQUIP – Arm Lara with the weapon.
COMBINE – Allows the item to be
combined with certain other items held
in the Inventory, i.e. the laser sight.
CHOOSE AMMO – In some instances
Lara may collect different forms of ammo.
This option allows you to choose
between available ammunition for your
selected weapon.
Press the Esc Key to exit the Inventory
and return to the game.
MediPaks
Using a small MediPak (when collected)
will restore 1/2 of Lara’s health. Using
a large MediPak will fully restore Lara’s
health. Beware: some enemies will
poison Lara. In that case, her health bar
will appear and begin to flash yellow,
decreasing as it flashes. Use either a
small or large MediPak as an antidote.
Sav e /Load Game
To save the game at any point, press F5
or display the Inventory Screen and
select Save Game. Select a slot and press
the Action Key. Your Save Game will be
automatically named. There are a total of
10 save game slots; select a previously
used slot to overwrite. To load a saved
game, press F6 or select Load Game
and choose the game you wish to load.
1312
Page 9

Credits
For Cor e Design Ltd.
PC Programmer Richard Flower
AI Programming Tom Scutt
Programmers Chris Coupe
Martin Gibbins
Derek Leigh-Gilchrist
Martin Jensen
Animators Phil Chapman
Jerr O’Carroll
Level Designers Pete Duncan
Jamie Morton
Richard Morton
Andy Sandham
Joby Wood
FMV Sequences Peter Barnard
David Reading
Matt Furniss
Simeon Furniss
John Lilley
Additional Artwork Andrea Cordella
Damon Godley
Steve Hawkes
Mark Hazleton
Steve Huckle
Darren Wakeman
Music & Sound FX Peter Conelly
Original Story Pete Duncan
Dr. Kieron O'Hara
Richard Morton
Andy Sandham
Script Hope Caton
Andy Sandham
Producer Troy Horton
QA Tiziano Cirillo
Nick Conelly
Hayos Fatunmbi
Paul Field
Steve Wakeman
Dave Ward
Jason Churchman
Thanks to Phil Callaghan
Mick Harrison
Joe Scutt-Phillips
All in the Game Ltd.
Viewpoint (UK) Ltd.
Executive Producers Jeremy H. Smith
Adrian Smith
FOR EIDOS INTERACTIVE
U.S. Producer Mike Schmitt
Quality Assurance
QA Manager Mike McHale
Test Lead Brian King
Assistant Lead Corey Fong
Assistant Lead Franklin Vasquez
Eruch Adams
Shiloh Anacleto
John Arvay
Lars Bakken
Chris Bruno
Phil Campbell
Joe Damon
Ryan Ellison
Daniel Franklin
Erik Kennedy
Rich Krinock
Ron Lauron
Mark Medeiros
Billy Mitchell
Jacob Rohrer
Ken Schmidt
Barbara Smith
Shawn Taylor
Benny Ventura
Ben Walker
Sr. Product Marketing Mgr Chip Blundell
Associate Product Mgr Renee Pletka
Public Relations Brian Kemp
Greg Rizzer
Marketing Support Paul Baldwin
Susan Boshkoff
Michelle Bravo
Bryan Davies
Jennifer Fitzsimmons
Gary Keith
Karina Kogan
Antonia Phillips
Randy Stukes
Brandon Suyeoka
Sutton Trout
Special Thanks Rob Dyer
Nick Earl
Mike McGarvey
James Poole
Robert Barrett
Kevin Weston
Dave Cox
Mike Kelly
JoKathryn Reavis
Katrina Medema
Crystal Dynamics
Extra Special Thanks! Adrian Smith
Jeremy Smith
Troy Horton
Andrew Thompson
Ken Lockley
Susie Hamilton
Everyone else at
CORE DESIGN LT D.
Manual Design Carol Ann Hanshaw
1514
Page 10

EIDOS INTERACTIVE TECHNICAL SUPPORT
Please read the following section before calling technical support:
Because of the millions of different hardware
and software combinations possible with
today’s Personal Computers, you may still have
to refer to your computer manufacturer or software publisher to properly configure their
product to run our game.
CONTACTING TECH SUPPORT
If you have questions about the game, our
Technical Support Department is here to help.
Our web site contains up-to-date information
on the most common difficulties with our
products; this information is the same as that
used by our support agents. If you are unable
to find the information you need on our web
16
site, please feel free to contact us via e-mail,
fax, telephone or letter.
If you need to talk to someone immediately,
call us at (415) 547-1244. We are available to
take your calls Monday through Friday
between 9:00 a.m. to 5:00 p.m., Pacific Standard Time. If possible, be at your computer
when you call. The support representative will
need specific information about your computer
and may need you to access or change some
of the files while you are on the telephone.
If it is impossible for you to be at your computer,
be sure to have the following information:
•A listing of your computer’s hardware and the
settings from Device Manager, including what
sound and video card your system has. (Contact
your computer manufacturer if you aren’t sure.)
• What version of Windows™ you are using.
• What version of DirectX™ is currently loaded on
your computer.
•How the game is currently configured.
Note: Our Technical Support agents do not have
access to game hints, tips, strategies or codes.
Please direct all game play inquiries to the 900
hint line listed below.
HOW TO REACH US
World Wide Web:
http://www.eidosinteractive.com/help.html
Product Warranty Inquires: cs@eidos.com
FTP: ftp://ftp.eidosinteractive.com/pub
Internet e-mail: techsupp@eidos.com
Tel: (415) 547-1244
Fax: (415) 547-1201 or (415) 537-0095
Mail: Eidos Interactive Customer Support
651 Brannan Street, 4th Floor
San Francisco, CA 94107
Hint Line: Eidos Interactive’s 24 hour automated
hint line number is (900) 773-4367. The charge is
$.99 per minute. You must be 18 years or older;
or have your parent’s permission to call.
 Loading...