

Fujitsu UTZ-BX025A, UTZ-BX035A, UTZ-BX050A, UTZ-BX080A, UTZ-BD100A(50Hz) Maintenance Manual
...Page 1
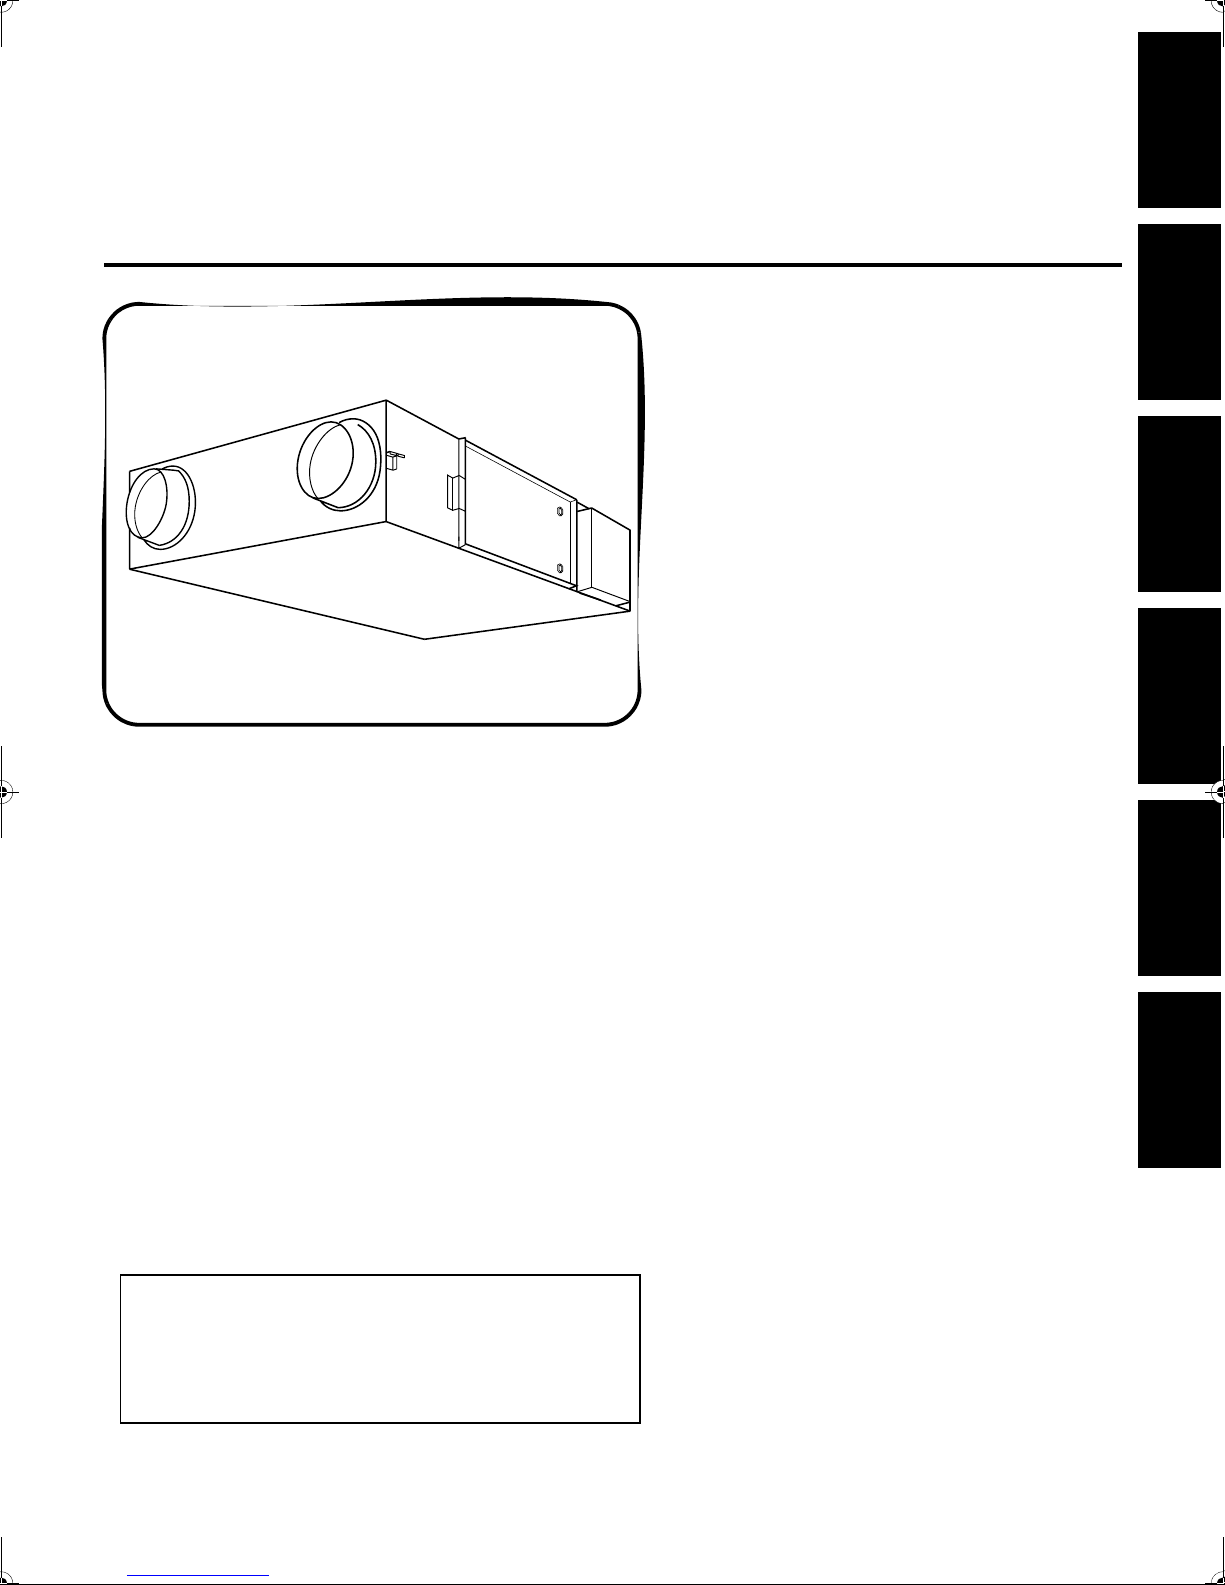
Energy Recovery Ventilators
Model No.
N° de modèle
Modell-Nr.
Modello N.
Modelo N.°
Nº do modelo
UTZ-BX025A
UTZ-BX035A
UTZ-BX050A
UTZ-BX080A
UTZ-BD100A(50Hz)
UTZ-BE100A(60Hz)
Installation manual is attached separately.
Le manuel d'installation est joint séparément.
Installationsanleitung ist gesondert beigelegt.
Il manuale di installazione è allegato separatamente.
El Manual de instalación se adjunta por separado.
O manual de instalação é fornecido em separado.
Maintenance Manual
Ventilateurs d’échange de
chaleur
Manuel d’entretien
Energiegewinnungs-
Ventilatoren
Wartungshandbuch
Ventilatori a recupero
energetico
Manuale di manutenzione
ENGLISHFRANÇAISDEUTSCHITALIANOESPAÑOLPORTUGUÊS
Ventiladores con recuperación
de energía
Manual de mantenimiento
Ventiladores de permutação de
calor
Manual de manutenção
Page 2

CONTENTS
Cautions on Safety......................................................................2
Model Installation........................................................................3
Maintenance Method...............................................................4–7
ENGLISHFRANÇAISDEUTSCHITALIANOESPAÑOLNEDERLANDSPORTUGUÊSΕΛΛΗΝΙΚΗ
1
Page 3
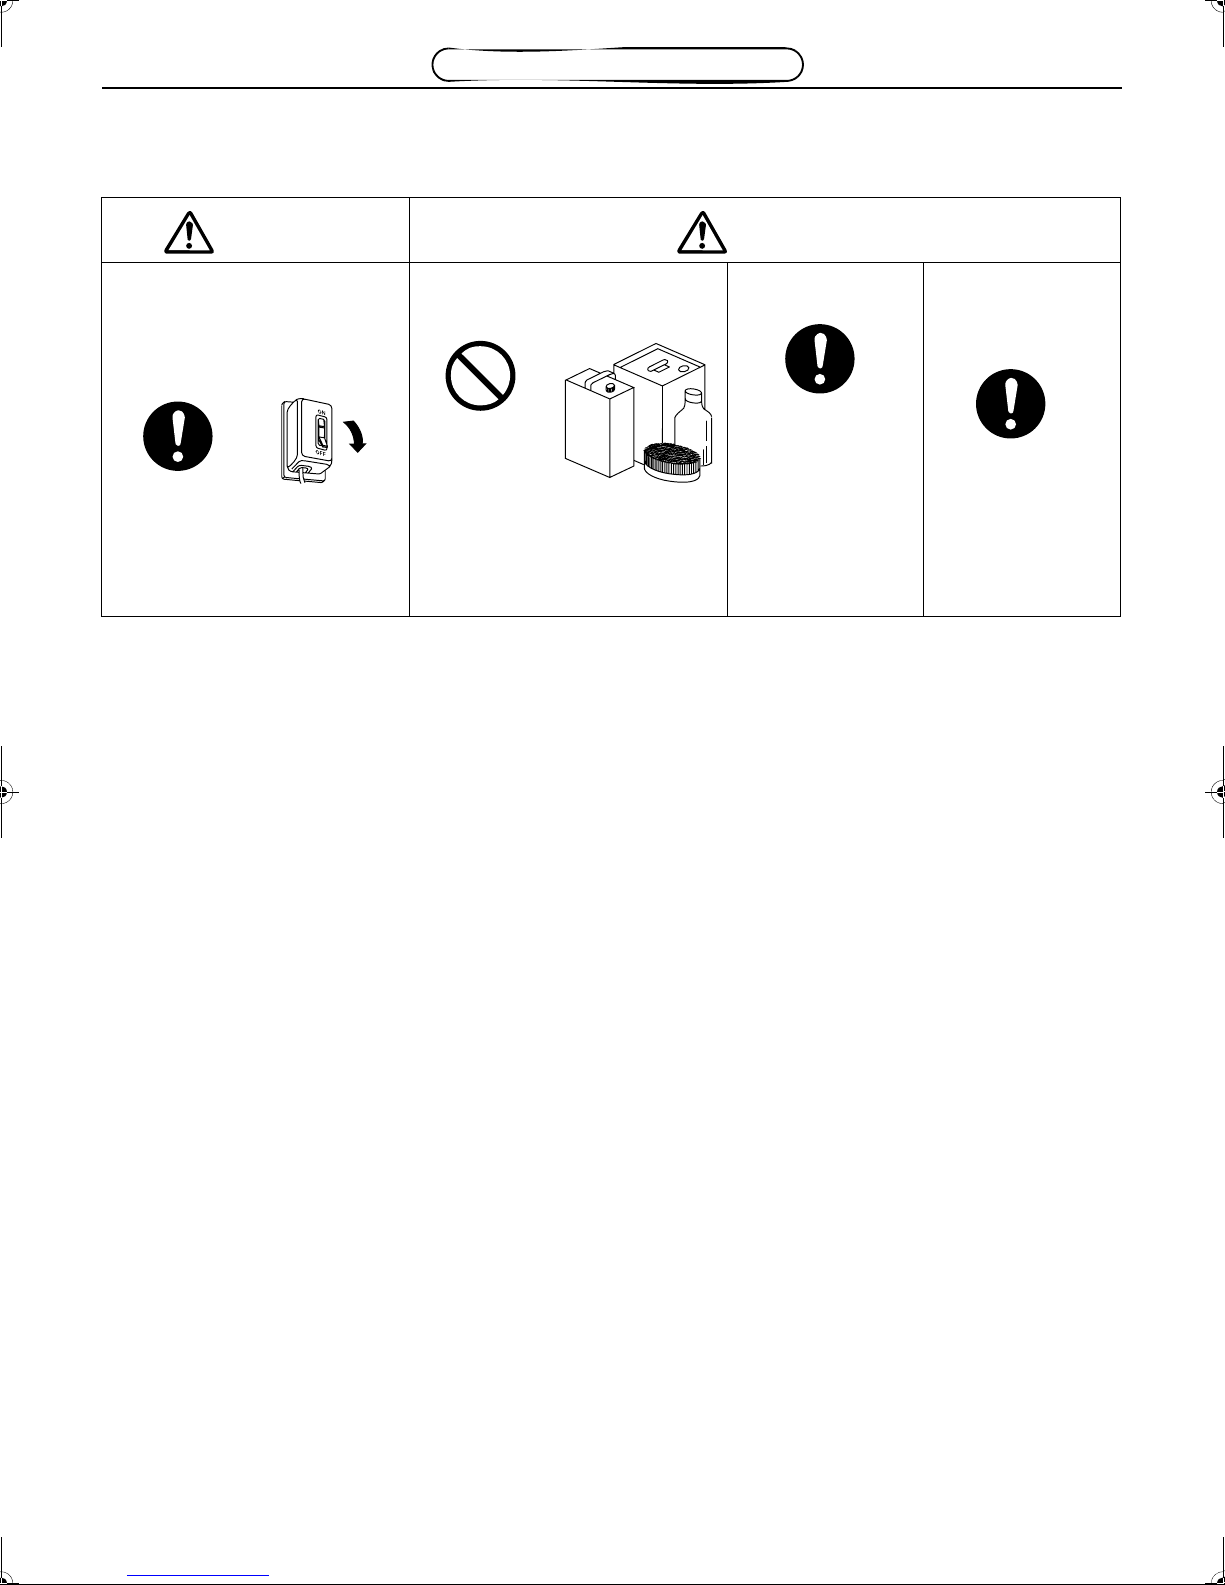
Cautions on Safety
Never Fail to Observe
Prohibited
Thinner
Gasoline
Benzene
Metal brush
Cautions for Maintenance
It must be replaced by the manufactuer, its sevice agent or similarly qualified persons in order to avoid a hazard.
WARNING CAUTION
■ When the system is checked and
the power cable undergoes
maintenance, stop the operation,
and switch the exclusive circuit
breaker "OFF".
The internal fan is revolving at high
speeds and can cause serious
injury. And when using a
stepladder, etc., make sure to fix it
properly.
■ Don't use benzene or metal brush
when cleaning the filter and heat
exchange element.
Otherwise, the unit will get unfit for
use.
■ The filter should be
cleaned regularly.
Dust or dirt buildingup on it can lead to
a lack of oxygen in
the room.
■ Use gloves when
cleaning the filter or
heat exchange
element.
Doing so will reduce
any possibility of
injury.
2
Page 4

Model Installation
Caution
Switch
Turn off
W
a
t
e
r
6
0
°
C
o
r
a
b
o
ve
Motor
Switch
Heat
Exchange
Element
Thinner
Gasoline
Benzene
Metal brush
Filter
In order to prevent the reduced effectiveness of your Energy Recovery Ventilator, be sure to clean dirt and dust from the filter and
Heat Exchange Element at regular intervals.
ENGLISHFRANÇAISDEUTSCHITALIANOESPAÑOLNEDERLANDSPORTUGUÊSΕΛΛΗΝΙΚΗ
Be sure to turn the power off, and to switch
the exclusive breaker off before carrying
Do not immerse the filter or other resin
components in water 60°C or above.
out maintenance activities.
Do not use the following items for cleaning. Avoid using heat to dry the filter, as it may
cause changes in shape or quality.
Never use water on the motor, the switch,
or the Heat Exchange Element.
Always be sure to use a filter.
Failure to do so may cause dust and dirt to
build up on the heat exchange element,
lowering its efficiency and rendering it
inoperable.
3
Page 5

Maintenance Method
Caution
Caution
Hook
Inspection Cover
Hook
Inspection Cover
Knob Position
When installed
(Closed)
To remove
(Open)
Filter
Heat Exchange Element
Model No. Weight (kg /piece) Pieces to be used
UTZ-BX025A 4.5 1
UTZ-BX035A 3.4 2
UTZ-BX050A 3.7 2
Model No. UTZ-BX025A/UTZ-BX035A/UTZ-BX050A
■ Stop the operation and switch the exclusive breaker "OFF".
■ Cleaning the filter (When required)
1) Enter the ceiling from the Inspection Opening for the Heat Energy
Recovery, and remove the screw on the inspection cover.
2) Holding the Inspection Cover, turn two pieces of knob for 90° and
remove the cover.
3) There is a filter below the Heat Exchange Element at two places,
respectively. Pull it toward you.
4) Either lightly strike the removed filter with your hand or vacuum it
with a vacuum cleaner to remove the dirt. If it is very dirty, swish it
back and forth in a solution of lukewarm water and dish-washing
(neutral) detergent.
5) Install the filter after thoroughly allowing it to dry naturally.
Avoid using heat to dry the filter, as this may cause changes in the shape
or quality of the filter.
■ Whenever the filter was damaged, order the sales shop or the
engineering office. (Separately sold)
■ Cleaning the Heat Exchange Element (If you find it too much stained,
clean it.)
1) Remove the filters.
2) Remove the two Heat Exchange Elements from the unit. (Model No.
UTZ-BX025A has one Heat Exchange Element.)
● The weight of the Heat Exchange Element is as shown in the table
below.
Hold it firmly to ensure that you do not drop it.
4
Page 6

Maintenance Method (continued)
Caution
Caution
Nozzle
Mark
3) Use a vacuum cleaner to remove dust and dirt from the element's
surface.
● Clean by lightly pressing the vacuum cleaner nozzle against the
exterior.
Avoid using a hard nozzle as it may disfigure the heat exchange foils.
● Never use water to clean the Heat Exchange Element.
■ Whenever the Heat Exchange Element is damaged, order the sales
shop or the engineering office. (Separately sold)
4) When cleaning is completed, return the Heat Exchange Element
and filter to their original positions, and close the Inspection cover
and tighten the screw.
● Make sure to install the filter with the stamp “ ” facing
the Heat Exchange Element.
(“ ” means “Heat Exchange Element side”)
Failure to do so will lead to clogging of the heat exchange foils and
reduced performance.
● Insert the heat exchange element right side up, with the label
marked facing toward you.
ENGLISHFRANÇAISDEUTSCHITALIANOESPAÑOLNEDERLANDSPORTUGUÊSΕΛΛΗΝΙΚΗ
5
Page 7

Model No. UTZ-BX080A/UTZ-BD100A/UTZ-BE100A
Caution
Caution
Hook
Inspection Cover
Hook
Inspection Cover
Knob Position
When
installed
(Closed)
To remove
(Open)
Filter
Grooved Rail
Heat Exchange Element
Model No. Weight (kg /piece) Pieces to be used
UTZ-BX080A 4.0 3
UTZ-BD100A/BE100A 4.0 4
■ Stop the operation and switch the exclusive breaker "OFF".
■ Cleaning the filter (When required)
1) Enter the ceiling from the Inspection Opening for the Heat Energy
Recovery, and remove the screw on the inspection cover.
2) Holding the Inspection Cover, turn two pieces of knob for 90° and
remove the cover.
3) There is a filter at two places, respectively. Pull it toward you.
4) Either lightly strike the removed filter with your hand or vacuum it
with a vacuum cleaner to remove the dirt. If it is very dirty, swish it
back and forth in a solution of lukewarm water and dish-washing
(neutral) detergent.
5) Install the filter after thoroughly allowing it to dry naturally. (Install
them to fit well with the grooved rail)
Avoid using heat to dry the filter, as this may cause changes in the
shape or quality of the filter.
■ Whenever the filter was damaged, order the sales shop or the
engineering office. (Separately sold)
■ Cleaning the Heat Exchange Element. (If you find it too much stained,
clean it.)
1) Remove the four Heat Exchange Elements from the unit. (Model
No. UTZ-BX080A has three Heat Exchange Elements.)
● The weight of the Heat Exchange Element is as shown in the table
below.
Hold it firmly to ensure that you do not drop it.
6
Page 8

Maintenance Method (continued)
Caution
Caution
Stam p
Nozzle
2) Use a vacuum cleaner to remove dust and dirt from the element's
surface.
● Clean by lightly pressing the vacuum cleaner nozzle against the
exterior.
Avoid using a hard nozzle as it may disfigure the heat exchange
foils.
● Never use water to clean the Heat Exchange Element.
■ Whenever the Heat Exchange Element is damaged, order the sales
shop or the engineering office. (Separately sold)
3) When cleaning is completed, return the Heat Exchange Element
and filter to their original positions, and close the Inspection cover
and tighten the screw.
● Make sure to install the filter with the stamp “ ” facing
the Heat Exchange Element.
(“ ” means “Heat Exchange Element side”)
Failure to do so will lead to clogging of the heat exchange foils and
reduced performance.
● Please insert so that the stamp “ ” to be toward you.
(In Japanese “ ” means “Front”.)
ENGLISHFRANÇAISDEUTSCHITALIANOESPAÑOLNEDERLANDSPORTUGUÊSΕΛΛΗΝΙΚΗ
7
Page 9

1116, Suenaga, Takatsu-ku, Kawasaki 213-8502, Japan
9379368001
Printed in Japan
 Loading...