

Page 1

FD 2000IL
AutoSeal
®
FIRST EDITION
Page 2

Page 3
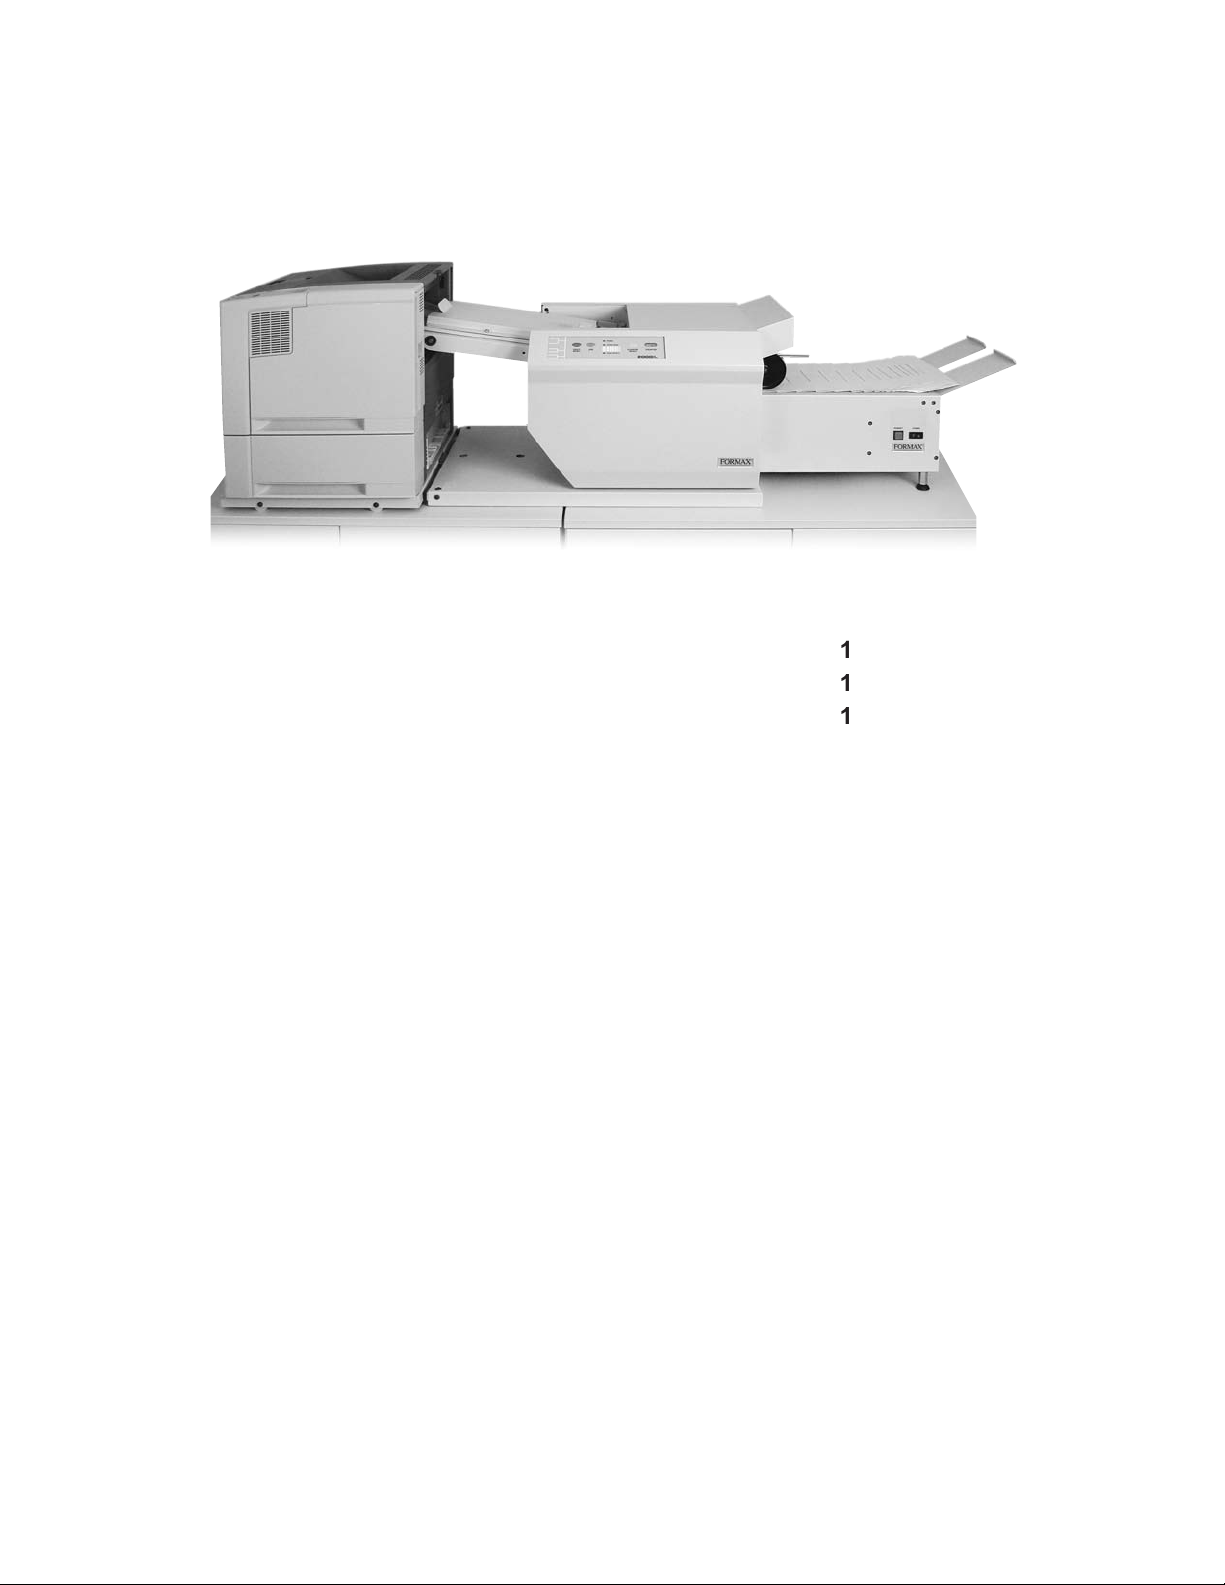
TABLE OF CONTENTS
SPECIFICATIONS
SETUP
2
Sealer Alignment Base Setup
Sealer Setup
2 - 3
Printer Alignment Base Setup
4
Printer Setup / Printer Setup w/Riser
5
Alignment Stoppers
6
CONTROL PANEL
OPERATION
7
Fold Plate Adjustment
8
Offl ine Print Test
9
Normal Operating Conditions
8
TEST SHEET
TROUBLESHOOTING
Clearing Paper Jams
OPTIONAL CONVEYOR INSTALLATION
Page 4

Page 5
With the Formax FD 2000IL AutoSeal System operators can print, fold and seal all in one streamlined process.
One-piece pressure sensitive forms are loaded into an existing laser printer where they’re printed and fed directly
(requires FD 2000-45IL riser)
w/18” Conveyor:
Page 6
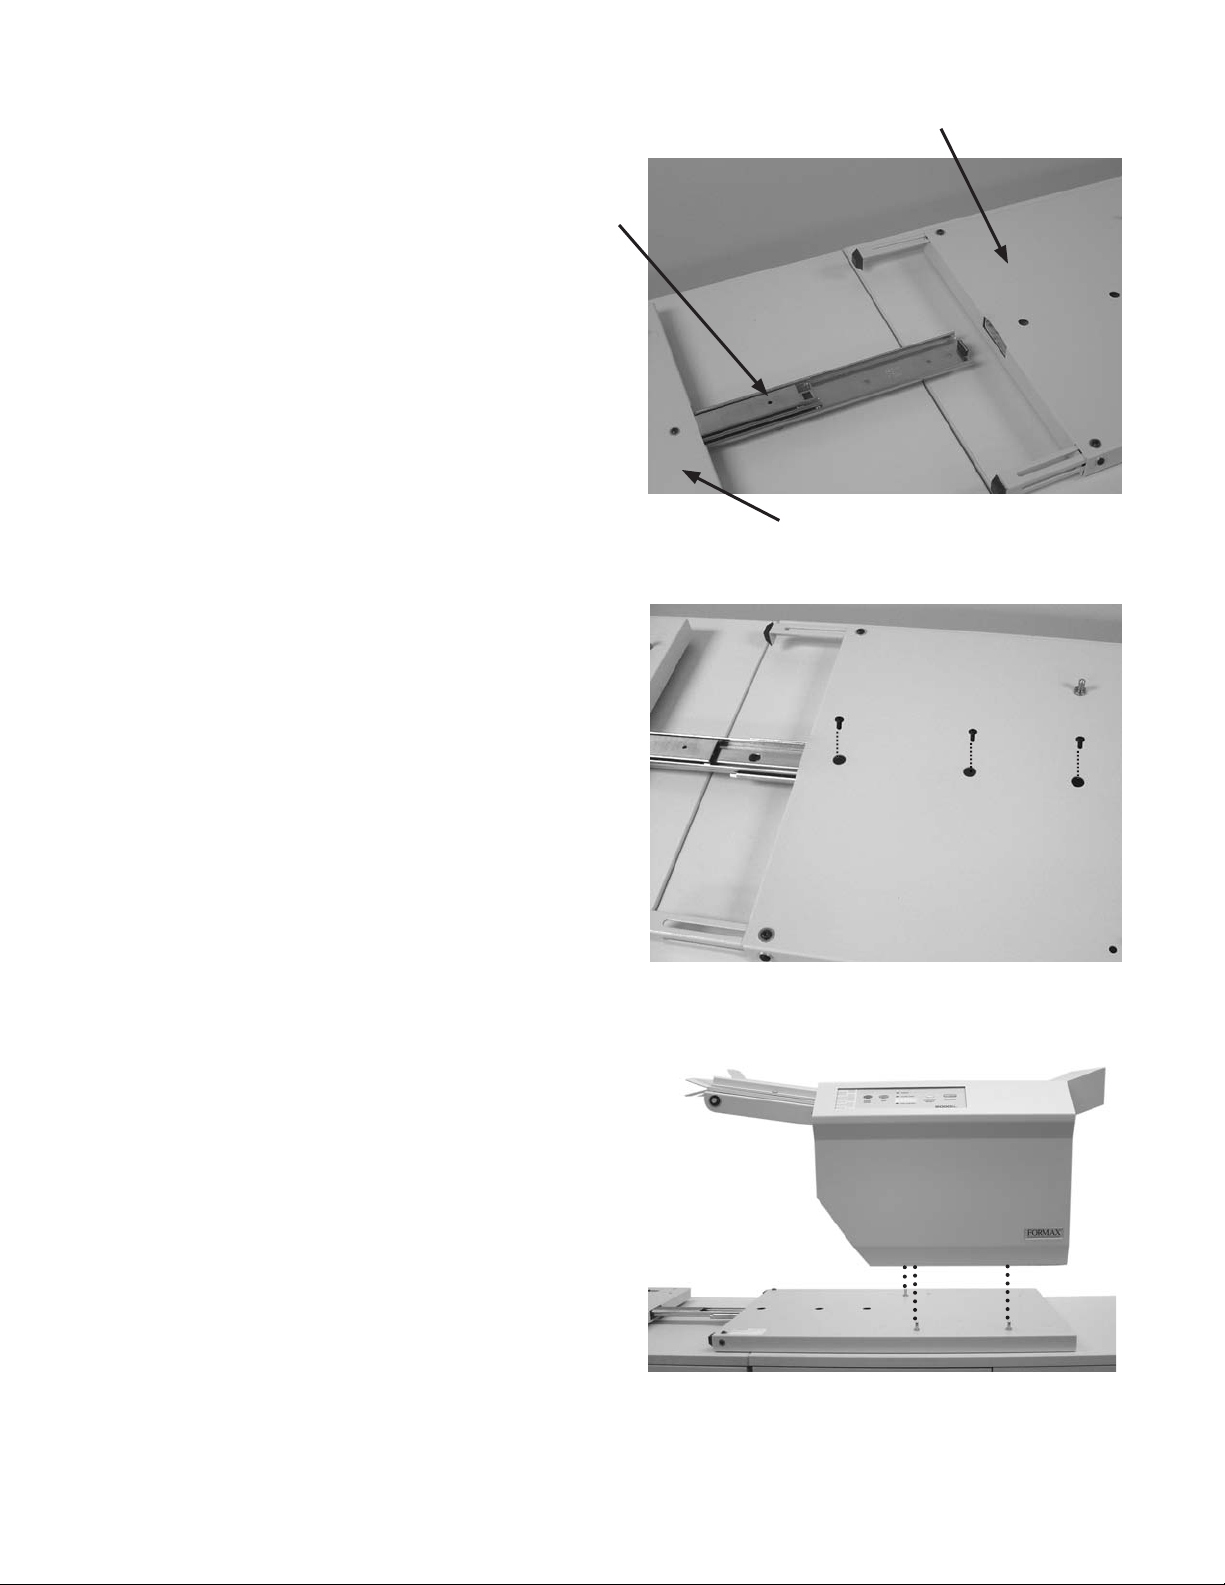
with the holes in the top of the base (Figure 2).
Align third screw hole in the slider with the top
Two people should lift and lower the
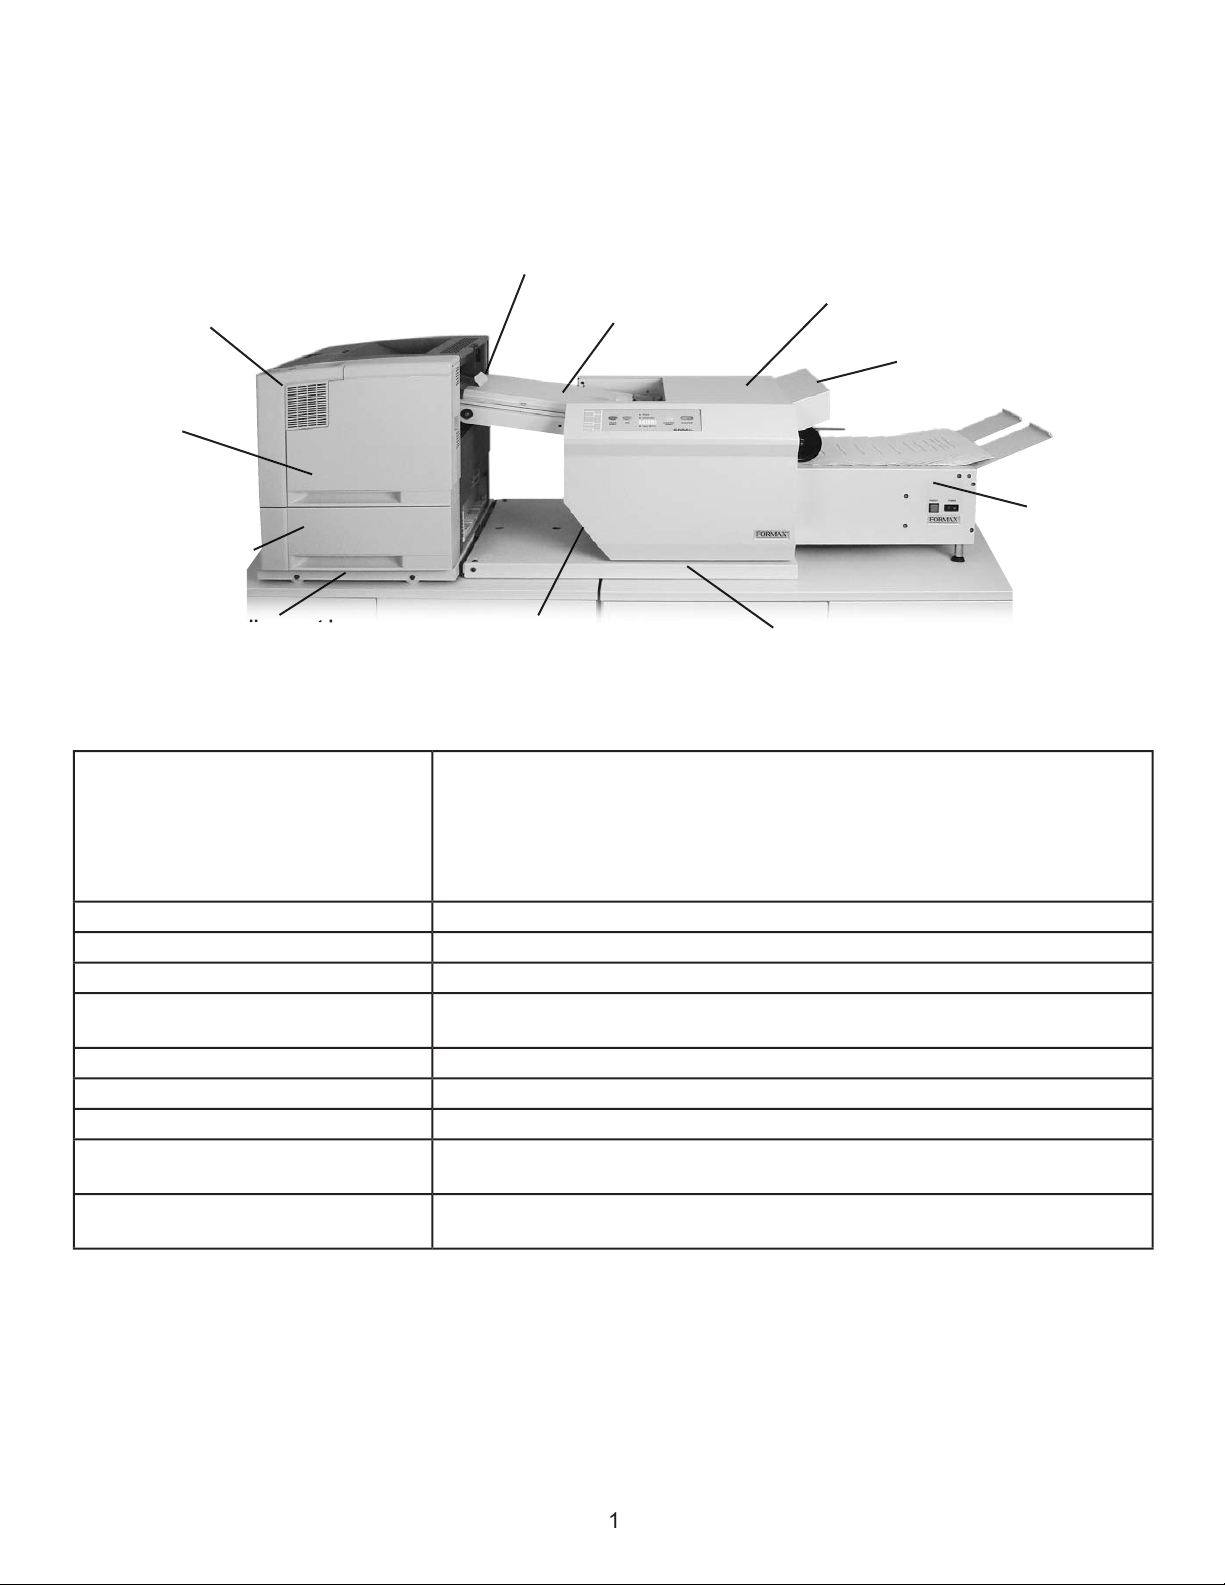
Alignment Base, Pressure Sealer Section
Alignment Base, Printer Section
Alignment Base Setup
Page 7

Do not operate the machine without the
Page 8

Alignment pins for use with
Alignment pins for use with
Alignment pins for use with
Alignment pins for use with
Page 9

Refer to page 4 for correct alignment pin
Refer to page 4 for correct alignment pin
Page 10

Alignment base stopper
Alignment Stoppers
Page 11

and reinstall.
Page 12

with the 5 1/4” mark on the fold plate.
The bar should be on the same marks on each side.
Page 13

when the form passes over the photo-eye located at the mouth of the sealer transport deck.
This is
the transport deck to warm up.
Power up the
Printer and Sealer
Load forms into printer face down with glue trailing.
will say “Print Menu
Press the button once to select this option.
Press the button once to select this option.
Power up the
Printer and Sealer
Load forms into printer face down with glue trailing.
button to enter the printer menu. The menu settings
menu.
button once to enter the
menu.
button once. The printer should read
and the menu settings page(s) should print out.
Page 14

Page 15

Page 16

wires.
when the form enters
Page 17

with the correct fold settings. See page 8 for
jammed document. With one hand hold
Adjust rear pin on the printer alignment
Page 18

WARNING:
Turn off machine and unplug cord from its receptacle.
Do not apply excessive force or rollers may be damaged
for
to exit the machine
or the rollers may be
Remove the jammed form, return tool to holder and reinstall the upper fold plate. Reinstall
Press the black button (Fig. 14) near the power cord inlet to reset the breaker if necessary.
A. Clearing paper jams from the steel pressure seal rollers:
WARNING:
Turn off machine and unplug cord from its receptacle.
Press the black button (Fig. 14) near the power cord inlet to reset the breaker if necessary.
Page 19

Assembly
Assembly
 Loading...