Page 1

Secondary reference
temperature standards
• Affordable wide-range accuracy
Excellent stability
For years, you’ve relied on our
5612, 5613, and 5614 Secondary Reference Probes. These
field-durable, lab-accurate PRTs
have been replaced by the 5615,
which comes with a NVLAPaccredited calibration.
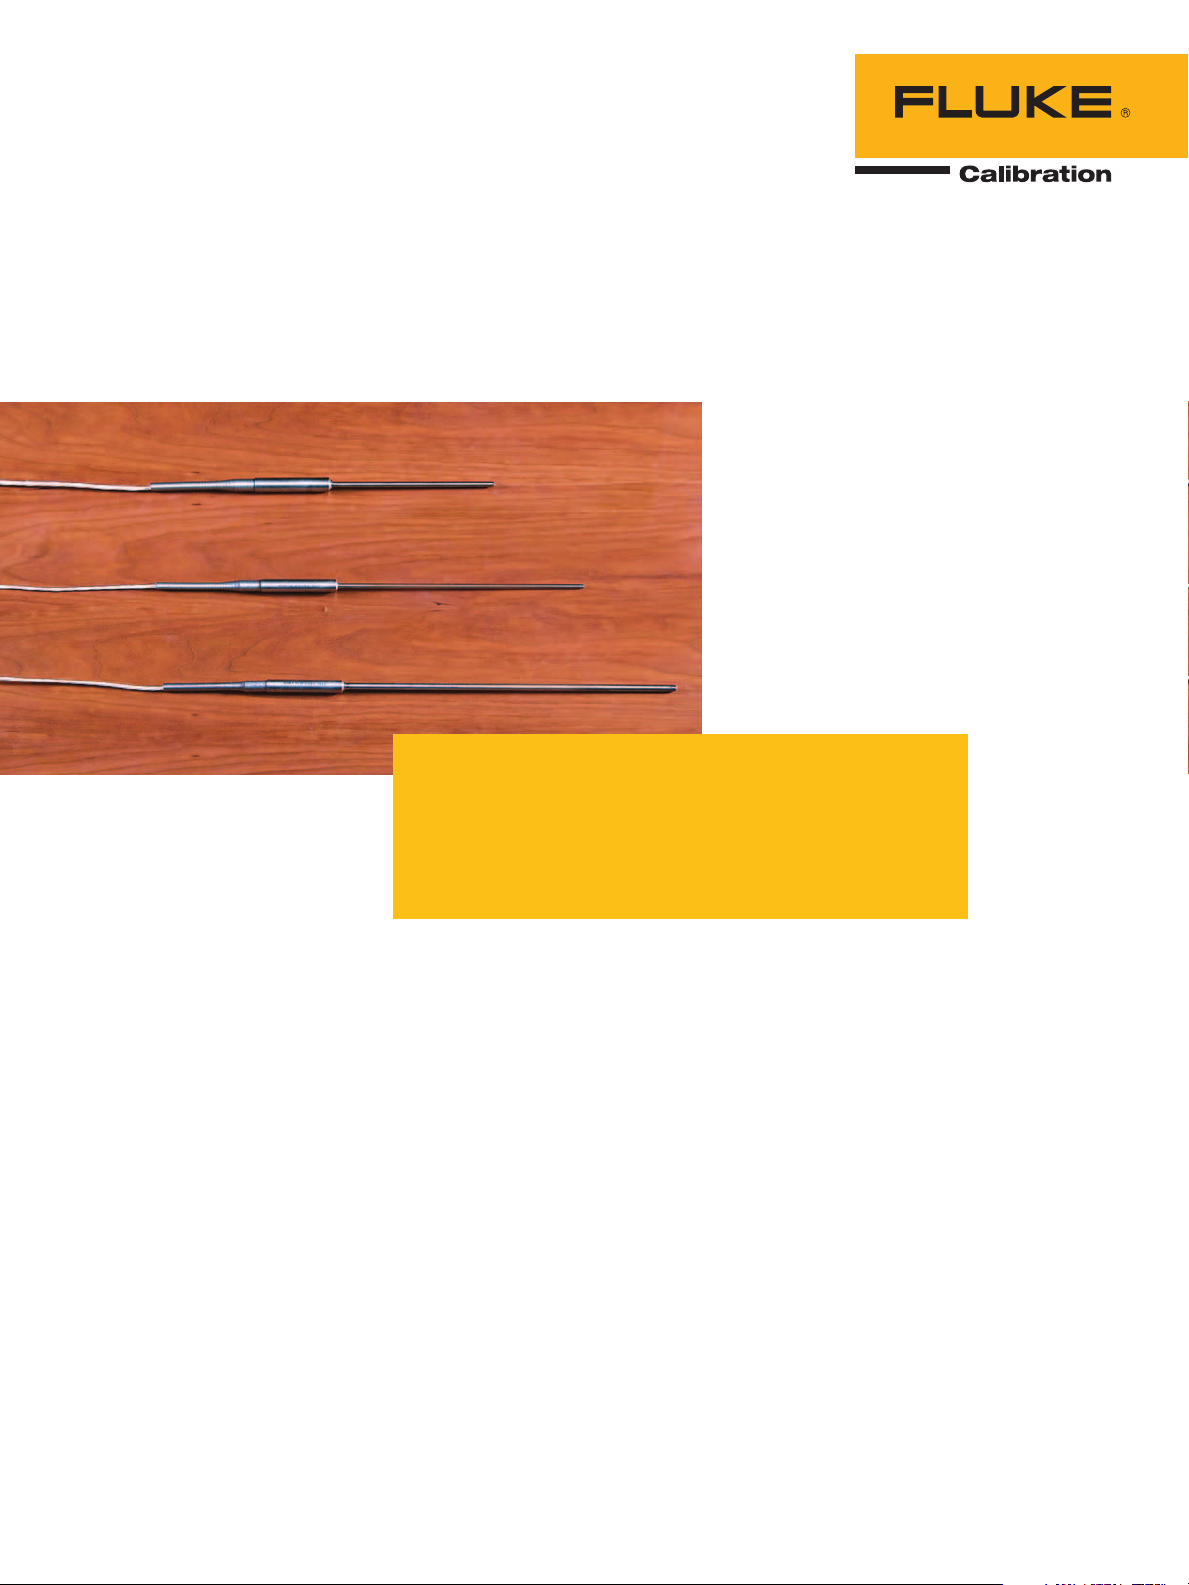
The 5615-12 is a Platinum
Resistance Thermometer (PRT)
with an Inconel™ 600 sheath
that’s 305 mm (12 in) long and
6.35 mm (0.250 in) in diameter. It is a secondary reference
temperature standard designed
to bridge the gap between the
highest laboratory standards and
industrial or second-tier lab locations. It has short-term accuracy
of ± 0.013 °C at 0.01 °C.
The element is constructed of
reference-grade platinum wire
(99.999 % pure) for excellent
stability. The wire is wound in
a coil and placed in a mandrel
where it’s uniformly supported in
a manner that virtually eliminates hysteresis. The electrical
configuration is a four-wire
current-potential hookup that
eliminate the effects of lead-wire
resistance.
•
Reference-grade platinum sensing element
•
NVLAP-accredited calibration included, lab
•
code 200706-0
These Inconel™-sheathed
probes have a fully supported
sensing element, making them
more durable than SPRTs. The
element is protected in an ultrahigh-purity ceramic case with a
hermetic glass seal to improve
output stability by locking out
moisture and contaminants.
This probe comes calibrated
with ITS-90 coefficients, making
it compatible with many excellent readout devices, including
the Fluke Calibration 1529
Chub-E4, 1560 Black Stack, and
1502A Tweener. It bridges the
gap between a 100-ohm industrial RTD and an SPRT.
For those needing faster
thermal response, or where
diameter and immersion depth
are problems, order the 5615-9
or 5615-6. These probes are
excellent reference probes for
comparison calibrations in a
Technical Data
Fluke Calibration dry-well. The
sheaths of the 5615-6 and
5615-9 are 4.76 mm (0.188 in)
in diameter.
A printout of sensor resistance
is provided in 1 °C increments
for each probe. The 5615-9 and
5615-12 are calibrated from
-196 °C to 420 °C. The 5615-6 is
calibrated to 300 °C.
We’ve tested many of the
probes on the market. We’ve
used them in our manufacturing facility and tested them in
the lab, and this is an excellent
secondary standards PRT. Other
instruments on the market are
priced much higher, have lower
stability, or are of lower quality.
Remember, these are reliable instruments and each probe
comes with its own individual
NVLAP-accredited calibration, lab
code 200706-0.
Page 2

Specifications
Temperature range 5615-12 and 5615-9: -200 °C to 420 °C
5615-6: -200 °C to 300 °C
Nominal resistance at 0 °C
Temperature coefficient
Accuracy
[1]
Short-term repeatability
[3]
Drift
Sensor length 28 mm (1.1 in)
Sensor location 6.9 mm ± 3.3 mm from tip (0.27 in ± 0.13 in)
Sheath diameter tolerance ± 0.127 mm (± 0.005 in)
Sheath material Inconel™ 600
Minimum insulation resistance
Transition junction temperature
[4]
range
Transition junction dimensions 71 mm x 13 mm dia (2.8 in x 0.5 in)
Maximum immersion length 5615-6: 102 mm (4 in)
Response time
[5]
Self heating (in 0 °C bath) 50 mW/°C
Lead-wire cable type PTFE insulated with PTFE jacket, 22 AWG
Lead-wire length 183 cm (72 in)
Lead-wire temperature range -50 °C to 200 °C
Calibration NVLAP-accredited calibration included, lab code 200706-0.
[1]
“Accuracy” is a difficult term when used to describe a resistance thermometer. The simplest way
to derive “accuracy” is to combine the probe drift specification and calibration uncertainty with
readout accuracy at a given temperature.
[2]
Three thermal cycles from min to max temp, includes hysteresis, 99.9 % confidence
[3]
After 100 hrs at max temp, 99.9 % confidence
[4]
Temperatures outside this range will cause irreparable damage. For best performance, transition
junction should not be too hot to touch.
[5]
Per ASTM E 644
100 W ± 0.10 W
0.0039250 W/W/°C
See footnote
[2]
± 0.013 °C at 0.010 °C
± 0.01 °C at 0.010 °C
1000 MW at 23 °C
-50 °C to 200 °C
5615-9: 178 mm (7 in)
5615-12: 254 mm (10 in)
9 seconds typical
Please see calibration uncertainty table and its explanation of
changeable uncertainties.
Ordering
information
5615-6-X Secondary Standard
PRT, 4.76 mm x 152 mm
(0.188 in x 6.0 in),
-200 to 300 °C
5615-9-X Secondary Standard
PRT, 4.76 mm x 229 mm
(0.188 in x 9.0 in),
-200 to 420 °C
5615-12-X Secondary Standard
PRT, 6.35 mm x 305 mm
(0.250 in x 12.0 in),
-200 to 420 °C
2601 Probe Carrying Case
X = termination. Specify “B”
(bare wire), “D” (5-pin DIN
for Tweener Thermometers),
“G” (gold pins), “I” (INFO-CON
for 1521 or 1522 Handheld
Thermometers), “J” (banana
plugs), “L” (mini spade lugs),
“M” (mini banana plugs), or
“S” (spade lugs).
NVLAP† calibration uncertainty
Temperature Expanded uncertainty (k=2)
-196 °C 0.024 °C
-38 °C 0.011 °C
0 °C 0.010 °C
200 °C 0.018 °C
‡
420 °C
Note: Calibration uncertainties depend on the uncertainties
of the lab performing the calibration. Subsequent calibrations
of this probe performed with different processes, at different
facilities, or with changed uncertainty statements may state
different uncertainties.
†
Lab code 200706-0
‡
5615-6 excluded
2 Fluke Calibration Secondary reference temperature standards
0.029 °C
Fluke Calibration. Precision, performance, confidence.
Fluke Calibration
PO Box 9090,
Everett, WA 98206 U.S.A.
For more information call:
In the U.S.A. (877) 355-3225 or Fax (425) 446-5116
In Europe/M-East/Africa +31 (0) 40 2675 200 or Fax +31 (0) 40 2675 222
In Canada (800)-36-FLUKE or Fax (905) 890-6866
From other countries +1 (425) 446-5500 or Fax +1 (425) 446-5116
Web access: http://www.flukecal.com
©2007-2012 Fluke Calibration. Specifications subject to change without notice.
Printed in U.S.A. 6/2012 3000185B_EN
Pub_ID: 11224-eng Rev 03
Modification of this document is not permitted without written permission
from Fluke Calibration.
Fluke Europe B.V.
PO Box 1186, 5602 BD
Eindhoven, The Netherlands
™
 Loading...