

Fisher & Paykel DS601V2-87523, DS602-88249, DD602-88252, DS602-88248, DD601V2-87547 Use & Care Manual
...
CONTENTS
Introduction
Accessories
Important Safety Instructions
Control Functions
Primary Control Buttons
Lock
Electronic Display
Secondary Control Panel
Operating Instrudions
Usage
DishDrawer Accessories
Purpose ol- Each Insert
DishDrawer Loading
Loading Pattern for 10 Place Settings
Detergent & Rinse Agent Dispenser
Detergent Compartments
Rinse Agent Dispenser
Option Adjustment Mode
Rinse Agent Setting
Auto Power
Water Pressure
Wash Programs
Installation of Upper Kickstrip
Care Guide
User Maintenance Instruction
Cleaning the DishDrawer
Cleaning the Drain Filter, Spray Arm,
Filter Plate & Motor Assembly
Vacation lime
Problem Solver
Fault Code Displays
DishDrawer Warranty
2
3
4
8
8
9
10
12
13
14
14
14
16
18
19
19
2O
21
21
22
22
23
24
25
26
26
26
27
28
32
35
INTRODUCTION
Fhank you and congratu[afions for making the wise decision in pL_rchasingyour
Fisher & Paykel DishDrawer. Every care has been taken in designing and
manufacturing your appliance. We are sure that you will enjoy using your
DishDrawer and wilt soon appreciate its many benefits. We wish you many years of
safisl_/inguse.
Unique Features of Your DishDrawer
By now you wil[ bf, aware that Fisher & PaykeI's DishDrawe_ is a unique ciishwasheb
which ofl_,rs benefits no other dishwasher can.
Fhe DishDrawer takes the everyday kitchen drawer - long recognised as the most
efficient, easy to access storage system in the kitchen - and turns it into the most
advanced dishwasher in the world.
ffyou have chosen a double DishDrawer, or more than one single DishDrawer, you
will have totally separate, independently operated washing units, introducing loading
and washing possibilities that have never before been possible.
Now you can treat precious glassware to a delicate wash and give pots and pans the
heavy duty treatment- at[ at the same time.
The Clutter-Free Counter Top Becomes A Reality
Now it really is possible to keep your counter top free from c,w,ryday clutter like tall
glasses and awkward serving dishes. The double DishDrawer's spacious
configuration gives you many new ways to load your machine - and use it.
Used cleverly, two DishDrawers can even provide extra kitchen storage. Use clean
dishes directly from one drawer and load them back into the other drawer when dirty.
Design Your Own Rack System
With flexible, inlc,rchangable inserts the DishDrawer can be arranged to
accommodate the way you live and the dishes you use most oiten. Inserts art, easy to
remove so it is easy to change your layout as your daily needs change.
ffyou have two DishDrawers, you can arrange one drawer for all your lightly soiled
cups, saLtcersand fine glassware - including long-stemmed glasses- and wash them
using a delicate cycle. Set up your other drawer for your more robust, heavily-soiled
items like plates, pots and pans. Inserts can easily be removed completely to fit
awkward preparation or se_'vingdishes.
The Guilt-Free Small Load
All DishDrawer models make the small, gui[t-iree load a reality, rhe DishDrawer
minimizes water and energy consumption with each drawer using lessthan half the
water of a conventional dishwasher. By washing smaller toads more ireqL_ent[y, you
need never run out of clean dishes.
Gentler Introduction of Detergent
The DishDrawer's innovatiw, detergent dispenser thoroughly pre-mixes water with
detergent before it is introduced into the drawer, so your delicate dishes art, protected
from "detergent bum". Precise markings inside the dispenser ensure you never L_se
too mL_chor too tittle detergent for each program.
Big On the Inside
Each DishDrawer has been carefully designed to give you more L_sab[espace than
ever betore.
Each DishDrawer can accommodate 12 large dinner plates L_pto 11.4" in diameter. A
deeper drawer design means large plates can be loaded into the drawer while cups
and glasses can be sale[y stacked into the two levels.
Fisher & Paykel strongly recommends that you read the information contained in
this Use & Care Manual before using the DishDrawer.
ACCESSORIES
Each DishDrawer is st_pplied with the following:
• Basket
• Cutlery Basket
• Mega Rack
• Drain Filter Access Panel
• Plate Insert
IMPORTANT SAFETY
INSTRUCTIONS
Warning - When using your DishDrawer, follow
basic precautions, including the following:
I:or your sal_ty the information in this manual must be followed to minimize
the risk of fire or explosion or to prevent property damage, personal injury or
loss of lif_.
Please read all instructions before operating the DishDrawer.
• Use the DishDrawer only for its intended Junction asdescribed in this Uso and
Cam manual
• Use only detergents or wetting agents recommended [or use in a dishwasher
and keep them out of reach of children.
• Do not touch the heater plate during or immediately alter use.
• Do not operatic your DishDrawer Lmless all the enclosure panels arc,properly
in place.
• Do not tamper with the controls.
• Do not abuse, sit on, stand in or on the drawer or dish rack of the DishDrawer.
• When loading items to be washed
1. Locate sharp items so that they are not likely to damage the lid seal and
2. Load sharp knives with the handles up to reduce the risk of cut type
injuries.
IMPORTANT
SAFETY
INSTRUCTIONS
To reduce the risk of injury, do not allow children to play in or on the
DishDrawer.
Under cerlain conditions hydrogen gas may be produced in a hot water heater
system that has not been used for two weeks or morn. HYDROGEN GAS IS
EXPLOSIVE. If the hot water system has not been used for such a period,
before using the dishwasher, turn on all hot water l_tucets and let the water flow
from each Jot several minutes. This will release any accumulated hydrogen
gas. Asgas is flammable, do not smoke or use an open flame during this time.
Remove the door to the washing compartment when removing an old
dishwasher from service or discarding it.
Installation
• This Disi_Drawe_ must be installed and located in accordance with the
Installation Instructions betore it is used. Ifyou did not receive an Installation
Instruction book with your DishDrawer, you can obtain one by calling toll Iree
1 888 9 FNP USA (1 888 9 367 872).
• Installation and service must be periormed by a qualified technician.
This appliance must be grounded, in the event of a malfunction or
breakdown, grounding will reduce the risk of electric shock by providing a
path of least resistance for electric current. This appliance isequipped with a
cord having an equipment - grounding conductor and a grounding plug. The
plug must be plugged into an appropriat_ outlet that is installed and grounded
in accordance with all local codes and ordinances.
WARNING - improper connection of the equipment - grounding conductor
can result in a risk of electric shock. Check with a qualified electrician or
service representative if you arc, in doubt whether the appliance is properly
grounded. Do not modiiy the plug provided with the appliance; if it will not fit
the outlet, have a proper outlet installed by a qualified electrician.
Ensure the DishDrawer is secured to the floor or adjacent joinery using the
brackets provided. Failure to do so may result in an unstable product, which
may cause damage or injury.
IMPORTANT SAFETY
I NSTRUCTIONS
Do not operate this appliance if it isdamaged, malfunctioning, partially
disassembled or has missing or broken parts, including a damaged cord or
plug.
Do not stork, or use gasoline, or other flammable vapors and liquids in the
vicinity of the DishDrawer.
Connect to a properly rak, d, prok, cted and sized power supply circuit to avoid
electrica[ overload.
Make sure that the cord is located so that it will not be stepped on, tripped over
or otherwise subject to damage or stress.
Do not install or stork, the DishDrawer where it will be expose{] to temperatures
below freezing or exposed to weather.
Do not use an extension cord or a poriab[e electrical outlet device (e.g. multi
socket outlet box) to connect the DishDrawer to the power supply.
Maintenance
• Do not repair or replace any part of the appliance or attempt any servicing
unless specifically recoiT_mended in this Use and Care Manual We
rc,commend that you cal[a Fisher & Payke[ AL_thorized Service Agent.
Keep the floor around your appliance clean and dry to reduce the possibility of
slipping.
Keep the area around / underneath your appliance iree from the accumulation
of combustible materials, such as [inh paper, ragsand chemicals.
When cleaning the underside of the filter plate,, cam must be taken on the
sharp outer edge to avoid the risk of cut type injuries.
Operational
• Under no circumstances should you open the drawer whilst the DishDrawer
is in operation. Always use the Start/Pause button to pause and wait until you
hear the two additional beeps before opening the drawer.
IMPORTANT SAFETY
INSTRUCTIONS
The DishDrawer must be used with the motor assembly, filter pIat_,, drain filter
and spray arl_qcorrectly in place.
When disconnecting the appliance pull the plug rather than the cord or
junction of cord to avoid damage.
Household appliances are not intended to be played with by children.
Children or persons with a disability that may limit their ability to use the
appliance, should have a competent person instruct them in its use. [his
person should be satisfied that they can then use the appliance without danger
to themselves or their surroundings.
Close supervision is necessary if this appliance is used by or near childrc, n. Do
not allow children to play inside, on or with this appliance or any discarded
appliance.
The DishDrawer is designed [or washing normal household utensils. Items that
arf, contaminat_,d by gasoline, paint, steel or iron debris, corrosive, acidic or
alkaline chemicals arc, not to be washed in the DishDrawer.
If the DishDrawer is not being used Jor long periods of time, turn the power and
water supply to the DishDrawer off.
SAVE THESE INSTRUCTIONS

CONTROL FUNCTIONS
Where there are two DishDrawers in thf, one cabinet, each drawer has its own control
panel and can run independently of the other.
Figure 1 - Primary Control Panel
Primary Control Buttons
Power
Fhe Power button, it turns the DishDrawer on and off.
On
Alter pressing the Powerbutton the Electronic Display will show: -
• A green background.
• The number of minut(,s from the last wash program used.
Off The "rain" symbol flashing.
Foterminate a wash program, press the Powerbutton. Any remaining water in the
DishDrawer will be pumped out.
At the finish of a wash program the DishDrawer will stop. rhe Electronic Display will
have no background light, the "smiley l_tce" symbol and "00" will be displayed.

Start / Pause
This button has a number of functions. It serw,s to:
• Stari the DishDrawer, once the desired wash program has been selected.
• Interrupt the wash program while in operation.
When pausing the DishDrawer, wait until you have heard two additional
beeps before you open the drawer, allowing the lid seal to deflate.
While in the pause mode, the electronic display will be green, the "rain"
symbol will flash and the %miley lace" symbol will disappear.
• Restart the DishDrawer after being paused.
You may notice a delay alter the Start/Pause has been pressed. During this
time the lid seal will be inflating.
• One Button Start.
This starts the DishDrawer and will mn the last wash program used,
excluding Delay Start if used in the previous wash.
• Initiates the Delay Start.
NOTE:
Under no circumstances do we recommend that you open the DishDrawer while in
operation unless you have pressed the Start/Pause button. If the drawer is opened
during the wash program, thore is a possibility of getting wot, burnt, or damaging the
DishDrawer. Fhere are salk,ty mechanisms in place to stop the DishDrawer if it is
opened.
If Fault Code "U2" Appears:
The l_tult code "U2" will be displayed if the drawer is opened during operation. Fo
remove this lau[t code, press Power. Ensure the drawer is closed. The DishDrawer
will now be ready to start from the beginning of the wash program. You may have to
add more detergent in the dispenser and then press the Start/Pause button to start the
DishDrawer. The DishDrawer will not restart where itwas intem_pted alter a "U2" l_tult.
Lock
active until the Lock is deactivated.
To activate this iunction, press and hold the Lo_'kbutton
until the "key" symbol at the bottom of the Electronic
Display appears continuously and is no longer blinking.
All the other buttons are now inactive.
To deactivate this function, press and hold the Lock button
until the "key" symbol in the Electronic Display
disappears.
Figure 2 - Electronic
Display showing the lock
mode
Electronic Display
rho Electronic Display hasa nul_/ber of functions. It
shows:
• The time lot each wash program selected.
Each time you change the wash program, the
ntiiTiber in the Electronic Display will change to _!\ _
indicate, the approximate duration of each wash ,> _,_@
program, rllo ",T,in" symbol will flash until a
wash program has started.
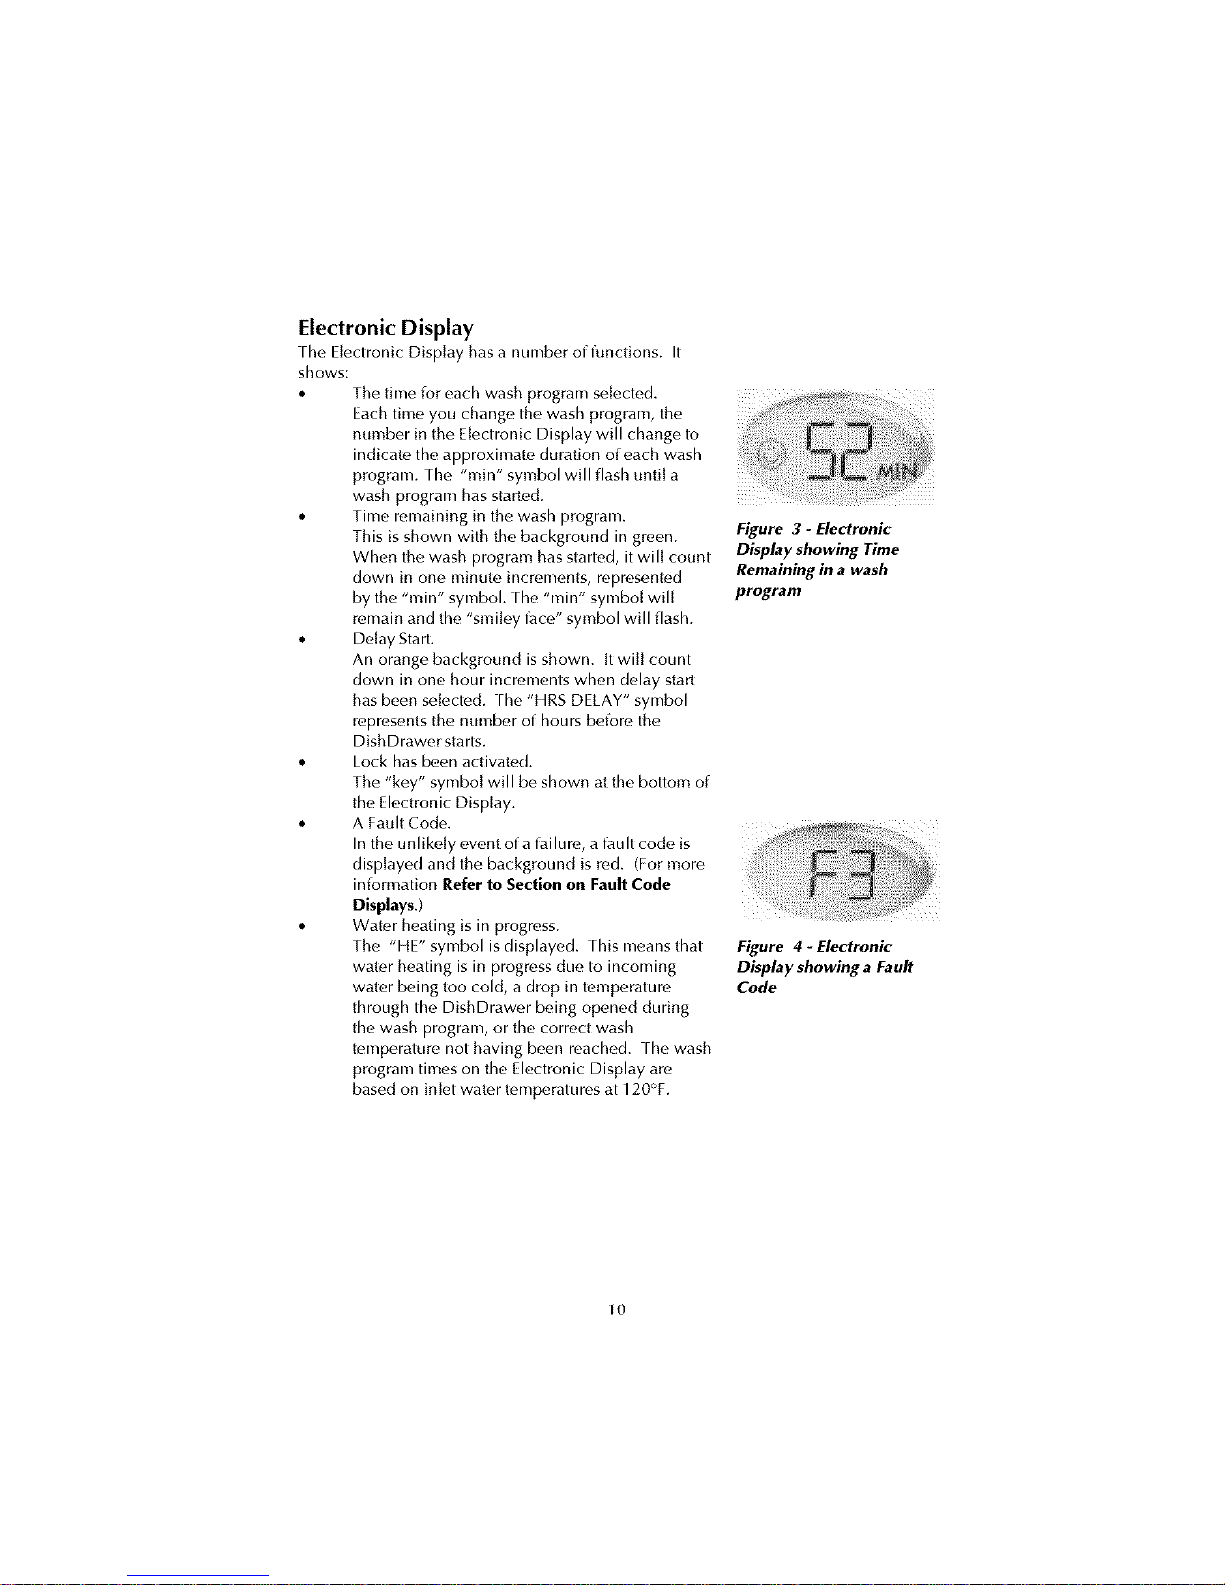
• Time remaining in the wash program.
This is shown with the background in green.
When the wash program has started, it will count
down in one minute increments, represented
by the "rain" symbol, rhe "rain" symbol will
remain and the "smiley l_tce" symbol will flash.
• Delay Start.
An orange background is shown. [t will count
down in one hour incroments when delay start
has been selected, rhe "HRS DELAY" symbol
represents the number of hours before, the
DishDrawer starts.
• Lock has been activated.
The "key" symbol will be shown at the bottom of
the Electronic Display.
• A Fault Code.
In the unlikely event of a failure, a l_tult code is
displayed and the background is red. (For more
iniormation Refer to Section on Fault Code
Displays.)
• Water heating is in progress.
The "HE" symbol is displayed, rhis means that
water heating is in progress due to incoming
water being too cold, a drop in tc,mperature
through the DishDrawer being opened during
the wash program, or the correct wash
temperature not having been reached, rhe wash
program times on the Electronic Display are
based on inlet water temperatures at 120°F.
Figure 3 - Electronic
Display showing Time
Remaining in a wash
program
Figure 4 - Electronic
Display showing a Fault
Code
Io
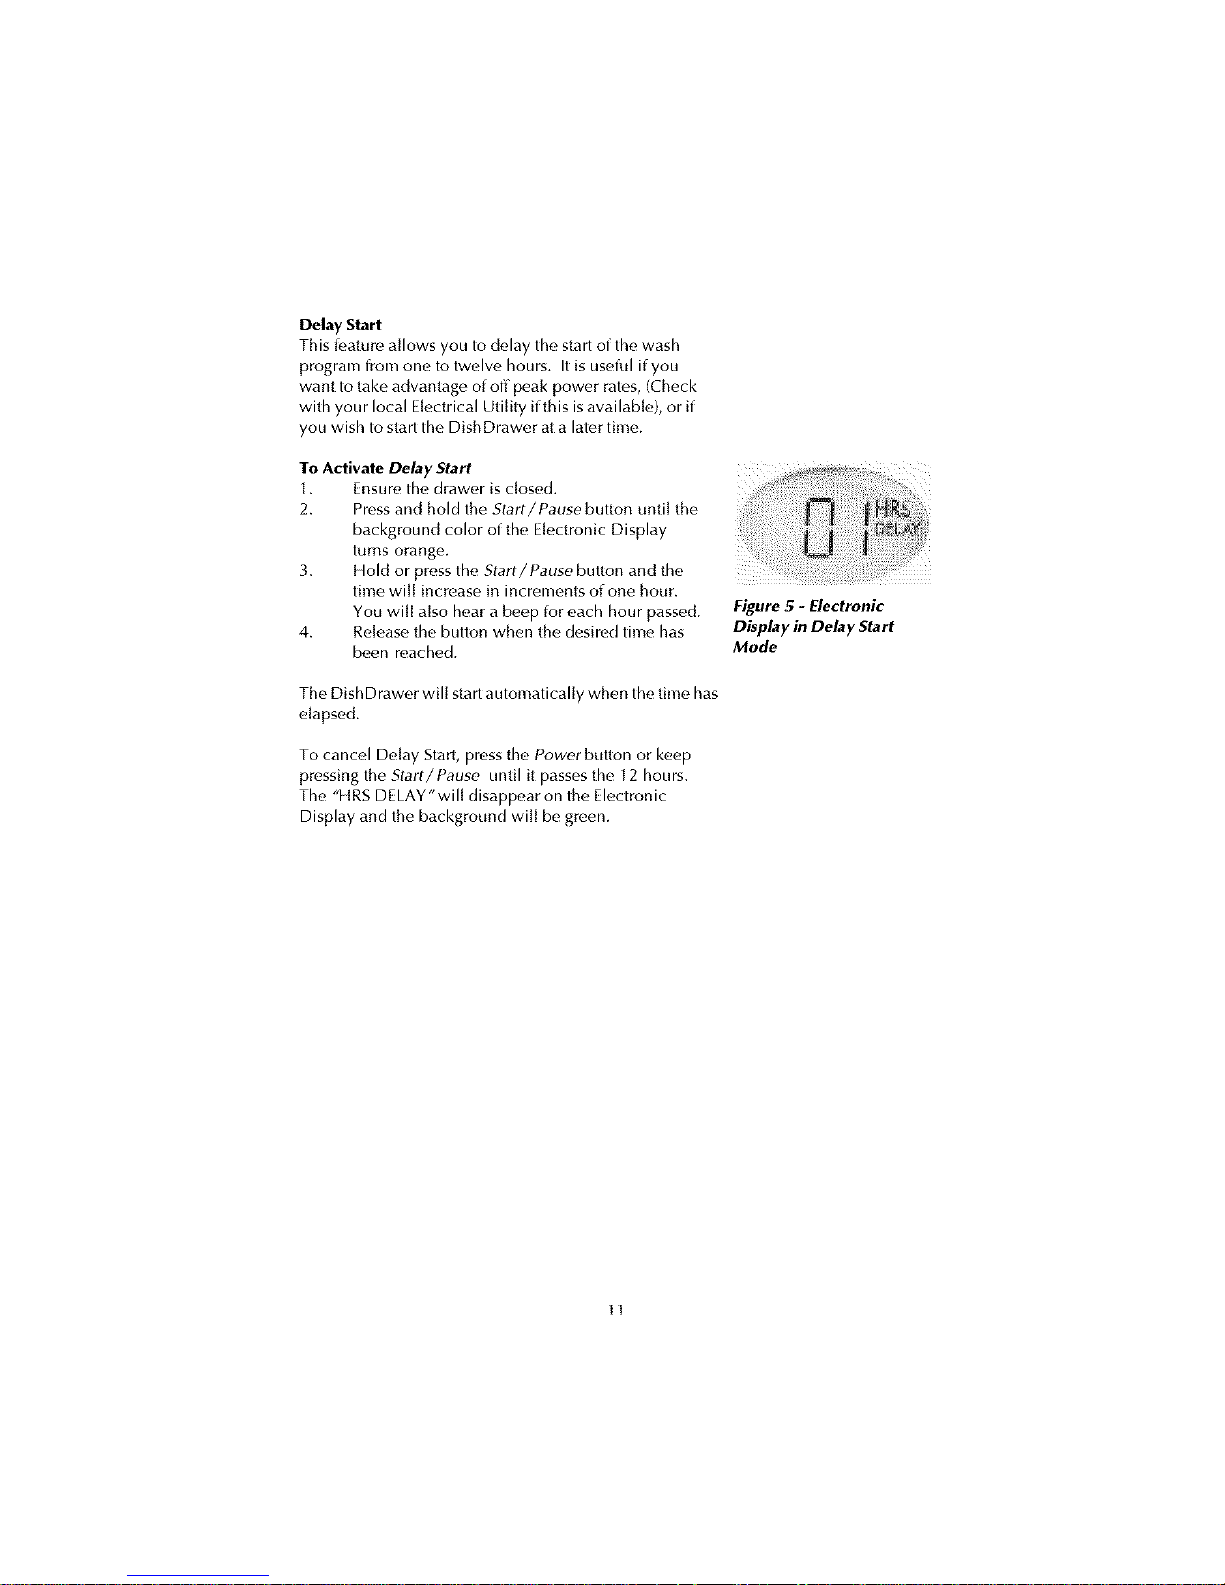
Delay Start
This [eature allows you to delay the start of the wash
program from one to twelve hours. It is useffd if you
want to take advantage of off peak power rates, (Check
with your local Electrical Utihty if this is available), or if
you wish to start the DishDrawer at a later time.
To Activate Delay Start
1. Ensure the drawer is closed.
2. Pressand hold the Start/Pause button Lmtil the
background color of the Electronic Display
turns orang_.
3. Hold or press the Start/Pause button and the
time will increase in increments of one hour.
You will also hear a beep [or each hour passed.
4. Release the button when the desired time has
been reached.
The DishDrawer wil[ start automatically when the time has
elapsed.
To cancel Delay Start, press the Powerbutton or keep
pressing the Start/Pause until it passes the 12 hours.
The "HRS DELAY'wil[ disappear on the Electronic
Display and the background will be green.
Figure 5 - Electronic
Display in Delay Start
Mode
II
 Loading...