

Page 1

Festool LR 32-SYS tutorial
By
Brice Burrell
The LR32 will fit the OF1010 and the OF1400. Next, some have said that the Festool 35mm bit will not
cut into wood, stating the router spins the bit too fast and only burns the wood. I have had success
with this bit. I use the router on speed setting #1, the slowest setting. I have tried poplar, cherry, pine,
oak and birch ply with no problems. Below are the two kits Festool offers:
~ Part # 58329, Festool LR 32-SYS Hole Boring System For OF 1010 & 1400: Includes: Guide Plate,
Centering mandrel, 2 side stops, 2 end stops, 2 clamps, 35mm carbide-tipped hinge-location bit, two
5mm carbide-tipped dowel drills in #1 Systainer. Router and rail(s) not included.
~ Part # 583290, Hole Drilling System for OF 1010/1400 Routers: Guide plate with centering mandrel
and two side stops, two end stops. Router, drill bits, rail(s) and clamps not included.
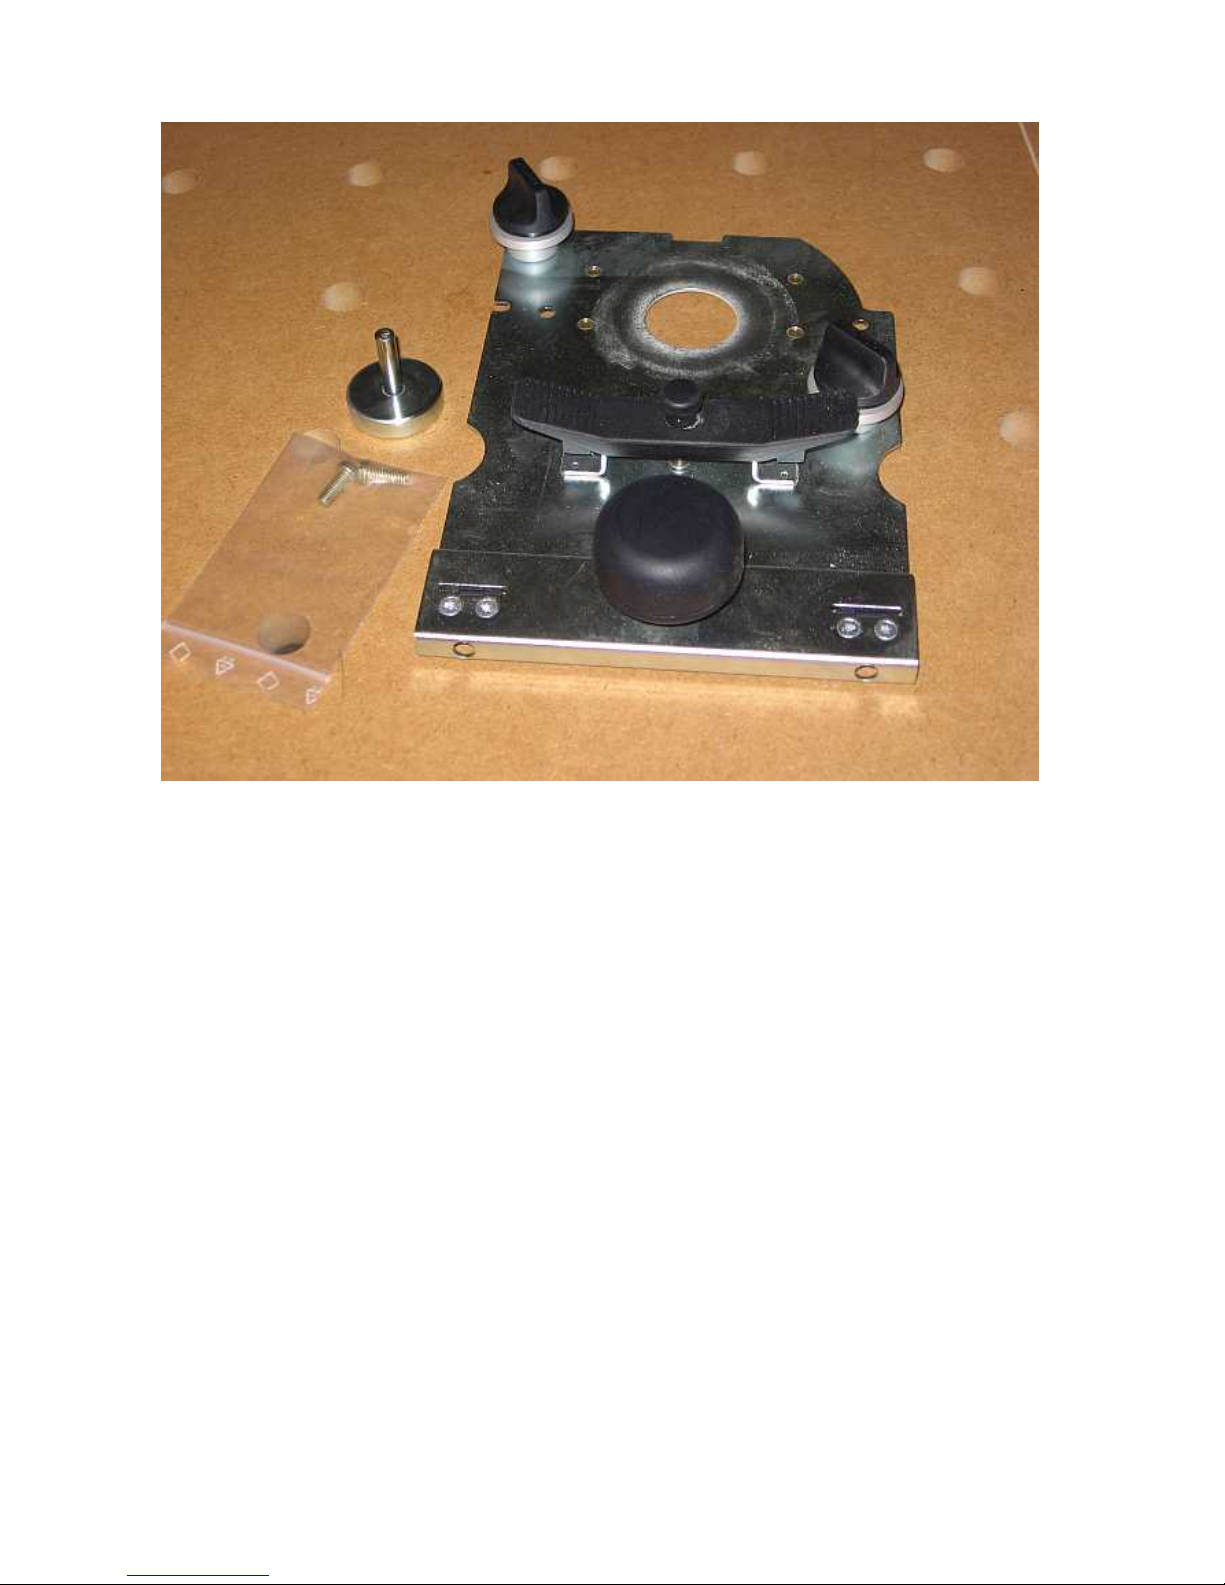
Here are some pictures of the parts to the LR32 system.
Page 2

End Stops
Side Stops
Page 3
Guide Plate
OK now that we know what the parts look like, we can get started with this tutorial!
I will be making a shop cabinet (frameless, full over lay) from scrap/rejected plywood from other
projects, when done I hope to have a 36"x36"x12" cabinet for storing my abrasives. To get going I'll
need to size the plywood. The TS55 will make short work of this. The first time you use your LR32,
there are some one time adjustment that need to made to side stops. They are covered in the manual
so I won't get into that here. Now I'l attach the guide plate, shown here are both the OF1010 and
OF1400.
The OF 1010 is mounted with the centering mandrel, the clamps and thumb screws. First install the
8mm collet, then the centering mandrel, finger tight will do.
Page 4

Place the router on the guide plate, plunge the mandrel into the hole in the guide plate and secure
with clamps and thumb screws. Remove the mandrel and replace router bit.
Here is a picture with the guide mounted to the OF1010.
Page 5

The OF 1400 mounts to the guide with two screws, that’s it, see picture below.
All right, now I'll fit the end stops to the guide rail. But first a word about the end stops. The end stops
can be set to have either a 16mm or 32mm offset from the edge of the work piece to center of first hole
in the rail (remember this). The end stop has a thumb screw that goes through the holes in the rail into
the stop. I will drill the shelf pins in the cabinet first, so I will set the end stops to the 16mm offset.
Page 6

You are looking at the bottom of the guide rail. Note, end stop to the first hole is 16mm, and you can
see the "16" on the end stop.
At this point I will mark where I want to drill the holes in all the work pieces. I use a small line, see
picture. Note "TOP" on the work, this is the top of the side piece of the cabinet.
Page 7

Side stops go on now, mount the side stops to the rail to set the distance from edge to your first row
of holes. I will line up the rail/end stop to the "Top" of the cabinet (on the left in the picture below).
Clamp the rail and the work piece down to the MFT, now remove the side stops, they will get in the
way of drilling the holes. Here it is from below, very important, make sure you put the end stop up
against the end of the work piece.
Page 8

A pin on the bottom of the guide plate locks into the holes on the rail.
On the guide plate, the lever is spring loaded and can be lifted to slide the guide plate down to the
next hole in the rail. Red arrow shows the movement of the lever, see picture below.
Page 9

Place the router with 5mm bit on the rail and set the depth for the bit. Set the guide in line with the
hole you want your first shelf pin. Insert in the picture shows the bit lining up with the line for first hole
to be drilled.
Fire up the router and start to drill, lift lever and slide over to the next hole, drill, repeat until all holes
are drilled.
Remove the router and rail. I have now drilled the holes for the back row of self pin holes. I now
need to drill the front row of holes, so I will turn the work piece so the "TOP" will be on the right side.
Page 10

Here it is, "TOP" on the right.
Now, place rail and side stops back on with the right end stop indexed on the "TOP,” this is very
important to get your holes to line up! Again, clamp and remove side stops and drill the hole, just the
like other side. I'll drill this set of holes now.
Here are the drilled, note the holes for mounting the hinge base plate.
Page 11

I now have the first side drilled. I'll drill the holes in the other cabinet side the same way.
Well, now I'll set up to drill for the hinge cups for the doors. First, the 35mm bit goes in the router and
I'll reset the side stops. Now, the end stops get changed from the 16mm offset to the 32mm offset.
Note, the "32" on the endstop and the endstop is now centered on a hole in the rail.
Page 12

All right, place the sidestops on the rail, then the rail on work piece. Remember to index the end stop
on the "TOP" of door and clamp rail and work down.
Put the router on the rail and set the depth of the bit. Remove the sidestops and make sure you
know where to drill your holes, I set the speed of the router to #1, slowest setting.
Page 13

Start the router and drill slowly, but not so slow that you burn the wood.
Drill both cabinets door, and that will complete the drilling. Here are the one of the sides and a door
side by side.
Page 14

Time for assembly, I will use my Domino to join the parts together. This picture shows the
completed cabinet, note that I have it filled ever before it's painted.
Here's another picture, closer up.
The LR32 is one of my favorite Festool products, it really makes drilling shelf pin hole easy, but
that's not all you can use it for. I've also use mine to drill holes for draw slides and to drill holes for a
large top for my MFT, I'm sure you will find others uses too. I hope you enjoy your LR32 as much as I
do, good luck.
Brice Burrell
For other tips and reviews on Festool products, visit my site. www.burrellcustomcarpentry.com
 Loading...