

Page 1
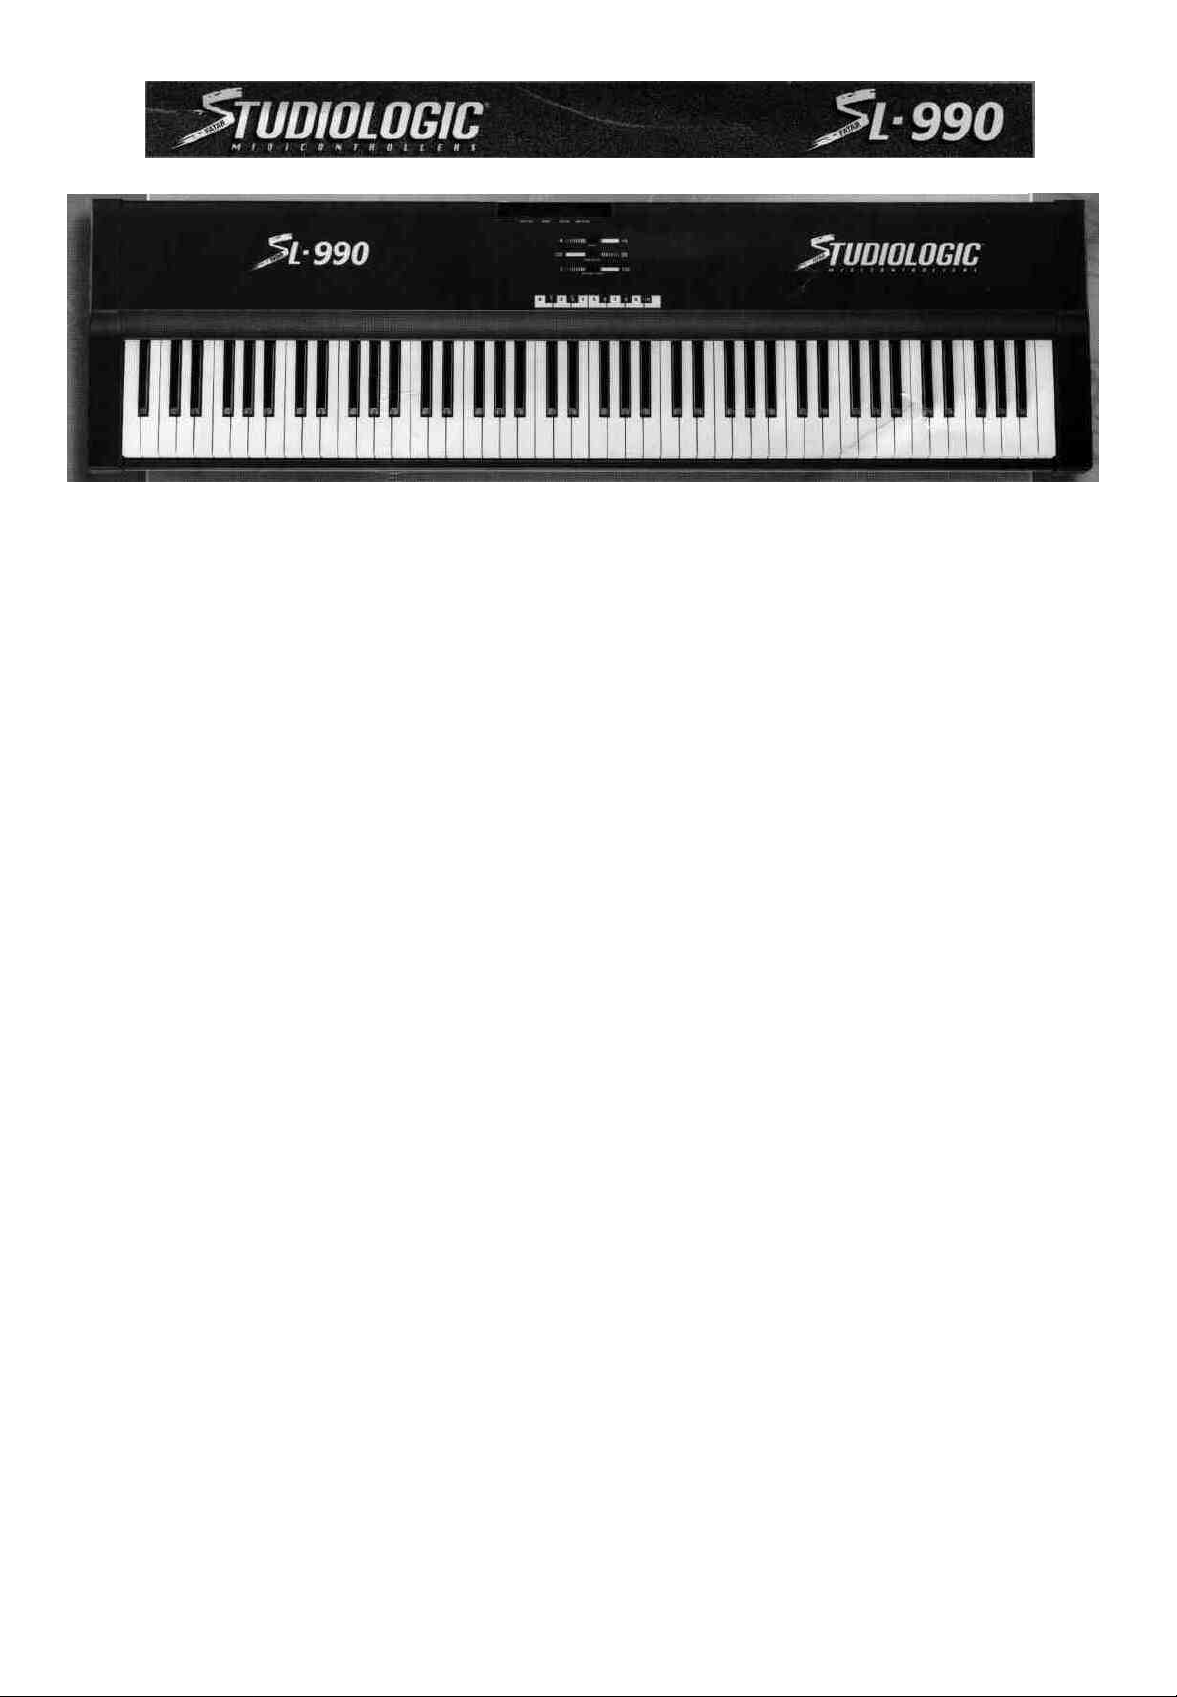
FEATURES
• 88 Key Keyboard with ivory
finish keys
•"Regulated" weighted hammer action for true piano
feel
• One zone
• MIDI program change Button
•MIDI Bank Select Button
•One MIDI Out Jack
•One Sustain Jack
•9v DC 200mA power
input Jack
•On/Off switch
CONNECTIONS
1. Connect the power adapter to the power supply
input of the SL-990. The SL990 is supplied with a 9vDC,
2OOma, tip positive (+)
adapter.
2. Connect a MIDI cable
from the MIDI Output of the
SL-990 to the MIDI imput
jack of your MIDI module or
Keyboard. NOTE; The SL-990
is capable of providing
power through the MIDI
connection, if your module
is designed to be able to
make use this. You may
need a special MIDI cable,
with all 5 pins connected
end to end. Ask your retailer
for this cable, if you require it
3. Connect the sustain pedal
to the sustain input jack.
The SL-990 requires a
sustain pedal with a "normally open" circuit, such as
the
FATAR
PS-100
or
VFP-1/10 (piano style)
sustain pedals.
4. The SL-990 will function
on power-up as a one zone
MIDI master controller keyboard
transmitting only
channel one. You must enter
the
on
the program change, bank
select and velocity curve
(shape) parameters after
power-up, please see the
preceding sections for
instructions en how to
accomplish these changes.
Page 2

number of the curve yon want, in the central octave/number entry field. When you
release the Shape button, the curve will be changed.
If you wish to use negative velocity curves, simply press and hold the Shape button,
and first press the "-/H" (Bb) key to indicate that you are choosing a negative (-)
curve.
you want in the central octave/number entry field. When you release the Shape button, curve will be changed.
Then,
continue
to
hold
the Shape button and enter the
number
of
the
curve
1. PROGRAM CHANGE
The program change function is used select which patch you want from your MIDI
module. You can select the program change number by pressing and holding the
Program Change button and entering the number, in the central octave/number entry
field which corresponds to the patch you desire. When you release the program change button, the message will be sent. Values run from 1-128.
2. BANK SELECT
The Bank Select function allows you to change the patch bank of your MIDI module
or keyboard. Due to different manufacturers approaches to this function, the format
for entering this parameter depends on the model and manufacturer of your MIDI
module or keyboard. Please refer to the MIDI Implementation Chart found in the
manual of your MIDI module or keyboard for information on the format which your
unit requires.
1. If your module requires a value sent only on control channel 32, you will simply
need to press and hold the Bank Change button, and enter the bank number desired
in the central octave/number entry field. When you release the bank change button,
the message will be sent.
2. If your module requires values to be sent on control channel 32 and control channel 0, you will need to press and hold the Bank Change button, and first enter the
value needed for cc; 32 in the central octave/number entry field. Then, while continuing to hold the bank select button, press the key labeled "-/H" (Bb) (indicates
that
what
follows
is
the
"higher
the central octave/number entry field. When you release the bank change button, the
byte") and then enter the
messages
will
be
sent.
EXAMPLE;
(cc; 32 value)
then-/H
value
(higher
needed
for
cc; 0
byte) then (cc;
in
0
value)
3. VELOCITY CURVE (SHAPE)
If you wish to adapt your master controller to the dynamic response of your MIDI
module or keyboard, or simply wish to adjust the "feel" of your master controller, the
SL-990 offers four types of curves. You can choose to use these curves in a positive
(normal) or negative (inverted) manner for a total of eight choices in velocity
response. Negative curves can be used to produce inverted responses. If you were to
play an inverted curve softly, you would get a loud response, and conversely, if you
were
to
play loudly, you would
and deserves some experimentation on your part.
get a soft
response.
This
can be
surprisingly
useful
1. Shape N*1 -This is a linear response and is the norm for most MIDI modules or
keyboards. Essentially, what you put in is what you get out.
2. Shape N*2 -This shape has a less sensitive response than N*1. This is useful if
you play with a "heavy" touch or if your module or a particular patch is very sensitive to velocity. Think of this as compression, but done through MIDI.
3. Shape N*3 -This shape has a more sensitive response than N*1. This is useful if
you play with a "light" touch or if your module or a particular patch is not as sensitive to velocity. Think of this as expansion, but done through MIDI.
4. Shape N*4 -This shape has an even more sensitive response than N*1 or N*3.
This is useful if you play with a "very light" touch or if your module or a particular
patch has very little sensitivity to velocity. Think of this as extreme expansion, but
done through MIDI.
To change velocity curves, simply press and hold the Shape button, and enter the
 Loading...