

EZWatch EZ-CLOCKDVR User Manual

Covert Clock Radio Digital Video Recorder
Quick Start Guide
To Record Constant Video :
1) Plug the camera in to power, and turn the recorder on using the ‘VR On/Off’ button on the
top of the Clock Radio.
2) Ensure that a SD memory card has been inserted into the back of the Radio.
3) On the Infrared Remote Control, press the red ‘REC’ button. The camera should begin
recording immediately. Clips are recorded onto the SD memory card for playback.
To Record Video on Motion Detection mode :
1) Plug the camera in to power, and turn the recorder on using the ‘VR On/Off’ button on the
top of the Clock Radio.
2) Ensure that a SD memory card has been inserted into the back of the Radio.
3) Plug the camera in to a TV, Monitor, or other device using the RCA video inputs on the
camera cable. Switch your TV/Monitor to the video input you’ve plugged it into. You should
now see the camera image on the screen.
4) Open the camera menu by pressing the menu button on the Infrared Remote. Go down to
the ‘schedule’ menu and press enter to open it up.
5) Using the up/down and left/right buttons, set every hour to the icon depicting a running
man. This sets the camera to record when it sees motion all day long.
6) To adjust the motion detection sensitivity and the area of the screen to record motion, see
the record setup
To play back recorded video :
1) Plug the camera in to power, and turn the recorder on using the ‘VR On/Off’ button on the
top of the Clock Radio.
2) Ensure that a SD memory card has been inserted into the back of the Radio.
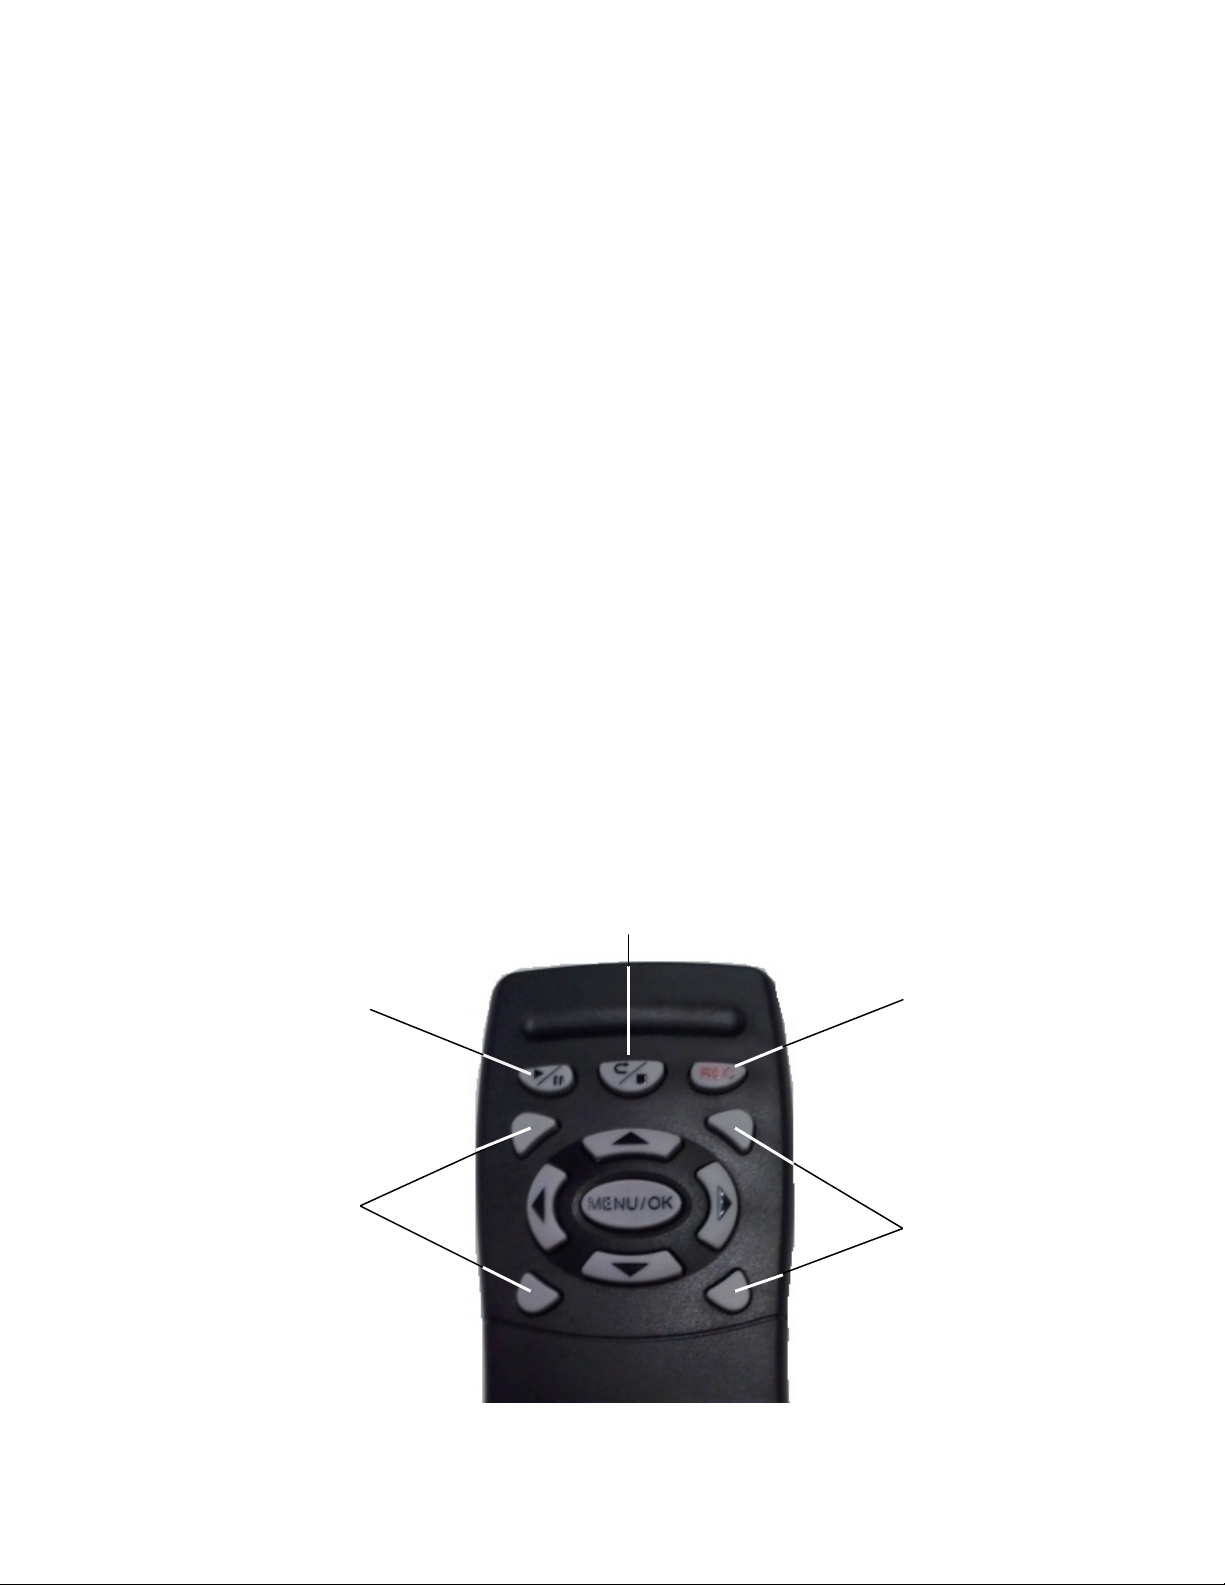
Play/Pause
Button
Record Button
Return/Stop Button
Unused
Unused
3) Plug the camera in to a TV, Monitor, or other device using the RCA video inputs on the
camera cable. Switch your TV/Monitor to the video input you’ve plugged it into. You should
now see the camera image on the screen.
4) Press the Play/Pause button on the remote control to begin playing back the most recently
recorded clip.
5) When you are finished playing back clips, press the stop button to return to the live video
image.
To delete all recorded video clips :
1) Plug the camera in to power, and turn the recorder on using the ‘VR On/Off’ button on the
top of the Clock Radio.
2) Ensure that a SD memory card has been inserted into the back of the Radio.
3) Plug the camera in to a TV, Monitor, or other device using the RCA video inputs on the
camera cable. Switch your TV/Monitor to the video input you’ve plugged it into. You should
now see the camera image on the screen.
4) Open the camera menu by pressing the menu button on the Infrared Remote. Go down to
the ‘SD Card’ menu and press Menu/OK to open it up. Select ‘Format’ and hit Menu/OK.
5) Press Menu/OK to format the SD card and delete all clips. WARNING : THIS ACTION
CANNOT BE UNDONE. Once it has completed, all clips will be cleared.
EZ-CLOCKDVR – Covert Clock Radio Digital Video Recorder Manual
Product Description
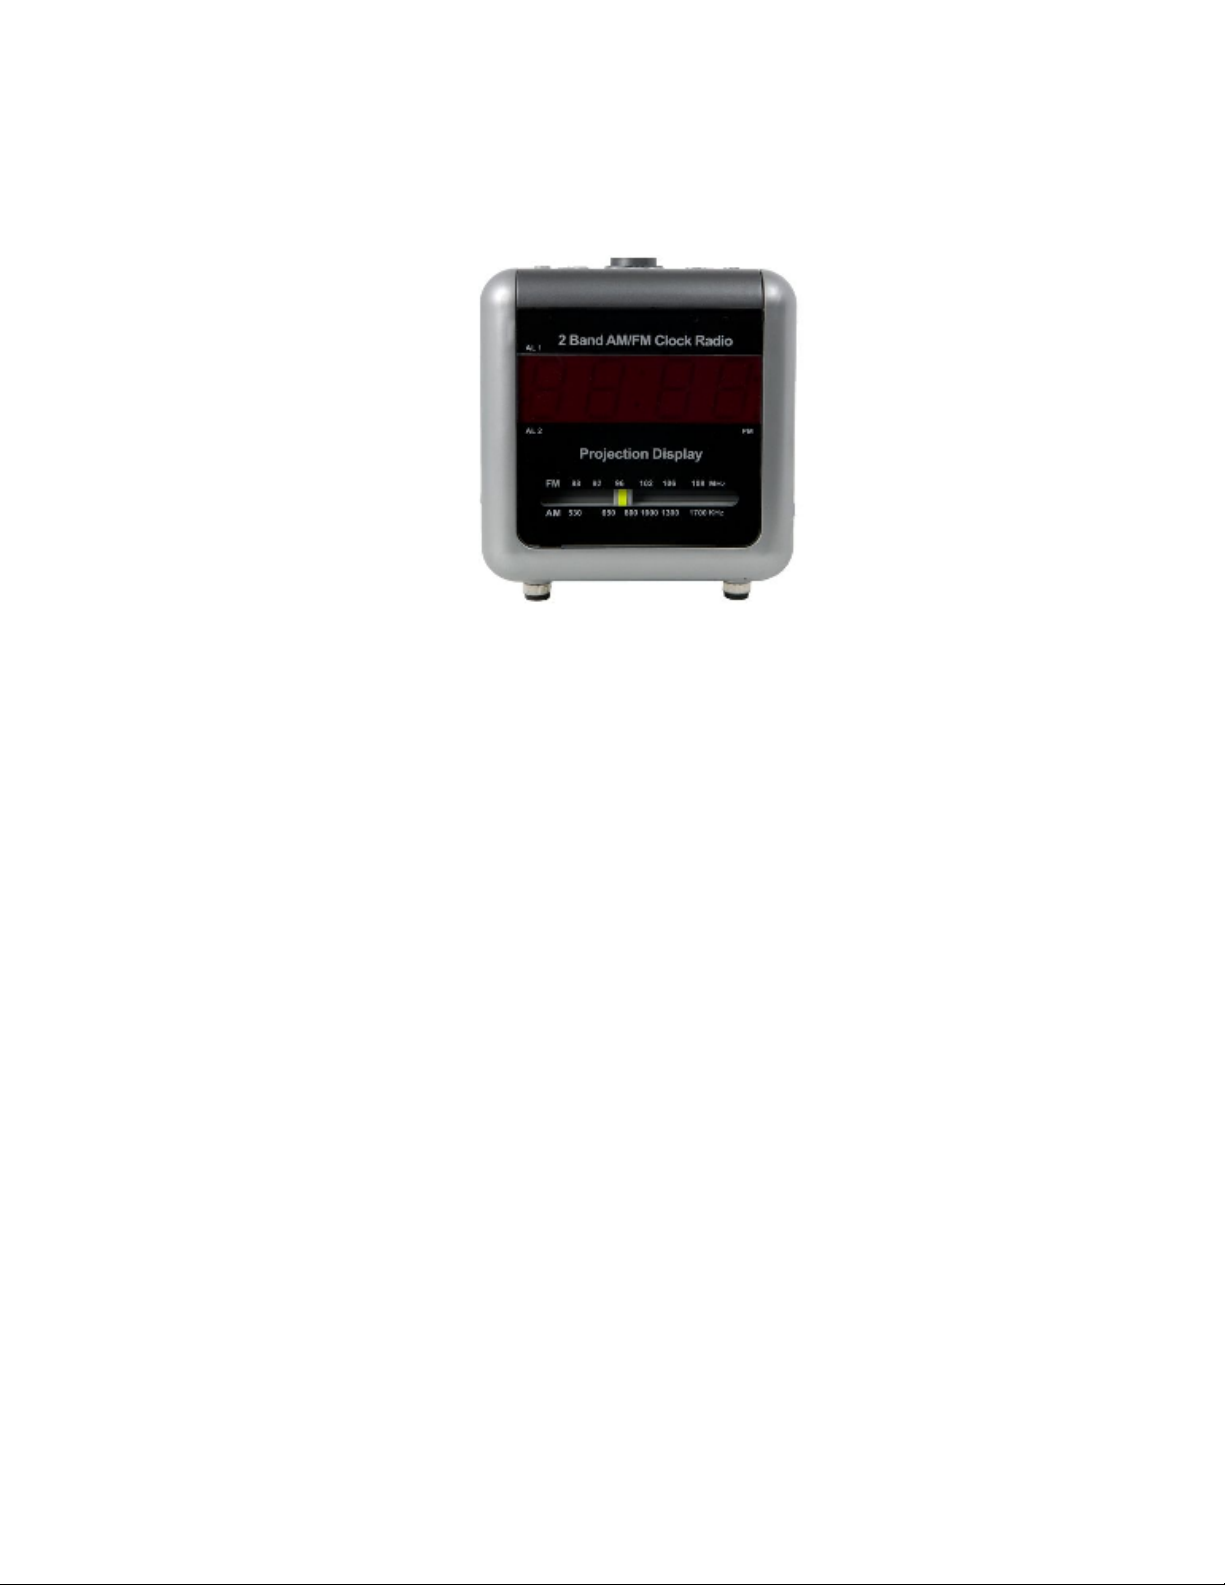
The EZ-CLOCKDVR is a covert hidden video recording system mounted within a fully functional
Clock Radio. This revolutionary system allows for discreet monitoring anywhere, any time. Being shaped
as a clock radio it never looks out of place, no matter the application. The unit records to an SD Memory
card inserted into the back of the recorder.
Recording control and configuration is done with the assistance of an infrared remote control;
by having fewer controls on the clock radio itself, we help maintain the illusion that the unit is a
perfectly ordinary clock.
Initial Connection
The first thing that must be done with your new covert Clock Radio Camera is to connect it to a
TV. It does not need to stay connected, this is only needed for the first-time initial setup.
To begin, Take the Video cable and plug the yellow and white RCA plugs into a TV. The power
cable on the back of the clock will power both the clock and the Video Recorder, it must be plugged in
for the internal battery to charge. Change your TV to the input you have the recorder connected to. For
specific instructions on this step, please consult your TV’s user guide or manual. If the video does not
display, press the VR On/Off button to turn the recorder on.
At this point, you should have an image on the screen showing you the video from the camera.
At the top of the screen you will see the camera date and time. At the bottom of the screen you will see
the current recording settings.
 Loading...