

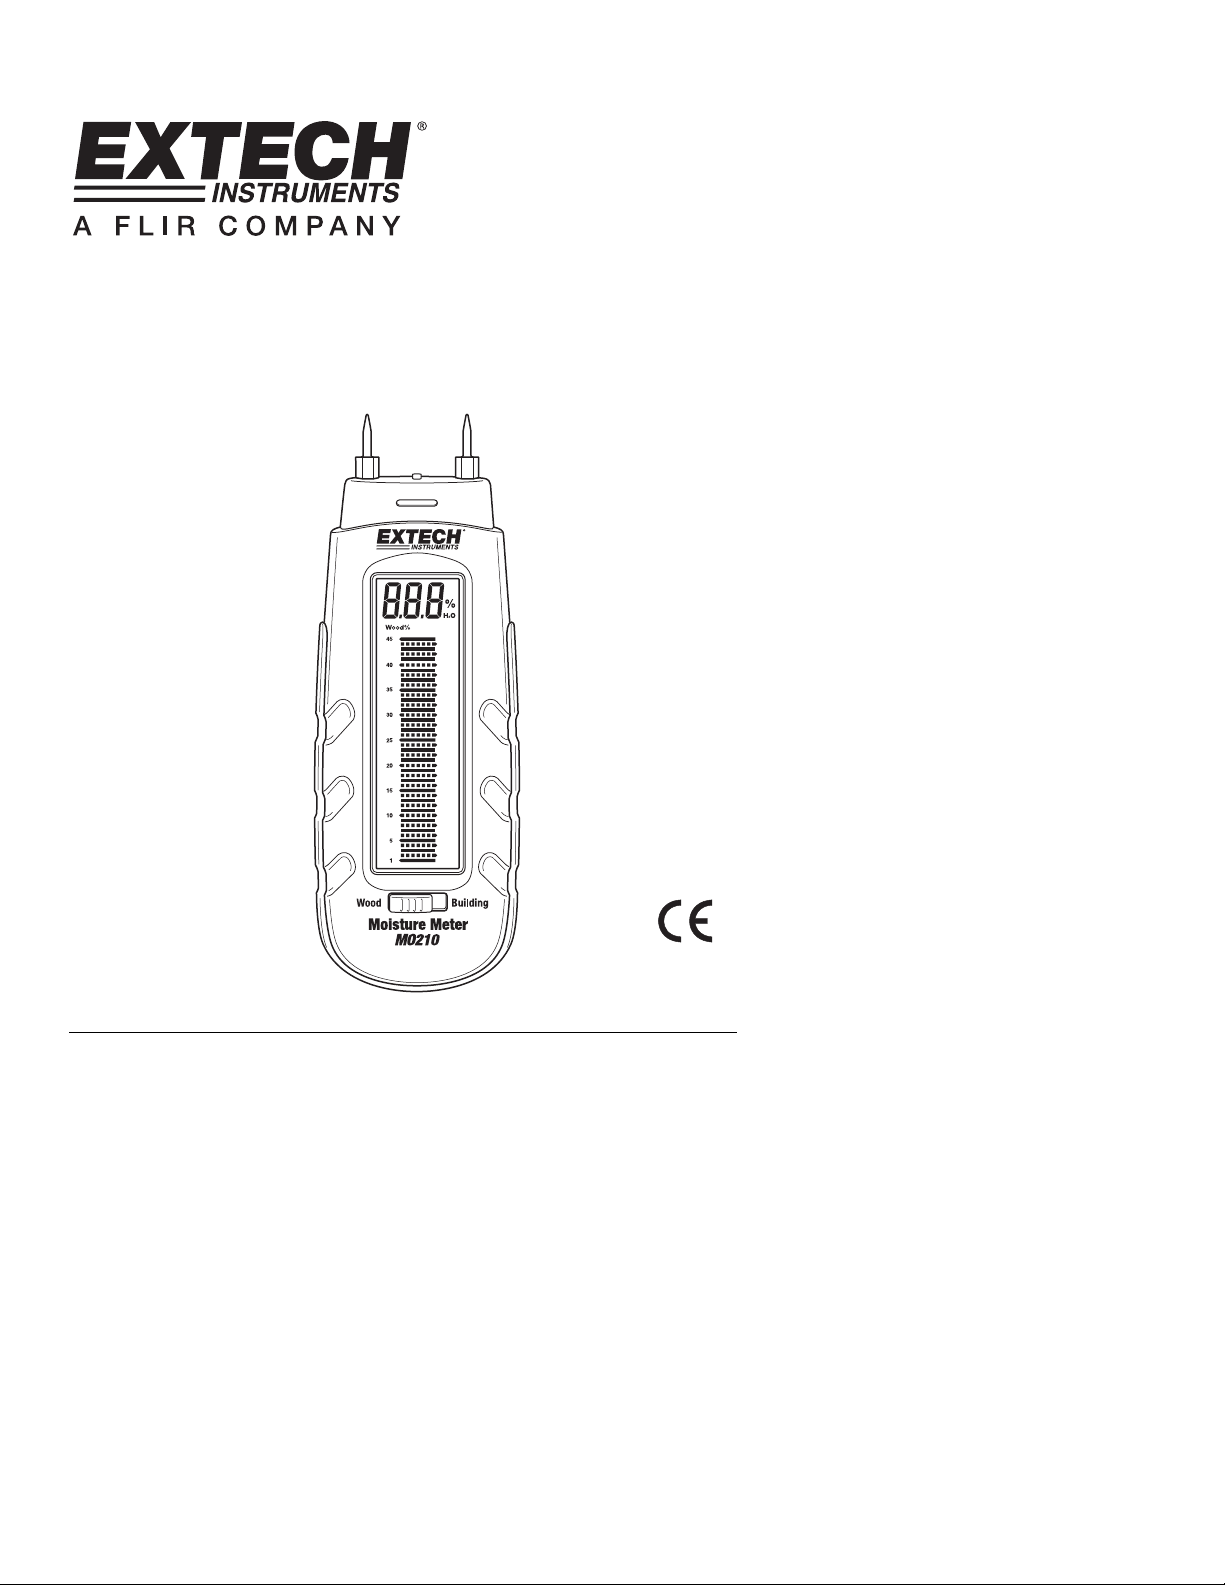
User Guide
Moisture Meter
Model MO210
Introduction
Congratulations on your purchase of the Extech MO210 Moisture Meter. The MO210
detects moisture in wood and building materials such as wall board, sheet rock,
cardboard, paper, plaster, concrete, and mortar. Careful use of this meter will provide
years of reliable service.
Specifications
Display Dual measurement scale LCD with bargraph metering
Measurement principle Electrical resistance
Range Wood: 6 to 44%, Building materials: 0.2 to 2.4%
Electrode length 0.3” (8mm)
Electrode pins Integrated, replaceable
Auto Power OFF After approx. 15 minutes
Power supply Three (3) CR-2032 button cells
Meter housing Impact-proof plastic
Operating Temperature 0 to 40
o
C (32 to 104oF)
Operating Humidity 85% Relative Humidity maximum
Dimensions 130 x 40 x 25mm (5.1 x 1.6 x 1.0”)
Weight 100g. (3.5 oz)
Description
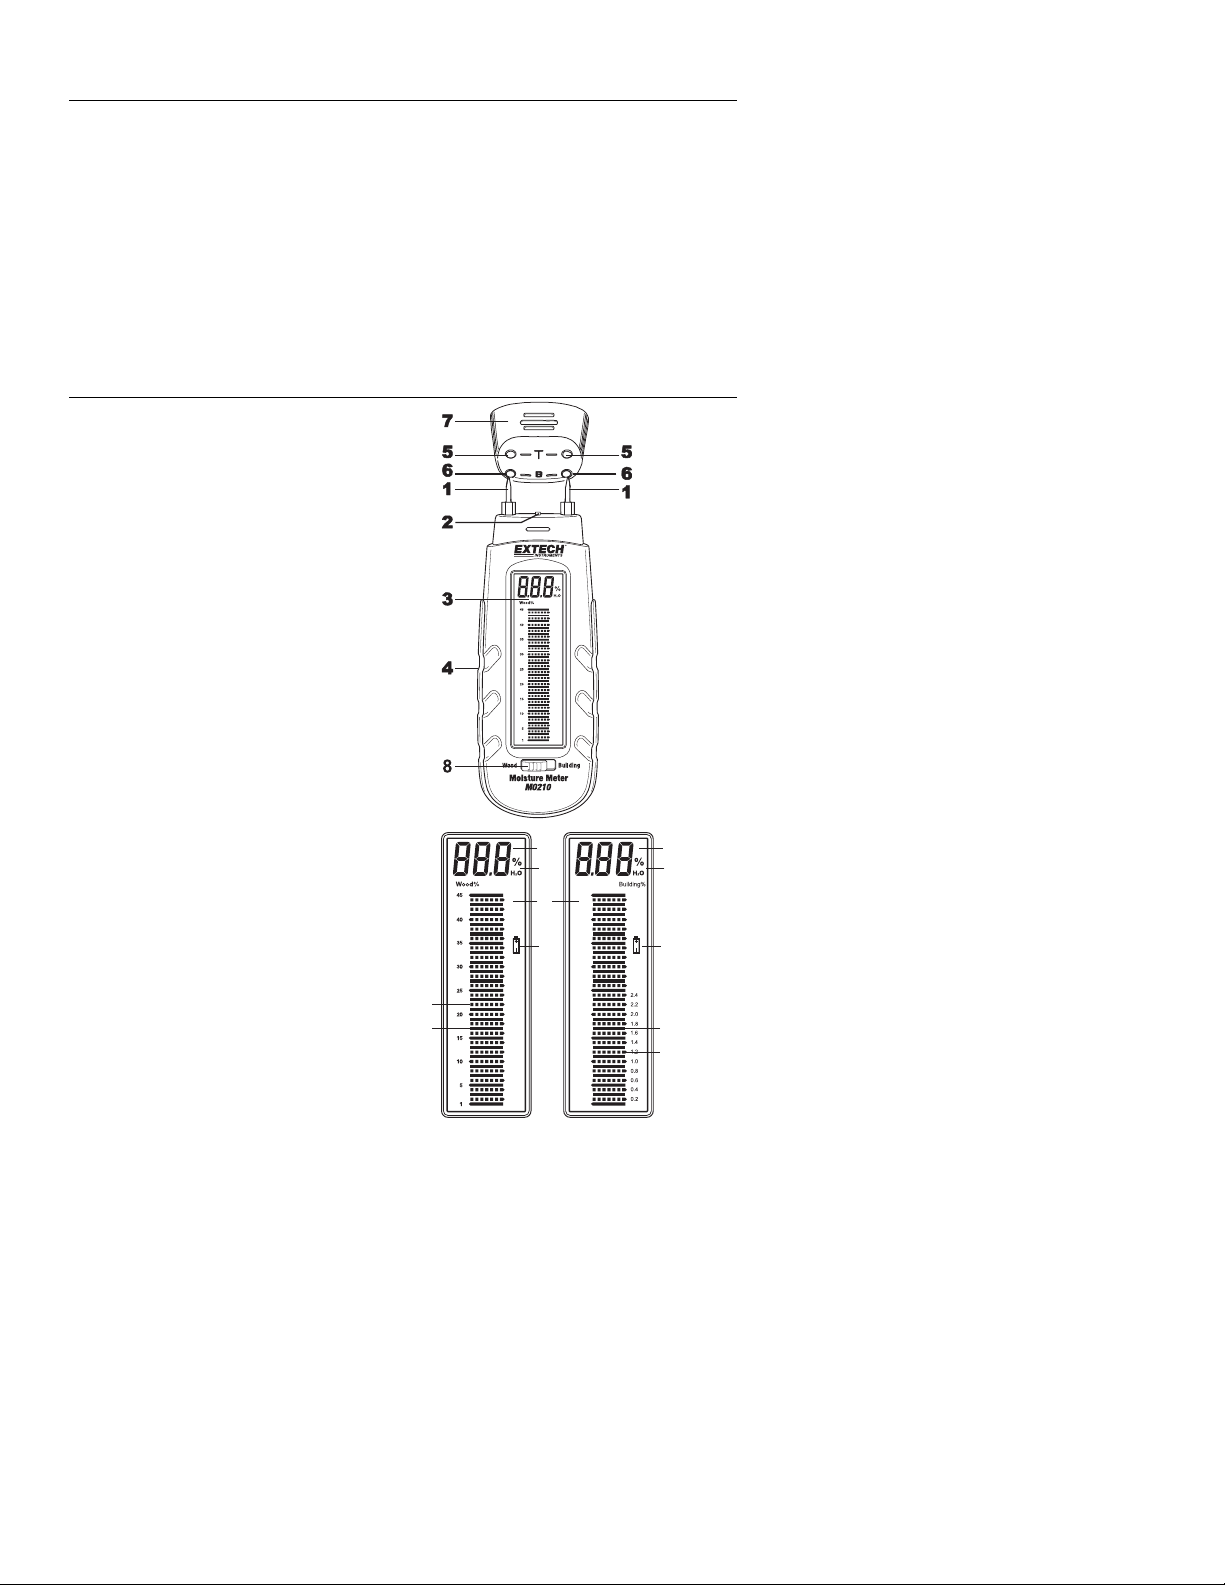
Meter Description
1. Measurement electrode pin
2. Cutoff switch
3. LCD (detail below)
4. Hand grip
5. Verification Test Points
6. Battery check Test Points
7. Removable cap
8. Material Selector Switch
Display Description
1. Graphical Display
2. Numerical Reading
3. Units
4. Low Battery Indicator
5. Solid lines – even number
6. Dashed lines – odd number
5
6
22
3
1
44
3
5
6
Wood Scale
2
Building Material
Scale
MO210-EU V1.0 8/07

Operation
Reading the Display
CAUTION: The electrode measurement pins are extremely sharp. Use
care when handling this instrument. Cover the pins with the protective cap
when the instrument is not in use.
1. Remove the protective cap to expose the electrode pins.
2. The meter automatically switches ON when the cap is removed.
3. The meter automatically shuts OFF when the cap is replaced.
4. To conserve battery life, the meter automatically shuts off after 15 minutes when
the cap is left off. To revive the meter after an Auto Power OFF, simply press the
yellow cut-off switch momentarily.
5. Slide material selection switch to read wood moisture or building moisure.
6. Carefully push the electrode pins as far as possible into the material under test.
Note that the pins should be inserted into wood perpendicular to the wood’s fiber
structure.
7. Take several readings in several locations on the material for the best
representation of the amount of moisture present.
8. Read the measurement values on the display.
9. Replace the protective cap when finished.
1. The LCD display has two scales
2. The wood scale indicates wood moisture from
6 to 44%.
3. The building materials scale (plaster, brick,
concrete, mortar, etc.) indicates moisture
content from 0.2 to 2.0%.
4. A continuous line indicates an even number.
A dotted line indicates on odd number.
5. The battery icon appears when the batteries
are weak and require replacement.
Auto Power OFF
With the protective cap removed, the meter will
turn off after 15 minutes to conserve battery life.
Press the yellow cutoff switch momentarily to
restart the meter. Always secure the protective cap
when the instrument is not in use.
Instrument Measurement Verification check
1. With the meter wood moisture position, touch the electrode test pins to the two test
points 1 and 2 at the top of the protective cap labeled ‘T’.
2. With the unit on and the electrode pins touching the ‘T’ test points, the meter should
read 27% ±2%. If not, the meter may require repair.
Battery Check
1. With the meter wood moisture position, touch the electrode
test pins to the two test points 3 and 4 at the top of the
protective cap labeled ‘B’ (see diagram).
2. With the unit on and the electrode pins touching the ‘B’ test points, the meter should
read > 44% on the wood moisture scale. If not, replace the batteries.
3
Wood Scale
Building Material
Scale
12
T
34
B
MO210-EU V1.0 8/07

Battery Replacement
If the instrument does not switch on, displays the low battery symbol, or if the Battery
Check yields less than 44% on the wood moisture scale, replace the batteries as follows:
1. Remove the Phillips head screw from the belt clip/battery compartment located
on the rear of the instrument.
2. Remove the batteries taking note of their orientation and polarity.
3. Install three (3) new CR-2032 button batteries observing polarity.
4. Secure the battery compartment with the Phillips head screw.
You, as the end user, are legally bound (Battery ordinance) to return all used
batteries and accumulators; disposal in the household garbage is prohibited!
You can hand over your used batteries / accumulators at collection points in your
community or wherever batteries / accumulators are sold!
Disposal: Follow the valid legal stipulations in respect of the disposal of the
device at the end of its lifecycle
Electrode Pin Replacement
To replace the two electrode pins:
1. Remove the protective cap
2. Unscrew the electrode pins
3. Install the new pins
4. Replace the protective cap
Maintenance
• Always keep the instrument dry
• Prevent dirt from accumulating at the electrode pins
Copyright © 2009 Extech Instruments Corporation
All rights reserved including the right of reproduction in whole or in part in any form.
4
MO210-EU V1.0 8/07
 Loading...