

Page 1
OWNER’S MANUAL
Steam Station
Model IR4005
For information or assistance:
EURO-PRO Operating LLC
21 Lawrence Paquette Ind. Dr.
Champlain, NY 12919
Tel.: 800-798-7398
www.euro-pro.com
Page 2
IMPORTANT SAFETY INSTRUCTIONS
When using your iron, basic safety
precautions should always be followed,
including the following:
1. Read all instructions carefully.
2. Use iron only for its intended use.
3. To protect against risk of electrical
shock, do not immerse the iron in
water or other liquids. Always turn
the iron to “OFF” before plugging in
or unplugging from outlet.
4. Never yank cord to disconnect from
outlet. Grasp plug and pull to
disconnect.
5. Do not allow cord to touch hot
surfaces. Let iron cool completely
before putting away.
6. Always disconnect iron from
electrical outlet when filling with
water, emptying, or when not in use.
7. Do not operate iron with a damaged
cord, or after the iron has been
dropped or damaged in any manner.
To avoid the risk of electric shock,
do not disassemble the iron. Send it
to EURO-PRO Operating LLC for
examination and repair. Incorrect
re-assembly can cause the risk of
electric shock when the iron is used.
8. Close supervision is necessary for
any appliance being used by or near
children. Do not leave iron
unattended while connected or on an
ironing board.
9. Burns can occur from touching hot
metal parts, hot water or steam. Use
caution when you turn a steam iron
upside down; there may be hot
water in the reservoir.
10.Never direct steam at any person,
especially when using the iron in a
vertical position. The steam is very
hot and could cause burns.
11.The use of accessory attachments
not recommended by EURO-PRO
Operating LLC may result in fire,
electrical shock or personal injury.
12.Do not operate in the presence of
explosive and/or flammable fumes.
13.Make sure that the cord set never
touches the iron soleplate when it is
hot.
14.This appliance is for household
use only.
SPECIAL INSTRUCTIONS
1. To avoid a circuit overload, do not
operate another high-wattage
appliance on the same circuit.
2. If an extension cord is absolutely
necessary, use a 13-ampere cord.
Cords rated for less amperage may
overheat. Use care to arrange the
cord so that it cannot be pulled or
tripped over.
WARNING: Water must first be
pumped (look for pump light to be
illuminated) from the water tank to the
iron before steam will exit: water
requires approximately 2 minutes to
pass through the hose and reach the
iron. Once this is done, you will not have
to wait again - you will have continuous
steam (if you keep pump on). Please
note though that you must also adjust
variable steam to desired output level or
steam will not exit the iron.
Model IR4005
EURO-PRO Operating LLC warrants this product to be free from defects in material and
workmanship for a period of one (1) year from the date of purchase. The liability of EURO-PRO
Operating LLC is limited solely to the repair or replacement of the product at it’s option. This
warranty does not cover damage caused by misuse, negligence, use on improper current or
voltage, use contrary to operating instructions or disassembly, repair or alteration by any person
other than EURO-PRO Operating LLC.
Product repair or replacement, at our option, is your sole remedy. This warranty excludes all other
legal and/or conventional warranties. The responsibility of EURO-PRO Operating LLC , if any, is
limited to the specific obligations expressly assumed by it under the terms of the limited warranty.
In no event is EURO-PRO Operating LLC liable for incidental or consequential damages of any
nature whatsoever. Some States do not permit the exclusion or limitation of incidental or
consequential damages, so the above may not apply to you. This warranty gives you specific
legal rights which vary from state to state.
If you have a claim under this warranty or if you require service
DO NOT RETURN THIS PRODUCT TO THE STORE!
Send the product , postage prepaid to:
In U.S.A.: EURO-PRO Operating LLC
Please include a copy of your sales receipt, $9.50 to over the cost of return shipping &
handling and a letter explaining the nature of your difficulty. Do not forget to enclose your
name, address and telephone number.
If the warranty period has expired, please send your iron postage pre-paid to:
In U.S.A.: Service Department
You will be advised of the cost of repair before any servicing is done unless you enclose a
note indicating that you would like us to proceed with the repairs and return the iron to you
C.O.D.
LIMITED WARRANTY
21 Lawrence Paquette Ind. Dr.
Champlain, NY 12919
Tel: (800) 798-7398
EURO-PRO Operating LLC
21 Lawrence Paquette Ind. Dr.
Champlain, NY 12919
Tel: (800) 798-7398
PRODUCT REGISTRATION CARD
POLARIZED PLUG: This appliance has a polarized plug (one blade is
wider than the other). As a safety feature, this plug
will fit into a polarized outlet only one way. If the
plug does not fit fully into the outlet, reverse the
plug. If it still does not fit, contact a qualified
electrician. Do no attempt to defeat this safety
feature.
SAVE THESE INSTRUCTIONS
For Household Use Only
Rev. 05/02A1
Please complete and return within ten (10) days of purchase. The registration will enable us to
contact you in the event a product defect is discovered. By returning this card you acknowledge
to have read and understood the instructions for use, and warnings set forth in the accompanying
instructions.
RETURN TO: EURO-PRO Operating LLC, 21 Lawrence Paquette Ind. Dr., CHAMPLAIN, N.Y. 12919
PURCHASER: ……………………………………………………………………………………………
ADDRESS: ……………………………………………………………………………………………….
DATE OF PURCHASE: …………………….. MODEL: ………………. SERIAL NO: .…………….
NAME AND ADDRESS OF STORE: …………………………………………………………………..
Model IR4005
Page 3

TROUBLESHOOTING
ADDITIONAL IMPORTANT SAFEGUARDS
PROBLEM POSSIBLE REASONS & SOLUTIONS
• Iron should be plugged into a 120V AC electrical
Iron does not heat
Thermostat ready light
goes On and Off
Some odor or small
particles come out of
steam vents of new
iron
Iron does not steam
Water droplets coming
from steam vents
outlet only.
Make sure that the plug is securely in the socket.
• Temperature setting too low.
Turn to higher setting.
• Iron not properly placed in stand.
• This is normal.
The light goes On and Off as the thermostat is
switching the heating element On and Off to
maintain the selected temperature.
• This is normal.
Follow instructions for first use and allow iron to steam
through 2-3 fillings & press the steam burst button
occasionally to eliminate small white particles.
• Water tank may be empty or water level is very low.
Add water.
• Make sure that the temperature control dial is correctly
set. For maximum steam, temperature control dial
should be set on ‘•••’.
• Make sure the temperature control dial is set in
the correct steam area, e.g. ‘•’, for more steam, turn
temperature dial to higher setting, e.g. ‘•••’.
• If temperature setting is correct and there is no steam,
gently
tap the soleplate on the ironing board a few
times.
• Iron may not be hot enough. Set temperature control
dial to the ‘Max’ position. Always allow iron sufficient
time to heat up (thermostat light goes off) before
pressing the steam button.
• Overuse of steam burst. Allow more time between
each burst.
• Iron may have been overfilled. Turn iron off,empty
water and follow instructions for filling.
• Steam performance may be low if iron requires
seasoning. To season, use regular tap water for 1or 2
tanks until steam performance improves.
1. Your Steam Station iron is designed
to rest only on the iron rest provided
with the iron. Do not rest iron on
soleplate.
2. Never use or rest iron on an
unstable surface.
3. While the iron is hot, never set iron
on an unprotected surface - even if it
is on its heel rest.
4. WARNING! TO PREVENT
ELECTRIC SHOCK OR OTHER
INJURY, before filling the iron
with water, make sure that the
plug is removed from the outlet.
5. CAUTION: Never fill the iron with
fabric conditioner, starches or any
other solution, as these will
damage the steam mechanism. Do
not use contaminated water.
6. WARNING! TO AVOID FIRE, never
leave iron unattended while it is
plugged in.
7. WARNING! TO PREVENT
ELECTRIC SHOCK, never
immerse the iron in water or other
liquid.
8. WARNING! TO PREVENT
ELECTRIC SHOCK, never use the
iron in a location where it can fall
or be pulled into water or any
other liquid. If the iron falls into
water or any other liquid, unplug it
immediately. DO NOT reach into
the water or liquid.
9. CAUTION: Never use scouring
pads, abrasive or chemical
cleaners, or solvents to clean the
exterior or soleplate of your iron.
Doing so will scratch and/or
damage the surface.
10.WARNING! DO NOT aim iron at
face, towards yourself, or anyone
else while using or adjusting
steam. Burns or serious injury
may occur.
11.Always store your iron on the iron
rest provided with your iron, not on
the soleplate. If stored face down,
even the smallest amount of
moisture will cause the soleplate to
corrode and stain.
12.DANGER! Never use the iron if it
is damaged or dropped. Using the
iron when it is damaged could
create the risks of fire, electric
shock, injury or death.
Printed in China
2
9
Page 4

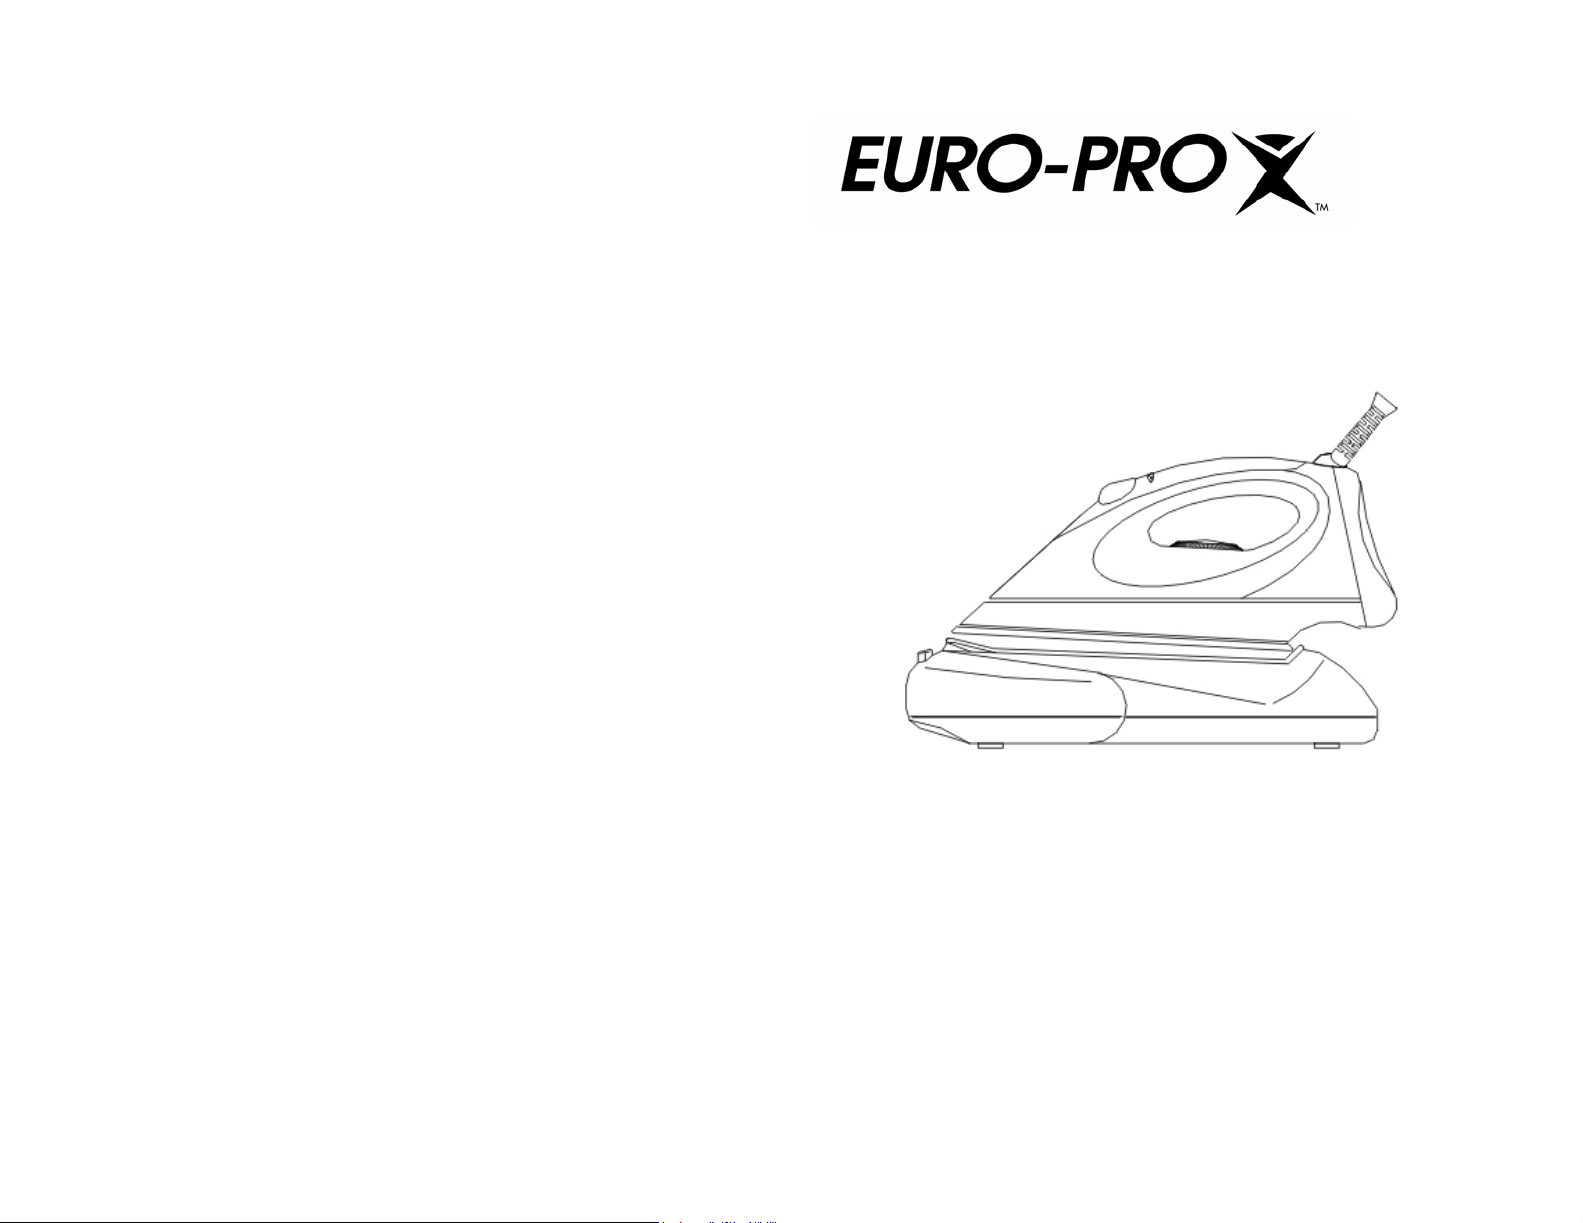
GETTING TO KNOW YOUR STEAM STATION IRON USER MAINTENANCE INSTRUCTIONS
Before using your Steam Station Iron,
remove any labels, stickers or tags that
may be attached to the body or
soleplate of the iron.
When turned on for the first time, your
new iron may emit an odor for up to 10
minutes. This is due to the initial
heating of the materials used in making
the iron.
1. Temperature Control Dial (Rotate Dial)
2. Steam Button
3. Temperature Pilot Light
4. Iron Stand
5. Water Tank
6. Water Filling Hole
7. Rubber Mat
8. Power Cord
9. Connecting Hose/Supply Hose
10. Anti-Calc Cassette
11. Water Tank Lock
12. Pump “On” Light
Technical Specifications
Voltage: 120V., 60Hz.
Power: 1400 Watts
The odor is safe and should not reoccur
after initial heating.
Also, before ironing with steam for the
first time, allow iron to heat, hold in a
horizontal position and hit the steam
button several times. The iron may emit
some small particles from the steam
holes. This is normal and will clear after
pressing the steam button several
times.
Cleaning the Iron
1. Unplug the steam station from the
electrical outlet
2. When finished using the iron, turn
the temperature control dial to “MIN”.
3. Allow the iron to cool down before
cleaning.
4. Scale and other deposits can be
wiped off the soleplate with a damp
cloth and some non-scratching (fluid)
abrasive.
5. Keep the soleplate smooth, avoid
hard contact with metal objects.
6. From time to time, clean the inside of
the water tank by filling with water
and shaking.
Storage
• Remove the power cord from the
wall outlet.
• Pour any remaining water out of the
water tank.
• Set the steam control to position “0”.
• Put the iron on the rubber mat on its
stand and let cool down sufficiently
before you store it.
• Regularly check if the power cord is
still in a good and safe condition.
HOW TO REPLACE THE “ANTI-CALC” CASSETTE
• The “Anti-Calc” cassette should be replaced after 9-12 months of usage depending
on the amount of usage and water hardness.
• Rotate and release the head of the cassette, then take it out.
• Empty the water from the water tank and cassette housing.
• Fill the water tank with water.
• Insert the new cassette and lock it into the water filling hole.
• Push steam button for about one minute. The new cassette is now filled with
water.
• You can resume ironing.
To order additional “Anti-Calc” cassettes or for customer service:
Call Customer Service
In US.: 800-798-7398
Monday to Friday 8:30 AM – 5:00 PM Eastern Standard Time
or visit our website at: www.euro-pro.com
3
8
Page 5

OPERATING INSTRUCTIONS (CONT.) OPERATING INSTRUCTIONS
Ironing With Steam
Always read garment labels and follow
the manufacturer’s ironing instructions.
Refer to the “Ironing Chart” on page 6
for temperature recommendations:
• Use low settings for synthetics and
silks.
•• Use moderate settings for wool
and blends.
••• Use high settings for cottons and
linens.
• Make sure that the steam station is
plugged into the electrical outlet.
• Set the temperature dial to the
desired temperature. (Fig. 4)
• Fill the water tank with water,
following the instructions on page 5
for filling the water tank.
• Make sure that the iron is resting on
top of the rubber mat on the water
tank/stand.
• When steam is desired, simply push
the steam button.
Important: Do NOT remove rubber mat
from water tank and place on a table or
any other surface which may be
damaged by heat.
Moderate
Steam
Steam
Maximum
Steam
Fig. 4
Important: Make sure that the iron has
reached the selected temperature before
using steam.
No
Steaming in a Vertical Position
For vertical steaming, simply lift the iron
in a vertical position and press the
steam button. (See fig. 5)
Fig. 5
Ironing With No Steam
All marked settings on the temperature
control dial can be used for dry ironing.
1. Plug the cord into a polarized, 120V
AC electrical outlet. The
Temperature Pilot light will come on,
indicating that the iron is receiving
power.
2. Turn temperature dial to “MIN”.
3. Turn the temperature control dial to
the desired setting. (See “Ironing
Chart” for a guide to temperature
selection.)
4. Place iron on its rubber mat on the
water tank while iron is warming to
desired temperature.
5. When the temperature pilot light
goes, the iron is ready for ironing.
Before First Use
Remove any labels, stickers or tags
which may be attached to the body or
the soleplate of the iron before using
the iron.
Read all instructions carefully. Always
follow the Important Safeguards.
Important: The first time an iron is
used, some odor and small white
particles may come out of the steam
vents. This is perfectly normal and will
cease to occur after the iron has been in
use for a short while.
Before you start using your iron, follow
the instructions in manual and do the
following in order to eliminate any odor
and small white residue particles and to
ensure optimum steam performance.
How the Water is Pumped to
the Iron
1. The water is pumped from the water
tank to the iron through the supply
hose by a built-in water pump.
2. This water pump is activated by
pushing on the steam button. The
water pump pilot light will go on.
3. The water pump will stay activated as
long as your finger pushes the steam
button.
• Fill the water tank according to
instructions on filling (see page 5).
• Set the temperature control dial to its
highest level.
• When the “Temperature Pilot Light”
goes off, indicating that the iron has
reached its selected temperature,
Then
• Push the steam button to activate the
internal water pump.
• Steam will come out after about 2
minutes. Please be patient for the first
usage after which there will be no
further waiting.
• Iron on a piece of cloth / towel for 2
minutes.
• Place the iron on the rubber mat and
allow it to steam for 5 minutes.
Rubber Mat
Please note that during transportation,
the rubber mat may come off its place.
• The iron stand has 5 holes on the
circumference of its top.
• The rubber mat has 5 pins in the
corresponding locations.
• Place the rubber mat on top of the iron
stand and push each individual pin into
its hole.
Important: Never place the hot iron on
the plastic iron stand without the rubber
mat on top of the iron stand.
(See fig. 1)
fig. 1
• Do not place the rubber mat alone on a
table or any other surface which may
be damaged by heat.
7
4
Page 6

OPERATING INSTRUCTIONS (CONT.)
IRONING CHART
Filling the Water Tank
Steam irons should be used with tap
water up to 3 mmol/l alkaline earth ions
(check the degree of hardness of your
water with your local water authority) or a
mixture of distilled/demineralized water
with tap water.
If your tap water is very hard, you can
mix 1:1 distilled / demineralized water
with mineral water so that your steam
performance will be good.
Never use water containing additives,
battery top-up water from service
stations, water from household softening
systems or descaling agents.
Distilled/Demineralized Water:
This should normally be mixed 1:1 with
tap water. The use of pure
distilled/demineralized water creates
difficulties with steam production and can
cause water to escape through the
soleplate (formation of drops).
Note: If water escapes through the
soleplate while you are using
distilled/demineralized water,
we recommend you use tap water 3 or 4
times.
Water with Additives:
Starch, conditioner, perfume and fabric
conditioner should never be added to the
water. These result in residues in the
steam chamber which will damage your
iron and stain your laundry. For this
reason, no condensed water (water from
driers may be used, as this can contain
additives (e.g. conditioner).
Descaling the Iron:
Do not use chemical descaling agents as
these can cause damage to the iron and
stain your laundry.
Water From Household Water
Softening Systems:
Do not use water from household water
softening systems because even though
these systems remove calcium from the
water, they add other substances to it.
Therefore this water is not suitable for
steam irons.
Filling the Water Tank
1. Push down the water tank lock.
2. Slide out the water tank from under
the iron stand. (Fig. 2)
3. Rotate slightly the top of the “AntiCalc” Cassette and pull it out of the
water tank.
4. Fill the water tank up to the “Max”
mark, as shown below in fig. 3.
Water Tank Lock
Fig. 2
Slide Out
Fig. 3
5. Return the water tank to its place,
under the iron stand.
Note
: Make sure that the water tank is
pushed back to its place and the lock is
closed. If the water tank is not in its
place, it will not be able to deliver water
from the pump to the iron.
Setting the Ironing Temperature
• Place the iron on the rubber mat on
the water tank.
• Plug the power cord into the
electrical outlet.
• Select the required temperature
setting on the temperature control
dial using the Ironing Chart
on page 6.
• The temperature pilot light will come
“On” indicating that the iron is
heating up.
• When the temperature pilot light has
gone “Off”, the set temperature has
been reached and the iron is ready
for use.
NOTE: Before starting to iron delicate
fabrics, it is best to first test the
temperature of the iron on a hem or an
inside seam.
To select iron temperature, align
temperature selected on dial with
the indicator on the water tank.
DIRECTIONS
ON LABEL
P
‘
T
l
e
H
a
I
s
S
e
A
n
R
o
t
T
e
I
C
t
h
L
a
E
t
C
A
N
N
O
o
T
n
B
t
h
E
e
I
l
R
a
b
O
e
N
l
E
m
D
e
a
!
”
n
s
FABRIC
TEMP.
CONTROL
Synthetic
fibers, e.g.
acryl, viscose,
polyamide
(nylon),
polyester
SILK
•
WOOL
••
COTTON
LINEN
MAX
•• •
STEAM
BUTTON
Ironing Temperature
Always check first to see whether a label with ironing instructions is attached to the article to be
ironed. (See table above.) Follow these ironing instructions in all cases. If ironing instructions
are missing, but you do know the kind of fabric, then see the table. The table is valid for the
materials only and is not applicable to any applied finish, gloss, etc… Fabric to which some
kind of finish has been applied (gloss, wrinkles, relief, etc.) can be ironed at the lowest
temperature such as those made of synthetic fibers. Sort the laundry out according to ironing
temperature first: wool with wool, cotton with cotton, etc…
The iron heats up quicker than it cools down. Therefore, start ironing the articles requiring the
lowest temperature such as those made of synthetic fibers. If the fabric consists of various
kinds of fibers, you must always select the lowest ironing temperature of the composition of
those fibers. (For example: an article consisting of “60% polyester and 40% cotton” should be
ironed at the temperature indicated for polyester (•) and without steam.)
If you do not know what kind(s) of fabric(s) the article has been made of, find a spot which will
be invisible when wearing or using the article. Try out the ironing temperature which is most
suitable there. (Start at a relatively low temperature.) Pure woolen fabrics (100% wool) may be
pressed with the iron set to a steam position. Preferable set the steam control to maximum
position and use a dry pressing cloth. When steam-ironing woolen fabrics, shining of the fabric
may occur. This can be prevented by turning the article inside out and ironing the reverse side.
Velvet and other textures which rapidly acquire shiny spots should be ironed in one direction
only (with the nap) applying light pressure. Always keep the iron moving.
Iron the reverse side of synthetic materials and silk to prevent shining spots. Do not use the
spray button to prevent stains.
5 6
 Loading...