

Page 1

Macintosh OS X Software
Installation
If you’re using Macintosh OS X 10.2.x to 10.3.x, follow the instructions
on the front of the Start Here sheet to set up your CX5400 and to load ink
cartridges and paper. Then follow the steps below to install the CX5400
software.
1. Insert the CX5400 Software CD-ROM in your computer.
Note:
The software on the CD-ROM is compatible with Macintosh OS X 10.2.x
through 10.3.x.
2. Double-click the EPSON CD-ROM icon on your desktop.
3. Double-click the
icon.
4. When you see a message about disabling your antivirus software, click
Continue.
5. At the license agreement, click
Mac OS X folder, then double-click the EPSON
Agree.
Page 2
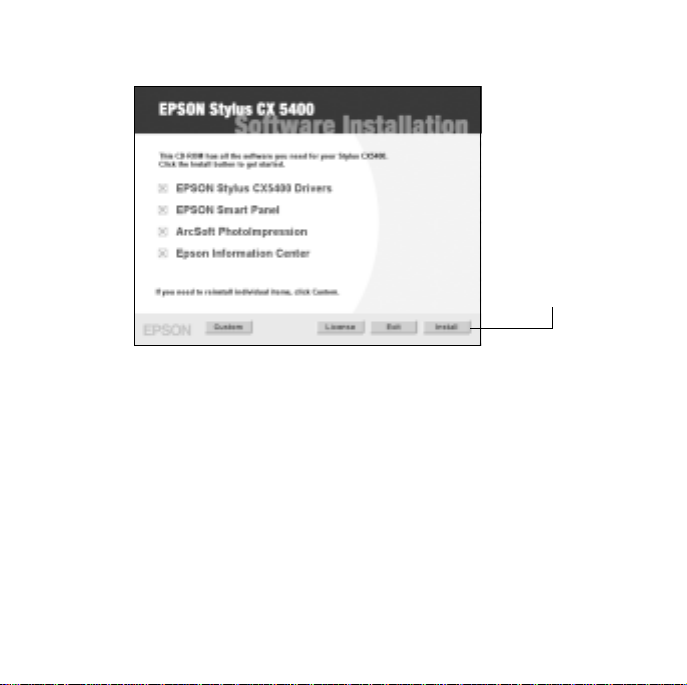
6. When the Software Installation screen appears, click Install.
Click Install
7. Enter your administrator password, if necessary, and click
2
OK.
Page 3
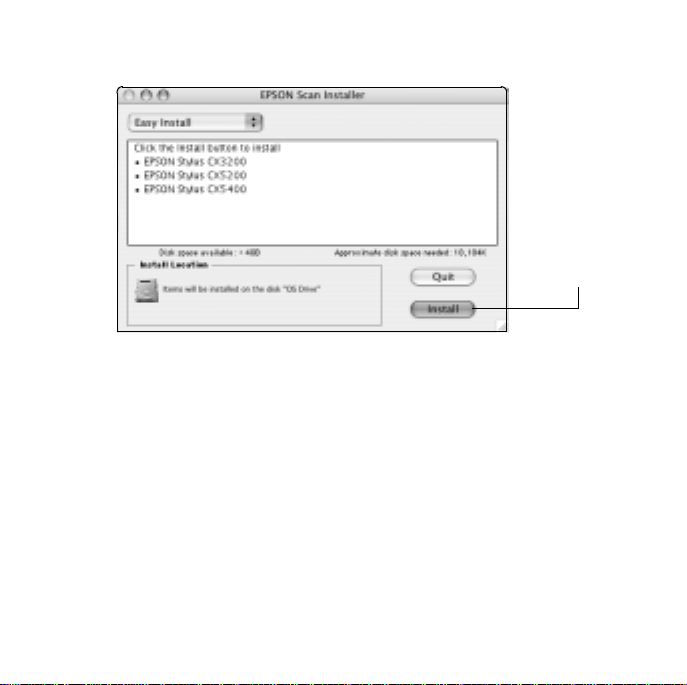
8. When you see the EPSON Scan Installer screen, click Install.
Click Install
9. After the files finish installing on your Macintosh, click
10.Follow the on-screen instructions to install the rest of the software,
including EPSON Smart Panel,
™
ArcSoft PhotoImpression,™ and the
Quit.
EPSON Information Center.
Note:
You may have to enter your administrator password before installing
additional components. Click Quit, if prompted, after each installation.
11.After all the components have finished installing, click Exit.
12.When you see the Product Registration screen, register your CX5400.
13.Close any open screens, remove the CD-ROM, and restart your
Macintosh to fully enable your software.
3
Page 4

Adding the Stylus CX5400 to the Printer List
1. Make sure your CX5400 is turned on.
2. Remove the sticker from the USB port on the side of the CX5400.
3. Connect the square end of the USB cable to the CX5400, then connect
the flat end to any available USB port on your Macintosh.
USB cable
4
Page 5

4. Open the Applications folder on your OS drive, then open the
Utilities folder and start Print Center (OS 10.2.x) or the Printer
Setup Utility
Note:
If you see this screen, click Add.
(OS 10.3.x).
5. On the Printer List screen, click the Add button.
6. Open the pull-down menu at the top of the next screen and select
EPSON USB.
Select
EPSON
USB
5
Page 6

7. Click Stylus CX5400.
Click here
Then select All
Note: If the CX5400 doesn’t appear, make sure it is turned on and
securely connected to your Macintosh.
8. Open the Page Setup pull-down menu at the bottom of the screen and
select
All.
9. Click the
Add button. You see the Printer List again with the Borderless
feature available.
10.Close the Printer List.
6
Page 7

Selecting the Stylus CX5400 in EPSON Photo Print
1. Double-click the EPSON Smart Panel icon on your desktop.
2. Click
3. When you see this screen, click
Reprint Photos.
No.
Click No
4. Click the scanner selection box shown below, choose
CX5400, then click Select.
Click here
7
EPSON Stylus
Page 8

5. Close the EPSON Photo Print screen, then close EPSON Smart Panel.
You’re ready to scan, copy, and print!
If you have any problems or questions, see the back of the Start Here sheet
for help.
EPSON and EPSON Stylus are registered trademarks and EPSON Smart Panel is a
trademark of SEIKO EPSON CORPORATION.
General Notice: Other product names used herein are for identification purposes
only and may be trademarks of their respective owners. EPSON disclaims any and
all rights in those marks.
© 2004 by Epson America, Inc. 2/04 CPD-17853
Printed in USA
 Loading...