

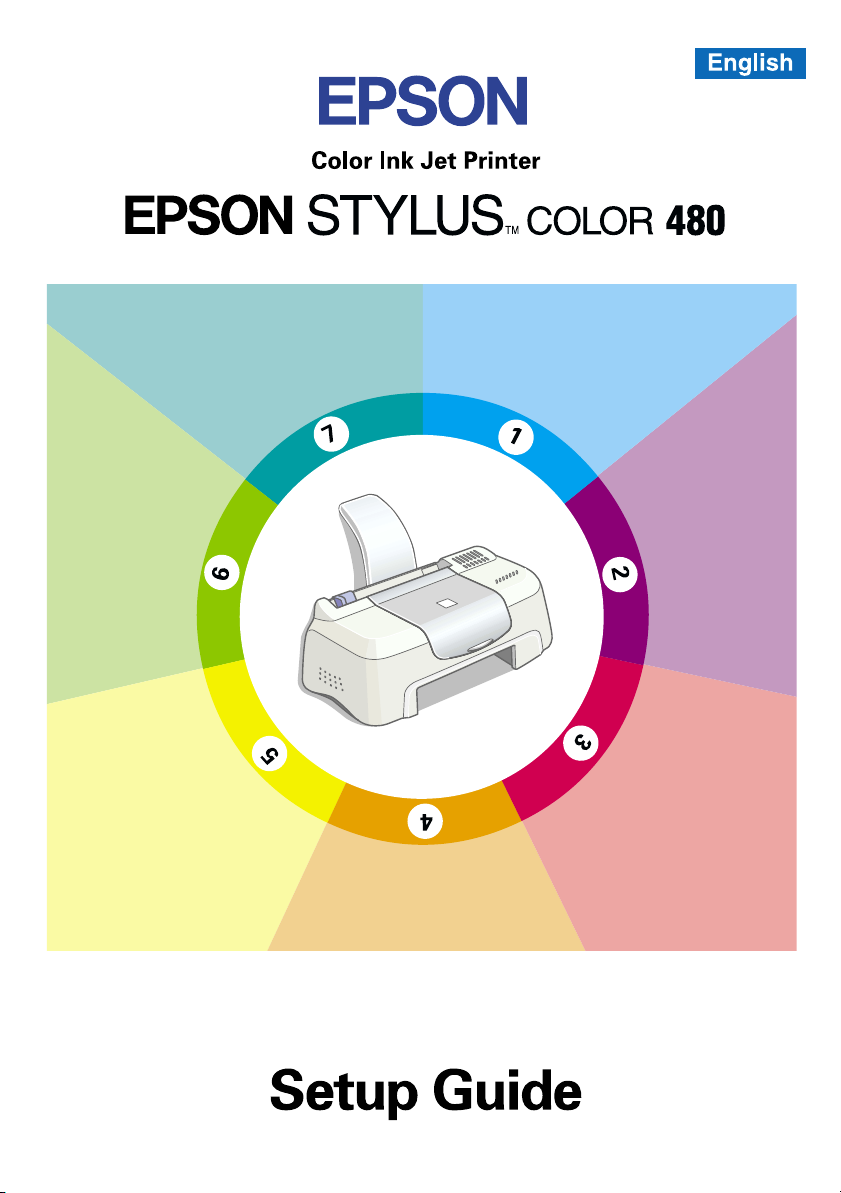
Page 1
Installing
and
Checking
the Ink
Cartridges
Printing Your
First Page
Checking the
Package Contents
Unpacking
the Printer
Installing the
Printer Software
Connecting
the Printer
Attaching the
Paper Support
4012277-00
XXX
Page 2
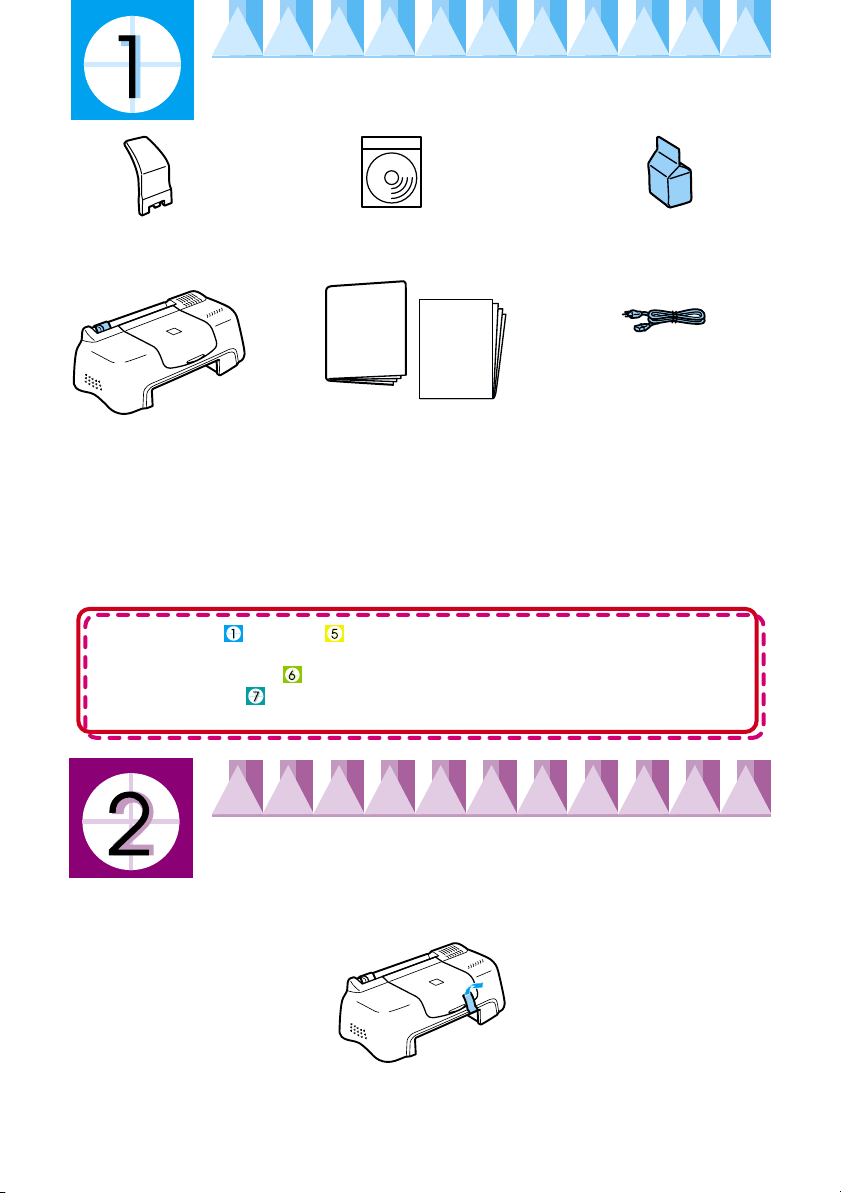
Checking the Package Contents
*Th
paper support
printer
The package contents may vary in certain locations.
printer software &
Reference Guide CD-ROM
Daily Use
paper manuals
Setup
ink cartridge package
(contains both black and
color ink cartridges.)
power cord*
* The power co rd may come
attached to the printer in
certain locations.
Packaged with your printer are both black and color ink cartridges to start you
printing straight away. In order to ensure your printer produces the highest
quality printouts, some of the ink will be used in the initial setup and check
process. This will not happen with your next set of cartridges.
Please note:
the use of genuine EPSON consumables is recommended to ensure
that printout quality and trouble-free operation is maintained.
Follow steps through in this manual to install the printer software.
After the software installation is complete, follow the on-screen messages
and proceed to step . To ensure that your printer is operating correctly,
proceed to step after an on-screen message informs you that the setup
is complete.
Unpacking the printer
Remove all tape and protective materials attached to the printer.
e number of tape strip used may vary from what is shown.
Copyright© 2000 SEIKO EPSON CORPORATION, Nagano, Japon.
Printed in the Netherlands 00.04-300
Page 3

Attaching the Paper Support
Insert the paper support into the slots at the rear of the printer and place the
printer on a flat, stable surface. Leave enough space in front of the printer
for paper to be ejected smoothly.
Connecting the Printer
Your printer connects to your computer via a shielded, twisted-pair parallel
interface. Make sure that the parallel cable supports bidirectional
communication. Otherwise, the printer will not work. Depending upon
your geographic location, you may need to obtain the appropriate cable.
See "Options and Consumable Products" in the
Follow these steps to connect the printer to your PC.
1. Make sure that the computer is turned off, and the printer’s power cord
is unplugged.
2. Plug the cable connector securely into the
printer's interface connector. Then
squeeze the wire clips together until they
lock in place on both sides. If your cable
has a ground wire, connect it to the
ground connector below the interface
connector.
Daily Use
guide for details.
3. Plug the other end of the cable into the computer's parallel interface. If
there is a ground wire at the computer end of the cable, connect it to the
ground connector at the back of the computer.
Page 4

Note:
❏
See your software manual for details on how to use your application software.
❏
Depending on the type of document you are printing and the type of paper you
are using, you may have to make settings different from those described in this
section.
Follow these steps to print the sample file.
1. Make sure A4 or letter size plain paper is loaded in the printer.
2. Insert the printer driver CD-ROM. If the Installer dialog box appears,
click
3. Double-click the
click
Open
4. Double-click the
5. To change the printer driver settings, open the File
menu and click
the one below opens (This example is from Paint).
6. Make sure
the Name list box, then click
driver opens.
7. Click the
Media Type box and select
Note:
The printer driver lets you choose from a wide variety of settings to get the best
results. See your online Reference Guide for detailed information.
8. Click
While printing, the EPSON Progress Meter will appear, showing the
printing progress and the status of your printer.
The setup process for this printer is now complete.
See the
operations. See the
ROM for detailed information on making printer driver settings, printing
on special paper, and troubleshooting.
Close, Print
of these buttons.
Daily Use
.
Quit
My Computer
.
sample.bmp
. A Print dialog box similar to
Print
EPSON Stylus COLOR 480
tab, then click anywhere in the
Main
, or OK to print. You may need to click a combination
guide when you want information on regular printer
Reference Guide
icon. Right-click the
file to open it.
is selected in
Properties
Plain Paper
included on the printer software CD-
. The printer
.
CD-ROM
icon and
 Loading...