

Epson DFX-9000 Owner's Manual

®
EPSON Remote
Configuration Manager
User’s Guide
The EPSON Remote Configuration Manager lets you change your
printer’s default settings, update the printer with the new settings,
and save them in a configuration file which you can use any time.
This is especially convenient in a multi-printer network environment;
individual configuration files can be created for each printer’s specific
requirements.
The program also lets you quickly view the current settings for the
printer(s).
Note:
If you are using the serial port, you need to switch the printer driver to
COM2 before you run the Remote Configuration Manager. Switch it back to
COM1 when you’re done.
If you have not already installed the program, follow the instructions
in your DFX-9000 User’s Guide to install it.
1

Starting the Program
From the Start menu, select Programs or (All Programs) >
Epson Remote Configuration Mgr >
Manager
You see this window:
❏ To create a new configuration, see the next section.
❏ If you want to make changes to a configuration file that was
❏ To display the current settings (status) for a printer, see page 12.
.
created previously, see page 9.
Epson Remote Configuration
2

Creating a New Configuration
1. Select Create New Configuration and click OK.
You see the printer model window:
2. Highlight the DFX-9000 and click
settings screen:
3
Select. You see the printer
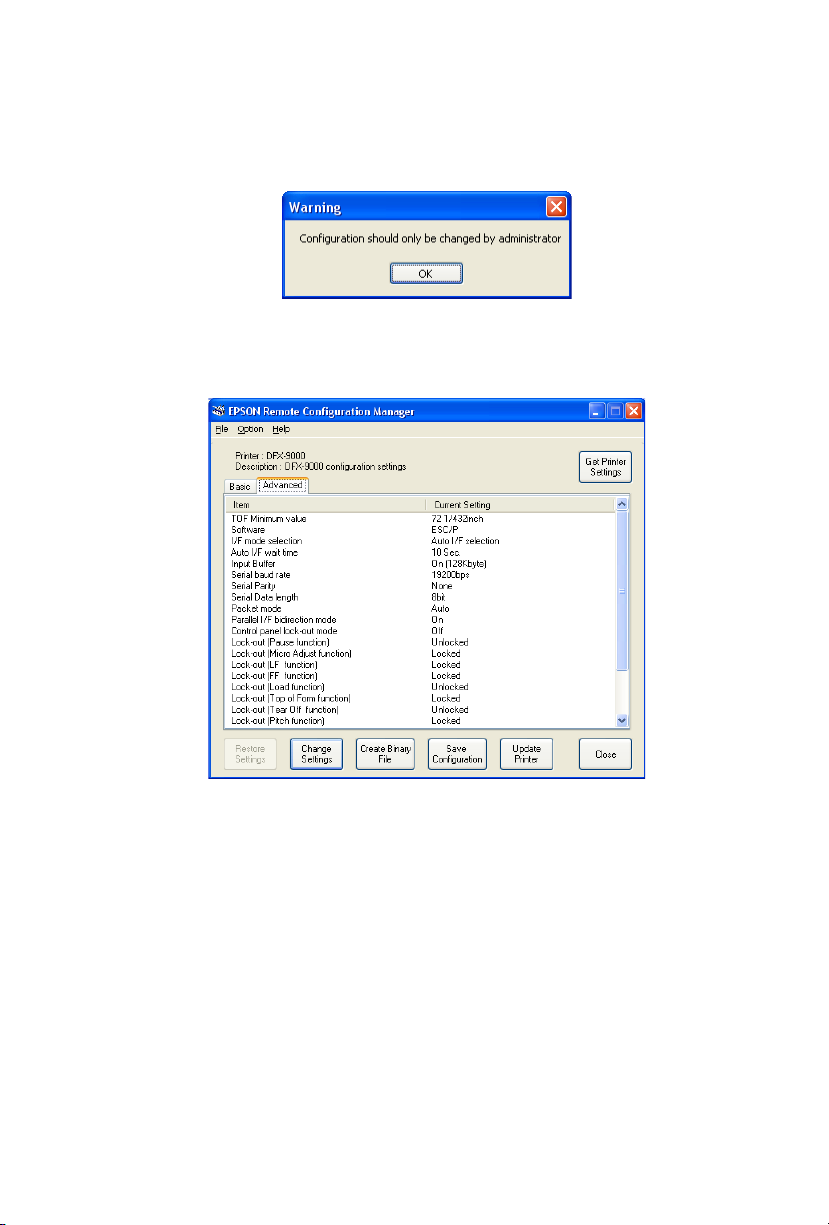
You can change settings in the Basic tab (shown above) and the
Advanced tab. If you select the Advanced tab, you see this
message:
3. Click OK to display the Advanced tab settings:
See the following section to change settings in the Basic or Advanced
tab.
4
Changing the Printer Settings
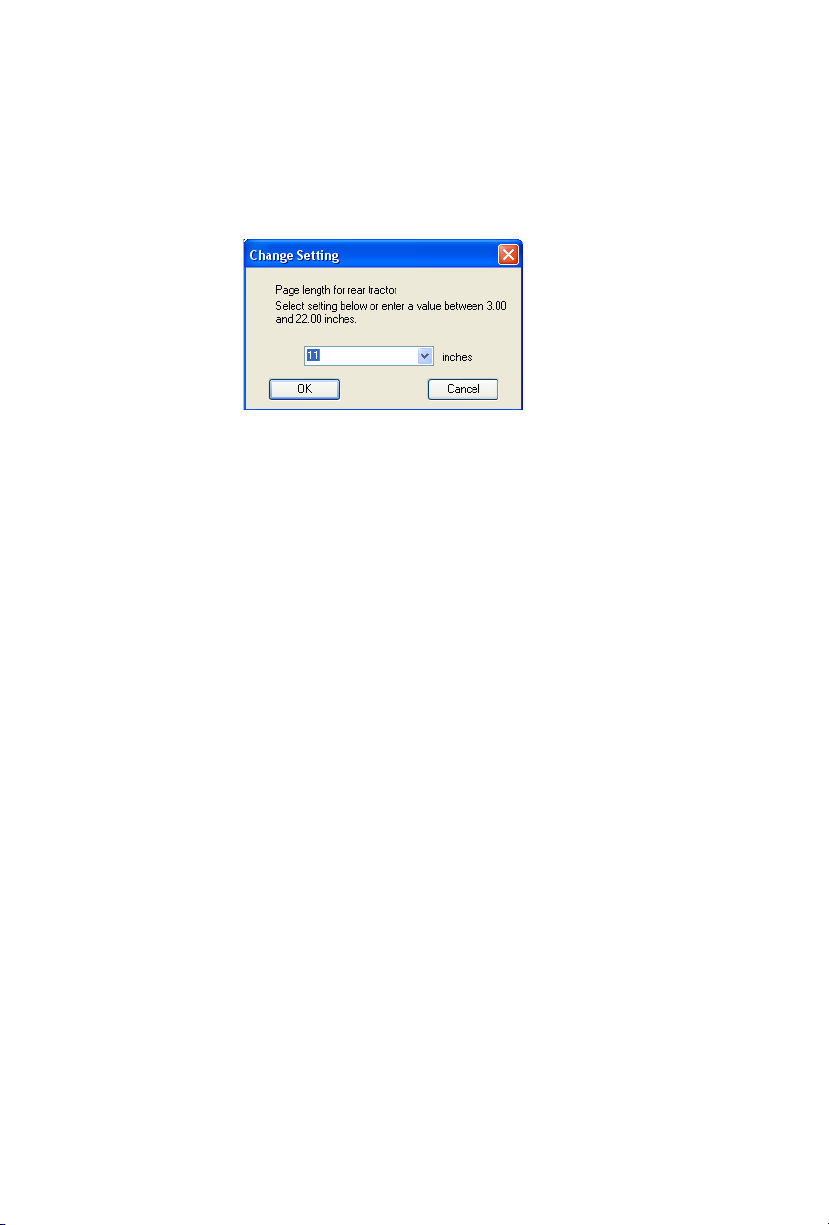
1. Double-click the setting you want to change, or select it from the
list and click the
this:
2. Select the value you want from the pull-down list or enter the
setting you want and click
Change Settings button. You see a window like
OK.
If you decide not to change a setting, click
Note:
For more information about printer settings and options, see your printer
documentation.
When you finish making changes to the settings, you can either
update the printer now with the new settings, as described below,
or save the settings in a configuration file to be used in the future
(see page 8).
Important: You must update the printer for the settings to take
effect.
Cancel.
5
 Loading...