

Page 1

Supplemental Information
This sheet contains supplemental information about
troubleshooting the parallel port and USB installation problems.
It is divided into the following sections:
Troubleshooting the parallel port(Windows 98/95)
❏
USB (Windows 98) installation problems
❏
Troubleshooting the Parallel Port (Windows 98/95)
Printing or scanning speed is slow
Make sure the ECP mode is turned on in your computer’s BIOS.
For details, see your computer’s documentation.
If the ECP mode is enabled in BIOS and printing and scanning are
still slow, the ECP hardware (a component inside your computer
which processes the ECP protocol) is malfunctioning. When the
Stylus Scan’s ECP port driver senses a problem in the ECP
hardware, the driver switches to software processing of the ECP
protocol to protect your data. Software processing is secure, but
much slower than hardware processing.
A communication error occurs during printing or scanning
Make sure the ECP mode is turned on in your computer’s BIOS.
For details, see your computer’s documentation.
If the errors continue to occur, follow the steps below:
1. Click
Copyright© 1999 by SEIKO EPSON CORPORATION,
Nagano, Japan
Start
, then
Run
.
4011232
C01-00
Page 2
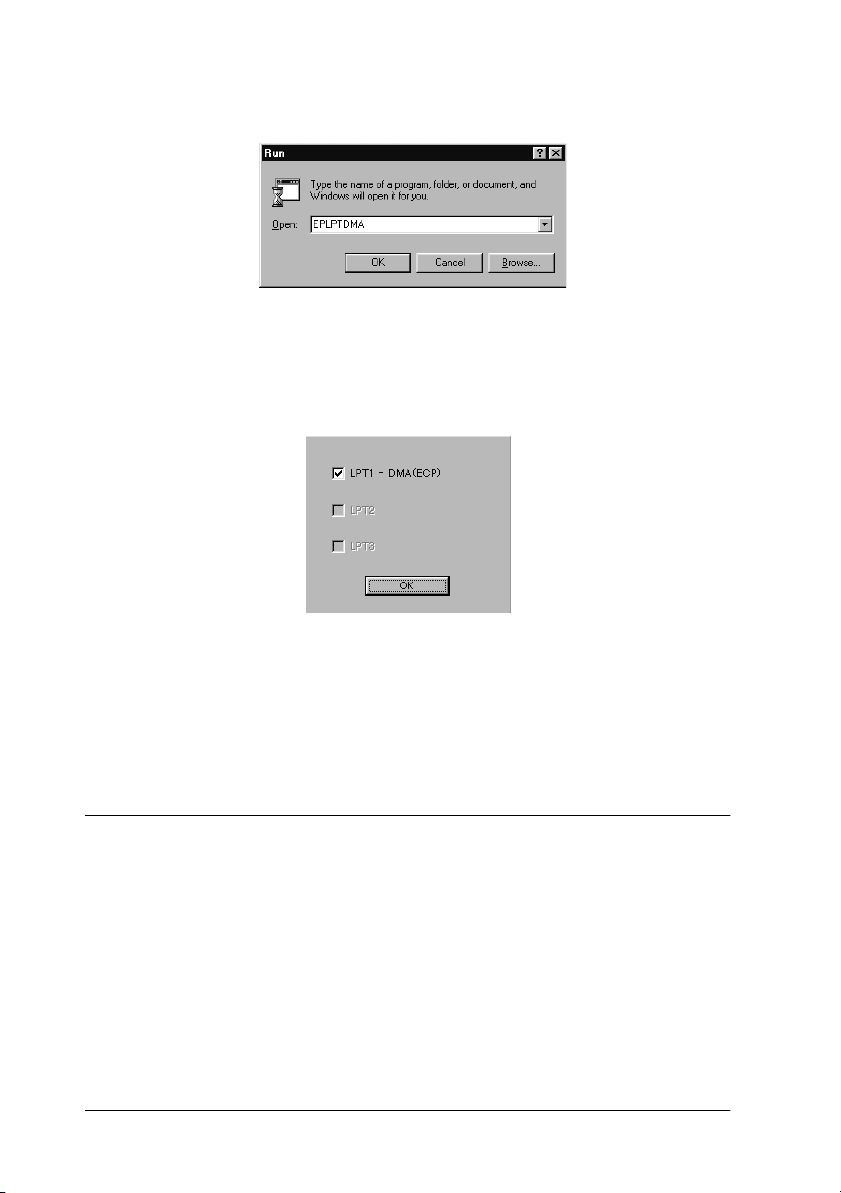
2. Type
3. The following dialog box appears. Clear the check box that
EPLPTDMA
appears beside the name of the port to which you have
connected the Stylus Scan, then click OK.
Note:
Unavailable ports appear dimmed.
in the
Open
box, then click OK.
4. Restart Windows.
USB (Windows 98) Installation Problems
If the Stylus Scan Driver was not properly installed, uninstall the
Stylus Scan Driver in the manner described in the Setup Guide,
then reinstall it.
If, after doing the above, the Stylus Scan does not work correctly,
check the following:
2
Page 3
USB Printer Device Driver or Stylus Scan Driver (Printer) Problems
Make sure your computer had Windows 98 pre-installed
Your computer must have Windows 98 pre-installed. The printer
driver may not function properly on a computer that has been
upgraded from Windows 95 to 98.
For details about your computer, contact your dealer.
Check that the USB driver was installed correctly
Use the following procedure to confirm that the USB driver was
installed correctly.
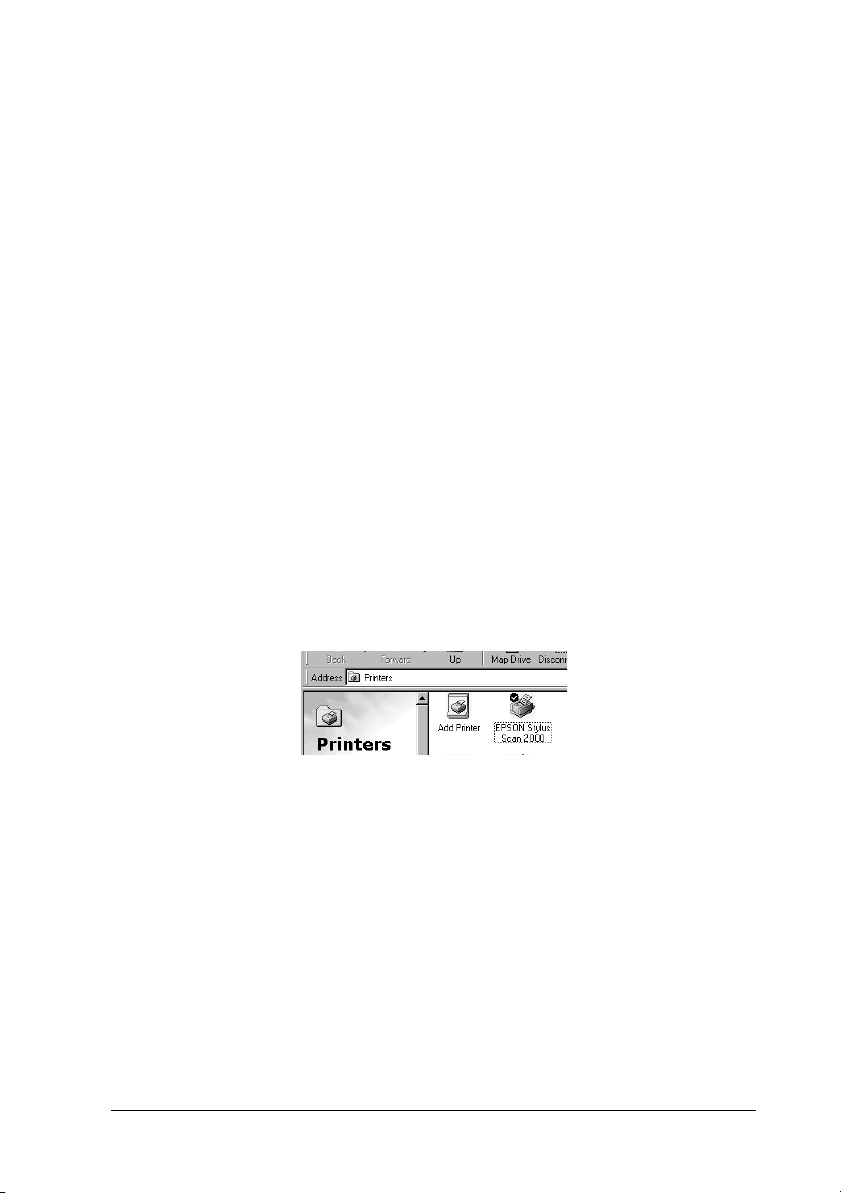
1. Click the
folder. Make sure that the icon for the printer appears in the
Printers folder.
2. Click the printer icon, and select
menu.
button, point to Settings and click the
Start
Properties
from the
Printers
File
3
Page 4
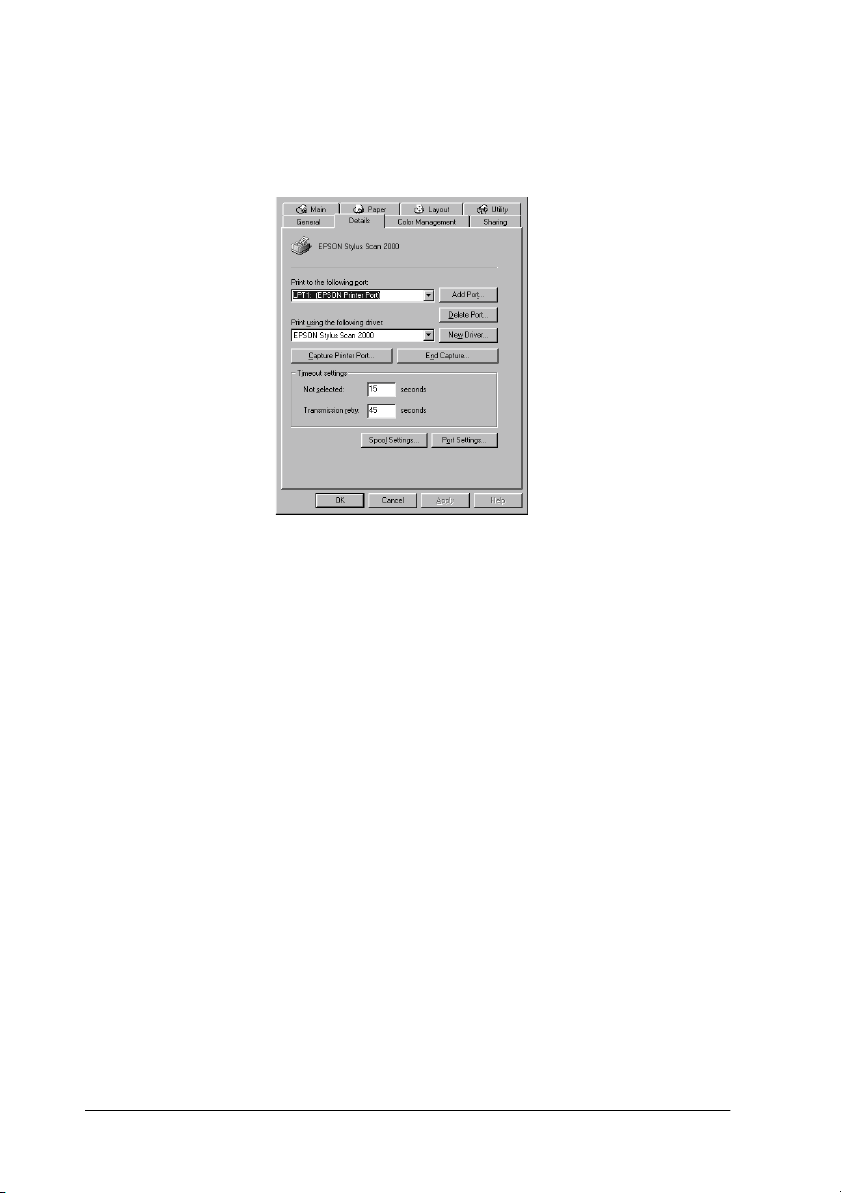
3. Click the
Stylus Scan 2000) is displayed in the
port
4. If the correct port is not displayed, remove the USB cable, then
connect the Stylus Scan to the first tier of the hub, or connect
the Stylus Scan to the computer’s USB port directly.
Details
list box
tab and make sure that EPUSBx: (EPSON
Print to the following
Make sure that EPSON USB Printer Devices appears in the Device Manager menu
If you canceled the plug-and-play driver installation before the
procedure completed, either the USB printer device driver or the
printer driver may be incorrectly installed.
Follow the steps below to check the installation and reinstall the
drivers.
1. Turn the Stylus Scan on. Plug the USB cable into the Stylus
Scan and the computer.
2. Right-click the My Computer icon on your desktop, then click
Properties
3. Click the
.
Device Manager
tab.
4
Page 5

If your drivers are correctly installed, EPSON USB Printer
Devices should appear in the Device Manager menu.
If
EPSON USB Printer Devices
Manager menu, click the plus (+) sign beside Other Devices
to view the installed devices. If
Other Devices, the USB printer device driver is not installed
correctly. If
Devices, the printer driver is not installed correctly.
If neither USB Printer nor EPSON Stylus Scan 2000 appears under
Other Devices, click
Stylus Scan, then plug it into the Stylus Scan again.
EPSON Stylus Scan 2000
Refresh
does not appear in the Device
USB Printer
or unplug the USB cable from the
appears under
appears under Other
5
Page 6

4. Under Other Devices, click
, then click
2000
5. Click OK to close the System Properties window.
6. Unplug the USB cable from the Stylus Scan, then plug it into
the Stylus Scan again.
7. The following dialog box appears. Install the driver again,
following the instructions in the Setup Guide.
Remove
USB Printer
and OK.
or
EPSON Stylus Scan
6
Page 7

Stylus Scan driver (scanner) problems
Check if your Stylus Scan name appears under Imaging Device
hardware type without a ? or ! mark in the Device Manager menu.
To view this menu, right-click the My Computer icon on the
Desktop. If your scanner appears with a ? or ! mark, or appears
as an Unknown Devices hardware type, make sure your Stylus
Scan is turned on and connected, the click
from the Device Manager menu.
Note:
If the EPSON Stylus Scan Disk is requested when reinstalling the
driver, make sure the EPSON Stylus Scan 2000 Software for Windows
CD is still in the CD-ROM drive and check that the correct drive letter,
the EPSON folder, the folder of your preferred language, and the Win98
folder are specified.
Remove
Make sure that EPSON Stylus Scan 2000 appears in the Device Manager menu
If you canceled the plug-and-play driver installation before the
procedure was completed, EPSON Stylus Scan SF TWAIN may
be incorrectly installed.
to remove it
Follow the steps below to check the installation.
1. Turn the Stylus Scan on. Plug the USB cable into the Stylus
Scan and the computer.
2. Right-click the
Properties
3. Click the
If your EPSON Stylus Scan SF TWAIN is correctly installed,
EPSON Stylus Scan 2000
Device when you click the plus (+) sign next to Imaging
Device.
My computer
.
Device Manager
icon on your desktop, then click
tab.
should appear under Imaging
7
Page 8

If EPSON Stylus Scan 2000 appears under Other Devices with
a ? mark or under Imaging Device with ! mark, the EPSON
Stylus Scan SF TWAIN file is not installed correctly. Follow
the instructions to reinstall the driver.
If EPSON Stylus Scan 2000 appears under Other Devices
Note:
Make sure the Stylus Scan is on and connect to your computer. If the
Stylus Scan is off or not connected to your computer, you cannot
reinstall the driver properly.
8
Page 9

1. If ? EPSON Stylus Scan 2000 appears under Other Devices,
click
? EPSON Stylus Scan 2000
.
OK
. Then click
Remove
and
2. Click
3. Make sure the Stylus Scan is on and restart your computer.
4. The following dialog box appears. To install the driver again,
follow the instructions in the Setup Guide.
to close the System Properties window.
Close
9
Page 10

If EPSON Stylus Scan 2000 appears under Imaging Device
Note:
Make sure the Stylus Scan is on and connected to your computer. If the
Stylus Scan is off or not connected to your computer, you cannot
reinstall the driver properly.
1. If ! EPSON Stylus Scan 2000 appears under Imaging Device,
click
! EPSON Stylus Scan 2000
. Then click
Remove
and OK.
2. Click
3. Make sure the Stylus Scan is on and restart your computer.
4. When the following dialog appears, insert the
Close
Scan 2000 Software for Windows
drive, then click OK.
to close the System Properties Window.
EPSON Stylus
CD-ROM in the CD-ROM
10
Page 11

If the following dialog appears, click
drive, then click OK.
5. The Screen Calibration window appears. Follow the
instructions described in the Setup Guide.
, select your CD-ROM
d
11
Page 12

Printed in Japan 99.xx-xx
 Loading...