

Emporia SMART.5 User guide

Wi-Fi
connection or
mobile data tariff
required
SMART.5
The emporiaSMART.5 – your helpful companion
In keeping with true emporia tradition, we listened to
thereal experts when developing this new smartphone:
our customers, people like you.
I therefore have no doubt that this new emporia
smartphone, a product featuring a great deal of Austrian
engineering, will bring you plenty of joy.
To help you learn how to use the new facilities on your
smartphone, emporia has written a handbook to assist
you as you try them out and practise using them. This
handbook comes with the phone by the way, so we hope
you enjoy it! In addition, there are detailed step-by-step
instructions on our website at www.emporia.eu that
answer a wide range of questions such as, »How do I create
a WhatsApp group?«
This smartphone is intended to be a helpful companion to
you. I hope your emporiaSMART.5 brings you plenty of joy.
Sincerely,
Installation manual
Eveline Pupeter
emporia Telecom

› YOUR MOBILE PHONE AT A GLANCE
1
2
3
4
14
12
15
13
6 7
5
8
10 11 9
16 17

Your mobile phone at a glance
1
Smartcover with function buttons (see page 32)
2
Headset port
3
Loudspeaker (receiver)
4
Front-facing camera lens
5
Touchscreen
6
Menu button (see page 37)
7
Home button (see p age 37)
8
Back button (see page 37)
9
Microphone
10
USB port
11
Loudspeaker
Volume buttons (see page 38)
12
On/Off button (see page 37)
13
Camera lens with torch/flash
14
Emergency button (on Smartcover) (see page 49)
15
Battery cover
16
NFC module (on battery)
17
Notes on this user guide
• This guide contains helpful notes and tips, which are indicated as
such by this symbol:
• Warnings are indicated as such by this symbol:
03

› CONTENTS
1. Preparation 06
1.1 Scope of delivery............................... 06
1.2 Inserting a SIM card and a memory card ........ 08
1.3 Charging the battery ............................10
1.4 Turning on the phone ...........................12
1.5 Entering a PIN code .............................13
2. Using the phone for the rst time 14
2.1 Basic Android™ and Google settings .............14
2.2 Installing the emporiaapp...................... 22
2.3 Setting up the home screen and favourites...... 25
2.4 Creating contacts ...............................27
2.5 Linking personal contacts ...................... 29
2.6 Setting up the emporia keyboard ................31
2.7 emporia Smartcover.............................32
3. Usage 35
3.1 Battery-saving mode and locking the screen .....35
3.2 Buttons on the phone ...........................37
4. Establishing connections 39
4.1 Setting up a Wi-Fi connection ...................39
4.2 Setting up a mobile data connection ............42
04

Contents
4.3 Setting up an email account .....................43
4.4 Bluetooth ...................................... 44
4.5 Establishing an NFC connection .................45
4.6 Connecting to a PC to transfer data ............. 46
4.7 Software updates ...............................47
4.8 Downloading apps ............................. 48
5. Emergency call function 49
6. QuickSettings 57
6.1 Audio proles ...................................57
6.2 Wallpaper ...................................... 58
7. MoreSettings 59
7.1 Date & time .....................................59
7.2 Language & input ...............................59
7.3 EmporiaKeyboard ..............................59
7.4 Display..........................................61
7.5 Face unlock .....................................61
7.6 Security settings ................................62
7.7 System settings .................................63
8. Safety information 64
05

1. PR EPAR ATION
1.1 Scope of delivery
Smartphone Smartcover
Battery with
NFC-antenna
(pre-installed)
Installation
manual
SMART.5
Installation manual
WiFiVerbindung
oder mobiler
Datentarif
notwendig
(with emergency
button)
Mains plug USB charging
Training book
Training book
Battery cover
without an
emergency button
cable
Charging cradle
The contents of this package are not suitable for young
children and include small parts that can be swallowed.
Google, Android, Google Play and other marks are
trademarks ofGoogle LLC.
06
Headset

Preparation
› Not included in the scope of delivery
• SIM card
The SIM card is a chip card that you need to insert
into the phone. You will only be able to place calls
once you have done this. Your network operator will
provide you with the card and the codes belonging
to it (PIN and PUK) when you buy a mobile contract.
Always use a tari with a data package when using
asmartphone.
• Memory card
A memory card is a chip card that will increase your
smartphone's storage space. Inserting one will enable
you to store more photos and install more apps. You
can purchase these cards from electronics stores.
› What to do if a part is defective or missing
Please call the Emporia Service Centre
Mon. - Thu. 08:30 - 17:00 · Fri. 08:30-13:00
service@emporiatelecom.co.uk
• UK-Hotline: +44 · 1923 · 947778
www.emporiatelecom.co.uk/service
• IE-Hotline: +353 · 1 592 6339
www.emporiatelecom.ie/service
07

Preparation
1.2 Inserting a SIM card and a memory card
Always disconnect the phone from the charger and turn
the phone o before removing the battery cover.
› Take off the battery cover.
Begin with the recess in thebottom left-hand corner of
thecover.
Avoid bending the cover too much, as doing that can
damage it.
Watch your ngernails when removing the battery cover.
› Insert the SIM card.
The SIM card slot is located on the right above the battery
compartment and the memory card slot. Slide the card in
with the contacts facing down.
Only use nano SIM cards for this phone. If your SIM card is
a dierent size to that required by your smartphone, your
network operator can exchange it for you or you can buy
an adapter from a specialist retailer.
08

Preparation
› Insert a memory card (optional).
The memory card slot is located on the right above the
battery compartment. Slide your memory card into the
slot with the gold contact facing down.
Only use a memory card that is compatible with this
phone, such as a microSD® or a microSDHC® card.
If you use an incompatible SIM card or memory card, the
phone, the card or the data on the card can be damaged.
› Attach the battery cover.
Decide whether you want to use the battery cover
without the emergency button or the Smartcover
(see page 32) with the emergency button.
Press the battery cover down onto the phone until it
clicks into place on each side.
Only use batteries, chargers and accessories that are
permitted for this phone. If you don't, the warranty for the
phone will no longer be valid.
09
Preparation
1.3 Charging the battery
To avoid contact faults with the USB connector, only use
thecharging cable supplied with the phone for charging.
Before you use the phone for the rst time, charge
thebattery for at least four hours. If you don't charge
thephone for this period of time, the battery life could
bereduced.
Never connect the phone to the charger or a PC if a
battery has not been inserted. Do not attempt to operate
the phone without a battery inserted. Doing this can
damage the phone.
If you ever want to replace the battery,
please ask sta at a specialist retailer for
assistance. This QR code will take you to a
video showing the replacement process
in detail. https://youtu.be/9KLL04nJ_Ms
10

Preparation
› Using the mains plug
• Insert the USB plug into the USB port at the top of
thephone.
• Then plug the cable's mains plug into a wall socket.
› Using the charging cradle
The charging cradle allows you to charge your phone
easily and also gives you a xed place where you can
leave your phone when you're at home.
To charge the phone, plug the charging cable into the
port on the back of the charging unit and place the
phone in the charging unit.
If you intend to use this method to charge your phone
every time, you can leave the charging cable plugged
into the charging unit permanently.
› Using a computer
Plug the phone into a USB port on your computer. If
necessary, disconnect the USB cable from the mains
plug to do this.
Charging your phone via a computer will take longer
than charging it with the charging cable.
11

Preparation
› Battery indicators on the phone
• When the battery is running out of charge:
The phone will beep and a warning will appear on the
screen. The battery icon is red and the LED ashes.
• When the battery is being charged:
The battery icon is shown lling up and the LED is red.
• When the battery is fully charged:
The battery icon is full and the LED is green.
You can now disconnect the charging cable from
the phone and then unplug the cable from the wall
socket.
In Settings – Battery, you can view the remaining
battery life and current charge level, and can close
applications to extend thebattery life.
1.4 Turning on the phone
• Before you use your phone for the rst time,
removethe protective lm from the screen.
• Press and hold the on/obutton for at least
twoseconds.
• The emporia logotype will appear on the screen and
you will hear a short melody.
12
Preparation
When you turn your phone on the rst time, the start-up
process can take up to two minutes. The emporia logo
will be on the screen when this is happening. Please do
not interrupt this process.
1.5 Entering a PIN code
Enter the four-digit PIN code for your SIM card when
asked to do so and conrm the entry.
You can change or turn o your PIN code in Settings–
Security– SIM card lock.
You can make a note of your personal PIN code here:
__________________________________________
You have a maximum of three attempts to enter your PIN
code correctly. If you enter the wrong number three times
in a row, you will only be able to unblock your SIM card
with your PUK code. You will nd your PIN code and PUK
code in the documents supplied with your SIM card by
your network operator.
13
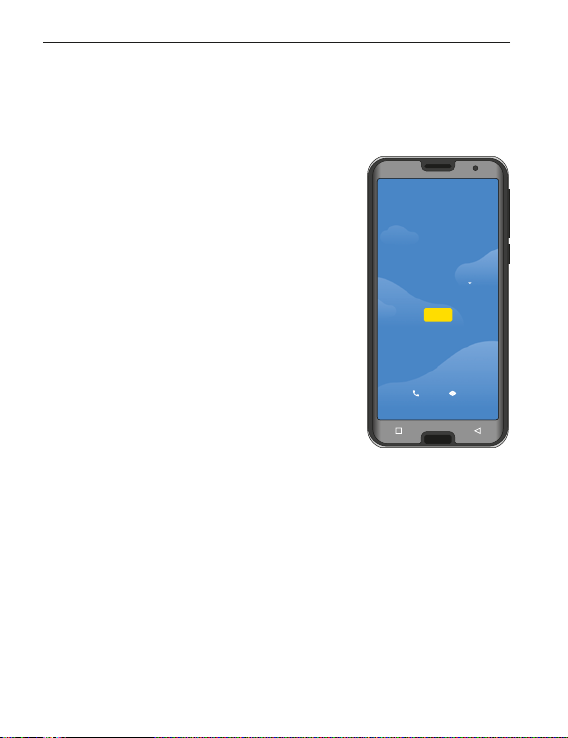
2. USING THE PHONE FOR THE FIRST TIME
Hello
ENGLISH (UNITED KINGDOM)
Emergency calls Display settings
START
2.1 Basic Android™ and Google settings
When you use your smartphone for the rst time,
youneed to select a number of settings
› Selecting a language
English has been preselected as
the standard system language.
If you would prefer to use a
dierent language to operate your
smartphone, proceed as follows:
• Tap on the preselected language
(ENGLISH).
• A list showing all the available
system languages will then appear.
• Select the language you want to
useto operate your smartphone.
• Your chosen language will be displayed on the screen.
› Starting Android settings
• Now tap on Start to dene a few required settings for
theAndroid operating system.
14
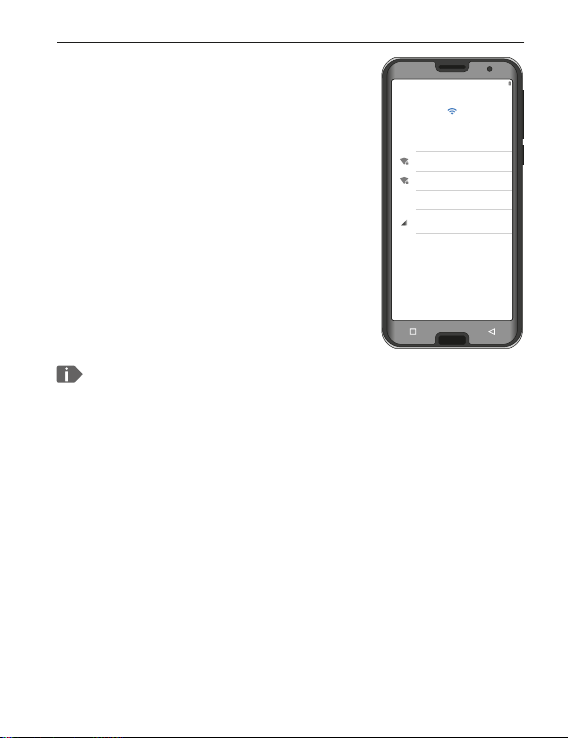
› Connecting to a Wi-Fi network
100 %
Connecting to a Wi-Fi network
Choose network
MyWi-Fi
MyWi-Fi-Guest
+
Show all Wi-Fi networks
Use mobile network for setup
Setup offl ine
If possible, establish a Wi-Fi
connection, so that future updates
and downloads don't use your
mobile data.
• A list will display all the available
Wi-Fi networks.
• Tap on the name of the network you
want toconnect your phone to.
If your network does not appear in the list, it is not
within range of the smartphone. Ensure that the phone
is within range of the network, so that a connection can
beestablished.
• Now enter the password for the selected Wi-Fi
network. You'll nd the wireless key in the documents
for your Wi-Fi network.
• If you want to switch to the numeric keypad,
tapon the grey 123 button. If you want to switch
to uppercase letters, tap on the grey button with
thearrow.
Using the phone for the rst time
15

Using the phone for the rst time
100 %
z x c v b n m
1
2
3
a s d f g h j k l
q w e r t y u i o p
1 2 3 4 5 6 7 8 9 0
Done
, .
Delete
MyWLAN
Security
WPA2 Personal
Password
|
Show password
Advanced options
Cancel Connect
• You can check the password again
by tapping on Show password.
• When you have nished typing in
the password, tap on the Connect
button to establish a connection to
the network.
16
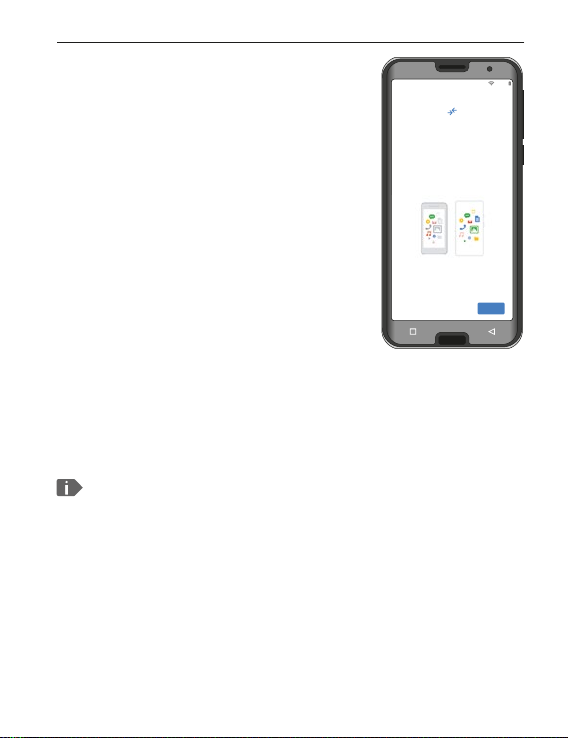
› Copying apps and data
100 %
Copying apps and data
You can specify exactly what you want
to be copied: your apps, your photos,
your contacts, your Google account
Don't copy
Next
Your smartphone will now
check whether any updates for
the Android operating system
are available and install them
automatically.
Used a smartphone before? In the
next step, you can install apps and
data from your old smartphone.
To do this, tap on Next, select a
transfer method and follow the
instructions on the screen.
If this is your rst smartphone or you don't want to
transfer any data, tap on Don't copy.
After installation, you can also protect your smartphone
with face recognition (see page 61).
Using the phone for the rst time
17
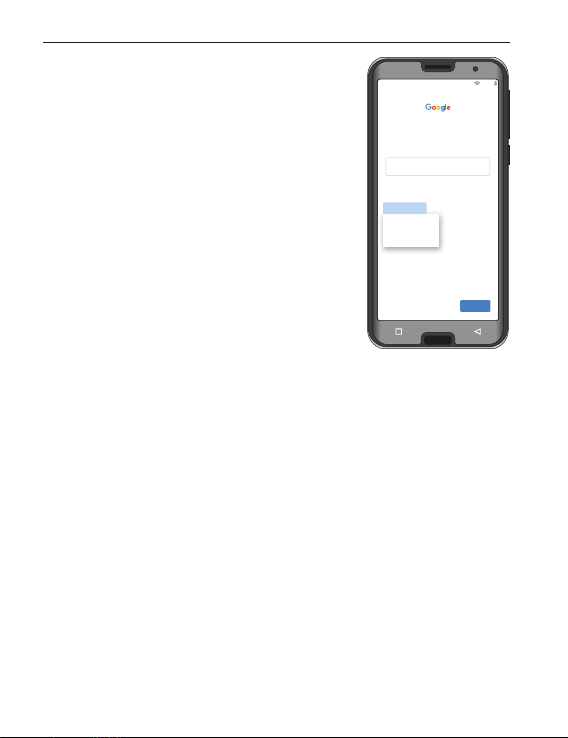
Using the phone for the rst time
For myself
For my child
Signing in
Sign in with your Google account.
Learn more
Forgotten your email address?
Email address or phone number
Skip
Next
Create an account
100 %
› Setting up your Google Account
In the next step, you will be asked to
sign in with your Google Account.
Enter your Gmail address and the
password for the account to do this.
If you have not used a Google
Account before, you can set up a
new one:
• Tap on Create account.
• Select For myself.
• Enter your rst and last names and
tap onNext.
• Now enter your date of birth and gender.
• In the next step, you can choose your own username.
Coupled with the xed ending @gmail.com,
this will form your personal Gmail address.
• The availability of your desired username will then be
checked.
• Next, you need to choose a password for this Google
Account. It has to be at least eight characters' long
and including digits or special characters is also
recommended.
18

Using the phone for the rst time
• You now have to enter the same password a second
time toensure you haven't made any typing errors.
• Tick the checkboxes for the terms and conditions and
the data privacy statement, and then you can tap on
Create account.
• After that, you can select and Conrm personalisation
settings for your Google Account.
• Now you can select settings regarding the security
and storage of Google services. Read through the pre-
selected settings carefully and disable any individual
functions you don't require. Then tap on Accept.
› Selecting a search provider
• Select the Internet search engine provider whose
service you want your phone to use when carrying out
a search query.
19
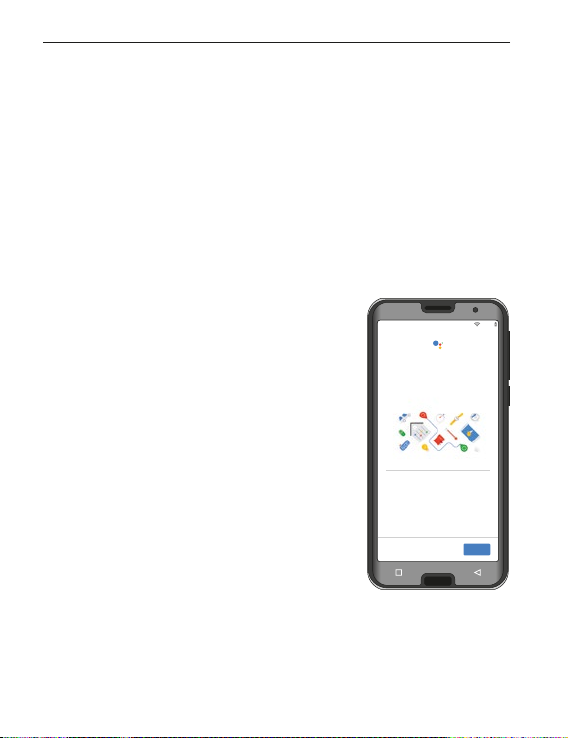
Using the phone for the rst time
100 %
More
The new way to speak
to Google
Navigate, communicate and
complete tasks
If you enable these settings, you can use
the full version of Google Assistant. If you
don't want to do this, you may use a limited
version of your Assistant.
› Protecting your smartphone
Now select a screen lock, so that your phone cannot
be operated by anyone not authorised to do so.
• Also choose whether the code has to be entered when
thedevice is rst started.
• Enter your chosen code.
• Enter the code a second time to ensure you haven't
made any typing errors and then conrm it.
› Enabling Google Assistant
By enabling thesettings, you can
install the full version of Google
Assistant. SelectENABLE or
NO, THANKS.
If you would like the option to
access Google Assistant with your
voice, set up Voice Match now. To
do so, select I AGREE and follow
the on-screen instructions.
20

Using the phone for the rst time
› Setting up Google Pay
If you would like to link your Google Account to
a payment facility, tap on Add a card and enter
therequired details. Youcan Skip this process if
youprefer.
› Changing the wallpaper and font size
Finally, you can personalise your smartphone's
wallpaper and adjust the font size. These settings
willbe applied to all your phone's system, but
not to the emporia app. You can now conclude
theinstallation process.
21
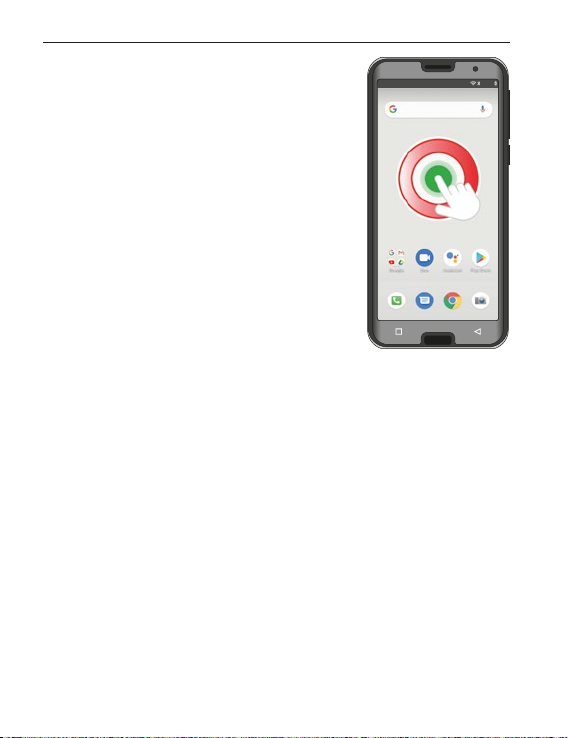
Using the phone for the rst time
start emporia
12:30 100 %
2.2 Installing the emporiaapp
When you've nished setting up
Androidand Google, you will see
theAndroid home screen.
Tap on the start emporia icon.
› Legal information
Agree to the terms and conditions, the data privacy
policy and the app permissions for the emporiaapp
by tapping on the box beside »I have read everything
and am in agreement with it.«.
Conrm your selection by tapping on Next.
22
 Loading...