

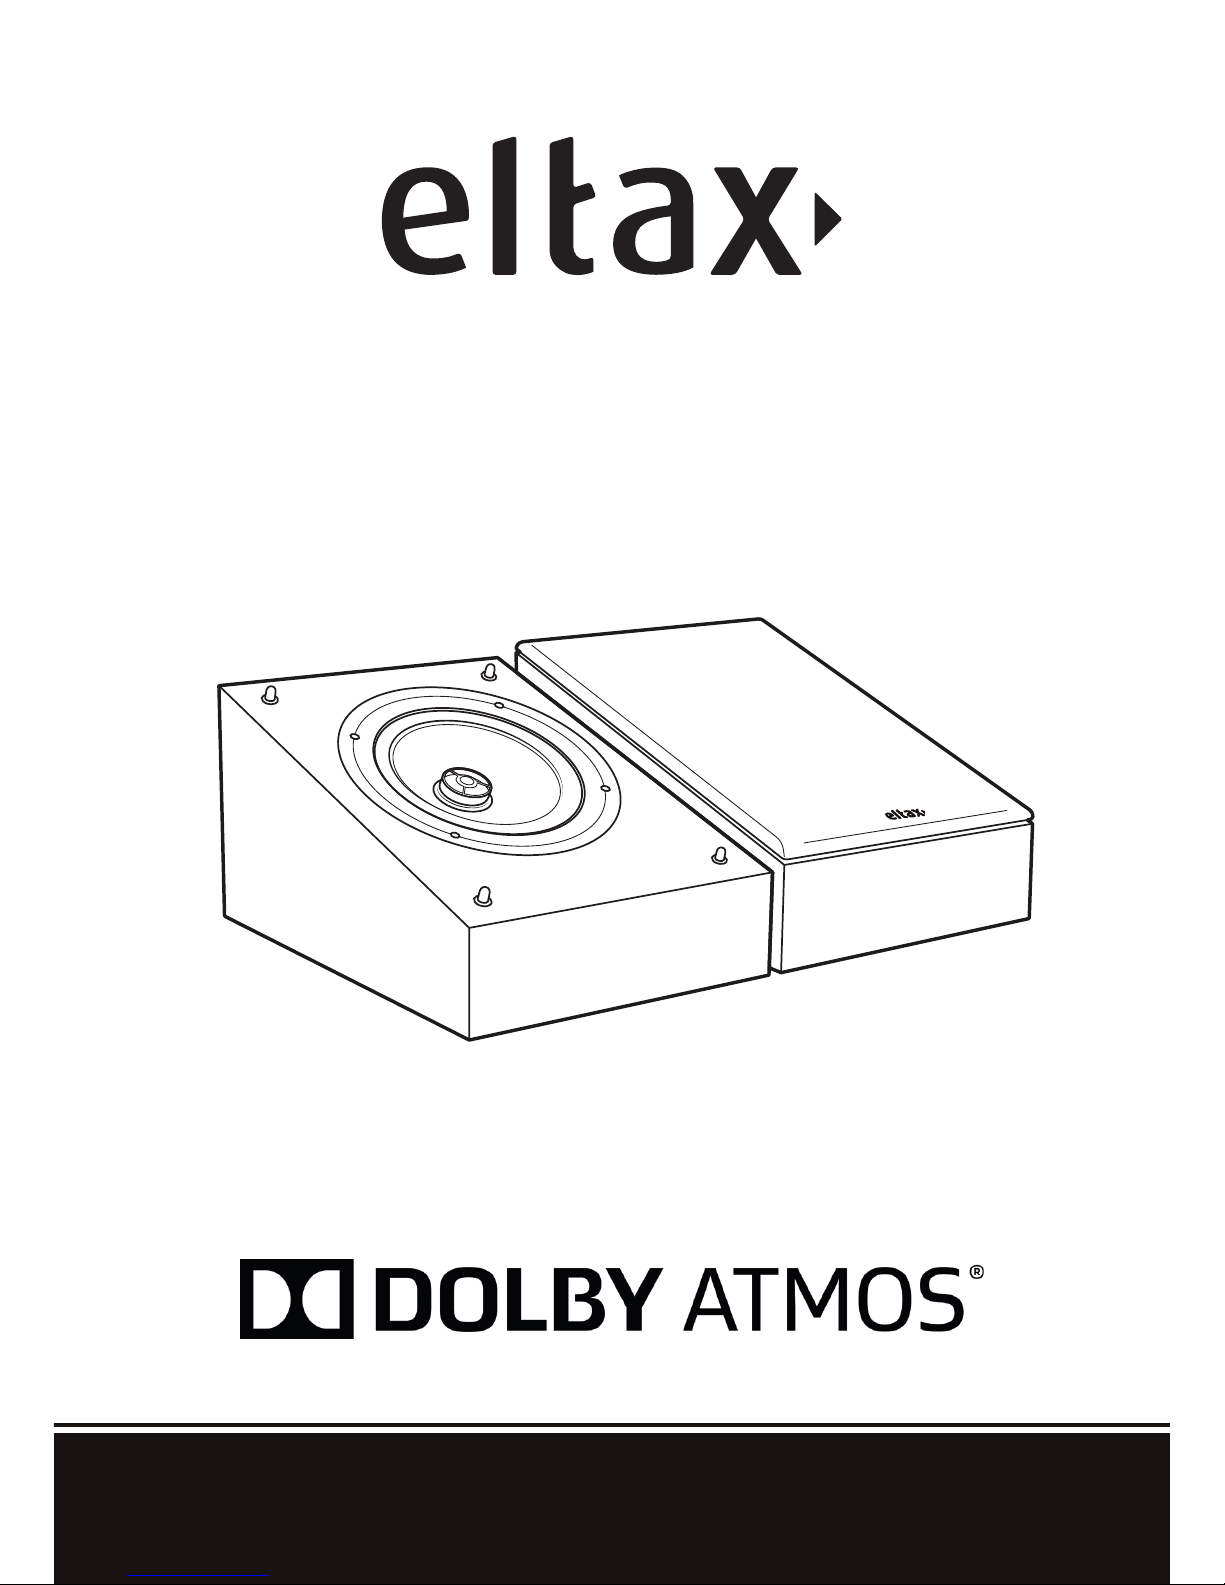
Monitor ATM
Manufactured under license from Dolby Laboratories
Experience the difference

3
Contents
Consignes de sécurité importantes .....................................................................4
Informations .........................................................................................................5
Monitor ATM certiées DOLBY ATMOS
®
............................................................6
Préparation ..........................................................................................................7
Positionnement des Monitor ATM et IX AVANT ...................................................8
Branchement des Monitor ATM et IX AVANT .......................................................9
Positionnement des Monitor ATM et IX arrières ................................................10
Branchement des Monitor ATM et IX arrières ....................................................11
Spécications ....................................................................................................12
Certication DOLBY ATMOS
® ........................................................................................................................................13
Important safety instructions..............................................................................14
Informations .......................................................................................................15
DOLBY ATMOS
®
certied Monitor models ........................................................16
Setup .................................................................................................................17
Front setup of Monitor ATM and IX ....................................................................18
Connections for front Monitor ATM and IX .........................................................19
Rear setup of Monitor ATM and IX ....................................................................20
Connections for rear Monitor ATM and IX .........................................................21
Spécications ....................................................................................................22
DOLBY ATMOS
®
certication ............................................................................23
FR
UK

4 5
FR
ATTENTION :
N’ouvrez pas l’appareil.
1. Lisez, conservez et suivez ces consignes.
2. Installez votre produit conformément aux consignes du fabricant.
3. Ne l’installez pas près d’une source de chaleur telle qu’un radiateur, une
bouche de chaleur, un poêle ou d’autres appareils (dont les amplicateurs) qui
produisent de la chaleur.
4. N’utilisez que des xations/accessoires indiqués par le fabricant.
5. Protégez le câble audio de sorte qu’il ne soit ni piétiné ni comprimé, en
particulier au niveau des connexions sur les appareils.
6. Ne laissez pas d’objets ou de liquides pénétrer à l’intérieur du produit.
7. Conez toute réparation à un personnel qualié. Des réparations sont
nécessaires si l’appareil est endommagé de quelque façon que ce soit, comme
par exemple si du liquide a été renversé ou si des objets sont tombés sur
l’appareil, si l’appareil a été exposé à la pluie ou à l’humidité, s’il ne fonctionne
pas normalement ou s’il est tombé.
8. L’ouverture de l’appareil par un personnel non autorisé annulera la garantie
limitée.
L’utilisation des commandes ou réglages ou instructions autres que ceux
spéciés dans ce manuel peuvent conduire à une exposition à des radiations
dangereuses ou à un fonctionnement risqué.
Entretien : utilisez un tissu sec et doux pour éviter de rayer la surface. N’utilisez
pas d’alcool de nettoyage, ou d’autre solvant pour nettoyer la surface du boîtier
car cela peut abîmer le revêtement.
Conservez ces enceintes à une distance sufsamment éloignée d’une amme
à l’air libre comme une bougie allumée. Ne placez aucune source de amme,
comme une bougie allumée sur l’appareil.
Températures de fonctionnement : l’echelle de température de fonctionnement
conseillée pour ces enceintes est de 5 à 40 degrés Celsius (41 à 104 degrés
Fahrenheit).
Félicitations pour l’acquisition de ces enceintes. La philosophie de Eltax est de vous offrir
d’excellentes performances à un prix abordable. Prenez le temps de lire les consignes de
sécurité suivantes.
DÉBALLAGE
Cette enceinte a été soigneusement testée et inspectée pendant la production,
et avant d’être emballée et expédiée. Après le déballage, vériez tout dégât
potentiel. Un appareil est rarement endommagé pendant le transport, mais si
cela se produit, contactez immédiatement votre revendeur.
Nous vous conseillons de conserver le carton et le matériel d’emballage pour
toute expédition ultérieure.
CONDITIONNEMENT ET RODAGE
Sorties de leur emballage, les enceintes Eltax Monitor ATM ne sont pas encore
capables de reproduire avec la même efcacité l’ensemble des fréquences
qu’elles sont censées diffuser. Les haut-parleurs utilisés dans la gamme
Monitor ATM sont des éléments mécaniques complexes qui nécessitent
une période d’adaptation pour fonctionner au mieux de leurs possibilités et
s’adapter aux conditions de température et d’humidité de votre environnement.
Cette période de rodage peut se prolonger sur plusieurs semaines, mais vous
pouvez l’accélérer en faisant fonctionner vos enceintes entre 20 et 50 heures
consécutives, à niveau modéré et en diffusant une station de radio.
ENTRETIEN
Nous ne conseillons pas l’utilisation de solvants ou de produits nettoyants sur
les coffrets ou les haut-parleurs. Essuyez simplement la poussière avec un
tissu sec et doux.
INFORMATIONS
CONSIGNES DE SÉCURITÉ IMPORTANTES
6 7
FR
MONITOR ATM CERTIFIÉES DOLBY ATMOS® PRÉPARATION
MONITOR ATM
Compatible avec le modèle Eltax Monitor IX
DES ENCEINTES CERTIFIÉES DOLBY ATMOS®
Ces enceintes sont compatibles avec la technologie DOLBY ATMOS
®
. Ainsi, avec
un ampli cateur DOLBY ATMOS
®
, vous apporterez une dimension verticale au son
de votre système home-cinéma, pour un rendu immersif et réaliste.
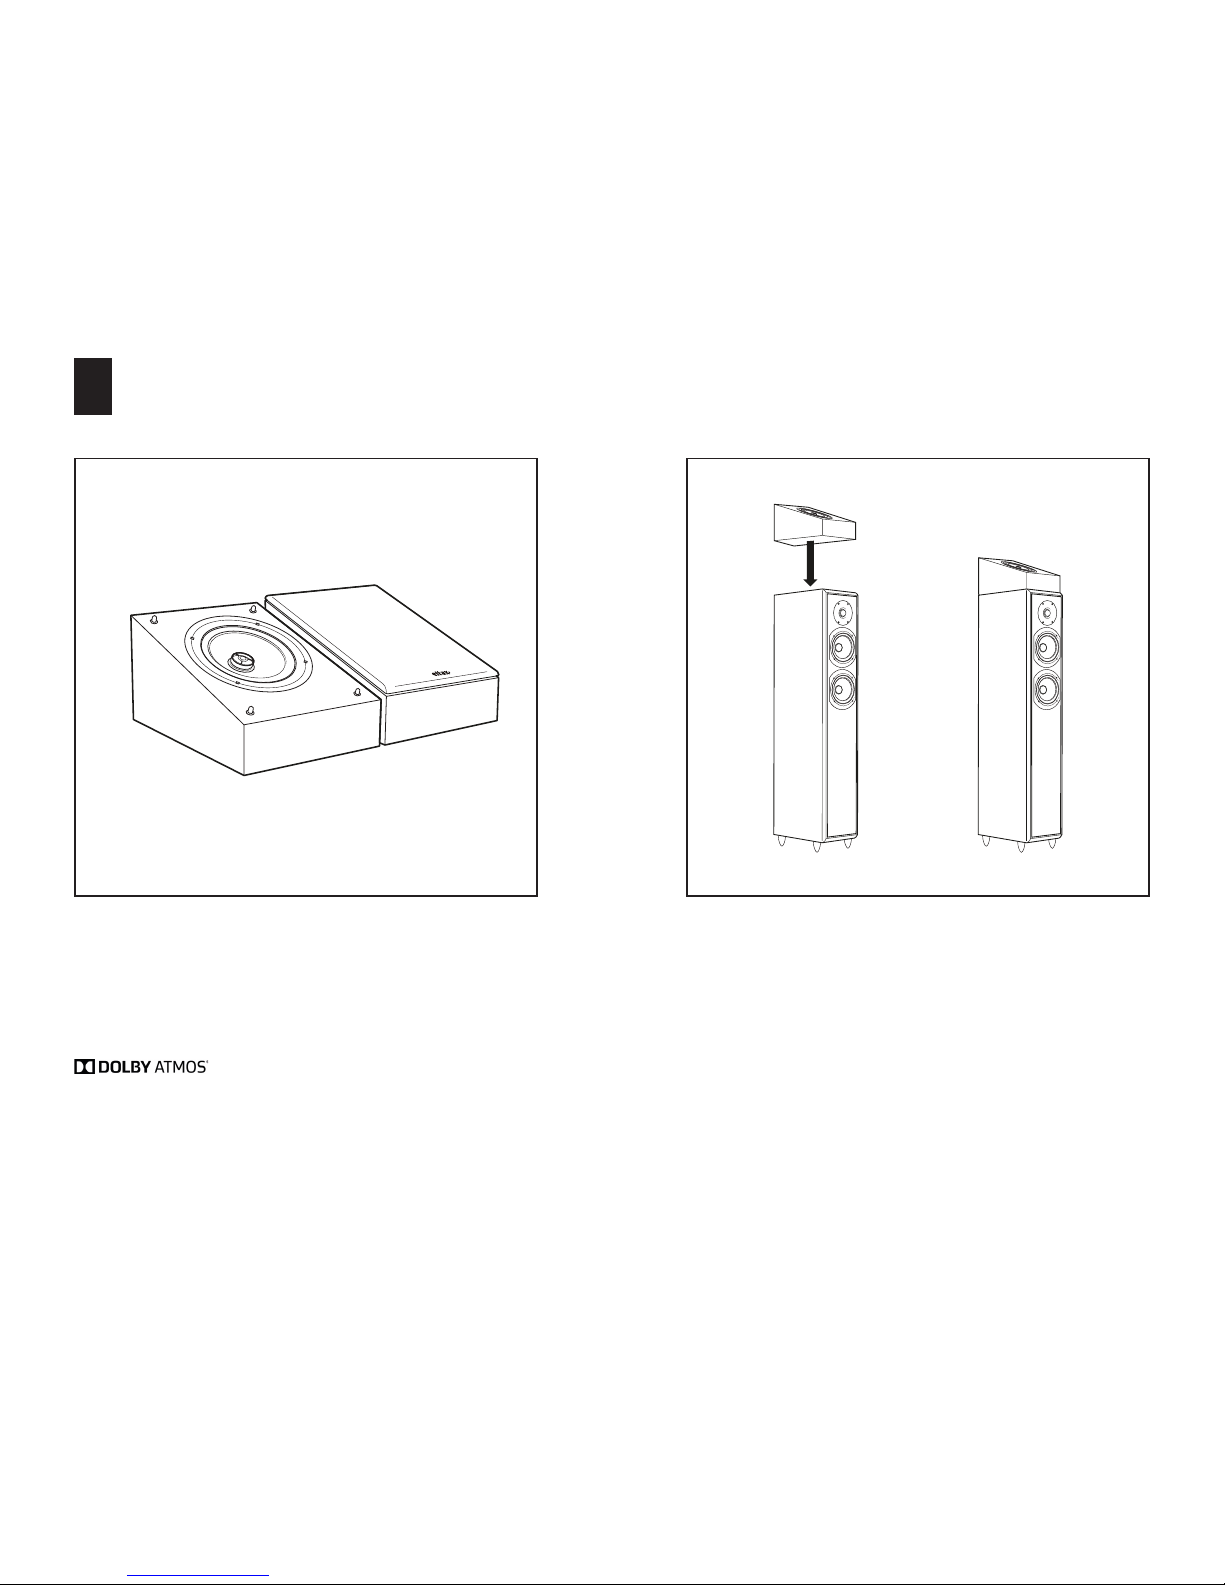
MONITOR ATM
A n de vivre une experience optimale, il est recommandé d’acquérir un modèle
Monitor IX compatible avec le modèle Monitor ATM.
Il suf t ainsi de déposer l’enceinte Monitor ATM sur la colonne Monitor IX, une fois
celle-ci bien positionnée.

8 9
FR
POSITIONNEMENT DES MONITOR ATM ET IX AVANT BRANCHEMENT DES MONITOR ATM ET IX AVANT
Commencez par positionner vos enceintes Monitor IX dans votre pièce.
Espacez les enceintes de 25-30cm du mur, et orientez-les légèrement vers
votre zone d’écoute. Placez ensuite les Monitor ATM sur les colonnes.
MONITOR IX
MONITOR ATM
HEIGHT AMPLIFIER
FRONT AMPLIFIER
FRONT R FRONT L HEIGHT R HEIGHT L
Reliez les entrées de vos Monitor ATM au bornes FRONT HEIGHT
(ou PRESENCE) de votre amplicateur. Puis, reliez les entrées MAIN de vos
Monitor IX au bornes FRONT (ou MAIN) de votre amplicateur.
Connectez le pôle « + » de l’enceinte (Rouge) au pôle « + » de l’amplicateur,
puis le pôle « - » de l’enceinte (Noir) au pôle « - » de l’amplicateur, tout en
prenant soin de respecter les canaux gauche et droite.

10 11
FR
POSITIONNEMENT DES MONITOR ATM ET IX ARRIÈRES
Commencez par positionner vos enceintes Monitor IX dans votre pièce.
Espacez les enceintes de 25-30cm du mur, et orientez-les légèrement vers
votre zone d’écoute. Placez ensuite les Monitor ATM sur les colonnes.
BRANCHEMENT DES MONITOR ATM ET IX ARRIÈRES
Reliez les entrées de vos Monitor ATM au bornes REAR HEIGHT
(ou PRESENCE) de votre amplicateur. Puis, reliez les entrées MAIN de vos
SPECTRUM X6 au bornes SURROUND de votre amplicateur.
Connectez le pôle « + » de l’enceinte (Rouge) au pôle « + » de l’amplicateur,
puis le pôle « - » de l’enceinte (Noir) au pôle « - » de l’amplicateur, tout en
prenant soin de respecter les canaux gauche et droite.
MONITOR IX
MONITOR ATM
REAR HEIGHT
SURROUND
SURROUND R SURROUND L REAR HEIGHT R REAR HEIGHT L

12 13
FR
SPÉCIFICATIONS CERTIFICATION DOLBY ATMOS
®
Caractéristiques Monitor ATM
Apparence
Haut-parleurs
Aigu
19mm
Grave-médium
120 mm
Puissance 20 - 100W
Réponse en
Fréq.
70 Hz - 20 kHz
Sensibilité 88 dB/W/m
Impédance 8 ohms
Dimensions
(avec grille)
L141 x H195 x P248 mm
Poids 2,8 kg
Finition Noir
Certi cation
DOLBY ATMOS® est une technologie de reproduction du son surround pour
le cinéma et le home-cinéma. Le procédé DOLBY ATMOS
®
permet la gestion
de la verticalité du son en plus des formats format Dolby 5.1 ou 7.1 (plan
horizontal) et crée donc une immersion sonore totale.
Pour avoir accès à cette technologie et vivre l’expérience DOLBY ATMOS
®
,
il faut donc vous équiper, en plus de votre système 5.1 ou 7.1, d’enceintes
dédiées a n d’émettre le son verticalement. Il existe des enceintes s’installant
directement au plafond, mais qui peuvent nécessiter d’importants travaux
d’installation, et des enceintes spéci ques qui orientent le son vers le plafond
depuis le sol. C’est cette deuxième solution, certi ée DOLBY ATMOS
®
, que
Eltax a adopté, simpli ant ainsi votre installation.
Ces enceintes, dont les haut-parleurs sont spéci quement ltrés et inclinés,
émettent un champ sonore vers le plafond qui doit impérativement être
ré échissant. Les ondes se re ètent ainsi sur le plafond pour faire pro ter
l’auditeur de cette dimension verticale du son. Le rendu est ultra réaliste, pour
une expérience en immersion totale au cœur de votre lm.
A n de pro ter pleinement du son DOLBY ATMOS
®
, votre ampli cateur doit
être compatible avec cette technologie, et disposer du nombre suf sant de
canaux et des traitements numériques associés.

14 15
UK
CAUTION :
Do not open the unit
1. Read, keep and follow these instructions.
2. Install in accordance with the manufacturer’s instructions.
3. Do not install near any heat sources such as radiators, heat registers, stoves,
or other apparatus (including ampliers) that produce heat.
4. Only use attachments/accessories specied by the manufacturer.
5. Protect the speaker cables from being walked on or pinched, particularly
at plugs, convenience receptacles, and the point where they exit from the
apparatus.
6. Unplug this apparatus during thunderstorms or when unused for long periods
of time.
7. Do not let objects or liquids enter the product.
8. Opening the unit by unauthorized personnel will void the limited warranty.
Use of controls or adjustments or performance of procedures other than herein
may result in hazardous radiation exposure or other unsafe operation.
Cleaning: Use a soft, dry cloth to avoid scratching the surface. Do not use
cleaning alcohol, or other solvents to clean the surface of the cabinet.
Open ame: keep this sound system a safe distance away from any open ame
such as a lit candle.
No open ame sources, such as lighted candles, should be placed on the unit.
Operating temperatures: The recommended operating temperature range for
the sound system is 5 to 40 degrees Celsius (41 to 104 degrees Fahrenheit).
Thank you for purchasing this product. We designed it to give you complete satisfaction.
The objective of every Eltax product is that fundamentally correct design can produce a
product capable of achieving excellent performance and affordability. Please take time to
read the following safety instructions.
IMPORTANT SAFETY INSTRUCTIONS
UNPACKING
This loudspeaker has been carefully tested and inspected during production,
and prior to its packing and shipment. After unpacking, check for potential
damage. A device is rarely damaged during transport, but if this happens,
contact your dealer immediately.
We advise you to keep the box and packaging materials for future shipping.
PACKAGING AND BURN-IN PERIOD
Just unpacked, the Eltax Monitor speakers are not yet capable of reproducing
with the same efciency all the sound frequencies they are supposed to play.
The driver units used in the Monitor range are complex mechanical elements
that require a period of adaptation to operate at their best and become
acclimatised to the temperature and humidity conditions of your environment.
This burn-in period may take up to several weeks, but you can speed it up by
operating your speakers between 20 and 50 consecutive hours at a moderate
level and broadcasting a radio station.
CLEANING INSTRUCTIONS
We do not recommend the use of solvents or cleaning products on the cabinets
or drivers. Simply wipe with a dry, soft cloth.
INFORMATIONS

16 17
UK
DOLBY ATMOS® CERTIFIED MONITOR MODELS SETUP
MONITOR ATM
Compatible with the Eltax Monitor IX model
DOLBY ATMOS CERTIFIED LOUDSPEAKERS
This speaker is Dolby ATMOS
®
compliant. This means that, associated with a
Dolby ATMOS
®
ampli er, you will be able to add a vertical dimension to your home-
cinema sound. More immersive and ultra realistic.
MONITOR ATM
In order to enjoy an optimal experience, it is recommended to acquire the
compliant Monitor IX model with the Monitor ATM.
It is thus suf cient to place the Monitor ATM top speaker on the Monitor IX
oorstanding speaker, once the latter has been positioned.

18 19
UK
FRONT SETUP OF MONITOR ATM AND IX CONNECTIONS FOR FRONT MONITOR ATM AND IX
Firstly, position your Monitor IX speakers in your room. Space the speakers
25-30cm away from the walls, and turn them gradually towards your listening
area. Then place the Monitor ATM on the oorstanding speakers.
MONITOR IX
MONITOR ATM
HEIGHT AMPLIFIER
FRONT AMPLIFIER
FRONT R FRONT L HEIGHT R HEIGHT L
Connect the inputs of your Monitor ATM to the FRONT HEIGHT
(or PRESENCE) terminals of your amplier. Then, connect the MAIN inputs of
your Monitor IX to the FRONT (or MAIN) terminals of your amplier.
Connect the pole “+” of the speaker (Red) to the pole “+” of the amplier, then
the pole “-” of the speaker (Black) to the pole “-” of the amplier. Please take
care to respect the left and right channels.

20 21
UK
REAR SETUP OF MONITOR ATM AND IX
Firstly, position your Monitor IX speakers in your room. Space the speakers
25-30cm away from the walls, and turn them gradually towards your listening
area. Then place the Monitor ATM on the oorstanding speakers.
CONNECTIONS FOR REAR MONITOR ATM AND IX
Connect the inputs of your Monitor ATM to the REAR HEIGHT
(or PRESENCE) terminals of your amplier. Then, connect the MAIN inputs of
your Monitor IX to the SURROUND terminals of your amplier.
Connect the pole “+” of the speaker (Red) to the pole “+” of the amplier, then
the pole “-” of the speaker (Black) to the pole “-” of the amplier. Please take
care to respect the left and right channels.
MONITOR IX
MONITOR ATM
REAR HEIGHT
SURROUND
SURROUND R SURROUND L REAR HEIGHT R REAR HEIGHT L

22 23
UK
DOLBY ATMOS
®
CERTIFICATION
DOLBY ATMOS® is a new technology meant to reproduce surround sound
for cinema and home cinema. This DOLBY ATMOS
®
process creates vertical
sound channels in addition to the Dolby 5.1 or 7.1 format (horizontal plane) and
thus offers a totally immersive audio experience.
In order to have access to this technology and experience the emotion of
DOLBY ATMOS
®
, you have to equip yourself, in addition to your 5.1 or 7.1
system, with dedicated loudspeakers in order to emit sound vertically. There
are speakers that are positioned directly in the ceiling, but these require
a considerable amount of time and effort to install. There are also speci c
speakers that direct the sound to the ceiling from the oor. It is this second
solution, certi ed DOLBY ATMOS
®
, that Eltax has adopted, simplifying the
installation process.
These loudspeakers, whose drivers are speci cally ltered and tilted, emit
a sound eld towards the ceiling which must imperatively be re ective.
The sound waves are thus re ected off of the ceiling to allow the listener to
bene t from this vertical sound dimension. The rendering is ultra realistic, for
a completely immersive experience in the heart of your movie. You can buy
one or two pairs of ATM speakers, placed at the front (1st pair) and also at the
back (2nd pair) of your dedicated home cinema room, directly on your main
speakers or surround speakers. You can also opt for the IXATM oorstanding
loudspeaker with a built-in DOLBY ATMOS
®
module.
In order to fully enjoy the DOLBY ATMOS
®
sound, your ampli er must be
compatible with this technology, and have enough channels and the associated
digital processing technology.
SPÉCIFICATIONS
CARACTERISTICS MONITOR ATM
Design
Drivers
Tweeter
19mm
Mid-woofer
120 mm
Power 20 - 100W
Frequency resp. 70 Hz - 20 kHz
Sensitivity 88 dB/W/m
Impedance
8 ohms
Dimensions
(with grid)
L141 x H195 x P248 mm
Weight 2,8 kg
Finish
Black
Certi cation

24
FR
For further information visit our website:
www.eltax-audio.com
Last Update : 14 / 09 / 2017
Experience the difference
 Loading...