

Page 1
Using your PC
How to Turn on your PC?
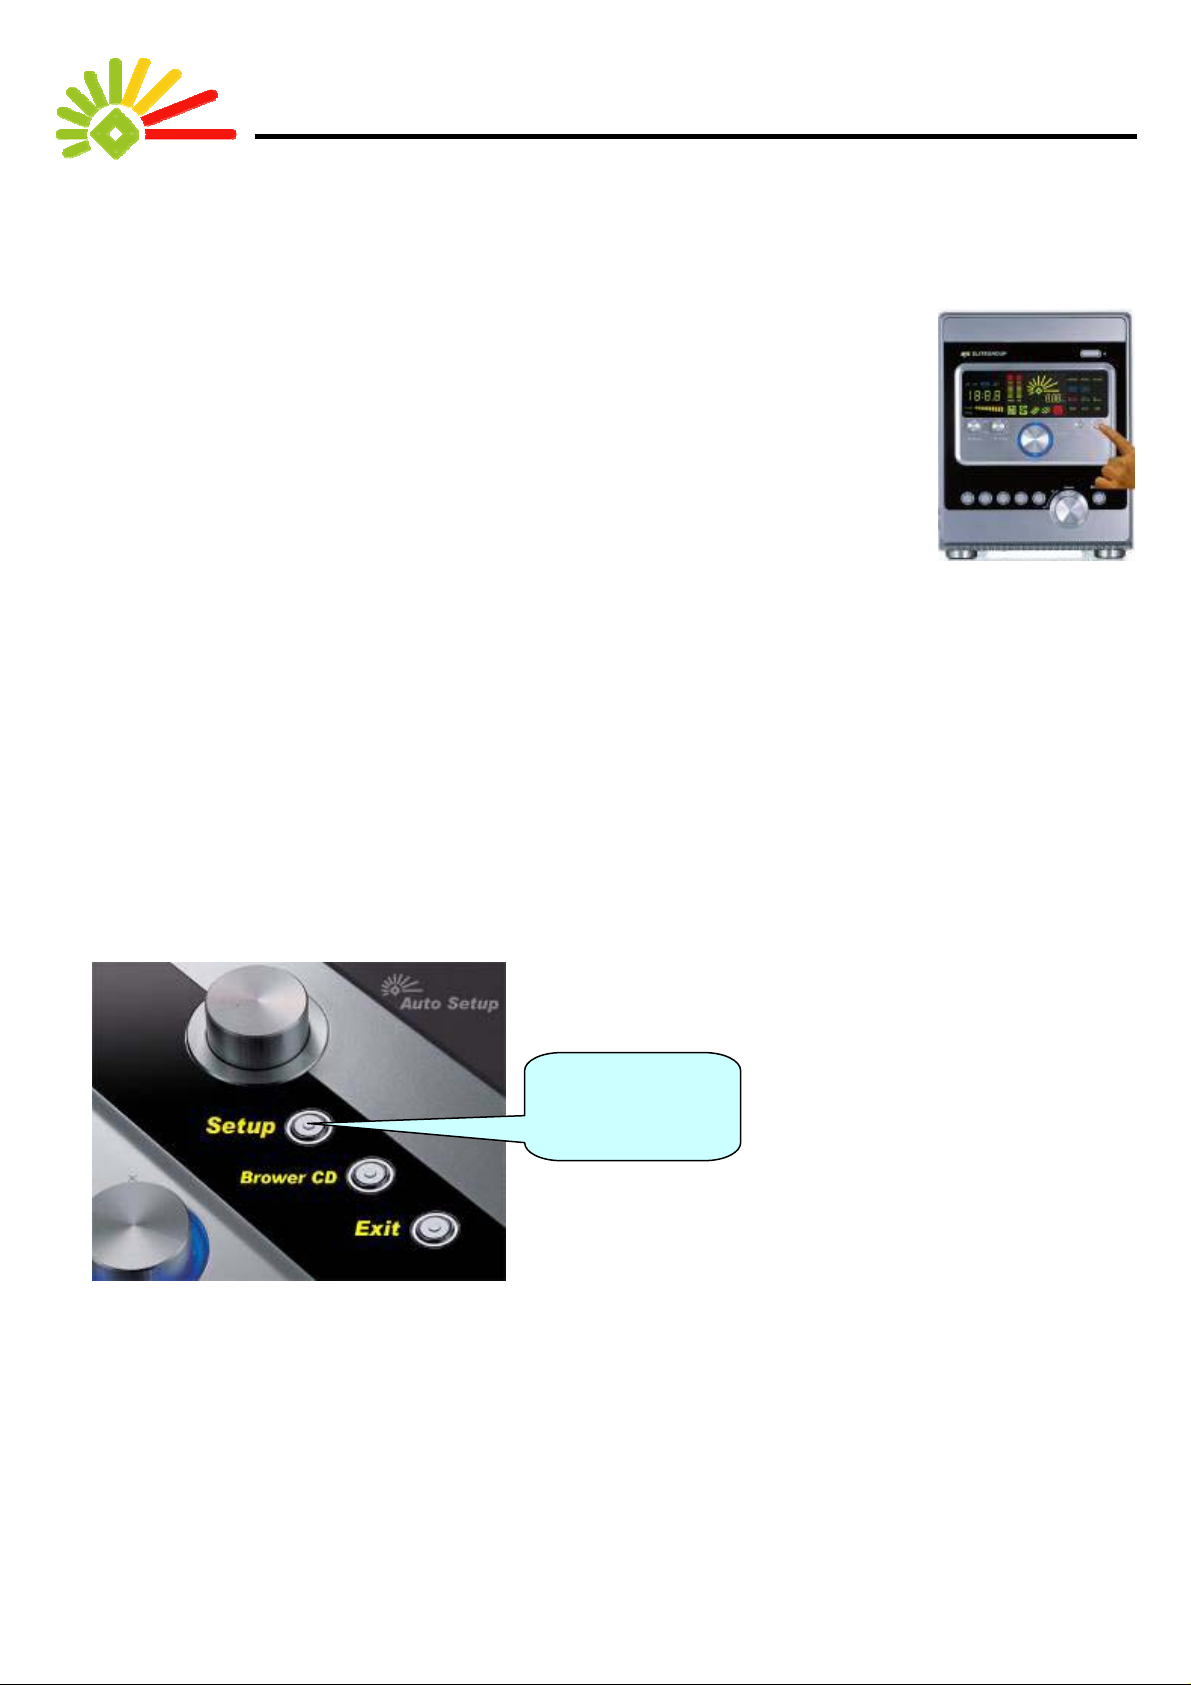
1. You can find in the middle part of the front panel two buttons, the one on the right is the
power button and the left is the reset button, and three tuners, and in the lower part of the
panel six buttons and one tuner. You ca n also find the CD-ROM disk button on the upper
right corner. Just a press o n the power button, the system will turn on and start the boot
sequence.
The Installation of Operation System (Optional)
Installation Notes:
1. There are many kinds of operation systems (OS). The most OS is Windows manufactured by Microsoft. Other
choices include Linux OS. Each operation system has a different installation procedure. This manual does not list all
of them. Please refer to the instructions listed in the manual of the operation system purchased.
2. Since no OS is able to provide a complete set of dr ivers for all peripherals, this PC comes with a driver program CD
for Windows OSs. Once installation of Wind ows is completed, ple ase insert thi s CD into the Optical Device Drive an d
then the driver program will auto run. Next, the following menu will appear. Please use the mouse to click “Setup,”
and the driver program will start the installation process automatically. During this process, the system will shut off
and on. This is normal. Please follow the instructions shown to complete the installation of all drivers.
Push the button to
start the program
How to Use the Card Reader?
1. This PC has a built in 6-in-one card reader that can read CF Card Type I/II, Smart Card, SD Card, Memory Stick, and
MMC Card.
2. Unless your operation system is Windows 98 or older, your PC should be able to operate this card reader without
installing any driver.
3. You can find the corresponding card slots on the right and left side of the main body.
4. All memory cards are handled in the way of inserting and pulling out.
5. This card reader is plug & play, allowing you to insert memory cards at any time and access the cards immediately. In
addition, you can take out the memory cards at any time after reading and writing data to the cards. There is no need
to turn the computer on and off.
1
Page 2
How to Use the Front I/O Panel?
There are two USB ports on the right side of the p a nel, and o ne 1394 p ort, ea rphone plu g, a nd micro pho ne plug on the lef t
side.
How to Use the Optical Device Drive?
On the front panel is a pushbutton for the Optical Device Drive. You can push this button to
open the Optical Device Drive and push the button again to close the Optical Device Drive
1. You use a CD-ROM drive to install software, read data in CD disks, and play VCDs.
2. If you have a DVD-ROM drive, you can use it to play video. Most DVD-ROM drives come
with a free copy of DVD playback software. You may need to follow the installation
instructions of the software to install the software before playing DVDs.
3. If the CD-ROM drive that you purchased can performs CD burning function, you may
need to install a copy of burning software that comes with the CD burning drive.
4. Not all CD-ROM drives or DVD-ROMs come with DVD playback software or CDburning
software. If the drive does not come with the required software you will need to purchase
the software.
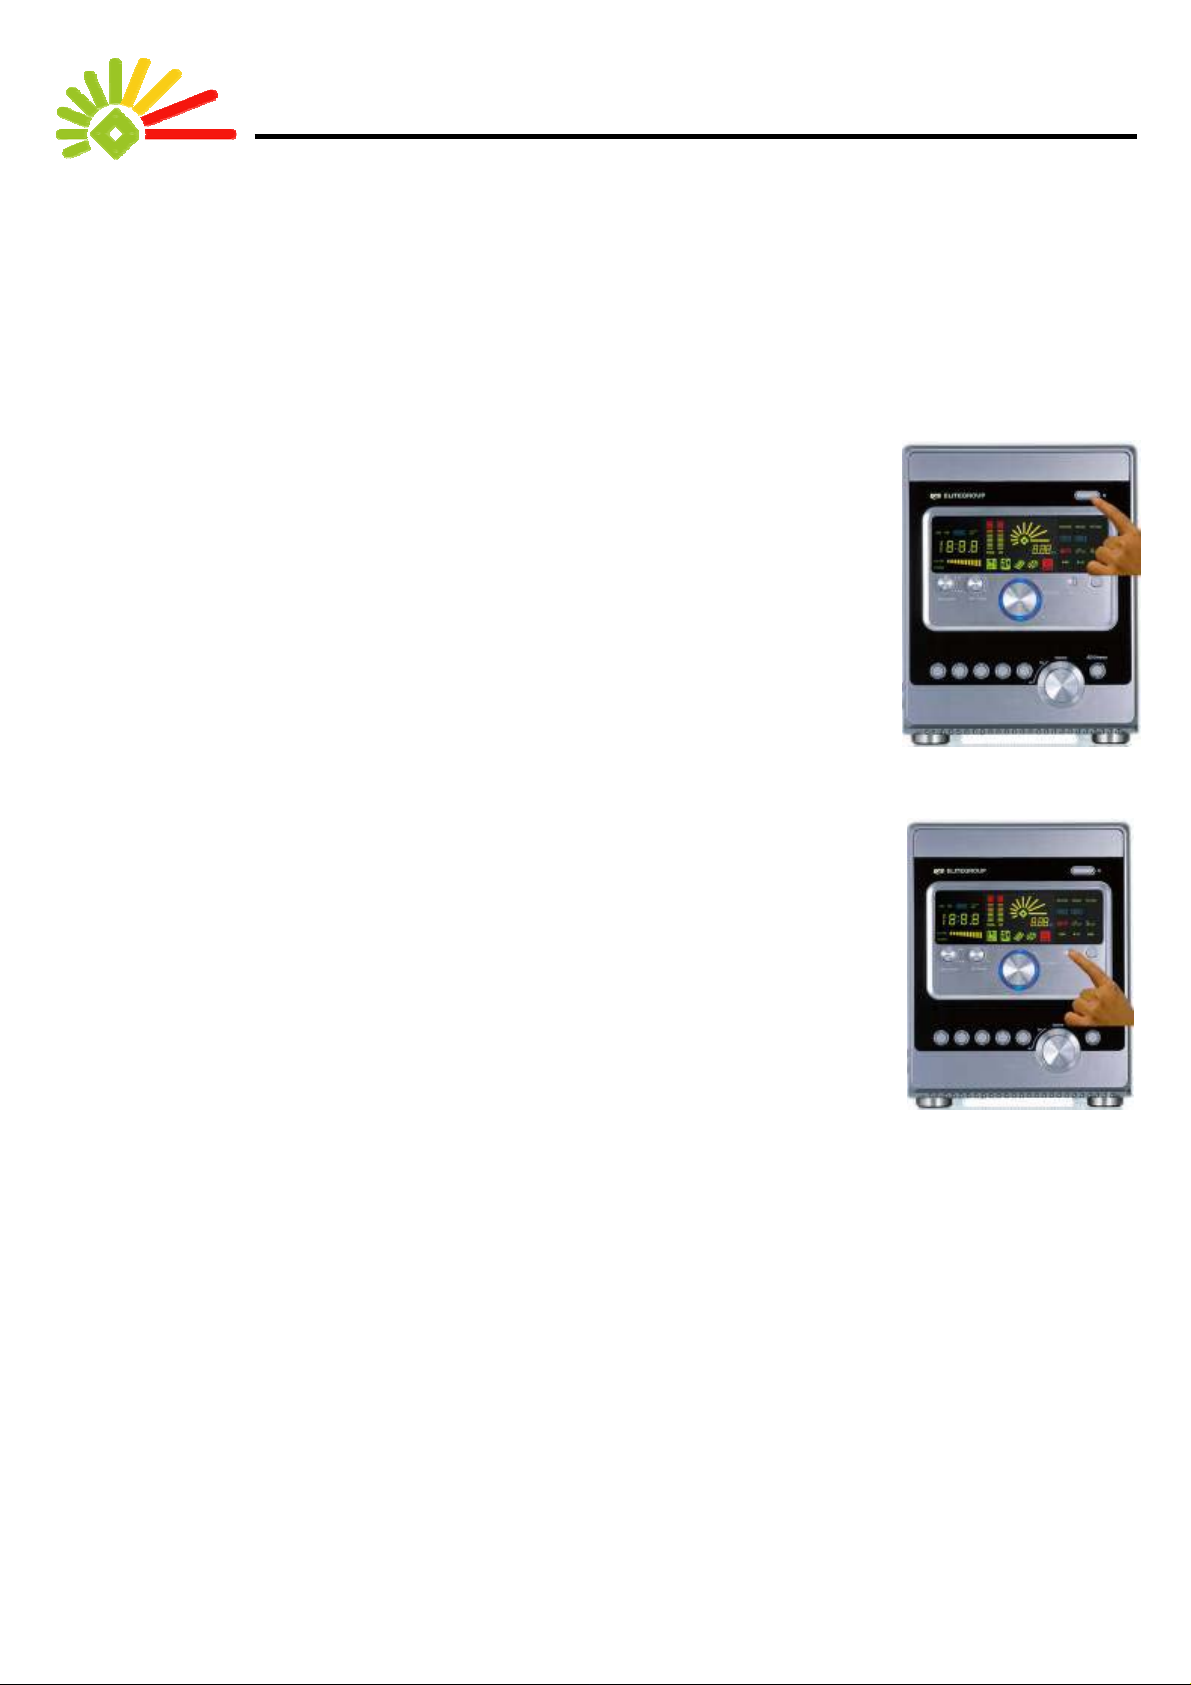
How to Reset?
1. “Reset” is a function to force the PC to restart. Push the “reset” button on the panel
shown below, the system will restart.
2. Pushing “Reset” to restart the system will expose you to the risk of losing dat a or
damaging the PC. We strongly recommend you not to use this function.
How to Use EZ-Watcher?
Knowing EZ-Watcher
Have you ever refrained yourself from buying over-priced CPU? Have you adjusted the BIOS on your computer just
because of a sudden need for a higher CPU performance? Or have you ever wanted to understan d the operation status of
computer but you don’t know where to start? EZ-Watcher, the one and only patent technology, will help you solve all these
problems. It not only can detects the hardware, monitors the temperatures of CPU and system to provide you a more
reliable environment, but also provides a patented Magic T une r function to allow you to obt ai n more CPU power ea sily and
improve system work efficiently with no extra charge by just turning the tuner.
2
Page 3
Enabling EZ-Watcher
If you are not familiar with a PC and its operation, you may accidentally lose all data in the PC by using the Magic Tuner
function. This is why the default factory setting of the Magic Tuner is off. To enable the setting, you have to enter the BIOS
setup program, change the setting of the “EZ Over clock” to “Enabl e”, and save the change b efore using the function. If you
do not know how to adjust the BIOS, you should find someone familiar with this to help you to enable the Magic Tuner,
allowing you to adjust the CPU speed.
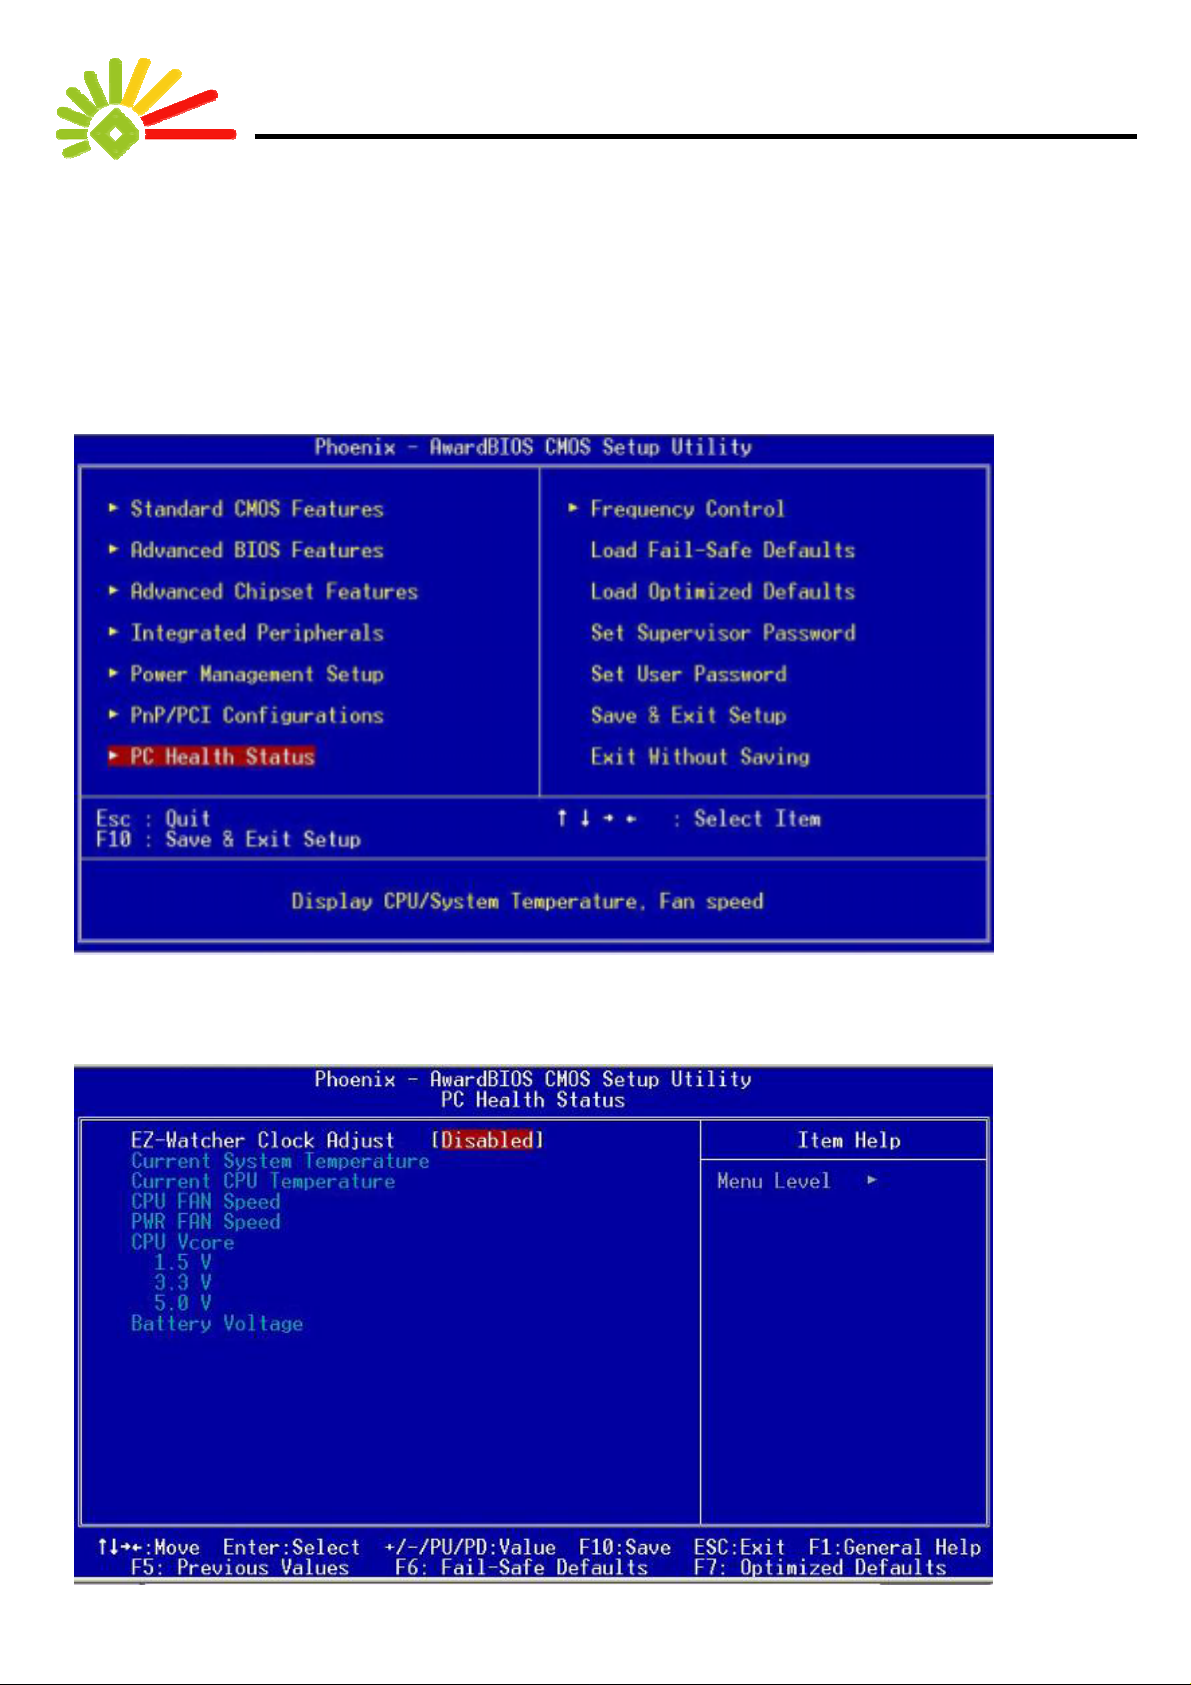
1. Please go to the BIOS menu and find the ” PC Health Status” item
2. The Default setting of “EZ-Watcher Clock adjust” is “ Disabled ”
3
Page 4

3. Press ‘PgUp’ or ‘PgDn’ on your keyboard to change the ”EZ-Watcher Clock adjust” to “Enabled”
4. Press ‘Esc’ on your keyboard to go beck to BIOS menu, and press ‘F10’ or press ’N’ to save your setting. You can now
enjoy the over clocking function of EZ-Buddie.
5. If you like to disable the function, simply follow the procedure again and set the ”EZ-Watcher Clock adjust” to
“ Disabled ”.
4
Page 5

How to use the EZ-Watcher/Magic Tuner
When the PC is booting, EZ-Watcher starts at the simultaneously and conducts POST to show the POST results. In
addition, EZ-Watcher will simultaneously display the temperature status of the CPU and the temperature inside the PC
case along with the current operating speed of the CPU. EZ-W atcher will check the operating statu s of the CPU/mainboard,
memory, hard drive, and optical device drive one by one with each corresponding icon light up see Fig 2, 3, and 4. When
Fig 4 is shown on the monitor, it means everything goes well.
Fig 2 Mainboard Icon lights up Fig 3 Memory Icon lights up Fig 4 Hard Drive and Optical Device
Drive Icons light up
When any error is detected in the CPU/Mainboard, memory, or IDE device, the corresponding icon will start to blink and the
tool icon will also light up, as shown in Fig 5, 6, and 7, indicating the system needs some maintenance.
Fig 5 The CPU/mainboard may Fig 6 Hard Drive may Fig 7 Optical Device Drive may
need to be repaired need to be repaired need to be repaired
We strongly suggest that you utilize the devices listed in our AVL (Approved vendor list) on the website. We’ll
regularly update the AVL. Once EZ-Watcher shows that the boot procedure cannot be completed, please look for
the nearby distributors for troubleshooting. Do not attempt to operate the PC by yourself. Any damage resulted
from your misuse and faulty operation will not be covered by the warranty.
Display of Operating Environment Temperature:
EZ-Watcher provides CPU monitori ng function and the system operating temperatures right after PC successfully booting.
When only the last three green blocks of the temperature status icons are lit as in Fig 4, it indicates that the operating
temperature is in a normal state. If three yellow blocks are lit, it indicates that the operating temperature is slightly higher
than the normal state. Please refer to Fig 8. If the first three orange blocks are lit, it indicates that the working temperature
is abnormally high. Please refer to Fig 9. If the temperature continues to rise, the top Over Heat icon will be lit and start to
blink, indicating that the operating temperature is too high. Please refer to Fig 10.
5
Page 6

Fig 8 The temperatures Fig 9 The temperature Fig 10 The temperatures
Slightly High Abnormally High Over-heated
Display of Hard Drive and Optical Device Drive:
When the hard drive and Optical Device drive are operating, the corresponding icons will indicate they are in use. Please
refer to Fig 11.
Fig 11 Icons for the hard drive and Optical Device drive in operation
When the operating temperature in the CPU or the PC case continues to rise, The Smart Fan will be activated.
Meanwhile, the CPU and PC case cooling fans will increase speed. As a result, noise will increase. This is
normal.Generally, the operating temperature should decrease. When the PC is operating in a bad environment or
processing complicated operations for an extended period of time, or if the fans fail, the temperature may not go
down successfully, the Over Heat icon will continuously blink to remind you that the temperature of the operating
environment is too high. When this happens, we strongly recommend you move this PC to a more proper
environment, reduce the CPU operating speed, or check to see if the CPU or case fans are fun ctioning normally
(Open the case while the PC turned off, then turn on the PC to check if the fans are functioning normally). When
the computer is overheated, the PC will be in an unstable state. Damages caused by overheating are not covered
by the warranty.
More performance from the system
The EZ-Watcher provides you a way to gain more over-all performance from the system. However, you should be
cautious with this feature and keep in mind following notices:
1. Whether a CPU overclock adjustment is going to work is determined by the quality of the entire PC system
including the CPU, mainboard, and memory. We offer no guarantee on the successful CPU overclocking
adjustments.
2. Before overclock the CPU, please save all data and close all active program s. When an ove rclock adjustment
fails, the computer will hang on and abruptly reboot.
3. The CPU suppliers have pointed out that if the CPU is operating beyond its specification for a long period of
time, its life span might be shortened
6
Page 7

4. We do not encourage you to overclock the CPU for a l ong-time usage. Please ov erclock the CPU base d on your
needs.
Now, you are ready to use this exciting feature!
First, when the computer is turned on, EZ-W atcher will automatically monitor the current CPU operating speed and show
the result through lighting 5 green lights. Please refer to Fig 4.
When you have a need for higher CPU performance, turn the switch clockwise (as shown in Fig 12).
Fig 12 Magic Tuner clock Adjustment
Make the adjustment one block at one time. Then, the CPU speed will gradually rise and the number of lit bars will increase
as well. Please refer to Fig 13 and 14.
Fig 13 Sixth bar is lit. Fig 14Seventh bar is lit in orange.
When you continue to raise the CPU performance, the eighth , ninth and tenth bars will be lit in orange (as sho wn in Fig 15,
16 and 17). The tenth bar will be lit in red and blink. The blinking is to warn you about excessive overclocking
Fig 15 Eighth bar is lit in orange. Fig 16 Ninth bar is lit in orange. Fig 17 Tenth bar is lit and blinking in red.
7
Page 8

For keeping users from improperly overclocking this system and protecting the CPU, The overclock ranges allowed with
the Intel, AMD, and VIA CPU have been restricted in 10% or 5% as factory defaults.
For Intel CPU, each light bar indicates 2% increasing in the CPU clock speed. F or details, please refer to Table 2 below:
Light stick 6 7 8 9 10
% of Over-frequency 2% 4% 6% 8% 10%
Table 2 Intel CPU overclock table
For AMD or V I A CPU, each light bar indicates 1% increasing in the CPU clock speed. For details, please refer to Table 3
below:
Light stick 6 7 8 9 10
% of Over-frequency 1% 2% 3% 4% 5%
Table 3 AMD & VIA CPU overclock table
Note:
Turning counterclockwise the tuner will down clock the CPU, resulting the light bars go out one by one until all go out,
as shown in Fig 18~21. Downclock can also make the system unst able. You should downclock the system only when
it is needed.
Special Notes:
1. The CPU clock speed listed above is basis on 3.2GHz for example. Actual clock speed is dependant on the
CPU installed on the mainboard.
2. The clock speed of the CPU actually displayed may vary with different CPUs. Usually, the normal scope of
deviation is 0.01 GHz.
8
 Loading...