

ELECTROCOMPANIET EC LivingTANA SL-1 Quick Start Manual
QUICK START GUIDE
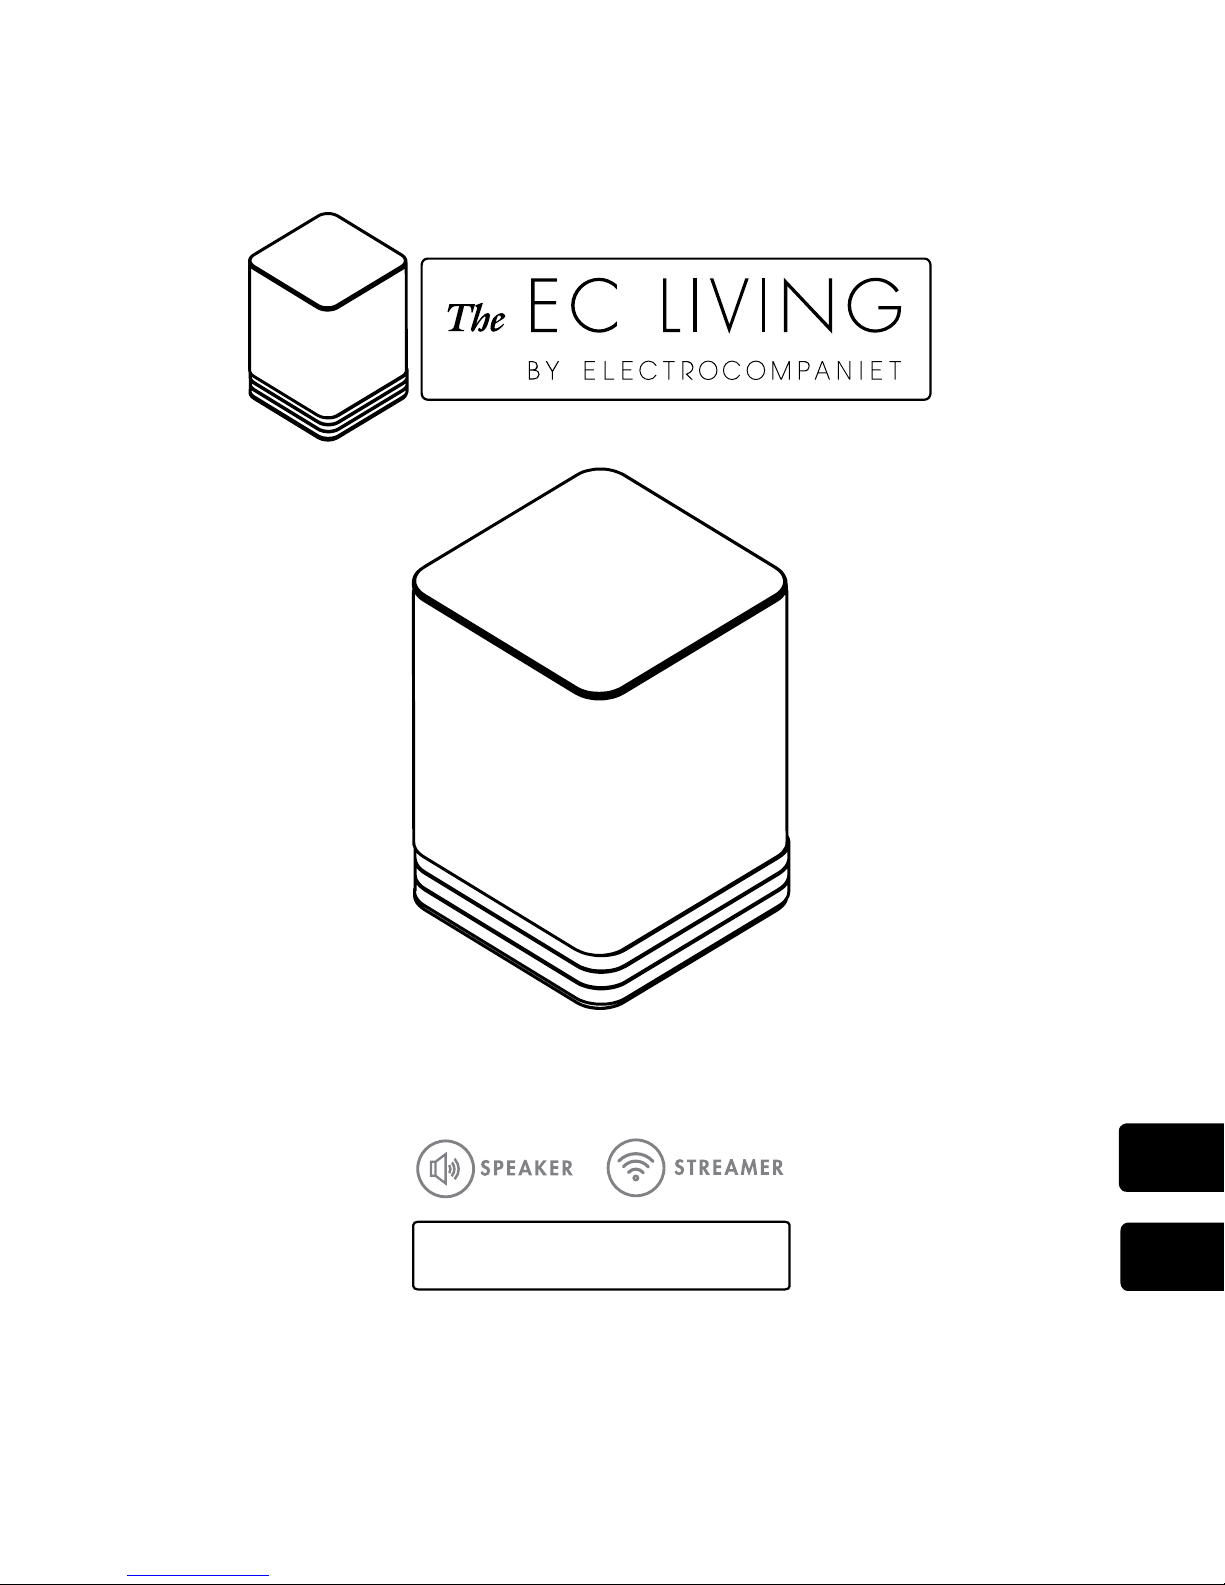
TANA SL-1
EN
NO
INTRODUCTION
Welcome to the world of Electrocompaniet! Through more than 40 years of ceaseless practice,
we learned how to combine timeless Scandinavian design and innovative thinking to give you
the purest possible experience of music and sound. EC Living, not only combines all of that into
one small package, it also embeds in itself the technologies of tomorrow, granting you access
to all your favourite Music Streaming Services at your fingertips.
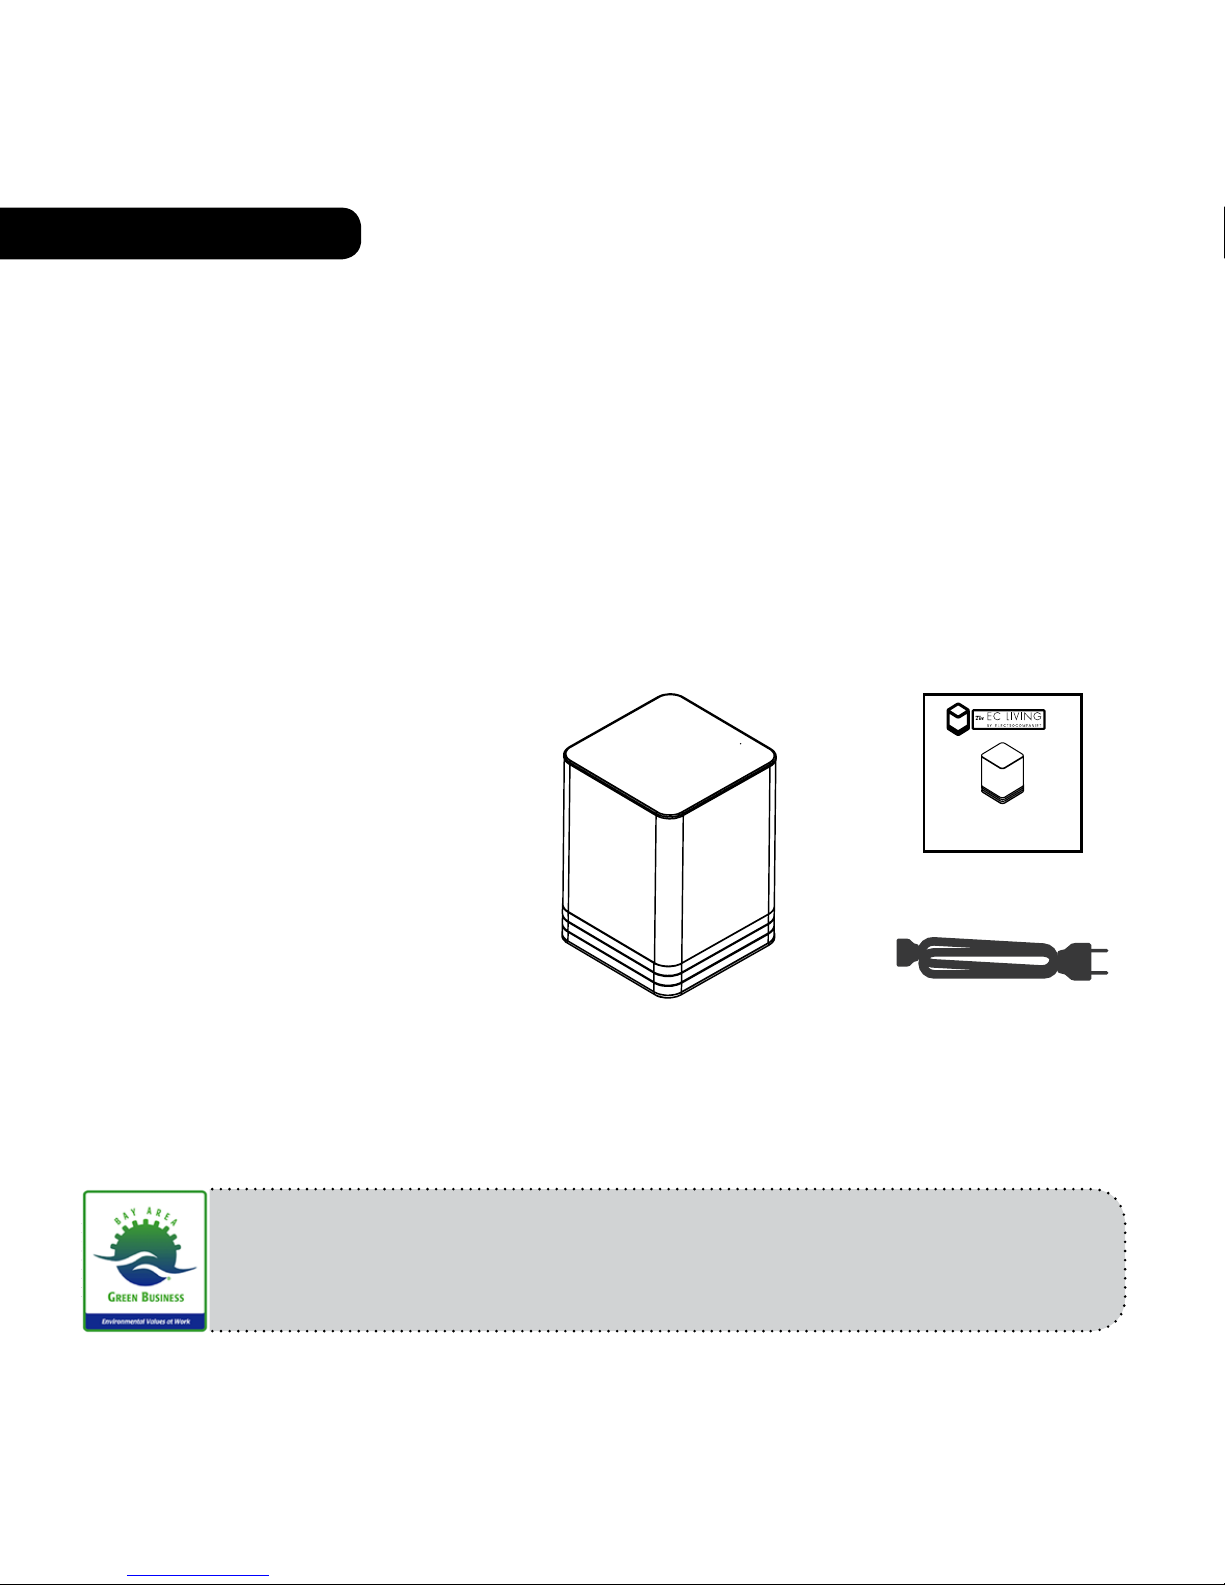
PACKAGE CONTENT:
• 1pc. EC Living speaker
• 1pc. Power cable ( 220V)
• 1pc. Quick Start Guide
UNPACKING
Immediately after receiving the EC Living speaker, inspect the carton for possible damage during shipment. The carton and packaging have been designed to provide the safest possible
protection for transport of your EC Living speaker. Unpack the unit carefully. Save all packaging materials for possible future shipments.
Manuals and documents in other languages
Electrocompaniet has a green profile and as part of that we reduce the volume of
documentation included in the box. You can find manuals, more
documents and other material on our web page.
ENGLISH
EN
English
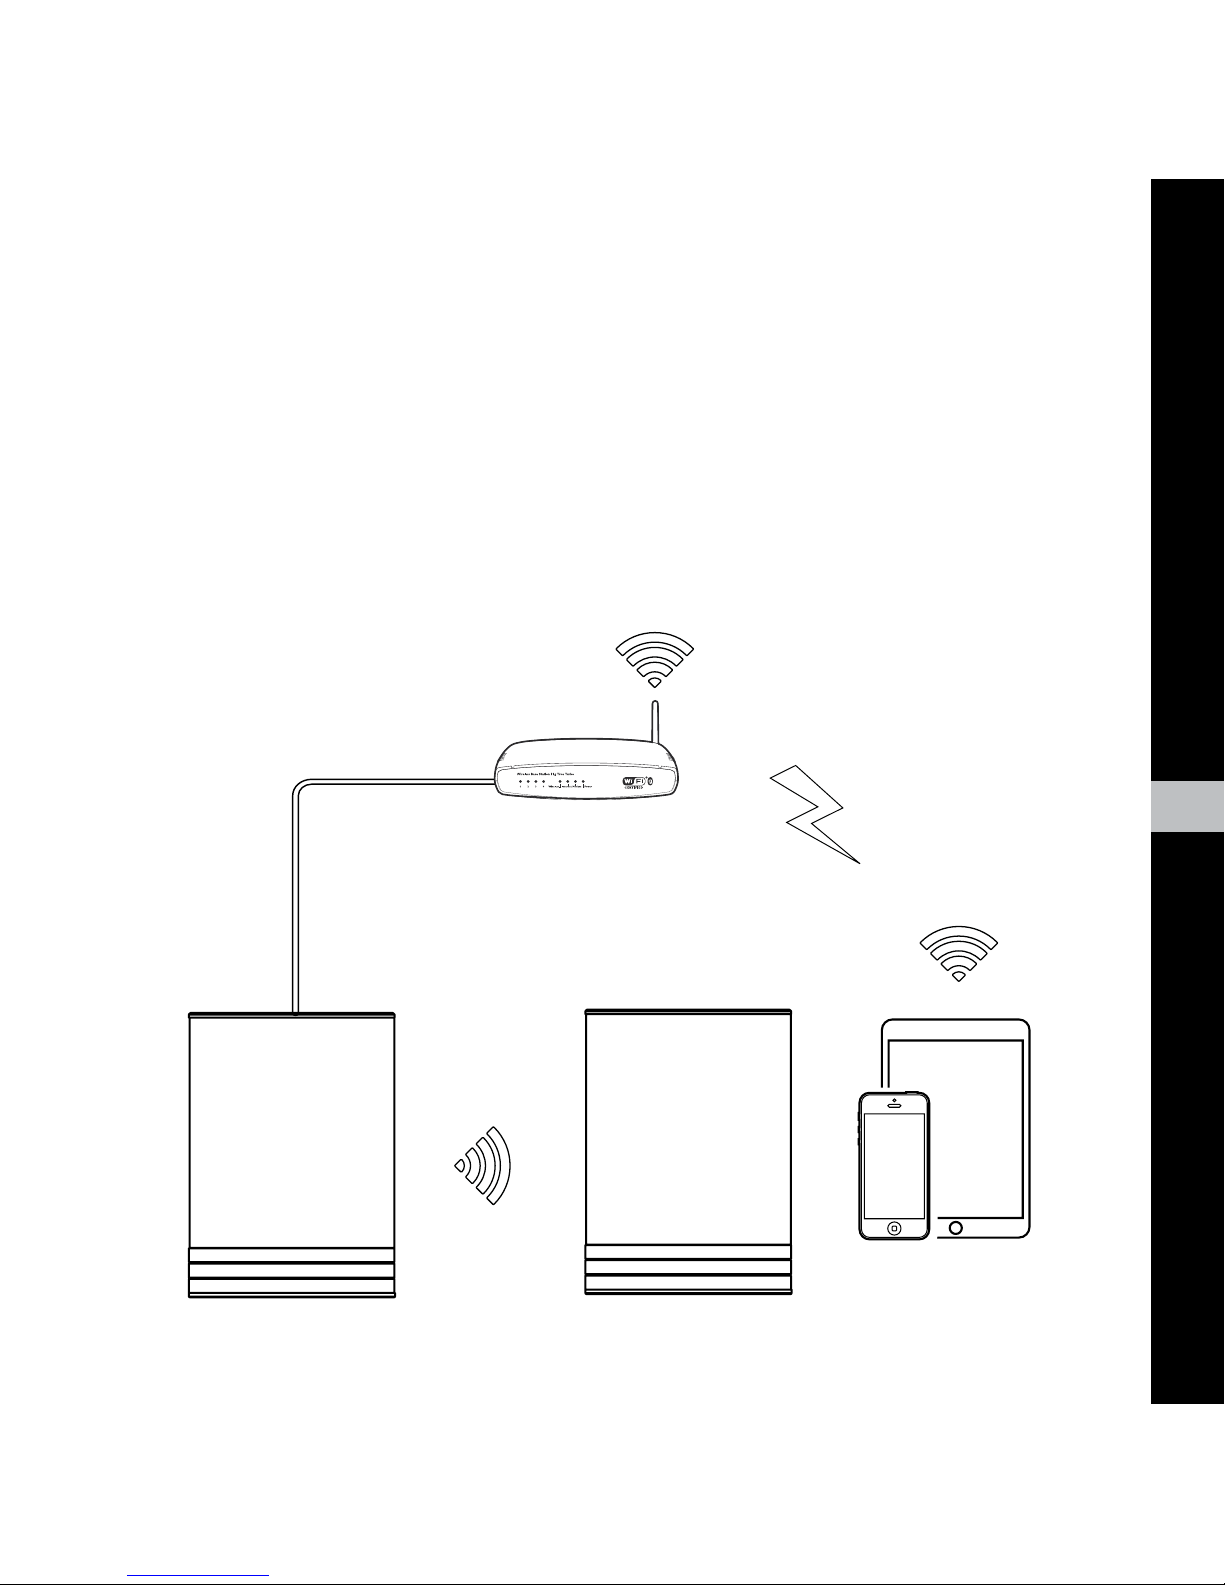
FIRST TIME SETUP
The first time you set up a wireless system without a screen and keyboard, may present quite
a challenge, reminding of a classic “chicken or the egg” problem. We need to be connected
to the system in order to input the Wi-Fi password, but without a wi-fi connection this is not
possible. So until the Wi-Fi password is set in the system, we can not communicate via Wi-Fi.
The system supports multiple ways of doing this first time setup, but in this guide we will only
describe the initial setup based on a LAN cable connection.
WiFi link
Audio link
LAN Cable
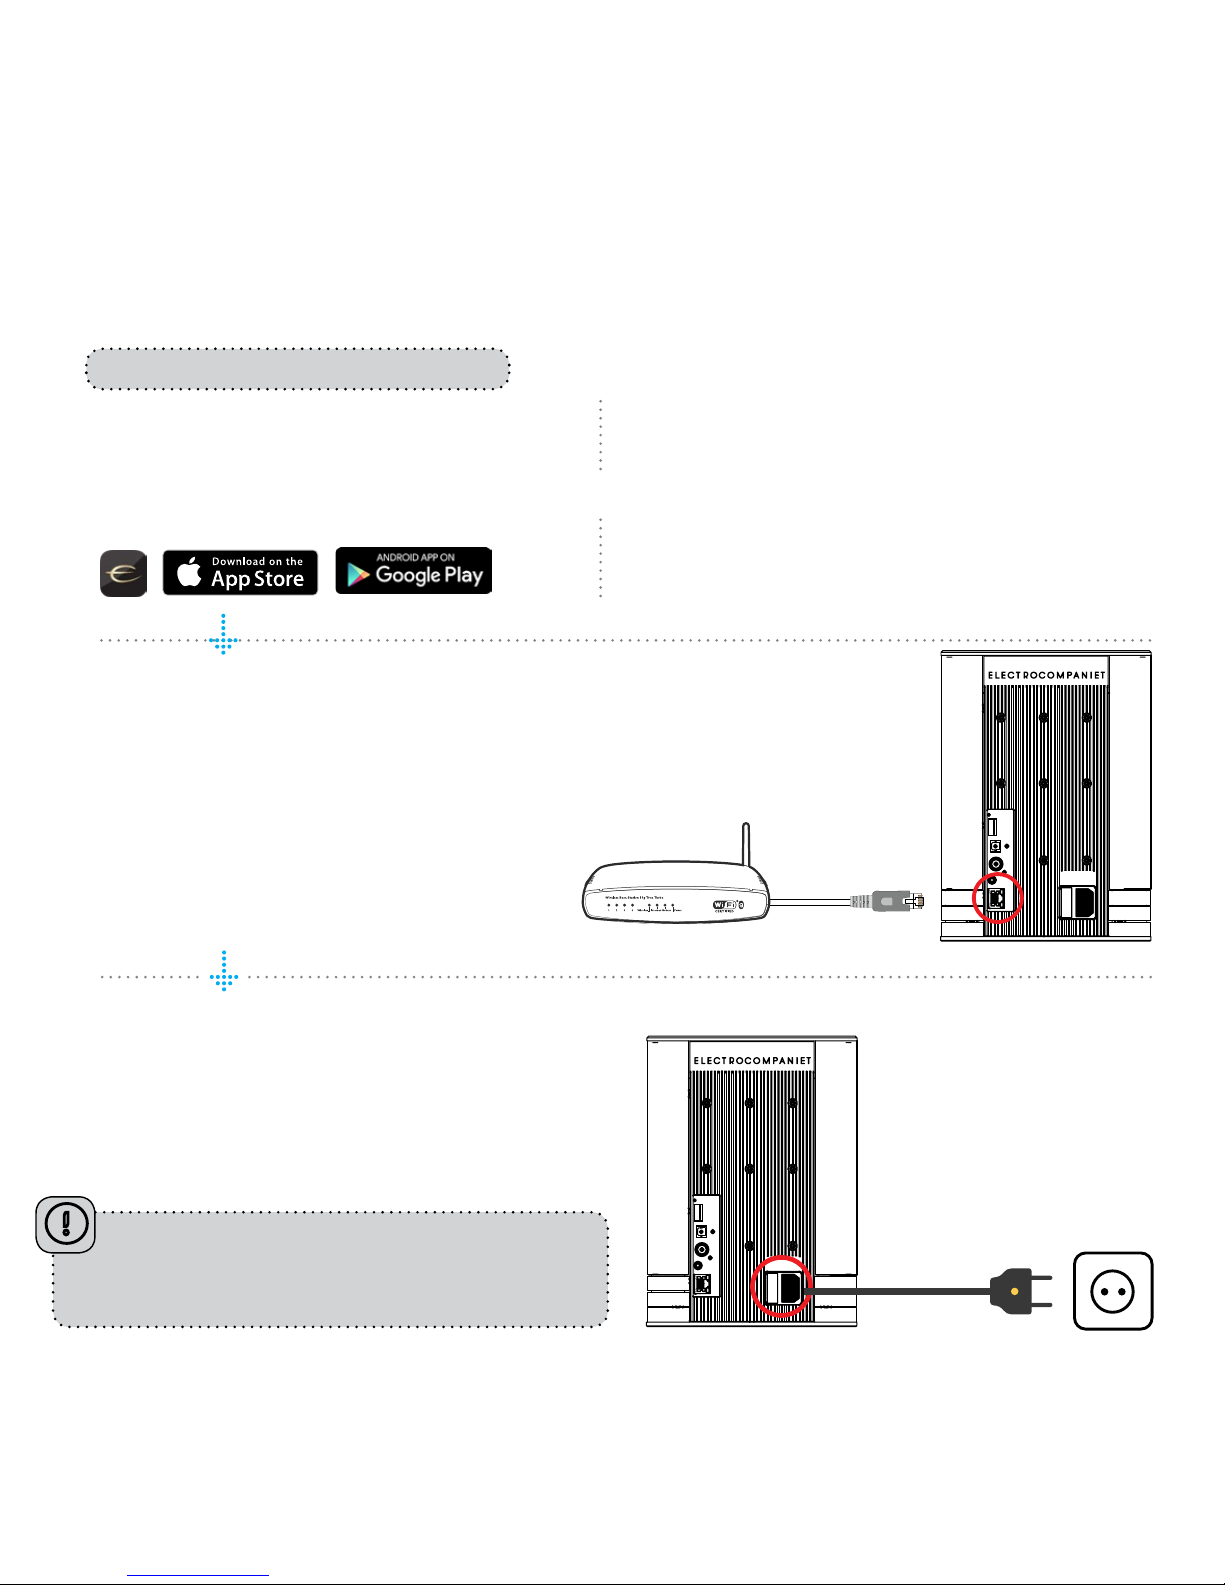
Download the “EC Remote” App
The free App is available at Apple store or
Google Play. Search for: “EC remote” or
“Electrocompaniet”
Connect to your router
In order to establish a Wi-Fi connection
you have to use a LAN cable which connects to you local network, or directly to
your router.
*LAN cable is not included. Please use any
standard RJ45 cable.
Connect the power cable
Power up the TANA SL-1 by connecting the
power cable included in the box. Before
continuing, check that you have a glowing
“E” logo, on top of the unit.
Use your PC, Mac or Linux
machine with a web browser
PREPARATION FOR SET UP PROCEDURE
The first time you set up your EC LIVING TANA SL-1 Speaker & Streamer.
OR
RECOMMENDED
After connecting the power and network cable, it
is a good idea to wait about 20 minutes for any
software updates to be installed.

EN
English
Start your “EC Remote” App
As long as you have downloaded the App
following the previous instructions, you will
find the App where you normally find other
Apps on your device. The first thing to do is
to select your new TANA SL-1.
Tap ZONE BUTTON
Now select your TANA SL-1. For example the
unit name can be “EC Living 6”. If no name
is listed, tap the refresh icon at the top bar to
rescan for your TANA SL-1. When you find
your unit, tap on the name to start the setup.
Use a web browser
Enter the address of your EC Living system in
the web browser.
If you are using a Mac or Linux machine, this
will be “ECLiving-<number>.local”. Where
<number> are the last 4 digits of the serial
number, excluding leading zeros
(e.g. “ECLiving-565.local”).
On a PC, please enter the system’s IP address.
You may find this address in your router, by
referencing the EC Livings MAC address.
Please follow your router manufacturer’s
instructions for finding an IP address given a
MAC address.
Begin the Initial Setup
Simply tap START to begin the setup of the new EC Living system.
Select your language
Just select your language. It will send you automatically to the next screen.
Name your EC Living unit (Give your unit a zone name if you plan to expand )
You can give your TANA SL-1 any name you want. Examples of name is Livingroom, Kitchen, Bedroom,
Bathroom. Tap ENTER or Return on the keyboard when you have entered your unit name. Tap Next (upper
right corner) when you are done.
A Zone is the name we use for the area this
device is planned to cover. Typical Zones
could be livingroom, bedroom, kitchen etc.
FOLLOW THE ON-SCREEN INSTRUCTIONS
OR
RECOMMENDED
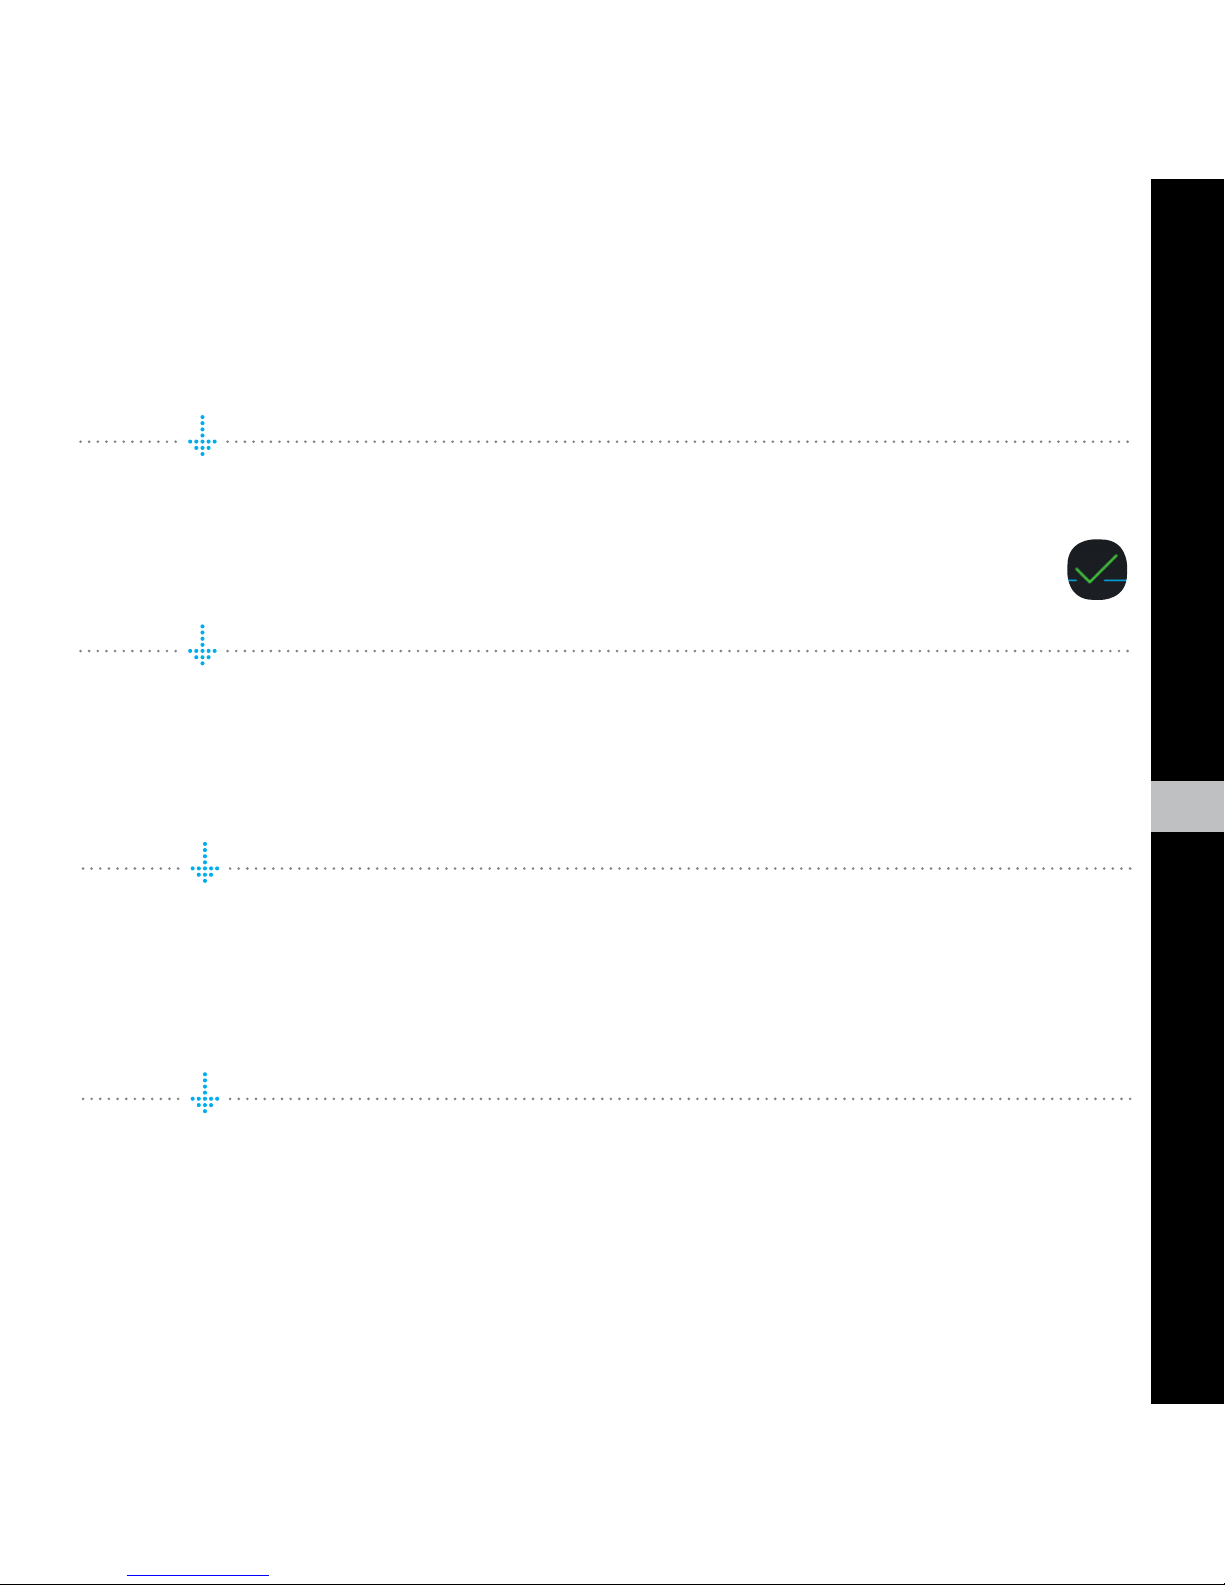
SETUP 2 : STEREO SETUP CONFIGURATION
Position your speakers for a STEREO setup (figure 2).
If you are using a tablet once the speaker is detected,
drag the speaker from the bottom line to the correct position (Right - Left).
If you are using a smartphone select the position from
the pop-up menu. (Tap on a speaker to play a test tone.)
If speakers icons are missing, tap on SCAN to search, then
repeat SETUP 2 from beginning.
Tap Next (upper right corner) when you are done.
* On the tablet App, the TANA SL -1 speaker
symbol has a small “wireless icon“ at the top corner.
PAIRING ADD-ON SPEAKER TANA L-1 FROM THE SETTINGS MENU
( if you buy an add-on speaker later)
Go to SETTINGS -> OUTPUT SETTING -> SPEAKER CONFIGURATION.
Follow instructions from SETUP 2.
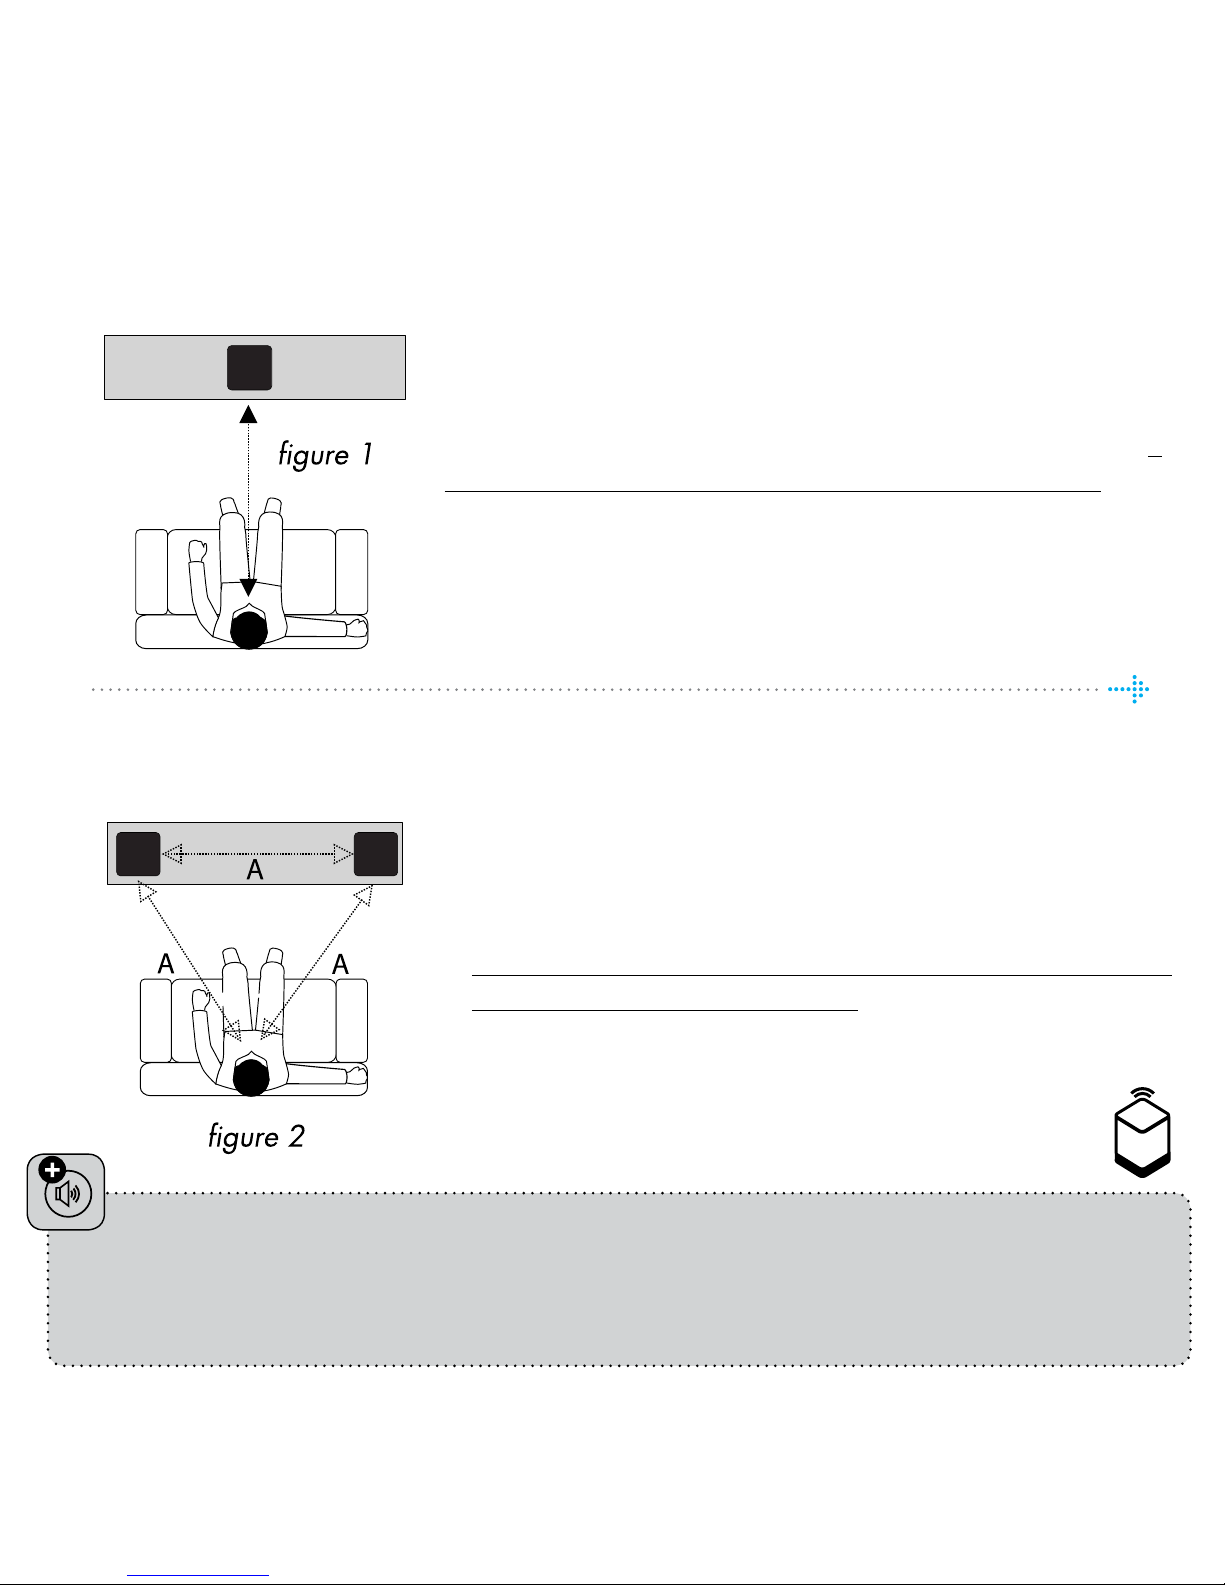
SETUP 1: STANDALONE SPEAKER CONFIGURATION
Position your speaker for a STANDALONE setup (figure 1).
Next step is to identify your TANA SL-1 for a standalone
setup. If you are using a tablet, you will see a speaker icon
placed at the middle, tap on a speaker to play a test tone. If
the speaker icon is missing, tap on SCAN to search for it. Drag
the speaker into the correct position when it’s detected, ( if
you are using a tablet), or select the position from the pop-up
menu ( if you are using a smartphone).
Tap Next (upper right corner) when you are done.
EN
English
Test of audio output
Tap the button START TEST. A standard “white noise” sound should be played on all
paired speakers. Wait until the test sound stops.
Tap Next (upper right corner) when you are done.
Check the Internet access
The system will now check the internet connectivity. If the system finds a stable
internet connection the spinning circle will be replaced with a green mark.
Press Next (upper right corner) when you are done.
Include your music files
“Add libraries” let’s you access your music stored on other devices through
EC Living. If your music library is big, we recommend you to do this after the initial setup .
You can do this later under the SETTINGS menu from the main menu.
Music services login
Choose your streaming service and fill in your Wimp, Tidal and/or Qobuz account
details. You can also do this later at any time in the SETTINGS menu from the main
menu. Tap Next (upper right corner) when you are done.
You are done, tap FINISH to complete
You have now completed the setup of your system. For test, please select Internet
radio from the main screen. Swipe left to select Top100 stations and pick a station
to test the system.

ENABLING WIRELESS CONNECTION
This step is only necessary if you want the system connected to your wireless network.
If you want to continue using wired connection (LAN cable), simply skip this page.
(We recommend using wired connection if possible to reduce Wi-Fi traffic and
achieve best possible stability for the system.)
Wireless network setup:
1. Tap SETTINGS at the main menu.
2. Tap NETWORK
3. Scroll down and tap CONNECT TO NETWORK
4. Select your wireless network. (Mobile/tablet must be on the same network)
5. Enter your password, tap “Join” or “OK”
6. Remove the LAN cable and wait until the ZONE button appear. Tap
ZONE and reselect your EC Living system.
If you loose connection with the system, reconnect the network cable and
check your network password carefully.
 Loading...