

ELECTROCOMPANIET ECI 6 Owner's Manual
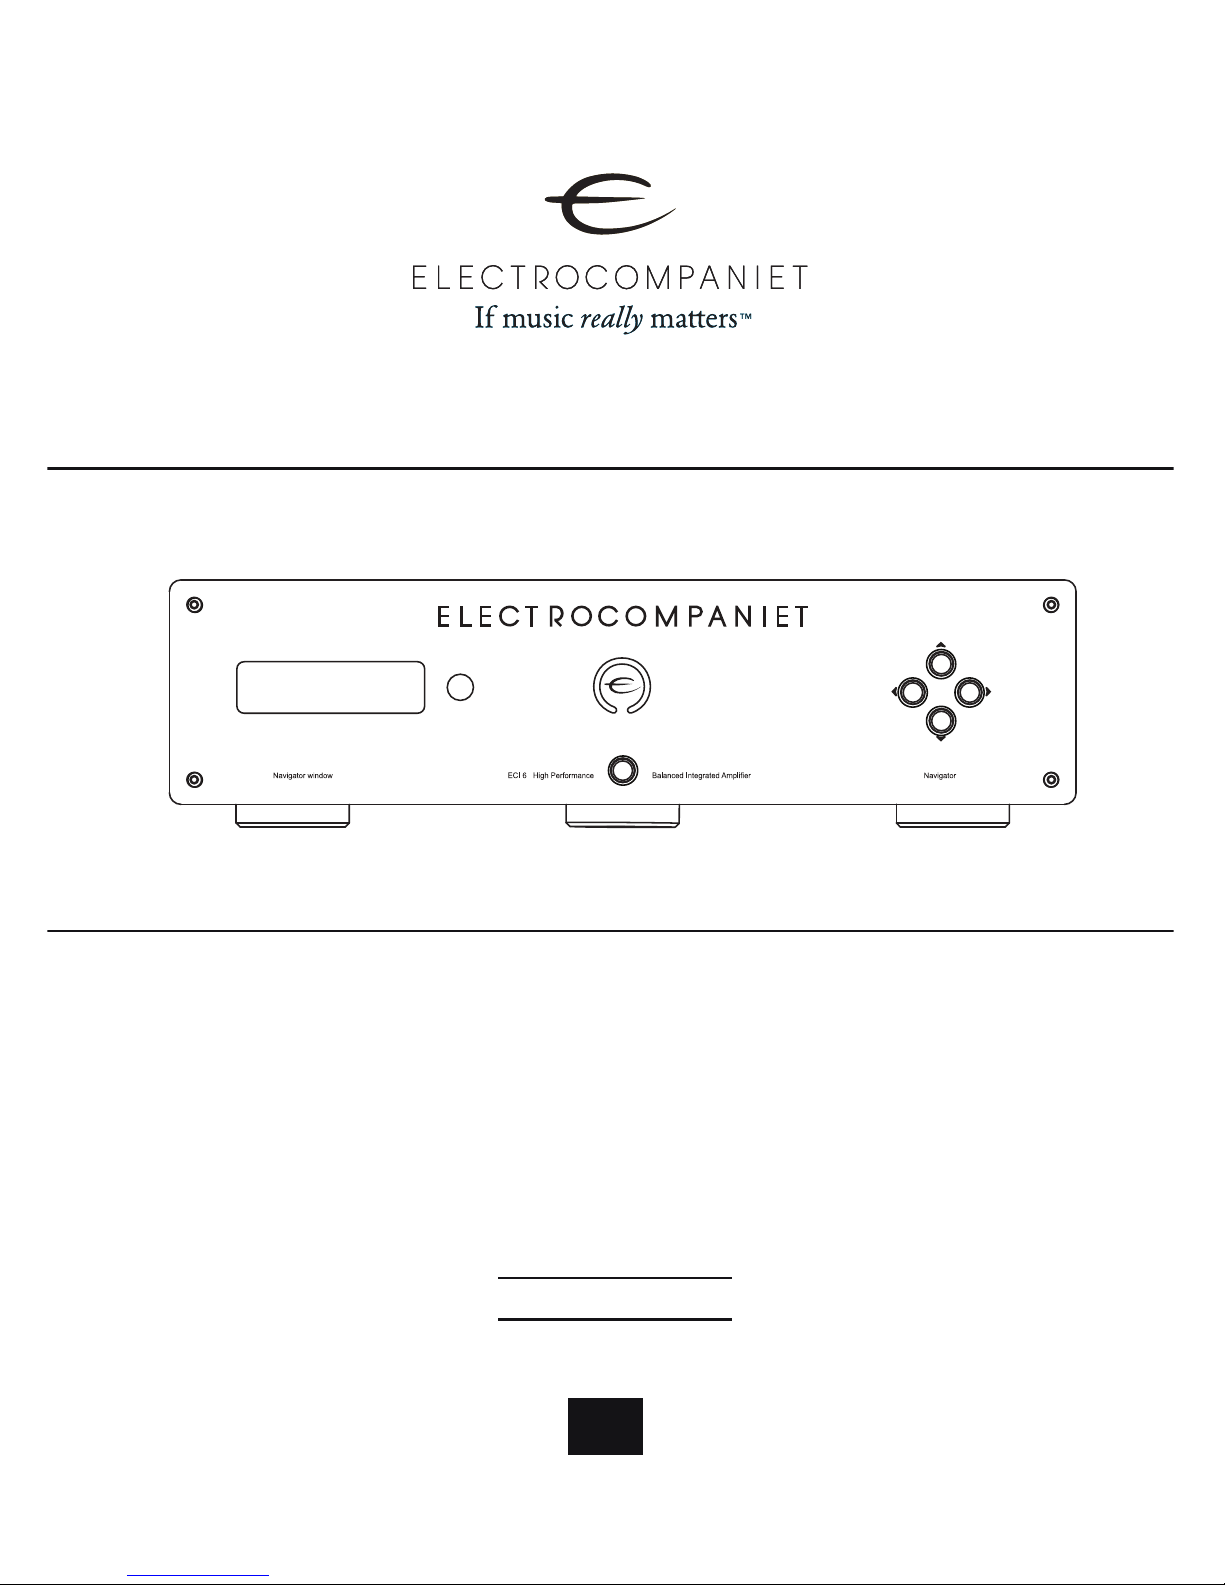
ECI 6
Balanced Integrated Amplifier
Owner's Manual
EN
ENGLISH
Rev.1.0

Welcome to the world of Electrocompaniet!
We thank you for choosing an Electrocompaniet high-end product.
At Electrocompaniet we are relentlessly focused on developing
audio equipment that is capable of bringing the fabulous experience of the concert hall into the very heart of your home.
Our aim when developing and testing new products is to ensure
that the wonderful richness of tone and every nuance of feeling
and emotion of a piece of music is delivered to you just as the artist
intended.
We continually strive to give you the very best musical listening
experience available whatever your preferred musical genre.
Sincerely yours
Mikal Dreggevik
CEO

3
ENG
Unpacking the ECI 6
Immediately upon receipt of the ECI 6, inspect the carton for possible damage
during shipment. The carton and packaging have been designed to provide the
safest possible protection for transport of your integrated amplifier. Unpack the
unit carefully. Save all packaging materials for future shipment.
The contents of the carton
• 1 pc. Electrocompaniet ECI 6 Integrated amplifier.
• 1 pc. AC main cord.
• 1 pc. Spare main fuse (located in the fuse drawer,
3.15AT /250VAC or 5AT/115VAC)
• 1 pc. Inspection card.
• 1 pc. Owner's manual.
• 1 pc. IR Remote control
• 2 pcs. AAA/LR03 Batteries
Set up procedure
Before connecting the ECI 6 to the AC Power outlet, check that the main voltage
indicated on the rear panel corresponds to the line voltage in the country were
you intend to use the unit.
How to avoid damages
Do not under any circumstances connect or disconnect equipment when power
is turned on. The design of the RCA plug generates a huge transient when
inserted. Connecting or disconnecting equipment with the power on can result in
severe damage to both speakers and amplifier.
How to avoid noise problems
The ECI 6 contains delicate circuits that are sensitive to magnetic stray fields. The
unit should not be placed near power voltage transformers, TV sets etc. Care
should also be taken regarding placement of the interconnect cables. Do not run
interconnect cables in parallel with main cords or speaker cables. Keep interconnect cables as short as possible.
How to avoid possible antenna problems
In some set-ups hum may occur when you connect the radio, VCR or TV to your
system. The problem is caused by DC voltage coming from your antenna. Please
contact your cable network operator.

4
ENG
How to connect your system
Please read this page carefully and follow, page 11-12 as reference.
Balanced XLR input and operation
The balanced mode can only be used if the signal source has a
balanced output. Use an XLR interconnect with GND on pin 1, + on
pin2, and - on pin 3. To use the balanced input with a source single
ended, connect the ECP5XLR in the XLR
Single ended RCA input and operation:
The left channel is the top row on the rear, marked black. All inputs are
similar regarding sonic performance. Unused inputs may be shorted to
ground, using a RCA shorting plug.
HT (Home Theatre)
HT is a direct input where the volume control is bypassed. ECI 6 will
work like a power amplifier with fixed gain. When selected the output
will be muted for a few seconds as a safety against accidental overload.
Preamp out:
The preamp out is dependent on the volume control setting, and MUTE
function. These outputs (balanced and single ended) can be used to
control an additional power amplifier.
Speaker output:
Never short the positive output to ground or chassis. Switch the amplifier
off when connecting the speakers.
How to power up your system
You should always power up your system the following way:
Signal sources (CD player, tuner etc.) first. Allow a 30 seconds warm-up
before you turn on the ECI 6.
When switching off your system
Start with the ECI 6, then the signal sources. If the preamplifier output is
connected to a power amplifier, then turn off the power before or at the
same time as ECI 6.

5
ENG
12V trigger Input/Output
The 12V trigger output may be used to automatically power up a
CD-player (or other equipment with 12V trigger input) when ECI 6 is
powered up. When ECI 6 powers up the 12V trigger output will be set
to 12V and will support up to 75 mA current output. Please keep the current draw below 75 mA by limiting the number of devices connected to
the 12V trigger output.
The ECI 6 will power up (leave standby) when a voltage in range 8-20V
(AC or DC) is present on the 12V trigger input, and stays powered on
for as long as the voltage is present. The current draw at the 12V trigger
input is 3.3mA.
RS-232 Control Port
The RS-232 control port may be used in home installation setups or general
usage for controlling basic functionality on the ECI 6. Please refer
to document "ECI6DS RS232 Command Reference V1.pdf" for further information. This document may be downloaded from www.electrocompaniet.no
 Loading...