

Page 1

The symbol ofp means this function is for ECHO-W2 only; all descriptions with this symbol
are not suitable for ECHO-W1
A. PHYSICAL DESCRIPTIONS
English
1. LCD DISPLAY 2. MODE BUTTON 3. MAIN BATTERY CAP
4. SET BUTTON 5. SILDE ON/OFF SWITCH 6. RUBBER PAD
7. BRACKET 8. SENSOR MARKING LINE 9. SENSOR (TRANSMITTER)
10. SENSOR BATTERY CAP 11. SENSOR BAND 12. BAND CARRIER
13. RING 14. MAGNET 15. 3V BATTERY (CR2032)
16. 1.5V BATTERY (LR44 IS TYPICAL) 17. SCREW 18. NUT
B. INSTALLATIONS
BRACKET AND MAIN UNIT MOUNTING
1. Attach the bracket i to the handlebar and fit the rubber pad h between the handlebar and the band of
the bracket. Tighten the screw securely till the bracket cannot turn. (Fig. A)
2. Slide the main unit onto the bracket from front to rear till it clicks into position. To remove the main unit,
press down on the lock lever of the bracket then pull the main unit forward and off. (Fig. B)
SENSOR AND MAGNET MOUNTING
1. Install the sensor k and the sensor band
11
with the screw
17
. (Fig. C)
2. Mount the band carrier
12 onto sensor band. (Fig. C)
3. Mounting the sensor unit on the right front fork with rubber pad. (Fig. D)
4. Mount the magnet
14
on one spoke of the front wheel and let the magnet face the sensor’s mark line
j. Place the ring
13
around the magnet to enhance the reliability of the fixed screw. (Fig. G)
5. Adjust the relative position between the main unit and the sensor, according to the following key points:
a). It will receive a stronger wireless signal if the sensor is more close to the main unit.
The arrow of the sensor must point to the main unit, and install the sensor as close to the main unit
as possible and within 45 cm (1.5 feet) to get a better wireless performance. (Fig. F)
It is workable when the arrow symbol is down (Fig. E), but keeping the arrow up is better because its
sensing distance is shorter than with the arrow down.
b). Adjust the installation angle of the sensor to aim at the direction of the main unit within +/- 15°, the
best performances is at vertical direction (90°) between the sensor’s arrow and the battery cap of the
main unit. (Fig. F)
c).
Adjust the magnet fixed position to let the center of the magnet align to the sensor’s mar king line. (Fig. G)
d).
Adjust the sensor to let the gap between the magnet and the sensor’s marking line is about 5mm (0.2"). (Fig.
H)
6. Refer to the TEST section to testing the installation before tighten the sensor band with a screwdriver.(Fig. I)
7. Fix the excess sensor band
11
by thrusting it into the band carrier
12
. (Fig. J)
TEST
1. The main unit has a "Slide On/Off Detecting Switch g" (patents pending) to turn ON/OFF the power of
the wireless receiver. It can receive the wireless wheel signal only after the main unit is slid onto the
bracket.
2. Spin the front wheel to check if installation is correct. Installation is correct if the main unit flickers "
"
symbol. It is an incorrect installation if there is no symbol of "
". Please check the relative position
among the main unit, the sensor and the magnet, or refer to the trouble-shooting table.
C. THE WIRELESS SYSTEM AND PERFORMANCES
1. The sensor transits the wheel rotating signal to the receiver in the main unit by the wireless transmission.
To prevent the receiver from interfering by other wireless noises and causing the main unit to display false
data, install the transmitter according to the following key points to get better performance.
a). The receiver is designed to receive a signal with only a certain direction and angle to reduce the noise
interference from other sources. Adjust the installation angle of transmitter to aim at the direction to
the main unit within a +/- 15° angle, the best performance is at a vertical direction.
b). The receiver will receive a stronger wireless signal if the transmitter is more close to the receiver. A
stronger sensing signal not only has better noise immunity, but also increases the transmitter battery’s
operating life. For good wireless performance, please install the transmitter as close to the main unit
as possible and within 45 cm (1.5 feet).
2. Precaution
a). This computer has almost no cross-talking interference when 2 bicycles carrying the same or similar
wireless cycle computers are ridden side by side, as long as the cross-distance is over 40cm (15.8”).
b). This computer has excellent noise immunity for some electromagnet ic interference, but it may be interfered
with by a strong electromagnetic wave and make the main unit displays error data while it is near strong
interference such as TV transmission stations, radar stations, and some heavy industrial machines.
3. This computer has a “Slide On/Off Detecting Switch”
g to check the main unit to slide on/off from the bracket.
a). To reduce the power consumption of the main unit to increase the battery operation life, but also to
delete all indoor electromagnetic interference from electrical equipment (such as PC monitors,
handy-phones, etc.). It will turn off the power supply of the receiver when the main unit takes off from the
bracket.
b). The main unit can only receive the wheel signal after it is slid onto the bracket.
D. FUNCTIONS and SPECIFICATIONS
: Current Speed 0.0 – 199.9 Km/h or 120.0 Mile/h +/- 1% (Typical)
1. The current speed is always displayed on the upper display when riding. It displays current speed up to
199.9 KM/h or 120.0 M/h (for wheel diameters of over 24 inches).
2.
W hen riding is stopped, t he speed will continue to count 4 seconds for Bike 1 and count 2 seconds for
Bike2 to confirm that no more wheel signals have been sent.
ODO: Odometer 0.0 – 99999.9 Km or Miles +/- 0.1%
1. The odometer cumulates the total distance as long as the bike is running.
2. The O
DO data can not be cleared to zero by RESET operation.
p
ODO1, ODO2 and T- ODO: Bike1, Bike 2 and Total Odometer (For W2 only)
1. The odometer cumulates the total distance as long as the bike is running, either Bike 1 or 2 has its
odometer O
DO 1 or ODO 2 individually. The T
-
ODO is the sum of the ODO 1 plus ODO 2.
2. The ODO1, ODO 2 or T-ODO data can not be cleared to zero by RESET operation.
TM: Riding Time 0M00.0S-59M59.9S, 1H00M00S-99H59M59S +/- 0.003%
T-TM: Total Riding Time 0H00M – 9999H59M +/- 0.003%
1. The TM totals the riding time from the last RESET operation. The T-TM accumulates total riding time
from the beginning of computer use and can not be cleared by the RESET operation.
2.
It will automatically begin counting upon riding, and continue to count 4 seconds for Bike1 and 2
seconds for Bike2 to confirm that no more wheel sensing signals have been sent when riding is stopped.
But this computer revises back the over-counted 2 or 4 seconds automatically.
: 12HR AM/P M or 24HR Clo ck 0:00’00” – 12:59’59” AM/PM or 23:59’59” +/-
0.003%
It can display the cur r ent time in 12HR AM/PM or 24HR clock.
AV: Average Speed 0.0 – 199.9 Km/h / 0.0 – 120.0Mile/h +/- 0.1%
1. It is calculated from the DS divided by the TM. The average data counted is from the last RESET to
current point.
2. It displays "0.0" when T
M is less than 4 sec., and is updated by about one second when TM is over 4 seconds.
3. It displays an "Err" symbol when either the T
M is over 100 hours or the DS is over 1,000km (or miles).
Reset the unit in order to restart.
DS: Trip Distance 0.00 – 999.99 Km or Miles +/- 0.1%
The DS function accumulates the distance data from the last RESET operation as long as the bike is being
ridden.
MX: Maximum Speed 0.0 – 199.9 Km/h or 120.0 Mile/h +/- 1%
It shows the highest speed from the last RESET operation.
/ : Speed Pacer
It flashes the " " speed pacer arrow while the current speed is higher than the average speed and the
down arrow " " flickers conversely.
p : Lubrication Reminder: (For W2 only) 10.00 – 990.00 Km or Mile +/- 0.1%
1. This user-friendly function is created by ECHOWELL and pat ents are pending worldwide. It will remind
you to lubricate your beloved bike after you preset the reminder.
2. The preset distance will be counted down, the LCD will flash the " " symbol when the preset
distance will count down to 0 to remind you to lubricate your bike.
3. The reminding distance will count up after counting down to zero and the "o" symbol will display on the
left of distance to indicate the distance is over the lubrication reminding distance if you did not reset
the lubrication reminder.
p : Maintenance Reminder: (For W2 only) 10.00 – 990.00 Km or Mile +/- 0.1%
All descriptions are similar as the Lubrication Reminder except the word of Maintenance instead of
Lubrication and the symbol "
" shall be replaced by the symbol " ".
Sensor with Transmitter: No Contact Magnet sensor with Wireless Transmitter.
*
Remarks: All functions’ data are updated about one second.
Suitable Fork Size: 12mm t o 50m m & (0.5" to 2.0" &) Forks.
Wireless Sensing Distance: 55cm (1.8 feet ) between the transmitter and the main unit.
Cross-Talking Interference: W ithin 40 cm (15.8"), no interference by 2 bicycles carrying similar cycle
computers, even when ridden side by side.
Wheel Circumference Setting: 1mm - 3999mm (1mm increment)
Operation Temperature: 0°C ~ 50°C (32°F ~ 122°F)
Storage Temperature: - 10°C ~ 60°C (14°F ~ 140°F)
Main Unit Battery Power: 3V battery x 1 (CR2032), battery operating life is about 2 years. (Based
on an average of 1.5 hours use per day)
Transmitter Battery Power: 1.5V battery x 1 (typical LR44). About 24,000km/15,000 miles riding distance
or 2 years battery operating life. (The original factory-attached battery
life may be shorter than this period due to shipping and storage time).
Dimensions and Weight Main Unit: 44.0 x 53.0 x 19.3mm/31.5g
Transmitter: 20.0mm& x 48.0mm/14.1g
*
The specifications and designs may be changed without notice.
Page 2
z I NDEX : MEANS PRESS BUTTON N MORE THAN 2 SECONDS.
NS PRESS BUTTON N QUICKLY {N=KEYNUMBER: d MODE Button.
f
SET Button. }
MEA
E. MAIN UNIT SETUP (Fig. 1)
EN
INITIATE THE COMPUTER (ALL CLEAR)
1. A battery is already loaded in the main unit when purchased. Hold down the MODE button d and SET
button f simultaneously for more than 3 seconds to initiate the computer and clear all data.
IMPORTANT: Be sure to initiate the computer before it is be used, otherwise the computer may
run errors.
2. The LCD segments will be tested automatically after the unit is initiated.
3. Press the MODE button d
to stop LCD test, then the flickering "KM/h".
UNIT SELECTION
Press MODE button
d to choose KM/h or M/h (Mile/h). Press the SET button f to recognize either as desired.
ODO1, ODO2 and T-TM DATA SETTING (ODO2 Is only for W2)
1. The function is designed to re-key in former data of ODO1, ODO2 and T-TM when battery is replaced. A
new user does not need to set this data. Each press of the SET button
f skips one setting data
process.
2. Data Setting Processes (621741): (Fig a)
A). The data is adjusted per each digit separately. The digit to be set flickers.
B). Press the MODE button d to increase the digital value by 1.
C). To change the setting digit by hold down the MODE button
d for more than 2 seconds.
D). Press the SET button f to store the data and change to the next setting.
CIRCUMFERENCE DATA SETTING (Default Bike 1)
1. It displays the “c2155”of the default value 2155mm. Measure the value for your wheel or refer to t he
quick table provided in the manual for your bicycle.
2. Adjust the circumference data as described in the Data Setting Processes.
3. The LCD will change to the Clock setting screen for W1 or change to the Lubrication Reminder setting
screen for W2 after the "SET" button f is pressed to store the desired data.
WHEEL CIRCUMFERENCE
z Precise Measurement (Fig. M)
Roll the wheel until the valve stem is at its lowest point close to the ground, then mark this first point on
the ground. Get on the bicycle and have a helper push you until the valve stem returns to its lowest point.
Mark the second point on the ground. Measure the distance between the marks. Enter this value to set
the wheel circumference.
z Quick Table (Fig. N): Get a suitable circumference value from the table.
p LUBRICATION or MAINTENANCE REMINDER SETTING (For W2 only)
1. The user’s friendly function is to remind you about lubricating or maintaining your beloved bike after
presetting the desired reminding distance.
2.
It displays the " "
or
" " symbol for Lubrication or Maintenance Reminder setting. (Default: Lubrication
Bike1: 100 km or Miles, Bike2: 300km or Miles; Maintenance: Bike1:300km or miles, Bike2:990km or miles.)
3.
Adjust the reminder distance data as described in the Data Setting Processes.
4. The function will be skipped if you set the distance at 000.00.
5. Press the “SET” button f to store the desired data and change to the next setting.
CLOCK SETTING (Fig. b)
1. It displays the " " symbol at this clock setting.
2. 12H/AM, 12H/PM or 24H selection.
A quick press of the MODE button d
to select 12H/AM, 12H/PM or 24H. Hold down the MODE button
d
for more than 2 second to change to the clock setting screen.
3. Adjust the clock data according to the Data Setting Processes.
F. BUTTON and NORMAL OPERATIONS
MODE BUTTON d (Fig. 5)
1. Quickly press this button to move in a loop sequence from one function screen to another.
2. It skips the T-TM, ODO, T-ODO, Lubrication and Maintenance Reminder function data while it riding.
SET BUTTON f
Press this button to get in or out the setting screens when you want to re-set to bike circumference,
Lubrication reminder, Maintenance reminder or the current time of the " ".
RESET OPERATION (Fig. 6 )
1. Hold down the MODE button d
till the LCD digit is blanked, then release it. The computer will reset A
V,
DS, TM and MX data from stored values to zero.
2. It cannot reset ODO, T-TM, , T-ODO, Lubrication and Maintenance Reminders.
MAIN UNIT SLIDE ON/OFF DETECTION
The computer has a slide on detecting switch (patents pending) to avoid noise interference when the main unit is
removed from the bracket. The main unit can receive the wheel signal only when it is slid onto the bracket only.
AUTOMATIC START/STOP & POWER AUTO ON/OFF
The computer will automatically begin counting data upon riding and stop counting data when riding is
stopped. The flickering symbol " " indicat es t hat t he computer is at start status.
To preserve battery, this computer will automatically switch off and just displays the " " data when it has
not been used for about 30 minutes. The power will be turned on by pressing the MODE button d.
p BIKE 1 or BIKE 2 SELECTION (For W2 only) (Fig. 2)
1. The ECHO-W2 design has 2 sets of circumference memory to calculate 2 bikes’ data separately. It also
cumulates each Odometer, Lubrication and Maintenance reminding distance.
2. The Bike 1 is designed for MTB bikes and the Bike 2 is designed for racing bikes.
3. Hold down the MODE button
d for more than 5 seconds until it enters the bike selection screen. Don’t
worry if the LCD display is blank while the MODE key d is held for over 2 seconds. The DS, MX, TM, AV
data will keep no changes after Bike 1 or 2 is selected.
a). Press the MODE button d to change the Bike 1 or 2 selection. It displays wheel circumference
“c
****
”.
b). Hold the MODE key
d for over 2 seconds to store the selection and jump to the normal operation mode.
CIRCUMFERENCE, CLOCK, LUBRICATION AND MAINTENANCE REMINDER RE-SETTING
1. Press the MODE button d to change to one of the following mode displays.
a). Change to O
DO screen to set Circumference.
b). Change to screen to set Clock. (Fig. b)
c). Change to screen to set Lubrication Reminder only.
d). Change to
screen to set Maintenance Reminder only.
e). Change to D
S screen to set both Lubrication and Maintenance Reminders.
2. Press the SET button
f to enter to the relative setting screen.
3. Adjust the desired value according to the Data Setting Processes.
4. Press the SET button f
to store the desired data and complete the current setting.
p RE-LOAD LUBRICATION OR MAINTENANCE REMINDER AFTER MAINTA INED (For W2 only)
In order to avoid the Lubrication or Maintenance reminder be cleared by the RESET operation, be follow
the following procedures to RE-LOAD the previous setting value after you finish either function.
1. Change it to the desired
or screen. (Fig. 3 & 4)
2. Press the SET button
f
to display the previous setting value and clear the reminder symbol.
3. Press the SET button
f again to re-load the previous setting value and jump to the normal operation.
G. BATTERY CHANGE
1. MAIN UNIT BATTERY CHANGE
a). The symbol " " will appear to indicate the battery is nearly exhausted.
b). Replace the battery with a new battery within a few days after the symbol was appeared.
c).
All data will be cleared when battery is replaced, but this computer allows you to r e-key in ODO1, O DO2 and
T-T
M which you had rode after replacing battery, keeping record these data before you remove the old
battery.
d). Replace with a new CR2032 battery
15 (Fig. K) and initiate the main unit. (Fig. 1)
2. BATTERY CHANGE FOR SENSOR (TRANSMITTER)
a). The pat ent-pending transmitter circuit is designed to reduce power consumption; a 1.5V battery
(typically an LR44) can operate for over 24,000km (15,000miles) riding distance or 2 years.
b). Replace a new battery when the transmitter’s battery power is nearly exhausted, otherwise the
transmission power of the wheel signal will be weak, causing the main unit to display unstable data.
c). Replace with a new LR44 battery 16 with the positive (+) pole toward the sensor cap
10
. (Fig. L)
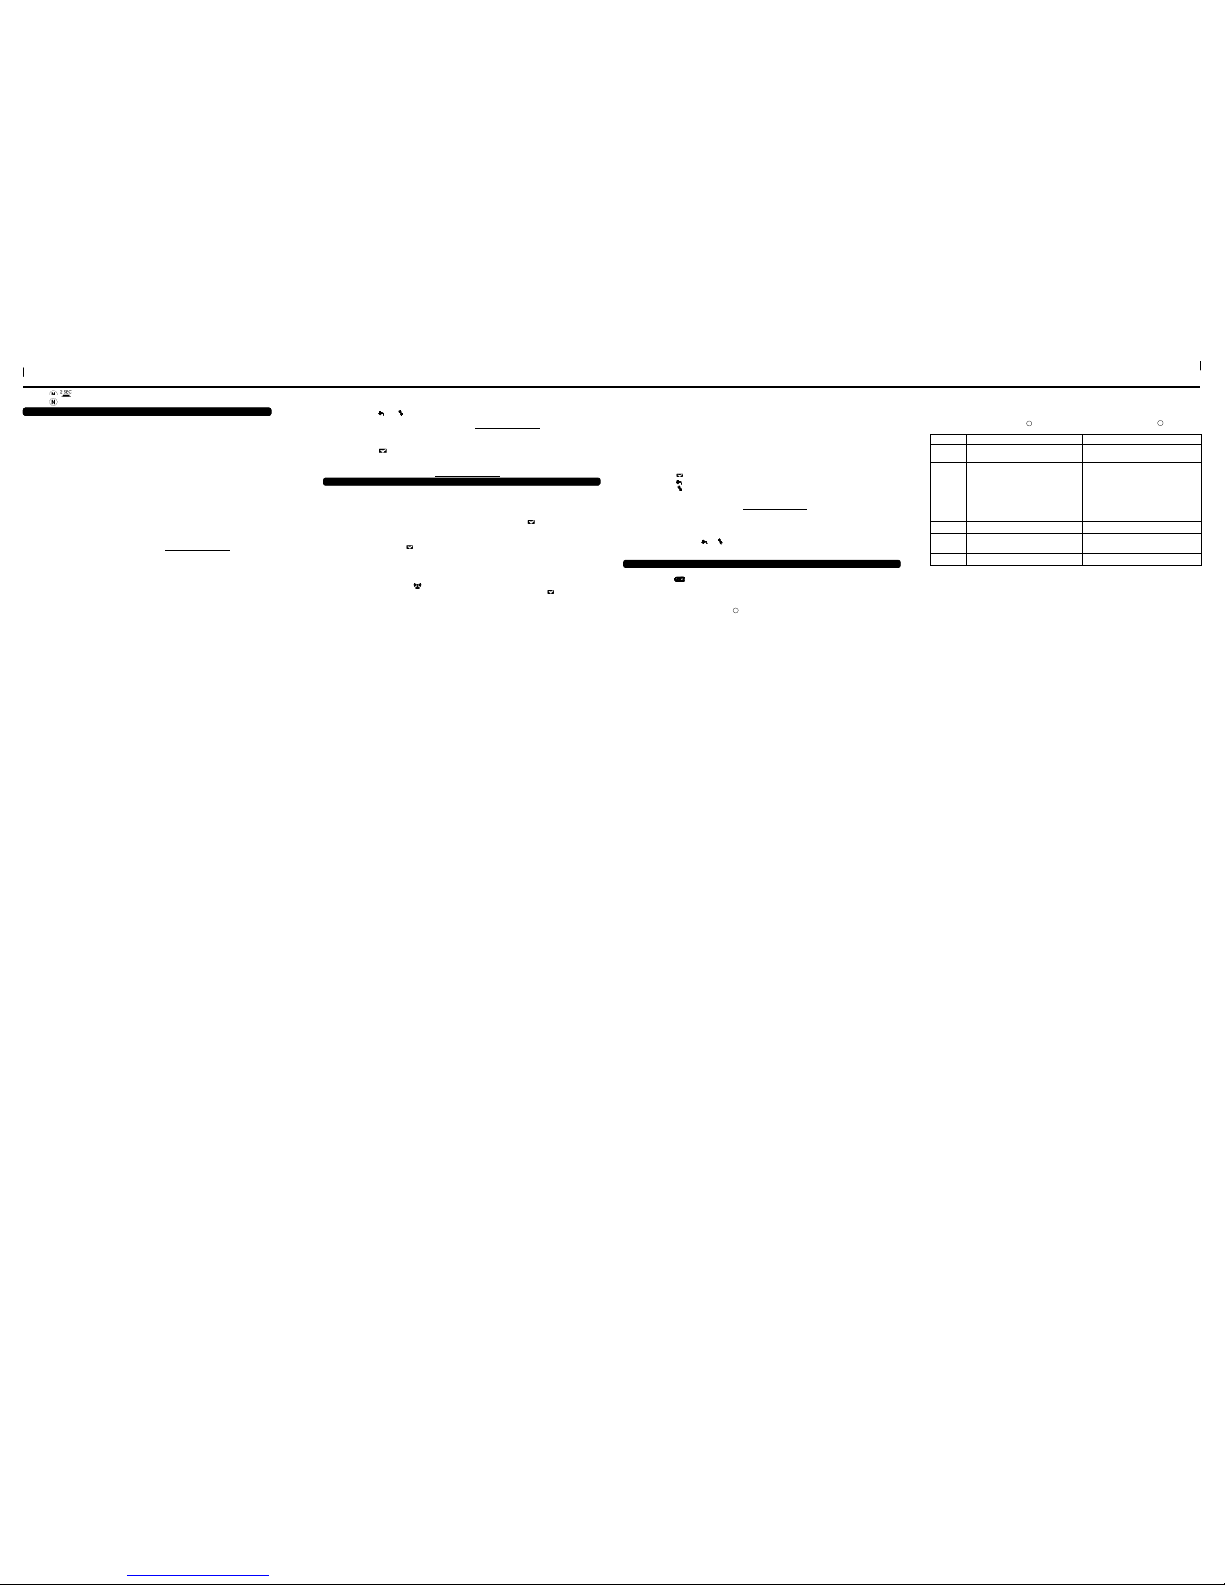
z TROUBLE SHOOTING
PROBLEM CHECK ITEMS REMEDY
Main unit
No display
1. Is the battery dead?
2. Is there incorrect battery installation?
1. Replace the battery.
2. Be sure that the positive pole of the battery
is facing the battery cap.
No current
speed or
Incorrect
data
1. Is it at the MAIN UNIT SETUP or another
setting screen?
2. Are the relative positions and gap between
sensor and magnet correct?
3. Is the circumference correct?
4. Is the sensing distance too long or the
installation angle of the sensor incorrect?
5. Is the sensor battery nearly exhausted?
6. Is any strong interference source nearby?
1. Refer to the setting procedure and
complete the adjustment.
2. Refer to (Fig. G) and (Fig. H) and re-adjust
position and gap correctly.
3. Refer to "Circumference Setting" and enter
correct value.
4. Refer to (Fig. F) to adjust distance or angle
between the main unit and the sensor.
5. Replace with a new battery.
6. Move away from the source of interference.
Irregular
display
Refer to the "Main Unit Setup" and initiate
the computer again.
LCD is
black
Did you leave main unit under direct
sunlight when not riding the bike for a long
period of time?
Place main unit in the shade to return to
normal state.
No adverse effect on data.
Display is
slow
Is the temperature below 0°C (32°F)? Unit will return to normal state when the
temperature rises.
z PRECAUTIONS
1. Don’t leave the main unit exposed to direct sunlight when not riding the bike.
2. Don’t disassemble the main unit or its accessories.
3. Check relative position and gap of sensor, magnet and main unit periodically.
4. Don’t use thinner, alcohol or benzine to clean the main unit or its accessories when they become dirty.
5. Remember to pay attention to the road while riding.
 Loading...