

Dynexproducts DX-FANT12-E, DX-FANT12-M, DX-FANT12-R, DX-FANT12-Y Quick Start Manual
DX-FANT12-M / DX-FANT12-E /
DX-FANT12-R / DX-FANT12-Y
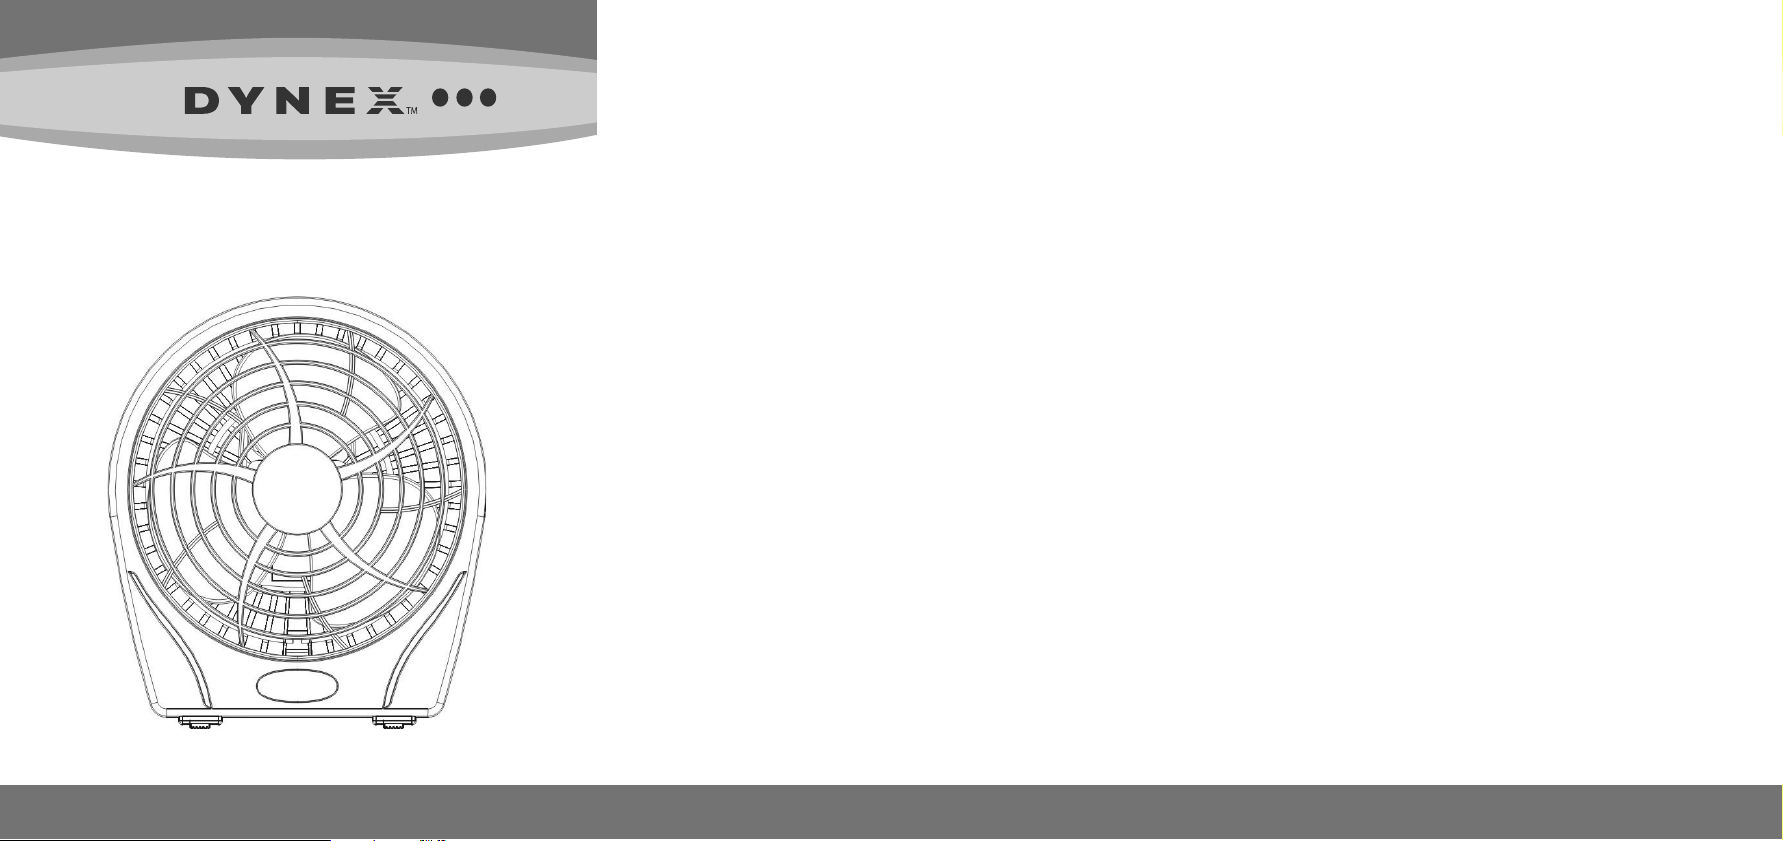
9" Personal Fan
Before using your new product, please read these instructions to prevent any damage.
Package contents
• 9" personal fan
• Quick Setup Guide
Important safety instructions:
PLEASE READ AND SAVE THESE IMPORTANT INSTRUCTIONS
To ensure the best performance from your fan, please read and save the
following instructions.
WHEN USING ELECTRICAL APPLIANCES, BASIC PRECAUTIONS SHOULD
ALWAYS BE FOLLOWED TO REDUCE THE RISK OF FIRE, ELECTRIC SHOCK, AND
INJURY TO PERSONS, INCLUDING THE FOLLOWING:
• Read all instructions before using this product.
• Use this fan only as described in this Quick Setup Guide. Any other use not
recommended by the manufacturer may cause re, electrical shock, or
injury to person, and may void the warranty.
• Always unplug the unit before assembling, disassembling, or cleaning.
• Always unplug unit when not in use, when moving from one location to
another, and before cleaning.
• To disconnect, grip the plug and pull it from the wall outlet. Never yank
the cord.
• The use of attachments not recommended or sold by the appliance
manufacturer may cause hazards.
• Avoid contact with moving parts.
• DO NOT operate this fan with a damaged cord or plug, after a malfunction,
or is dropped or damaged in any manner. Discard fan or return the unit to
Best Buy, Inc. for examination, electrical or mechanical adjustment, or
repair.
• Do not operate this fan in the presence of explosive and/or ammable
fumes.
• Do not place the fan or any parts near an open ame, or cooking or other
heating appliance.
• Extreme caution is necessary when the fan is used by or near children or
invalids and whenever the fan is left operating and unattended.
• This product is intended for household use only and not for commercial
or industrial use. Do not use outdoors.
• Always use on a dry level surface.
• Do not operate if the fan housing is removed or damaged.
• A loose t between the AC outlet and plug may cause overheating of the
plug. Have a qualied electrician replace the outlet.
• This product employs overload protection (fuse). A blown fuse indicates
an overload or short-circuit situation. If the fuse blows, unplug the
product from the outlet. Replace the fuse as per the user servicing
instructions (follow product marking for proper fuse rating) and check
the product. If the replacement fuse blows, a short-circuit may be present
and the product should be discarded or returned to an authorized
service facility for examination and/or repair.
• DO NOT run cord under carpeting. Do not cover cord with throw rugs,
runners or the like. Do not route cord under furniture or appliances.
Arrange cord away from trac area and where it will not be tripped over.
• This fan is equipped with a polarized alternating current line plug (a plug
having one blade wider than the other). To reduce the risk of electric
shock, this plug ts into the polarized power outlet only one way. This is a
safety feature. If you are unable to insert the plug fully into the outlet, try
reversing the plug. If the plug should still fail to t, contact a qualied
electrician to replace the obsolete outlet. Do not attempt to defeat the
safety feature.
• NEVER connect the fan to any power sources other than a 120 volt
alternating current polarized outlet.
• Warning: To reduce the risk of electric shock. DO NOT use this fan with
any solid-state speed control and DO NOT insert a nger or any object
into grill.
QUICK SETUP GUIDE
Operating instructions
1 Carefully remove your fan from the box (save the carton for o-season
storage).
2 Make sure that the switch is in the OFF position before plugging the fan
into the outlet.
3 Place the fan on a rm, level surface.
4 Plug the power cord into any standard 120VAC~60Hz outlet.
5 Turn on the switch located on the back of the fan. Slide the switch to set
the speed you want.
Cleaning/maintenance instructions
During season care:
• Before cleaning, be sure to turn o and unplug the fan.
• Carefully wipe the fan with a soft, damp cloth. Be very cautious near the
motor.
• DO NOT immerse the fan in water and never allow water to drip into the
motor housing.
• Never use gasoline, benzene, or thinner to clean the fan. This will damage
the surface of the fan.
• After cleaning, be sure to completely dry the fan with a cloth or towel
before using it.
After season care:
• Before putting the fan in storage, clean it thoroughly, cover it with a vinyl
bag, and store it in a cool and dry place. We recommend using the original
(or appropriately sized) box.
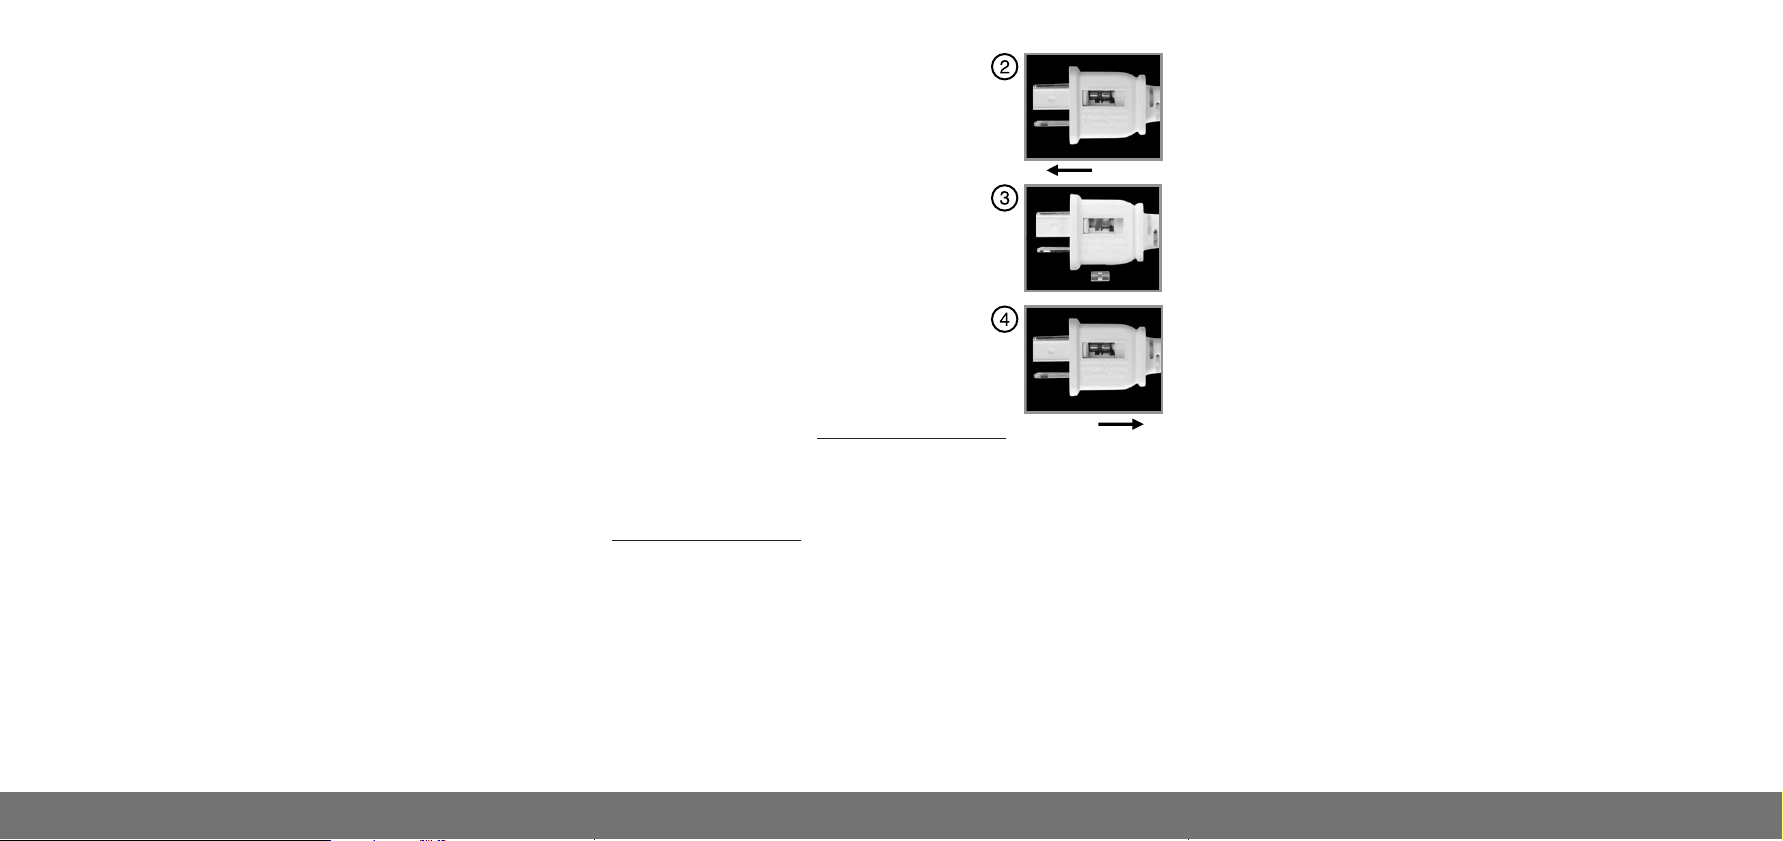
User servicing instructions
1 Grasp the plug and remove it from the outlet.
Do not unplug it by pulling on the cord.
2 Open the fuse cover by using your nger
and thumb to slide the fuse access cover
away from the cord.
3 Remove the fuse by carefully prying it out.
Warning: Risk of re. Replace fuse only with
a 5 Amp, 125 Volt fuse.
4 Close the fuse access cover by sliding it
toward the cord.
Warning: Risk of re. Do not replace the
attachment plug. It contains a safety device
(fuse) that should not be removed. Discard the
product if the attachment plug is damaged.
One-year limited warranty
For complete warranty, visit www.dynexproducts.com.
Contact Dynex
For customer service call 1-800-305-2204
www.dynexproducts.com
OPEN
CLOSE
DYNEX is a registered trademark of BBY Solutions, Inc. Registered in some countries.
Distributed by Best Buy Purchasing, LLC, 7601 Penn Ave South, Richeld, MN 55423 U.S.A.
©2013 BBY Solutions, Inc. All Rights Reserved.
V1 ENGLISH 13-0073
 Loading...