

Page 1
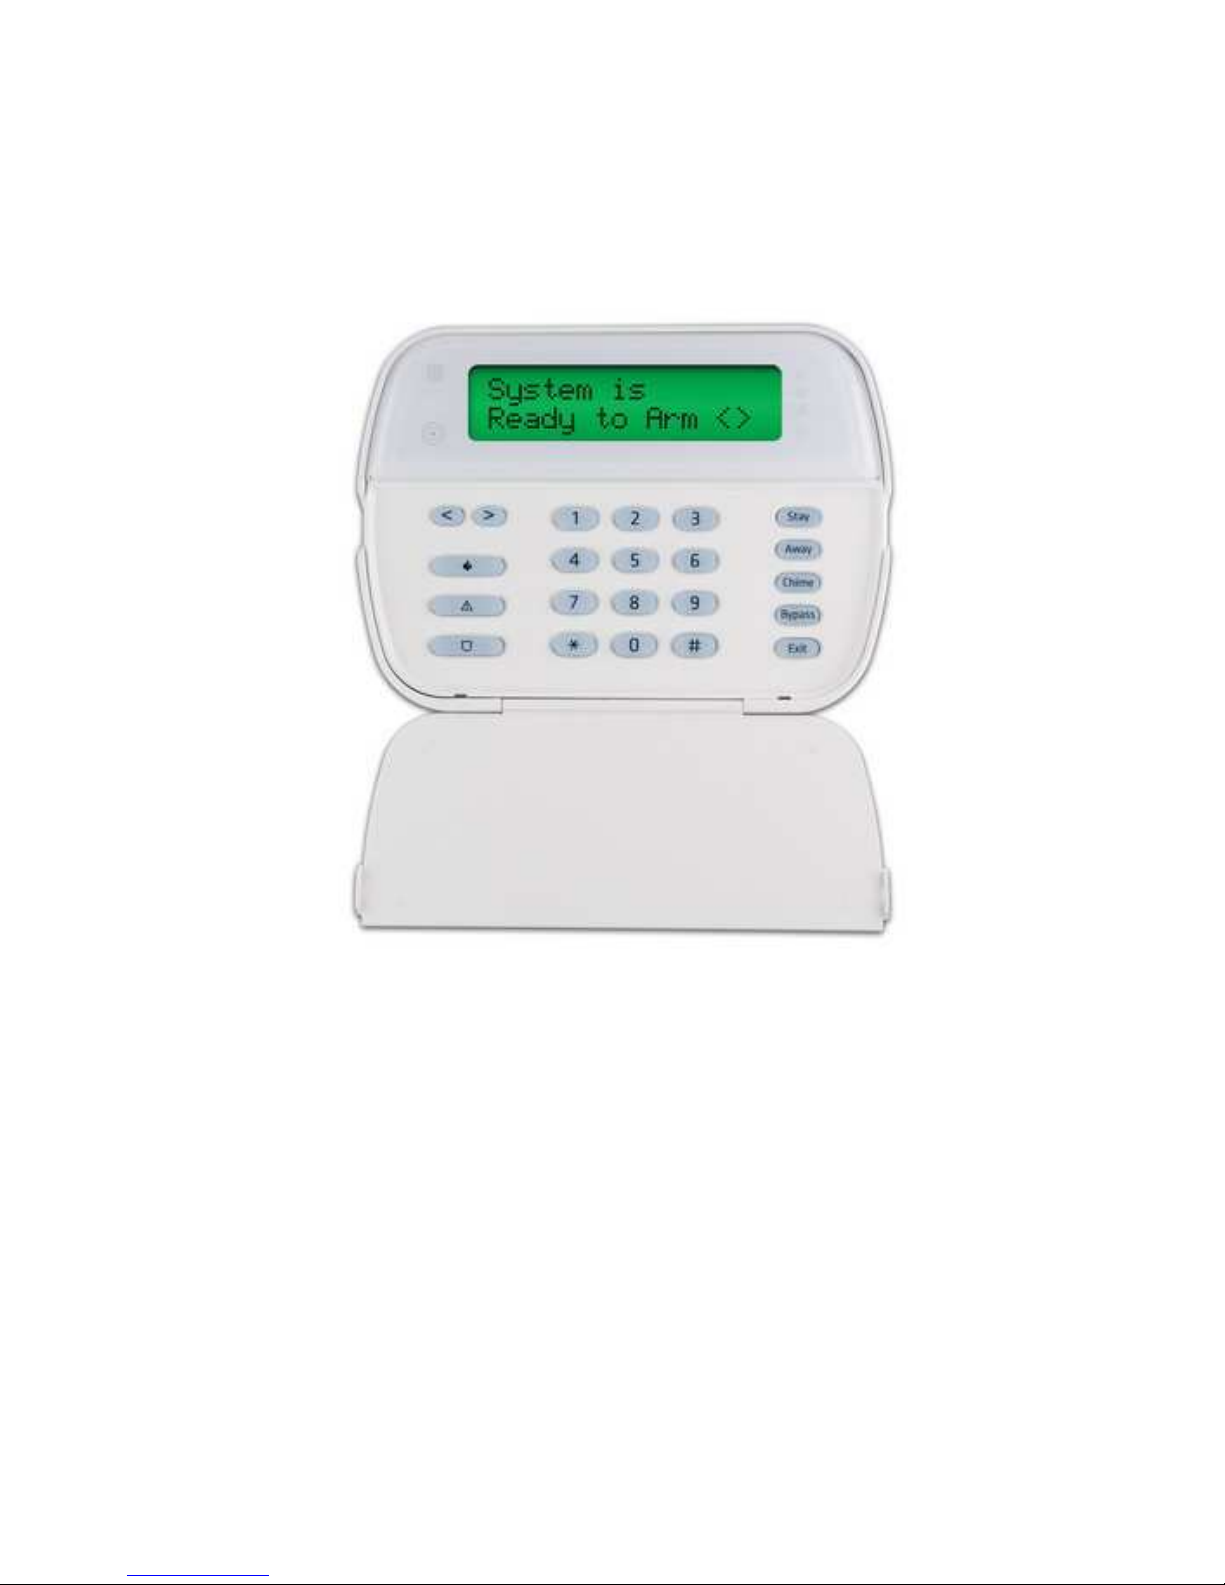
DSC Alexor
Quick User Guide
DSC Alexor Page 1 of 7
Page 2
Before Calling…
♦ Is the keypad beeping? Press *2. This will silence the beeping and let you
know where the trouble is.
♦ Is there a flashing triangle on the keypad? Press *2 for status information.
♦ Is siren going off? ENTER CODE to stop siren.
Arming & Disarming the System
Arming (Turning on)
Close all sensors (i.e. close doors and windows). The Ready indicator should be on. Arm
the system using either of the methods below.
Arming Method #1: Enter your access code. If exit door is opened and closed, system will
arm in AWAY mode. If exit doors is not opened and closed, system will arm in STAY mode.
Arming Method #2: Press STAY button or AWAY button until keypad beeps and arming
process begins.
If armed in the AWAY mode, you now have 30 seconds to leave the premises. To cancel the
arming sequence, enter your access code.
Note: If motion detectors have not been installed on the alarm system, there is no difference
in arming in STAY or AWAY mode.
Disarming (Turning off)
Enter your access code to disarm anytime the system is armed. The keypad will beep if you
walk through the entry door. Enter your code within 45 seconds to avoid an alarm condition.
Quick Exit
If the system is armed and you need to exit, use the Quick Exit function to avoid disarming
and rearming the system.
1. Press and hold the EXIT button for 2 seconds. You now have 2 minutes to leave the
premises. When the door is closed again, the remaining exit time is cancelled.
DSC Alexor Page 2 of 7
Page 3

Bypassing Zones
Use the zone bypassing feature when you want to arm the system, but skip a zone that you
want to leave open or requires service. Bypassed zones will not be able to sound an alarm.
Zones cannot be bypassed once the system is armed. Bypassed zones are automatically
cancelled each time the system is disarmed and must be bypassed again, if required, before
the next arming.
Bypassing Zones
1. Press * 1.
2. Scroll to the desired zone number using the < > keys, then press * to select the
zone, or directly enter the 2-digit number of the zone you wish to bypass.
3. Press # to exit bypass mode and return to Ready state.
4. Continue with arming the system.
Recalling Bypassed Zones
To recall the last set of bypassed zones:
1. Press * 1.
2. Press 9 9.
3. Press # to exit bypass mode and return to Ready state.
4. Continue with arming the system.
Alarm Memory
When an alarm occurs, the Memory indicator (and Fire indicator, if applicable) will turn on.
To view which sensor(s) generated the alarm, press * 3. Use the scroll < > buttons to view
the sensors in memory. Press # to exit.
To clear the memory, arm and disarm the system.
Access Codes
Master Access Code
The master code is the only code that can add and delete other user codes and perform
other various functions (such as entering date and time) on the alarm system. The master
code can be changed, but cannot be deleted.
To change the Master Access Code:
1. Press * 5, then the current Master Code.
2. Press 40.
3. Enter the new 4-digit Master Code.
4. Press # to exit.
User Access Codes
The system will allow up to 16 individual user codes. As codes are added and deleted, keep
a list in a safe location for reference. An accurate list will help track codes as future changes
are made.
To Add or Change a User Access Code:
1. Press * 5, then enter Master Code.
2. Use the scroll < > buttons to find the specific code.
3. Press * to select.
DSC Alexor Page 3 of 7
Page 4

4. Enter 4-digit user code
5. Press # to exit.
To Delete a User Access Code:
1. Press * 5, then enter Master Code.
2. Use the scroll < > buttons to find the specific code.
3. Press *.
4. Press *.
5. Press # to exit.
Note: The keypad will display the user number with a letter “P” if a user code has already
been programmed.
Chime Mode
Your system can alert you to the opening of a door while it is disarmed by using the CHIME
feature. When activated, three beeps will sound at the keypad whenever a door is opened.
Press CHIME button for 2 seconds, or * 4 to enable or disable the chime feature. The
CHIME icon will appear in display. The system will sound 3 beeps when feature is turned
on, or one long tone to indicate the door chime is off.
Time & Date Programming
1. Press * 6, then enter your Master Access Code.
2. Press 1.
3. Enter the time in 24-hour format, using military time (HH:MM).
4. Enter the date (MM:DD:YY).
5. Press # to exit programming.
Keypad Adjustments
Brightness and Contrast
The keypad has 4 different brightness/contrast levels.
1. Press * 6, then enter your Master Access Code.
2. Use the < > buttons to scroll to either Brightness Control or Contrast Control.
3. Press * to select the setting you want to adjust.
4. a) Brightness Control: There are 4 backlighting levels. Use the < > buttons to scroll to
the desired level.
b) Contrast Control: There are 10 different display contrast levels. Use the < >
buttons to scroll to the desired contrast level.
5. The level is automatically saved when you press # to exit.
Buzzer Level
The buzzer provides an audible confirmation of a pressed button or that a command to the
panel has been executed. The keypad has 21 different buzzer levels. A level of 00 disables
the buzzer.
1. Press * 6, then enter your Master Access Code.
2. Use the < > buttons to scroll to Buzzer Control, then press * to select.
3. Use the < > buttons to scroll to the desired level. The level is automatically saved
when you press # to exit.
DSC Alexor Page 4 of 7
Page 5

Trouble Conditions
When a trouble condition is detected, the System Trouble indicator will turn on and the
keypad will beep every 10 seconds. Press # to silence the beeps. Press * 2 to view the
trouble condition. The Trouble indicator will flash. Use the scroll < > buttons to view troubles.
Trouble Comments Action
Alternate Communicator
Trouble
Service Required (Press 1
for more information)
Loss of AC Power
Telephone Line Fault
Failure to Communicate
Module/Sensor Fault
Module/Sensor Low Battery
Loss of Time & Date
Blank Display/No Response Keypad battery may have discharged beyond
“Panel Response Not
Received” message
Indicates SIM Card Lock, GSM Trouble,
Ethernet Trouble, Central Station Receiver
Trouble, Supervision Trouble and SMS Config.
Trouble. Press < > to scroll through individual
troubles.
Indicates Low Battery, System Trouble,
System Tamper or RF Jam detected.
If the building and/or neighborhood has lost
electrical power, the system will continue to
operate on battery power for several hours.
The system has detected that the telephone
line is disconnected.
The system attempted to communicate with
the monitoring station, but failed. This may be
due to a Telephone Line Fault.
The system is experiencing difficulties with
one or more module/sensor on the system.
Continue to press 5 to navigate through the
Zone, Keypad and Siren fault menus.
The system has detected a low battery
condition with one or more module/sensor on
the system. Continue to press 7 to display to
zone(s), wireless key(s), key-pad(s), siren(s)
and prox tag(s).
If complete power was lost (AC and Battery),
the time and date will need to be programmed.
Press *.
the usable level.
The keypad has not lost wireless
communication with the panel. Occasional
display of this message may be caused by
local radio frequency interference.
Call for Service.
Call if service is required.
Check AC Connection. Call if
service is required.
If no dial tone on phone, call
phone company.
If dial tone on phone, call
Keyhole for service.
Send signal to Monitoring
Company. Call to put account
out of service prior to sending
signal.
May clear on its own in 24-
hour period. If not, replace
battery. If problem persists,
call for service.
Replace battery.
Reprogram Time & Date. (See
page 4)
Replace battery.
If trouble persists, call for
service.
Orange Trouble LED on the
control panel
DSC Alexor Page 5 of 7
The PC9155 has detected that an RF Jam
condition has been present for at least 20
seconds.
If trouble persists, call for
service.
Page 6

Testing Your System
NOTE: Inform your Monitoring Station when you begin and end system testing.
Alarm Central Station: 1-800-452-3555.
Siren and Keypad Display Test
This test activates all display pixels and indicator lights on the keypad and does a 4-second
check of the siren.
1. Press * 6, then enter your Master Code.
2. Press 4.
The following will occur:
-The system activates the siren output on medium volume for 2 seconds followed by
full volume alarm for 2 seconds. All display lights and LCD pixels will turn on.
- The Ready, Armed, Trouble and Power LED’s will flash for the duration of the test.
4. To exit the function menu, press #.
Keypad Low Battery
The flashing trouble icon on a keypad will indicate that keypad has a low battery.
WT4901 Siren Battery Test (If installed on system)
To determine which siren has a low battery, press and hold the test button located at the
front of the siren, for 5 seconds.
- If the siren sounds for 4 seconds, the batteries are good.
- If the siren doesn’t sound, the batteries are low.
Walk Test
Walk Test mode allows you to test the operation of each detector in the system. While in
Walk Test mode, the Ready, Armed, and Trouble LED’s will flash to indicate that the Walk
Test is active. The Walk Test can be terminated at anytime by re-entering * 6 + Master Code
+ 8 on the keypad. The system will also automatically terminate the Walk Test on
completion; it will sound an audible warning (5 beeps every 10 seconds), beginning 5
minutes before the termination of the test.
1. Before testing, ensure that the system is disarmed and the Ready light is on.
2. Press # and close all zones to return the system to the Ready state.
3. Press * 6, then enter your Master Code.
4. Press 8.
5. To test the zones, activate each detector in turn (e.g., open each door/window or
walk in motion detector areas).
The system will display the following message when each zone (detector) is activated:
“Secure System Before Arming < >”, or “Secure or Arm System”. Use the < > buttons to
view which zones are open. The message will disappear when the zones are closed.
DSC Alexor Page 6 of 7
Page 7

Keypad Quick Guide
Status Display Icons
(S = Steady, F = Flashing)
DSC Alexor Page 7 of 7
 Loading...