

Page 1
USA
Unlock
SERVICE OFFICE
Dometic Corporation
2320 Industrial Parkway
Elkhart, IN 46516
574-294-2511
CANADA
Dometic Corporation
46 Zatonski, Unit 3
Brantford, ON N3T 5L8
CANADA
519-720-9578
For Service Center
Assistance Call:
800-544-4881
ROLL
DOWN
ROLL
UP
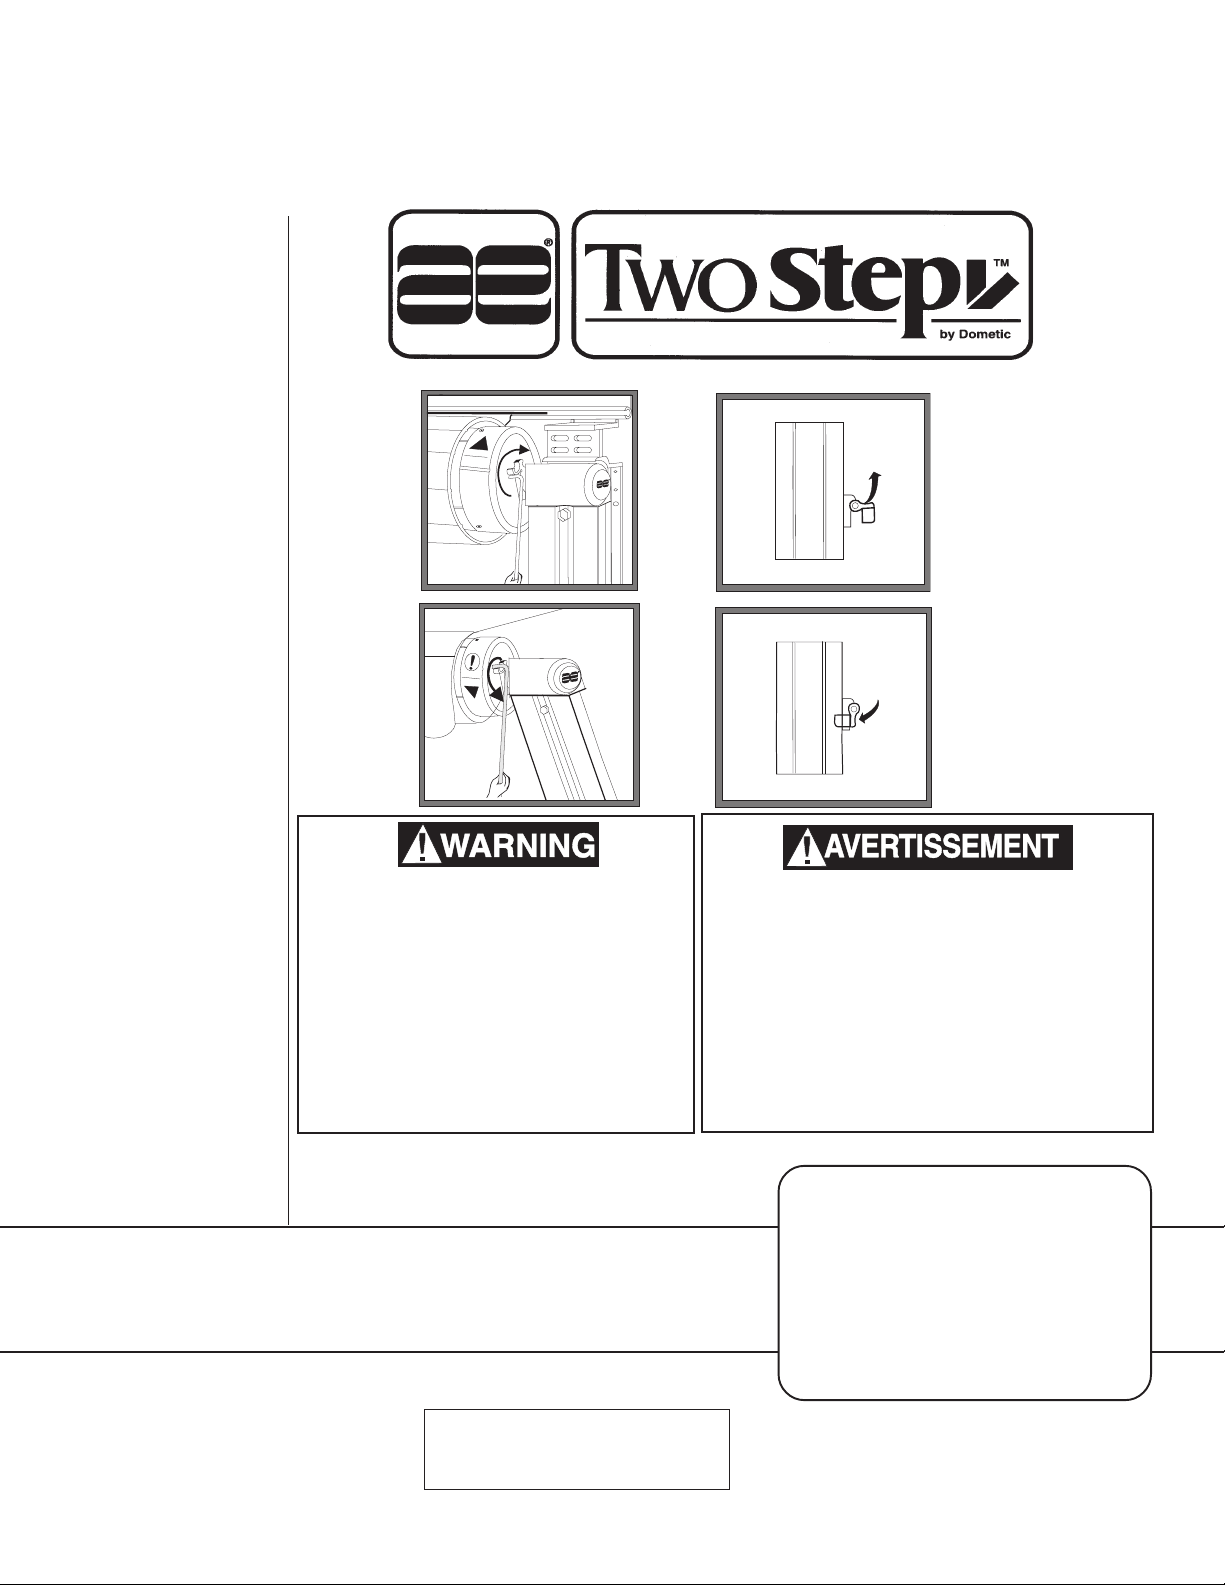
This manual must be read and understood before installation, adjustment, service, or maintenance
is performed. This unit must be installed by a qualified service technician. Modification of this product
can be extremely hazardous and
could result in personal injury or
property damage.
Lock
Lire et comprendre ce manuel avant de
procéder à l'installation, à des réglages,
de l'entretien ou des réparations.
L'installation de cet appareil doit être
effectuée par un réparateur qualifié.
Toute modification de cet appareil peut
être extrêmement dangereuse et
entraîner des blessures ou dommages
matériels.
USER'S GUIDE
REVISION
Form No. 3309865.016 6/05
(Replaces 3309865.008)
©2005 Dometic Corporation
LaGrange, IN 46761
Patio
Awnings
Important: These Instructions
must stay with unit.
Owner read carefully.
1
Page 2
SAFETY INSTRUCTIONS
This manual has safety information and instructions
to help users eliminate or reduce the risk of accidents and injuries.
RECOGNIZE SAFETY INFORMATION
!
This is the safety-alert symbol. When you see this
symbol in this manual, be alert to the potential for
personal injury .
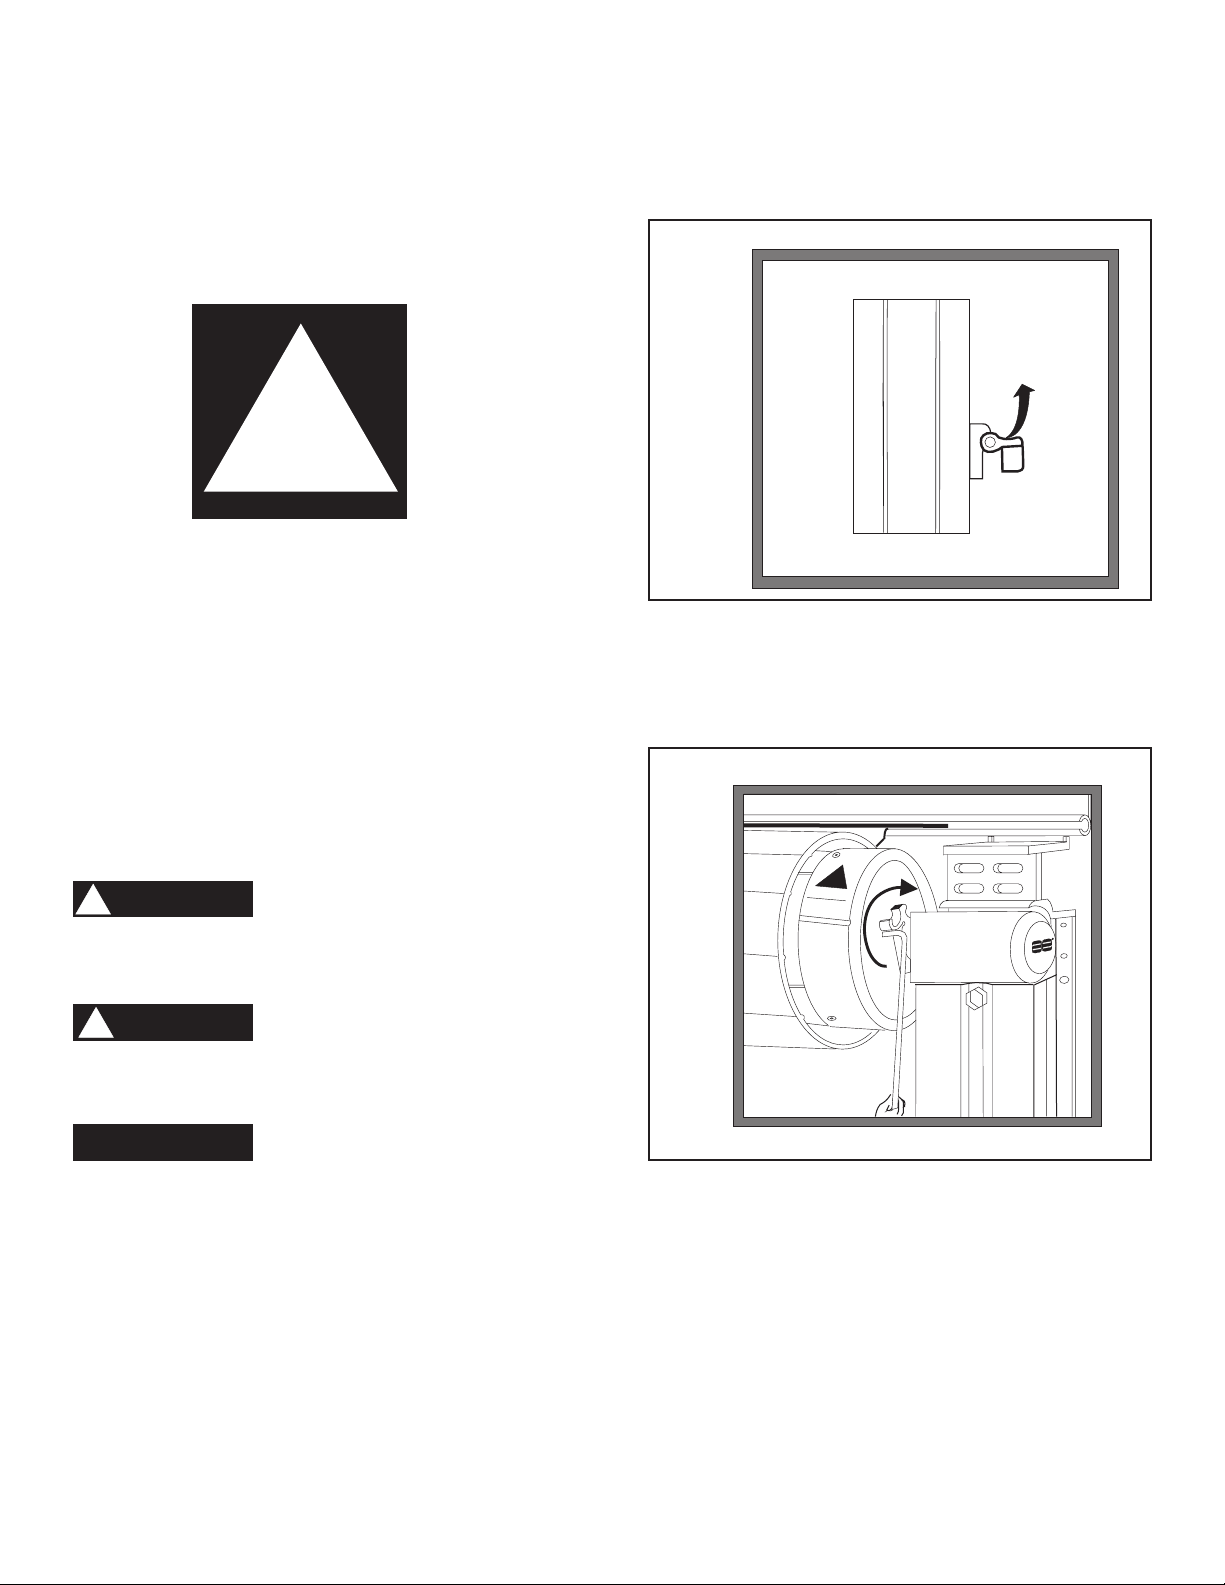
1. To Open Awning:
A. Unlock Awning
1. Unlock the travel lock located midway up each
arm assembly. Lift up on the travel lock assembly to unlock. See Figure 1.
Fig. 1
Unlock
Follow recommended precautions and safe operating instructions.
UNDERSTAND SIGNAL WORDS
A signal word , WARNING OR CAUTION is used
with the safety-alert symbol. They give the level of
risk for potential injury .
WARNING
!
ous situation which, if not avoided, could result in
death or serious injury .
CAUTION
!
ous situation which, if not avoided may result in
minor or moderate injury .
CAUTION
symbol indicates, a potentially hazardous situation which, if not avoided may result in property
damage.
indicates a potentially hazard-
indicates a potentially hazard-
used without the safety alert
2. Use the pull rod provided to rotate the Safe-T Lock™ Lever up to the "ROLL DOWN" position. See Figure 2.
Fig. 2
ROLL
DOWN
Read and follow all safety information and instructions.
2
Page 3

Fig. 3
®
®
2. Extend Awning
A. Hook the pull rod into the loop of the pull strap and
pull the awning out. See FIG. 3.
B. Slide the pull strap to the right end of the roller
tube. See Figure 4.
3. Optional Patio O’Shade 93001(X).(X)(XX)
A. You will find the A & E Patio O’Shade very helpful
when awning side of RV is facing west in the late
afternoon. It will provide great enjoyment when the
sun is setting.
B. Patio O’Shade slides into the utility slot in the roller
tube on left end. See FIG . 5. Place in desired position.
Fig. 4
4. Rear Arm
A. Your A & E awning is designed to shed water if left
out in the rain. The rear arm will automatically
decrease the awning height approximately 9 inches
when it is raining. When there is no longer the need
to shed water it will return to the normal height.
See FIG. 3.
Fig. 5
The A&E Two Step awning is extremely durable and can be operated during moderate
rain and wind conditions. However , when periods of heavy rain and/or wind is expected
the awning should be closed and in the locked
position. Damage caused by wind and rain is
not covered by warranty.
3
Page 4

5. To Close Awning:
Lock
A. Return Awning to Travel Position
Pinch Point Hazard. When awning is closed,
bottom arm assemblies will fold down and
against back channel. To avoid personal injury and/or property damage, keep pinch
points clear of objects and people.
Fig. 8
ROLL
UP
Fig. 6
Pinch
Point
Pinch
Point
Fig. 7
ROLL
UP
1. Remove sun screen if installed. In one hand gently
pull on the pull strap while using the pull rod to flip
the Safe-T-Lock™ Lever down into the "ROLL UP"
position. See FIG. 7.
Have a firm grip on the pull strap before moving the Safe-T-Lock™ Lever to the "ROLL UP"
position. Do not allow the awning to close
uncontrolled. Damage to the awning and/or
RV may occur.
2. Before the awning begins to roll up, insert end of
pull rod into the pull strap loop and let the awning
roll in, controlling the speed with the rod in hand.
See FIG. 8.
B. Lock Awning For Travel
FIG. 9
1. Secure each arm assembly by locking the travel
lock. Push down on the travel lock assembly
to secure. See FIG . 9. The awning is now completely closed and ready for travel.
A&E TWO STEP AWNING HELPFUL HINTS:
• Whenever the awning is wet while rolled up, as soon as
conditions allow, roll it out and let it dry before rolling it up
again. This will help prevent the formation of mildew and
add greatly to the life of the awning.
• Mildew does not form on the fabric itself, but on the
accumulated dust, dirt and grime. Periodically clean vinyl
or woven acrylic fabric using a mixture of 1/4 cup of dish
soap and 1/4 cup of bleach mixed with 5 gallons of warm
water. Liberally slosh the mixture on the top of the fabric
and roll the awning up for 5 minutes. This will apply the
mixture to the bottom as well. Roll it back out and hose off
with fresh water. Repeat if necessary. Allow to dry before
rolling up.
• Always make sure the awning is fully extended before
opening the entry door.
WHEN TO GET MORE HELP:
This User’s Guide is intended to provide practical instruction for the sequential operation of the A&E T wo Step Patio
Awning. If malfunctions occur that cannot be corrected by
reviewing this Guide, contact a Dometic Service Center or
a qualified service technician.
4
 Loading...