

D-Link DES-1005F, DES-1005F8F Quick Installation Manual
Before Your Begin
This Quick Installation Guide gives step-by-step instructions for setting up the D-Link
DES-1005F and DES-1008F 10/100M Fast Ethernet Switch. The model y ou have purchased
may appear slightly different from those shown in the illustrations. For more detaile d
information about the switch, its components, making network connections and technical
specifications, please refer to the User’s Guide included you’re your switch.
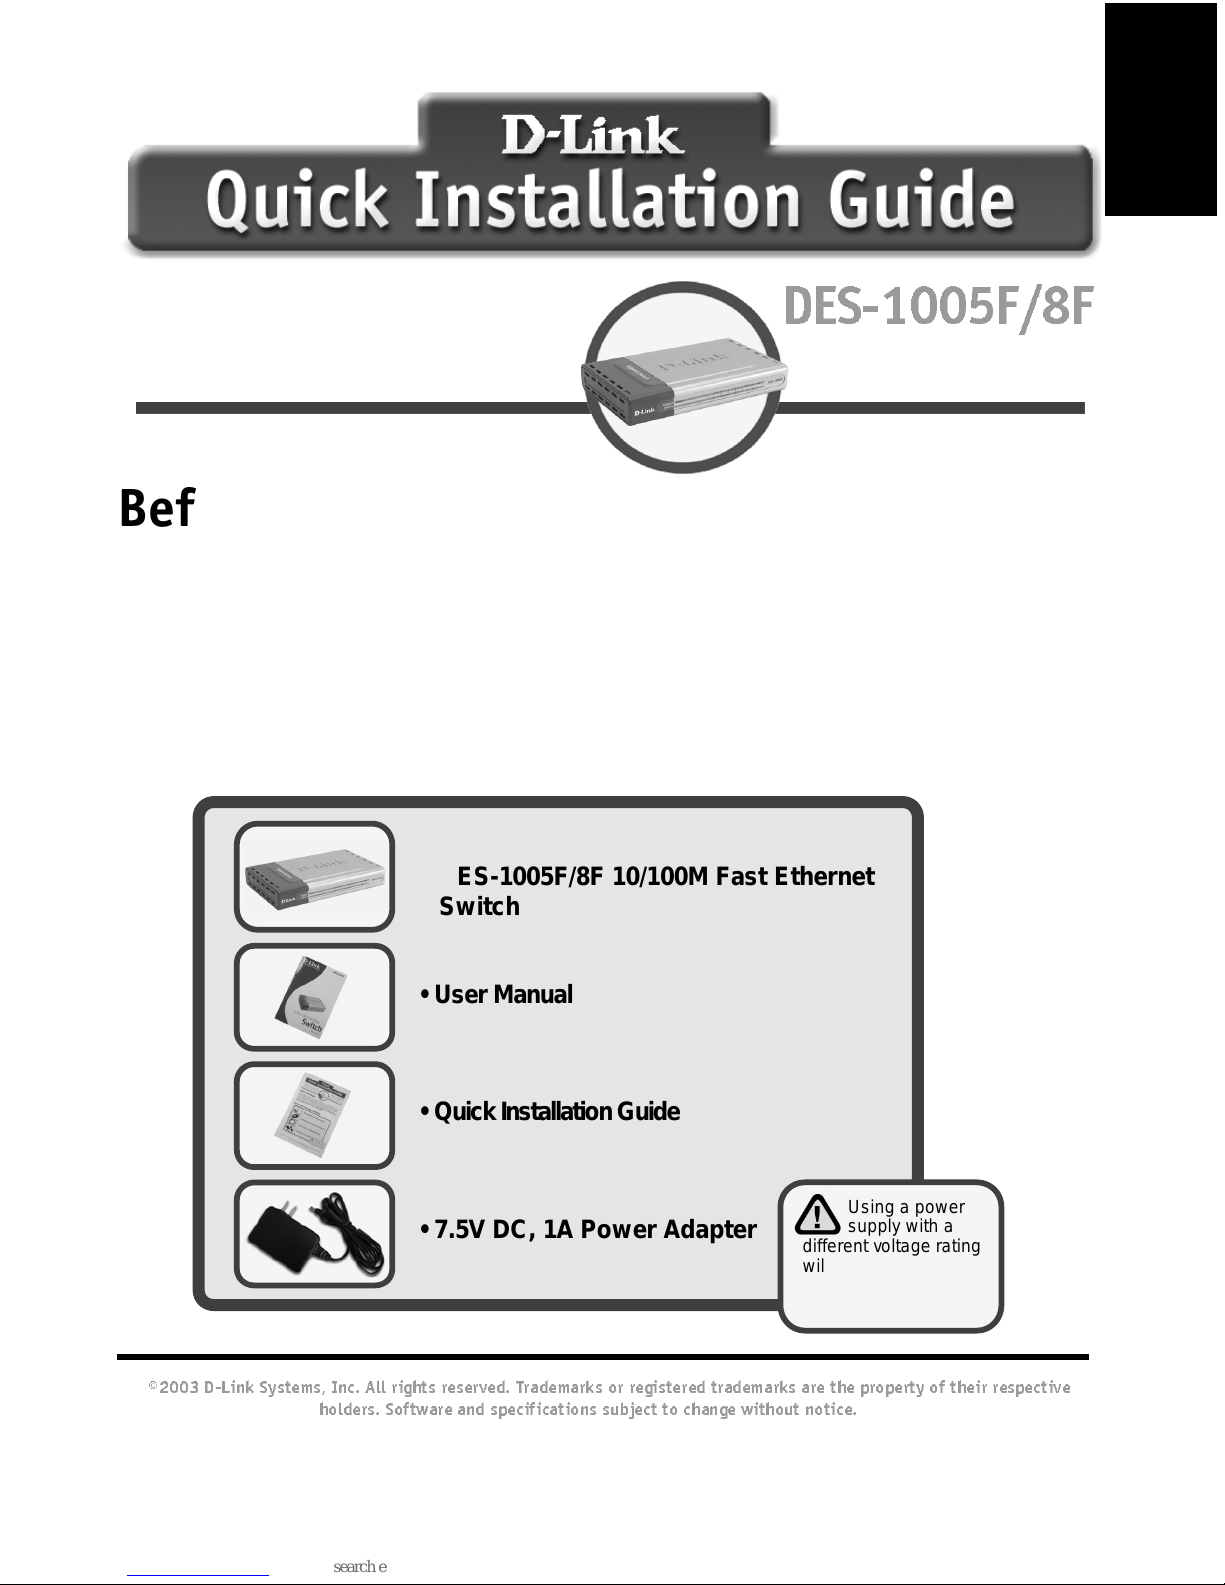
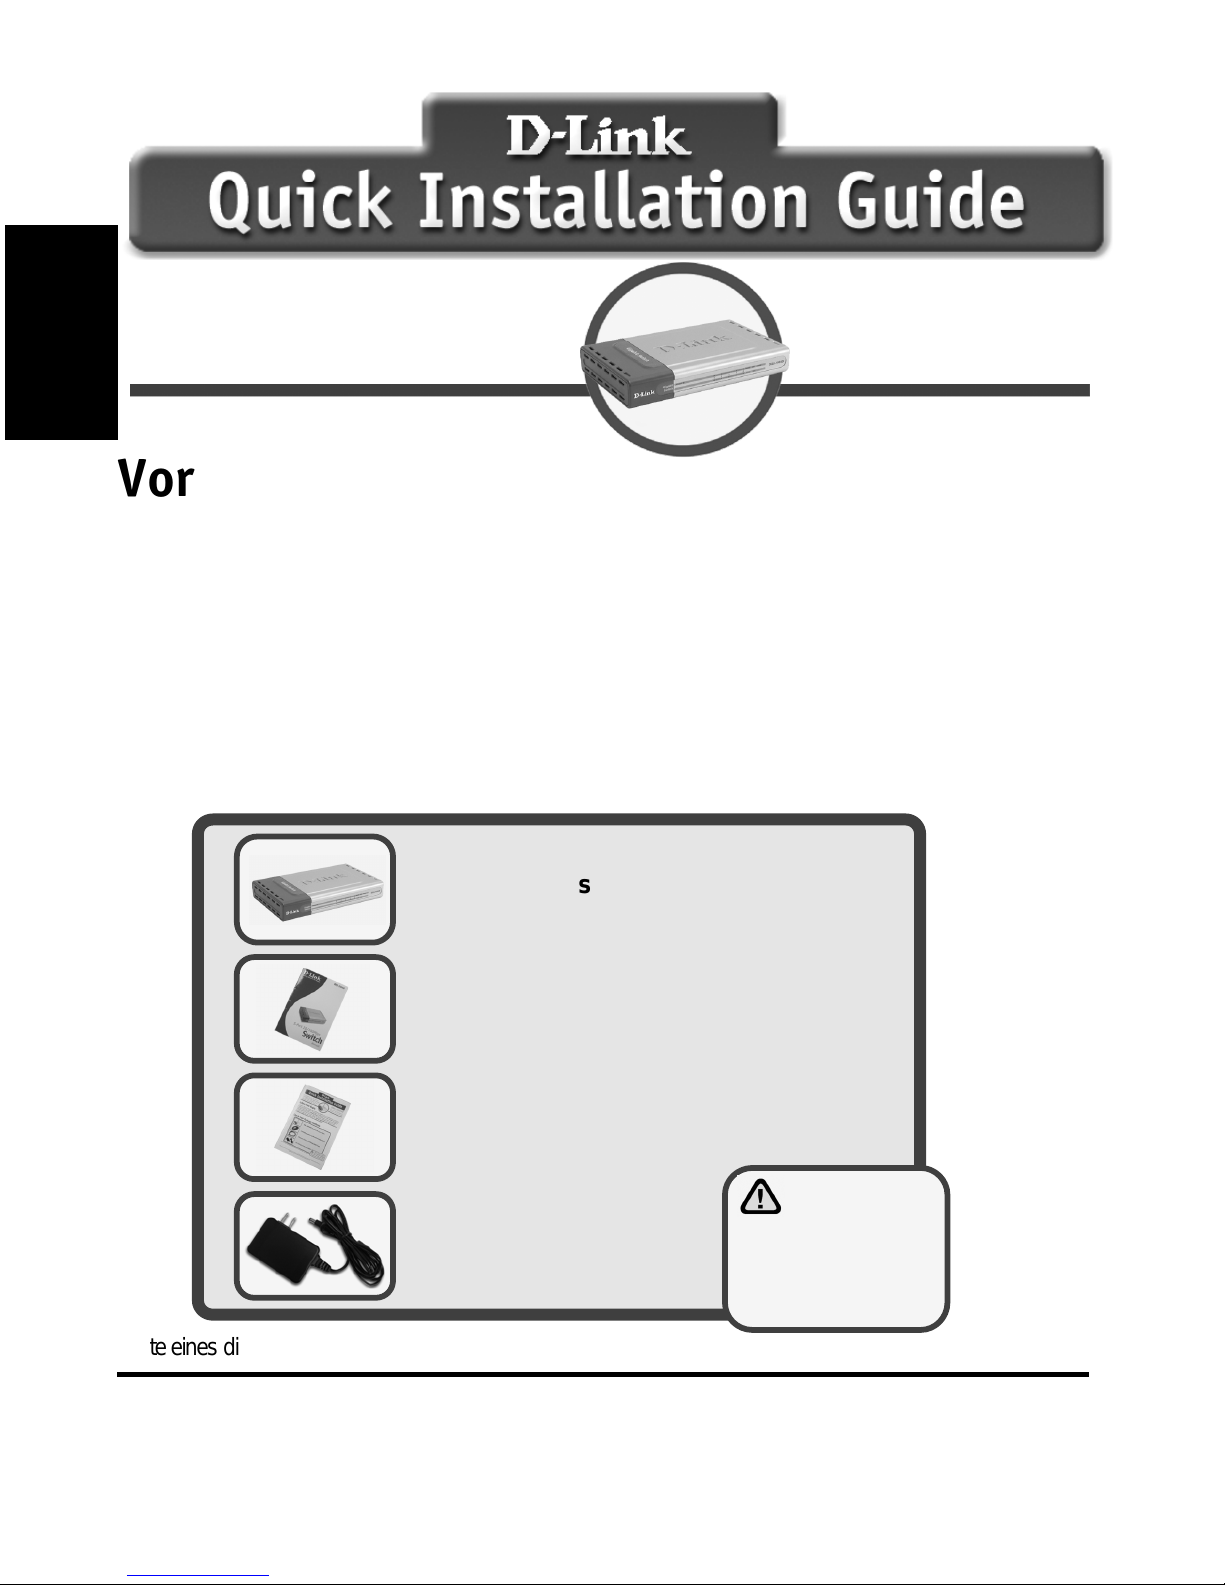
Check Your Package Contents
These are the items included with your DES-1005F/8F purchase:
If any of the above items are missing, please contact your reseller.
©2003 D-Link Systems, Inc. All rights reserved. Trademarks or registered trademarks are the property of their respective
holders. Software and specifications subject to change without notice.
• DES-1005F/8F 10/100M Fast Ethernet
Switch
• User Manual
• Quick Installation Guide
• 7.5V DC, 1A Pow er Adapter
Using a power
supply with a
different voltage rating
will damage and void
the warranty for this
product.
DES-1005F/8
F
10/100M Fast Ethernet
ENGLISH
ENGLISH
Setup The DES-1005F/8F 10/100M
Fast Ethernet Switch
The setup of the Switch can be performed using the following steps:
A. Install the DES-1005F/8F in a fairly cool and dry place. See Technical
Specificatio n for the acceptable operation temperature and humidity
ranges.
B. Install the Switch in a site free from strong electromagnetic source,
vibration, dust, and direct sunlight.
C. Leave at least 10cm of space at the left and right hand side of the Switch
for ventilation.
D. Visually inspect the DC power jack and make sure that it is fully se cured
to the pow er adapter.
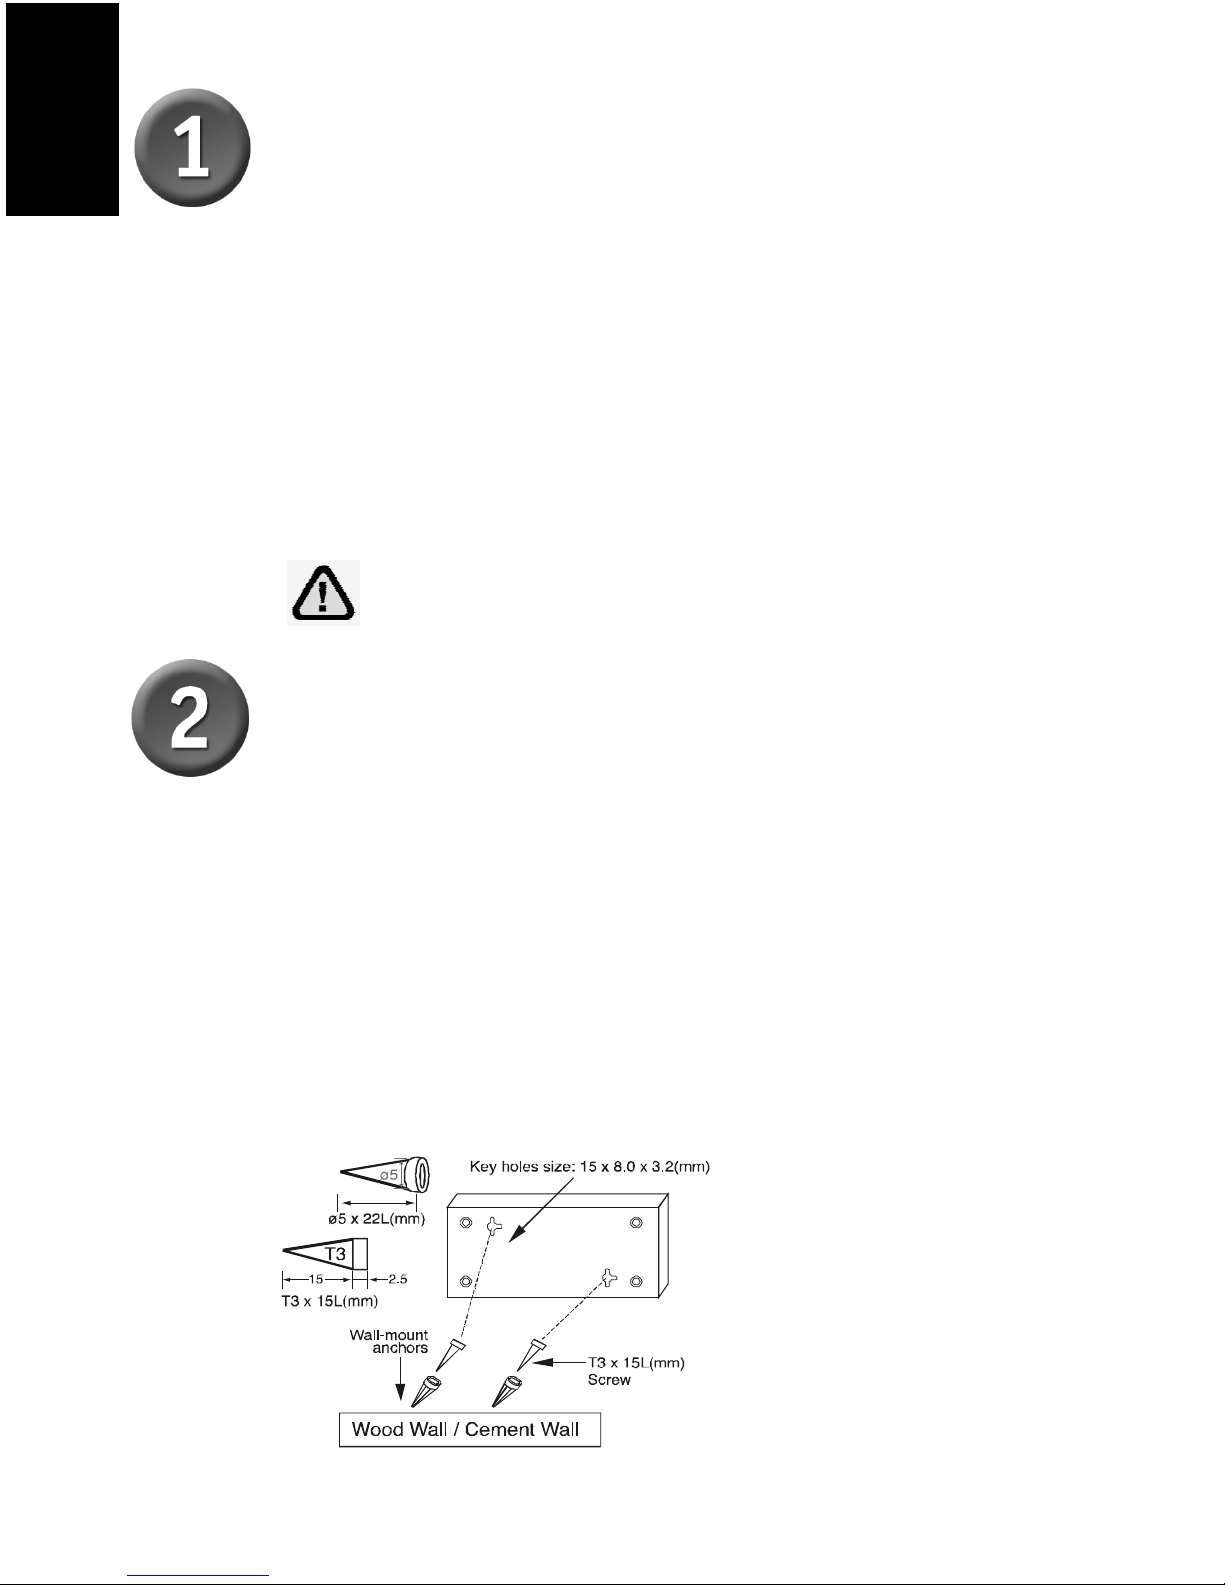
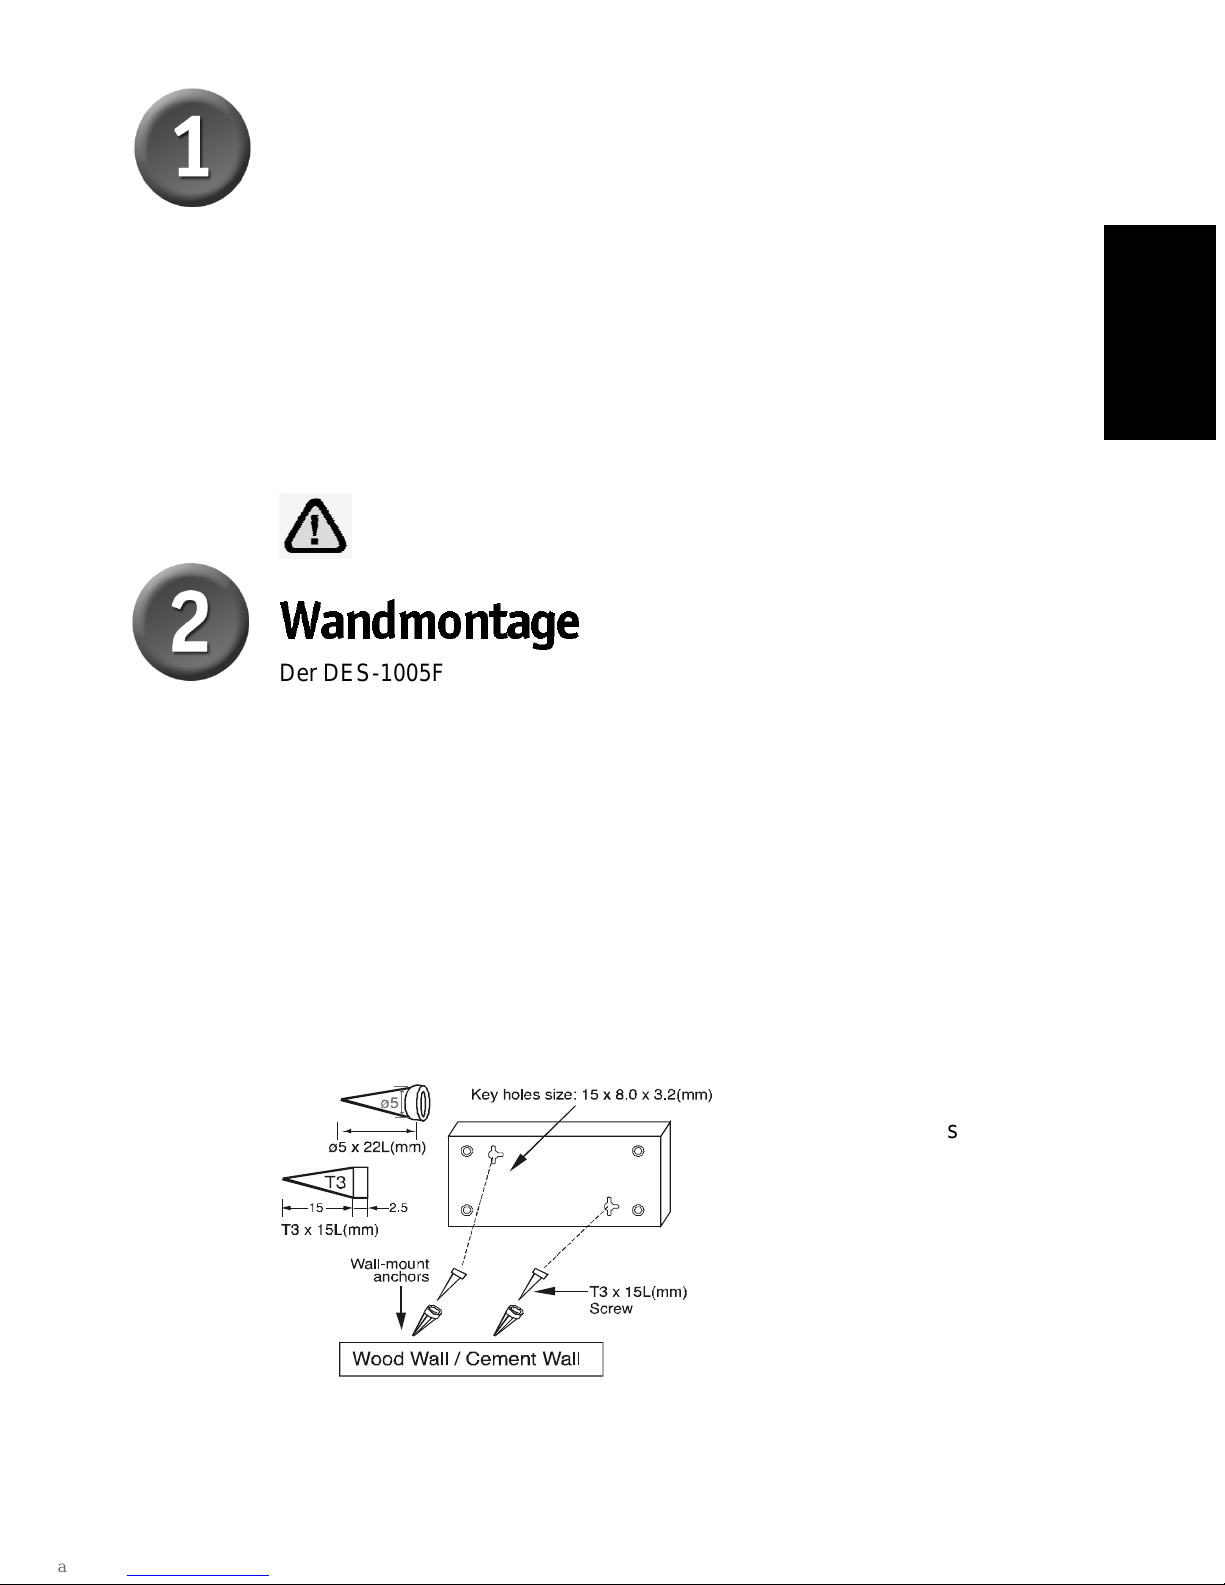
Mounting the Switch on a Wall
The DES-1005F/8F can also be mounted on a wa ll. Two mounting slots are
provided on the bottom of the switch for this purpose. Please make sure that
the front panel is exposed in orde r to view the L EDs. Please refer to the
illustration be low:
A. Mounting on a cement wall
1. Mount the Nylo n screw anchors into a cement wall.
2. Drive the T3 x 15L screws into the Nylon screw anchors.
3. Hook the mounting h oles of the switch back on the screws; you have
comple ted the wall-moun t.
B. Mounting on a w ood wall
1. Drive the T3 x 15 L screws into the wood wall.
2. Hook the mounting h oles of the switch back on the screws; you have
comple ted the wall-moun t.
(1) 3/4 inch minimum for
wood wall
(2) 3 inch minimum for
cement wall.
Do no t st ack any device upon the Switch.

ENGLISH
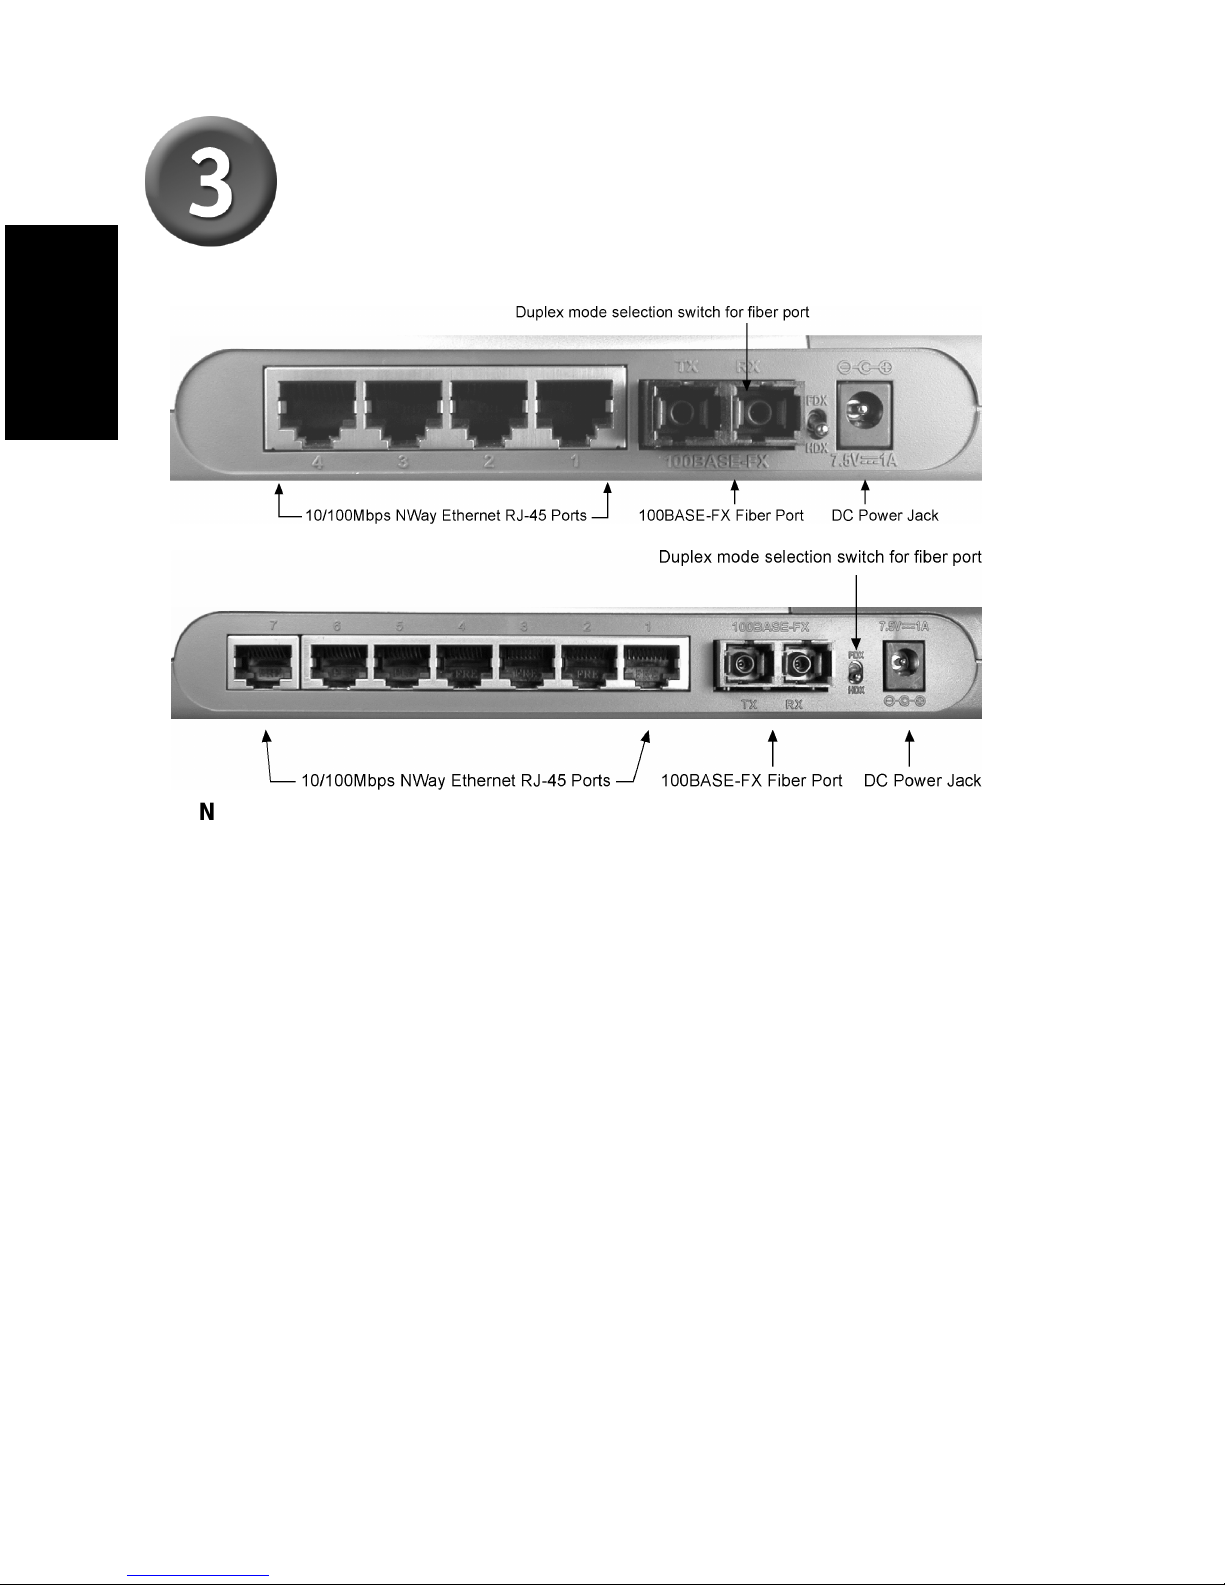
Connecting The DES-1005F/DES1008F To Your Network
DC Power Jack: Power is supplied through an ex ternal AC power adapter. Since
the switch does not include a power switch, plugging its power adapter into a po wer
outlet will immedia tely power it on.
Auto-MDI-X Function ports: Use these jacks (port-1 ~ port-4) for DES-1005F,
(port1 ~ port-7) for DES-1008F to connect statio ns to the hub. An Auto-MDI-X
function will automatically detect if a crossover is require d and make the swap of
TX pair and Rx pair internally. With this function, straight-through cable ca n be used
for any connectio n. MDI to MDI-X connection rule is not n ecessary anymore. In the
switches, all TX ports are equipped with this function. You can use just straightthroughtype of cables for all your connections.
100BASE-FX Fiber Port: The Fiber port supports 100BASE-FX 62.5/ 1 25µm
multimod e fiber. The TX port have to link to others end RX port, and the RX p ort
have to link to others end TX port.
Duplex Mode Switch: The switch is to select the operation mode either to run in
full or half duplex mode for 100BASE-FX. When turning the sw i tch to FDX, the fiber
port will run a t full duplex or turn to HDX, the fiber will run at ha lf duplex.
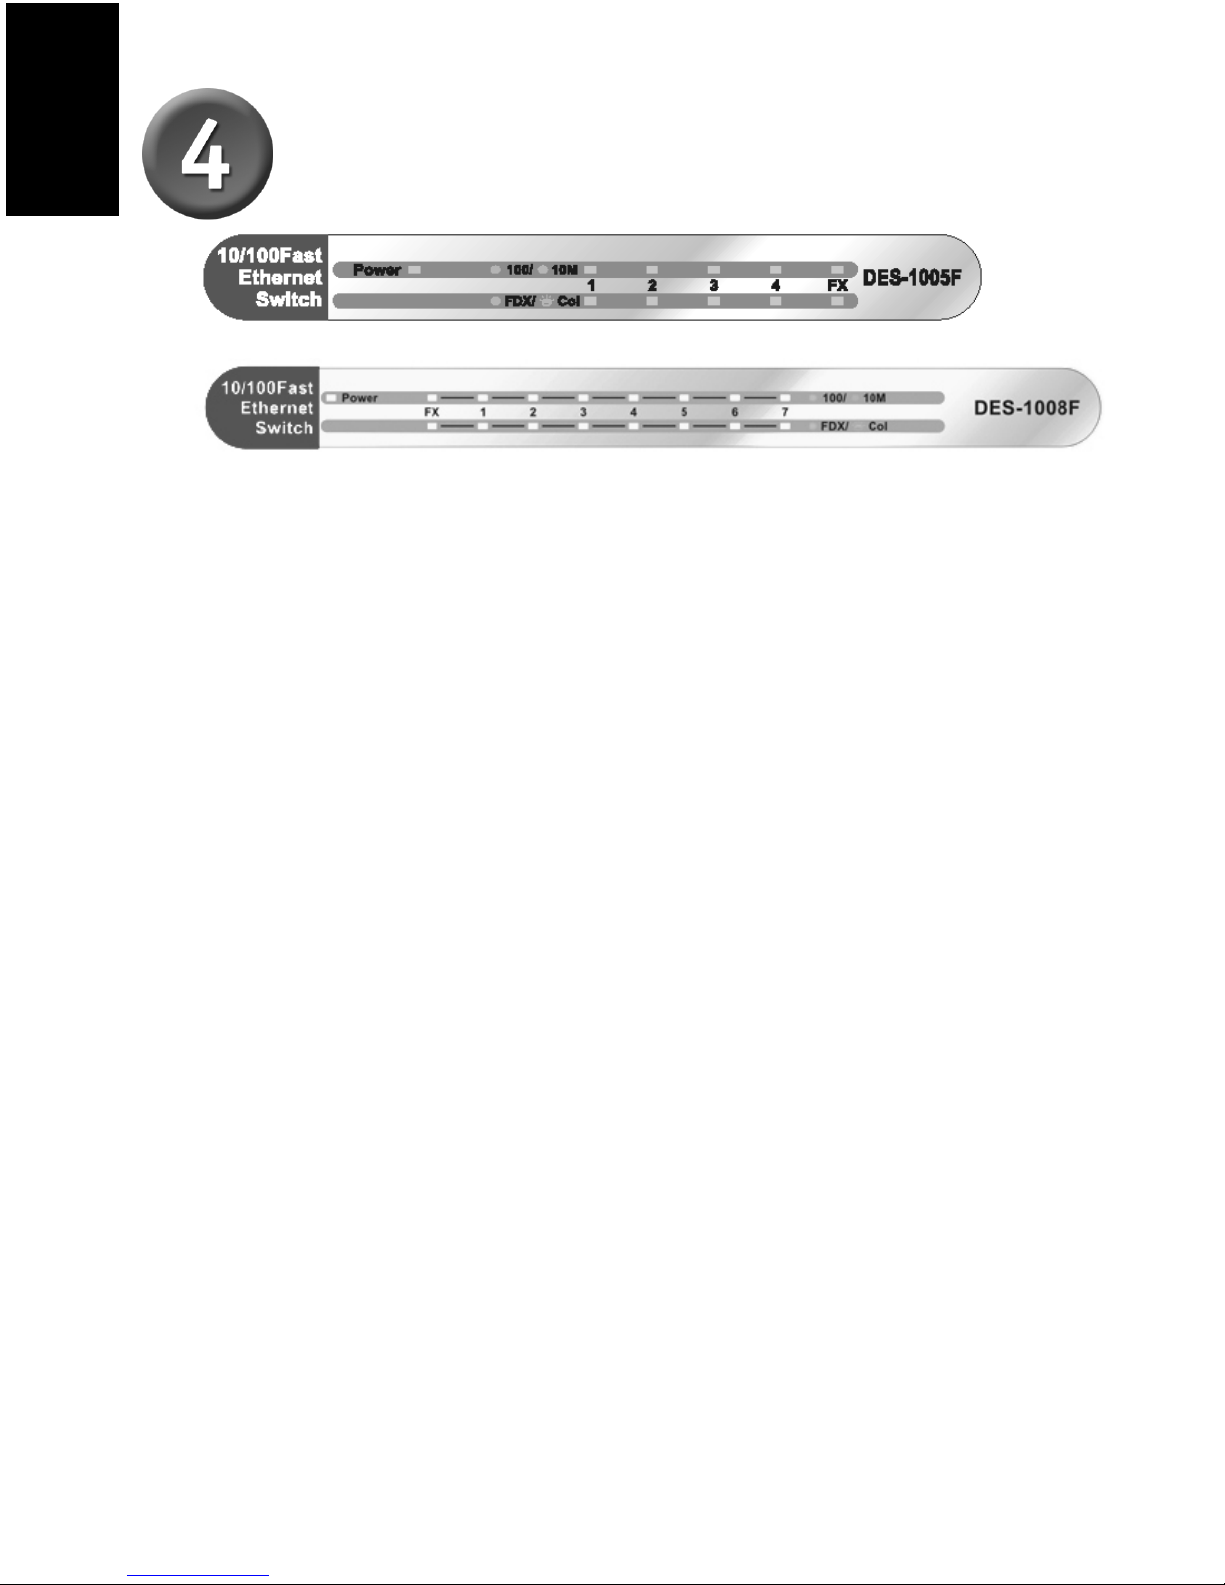
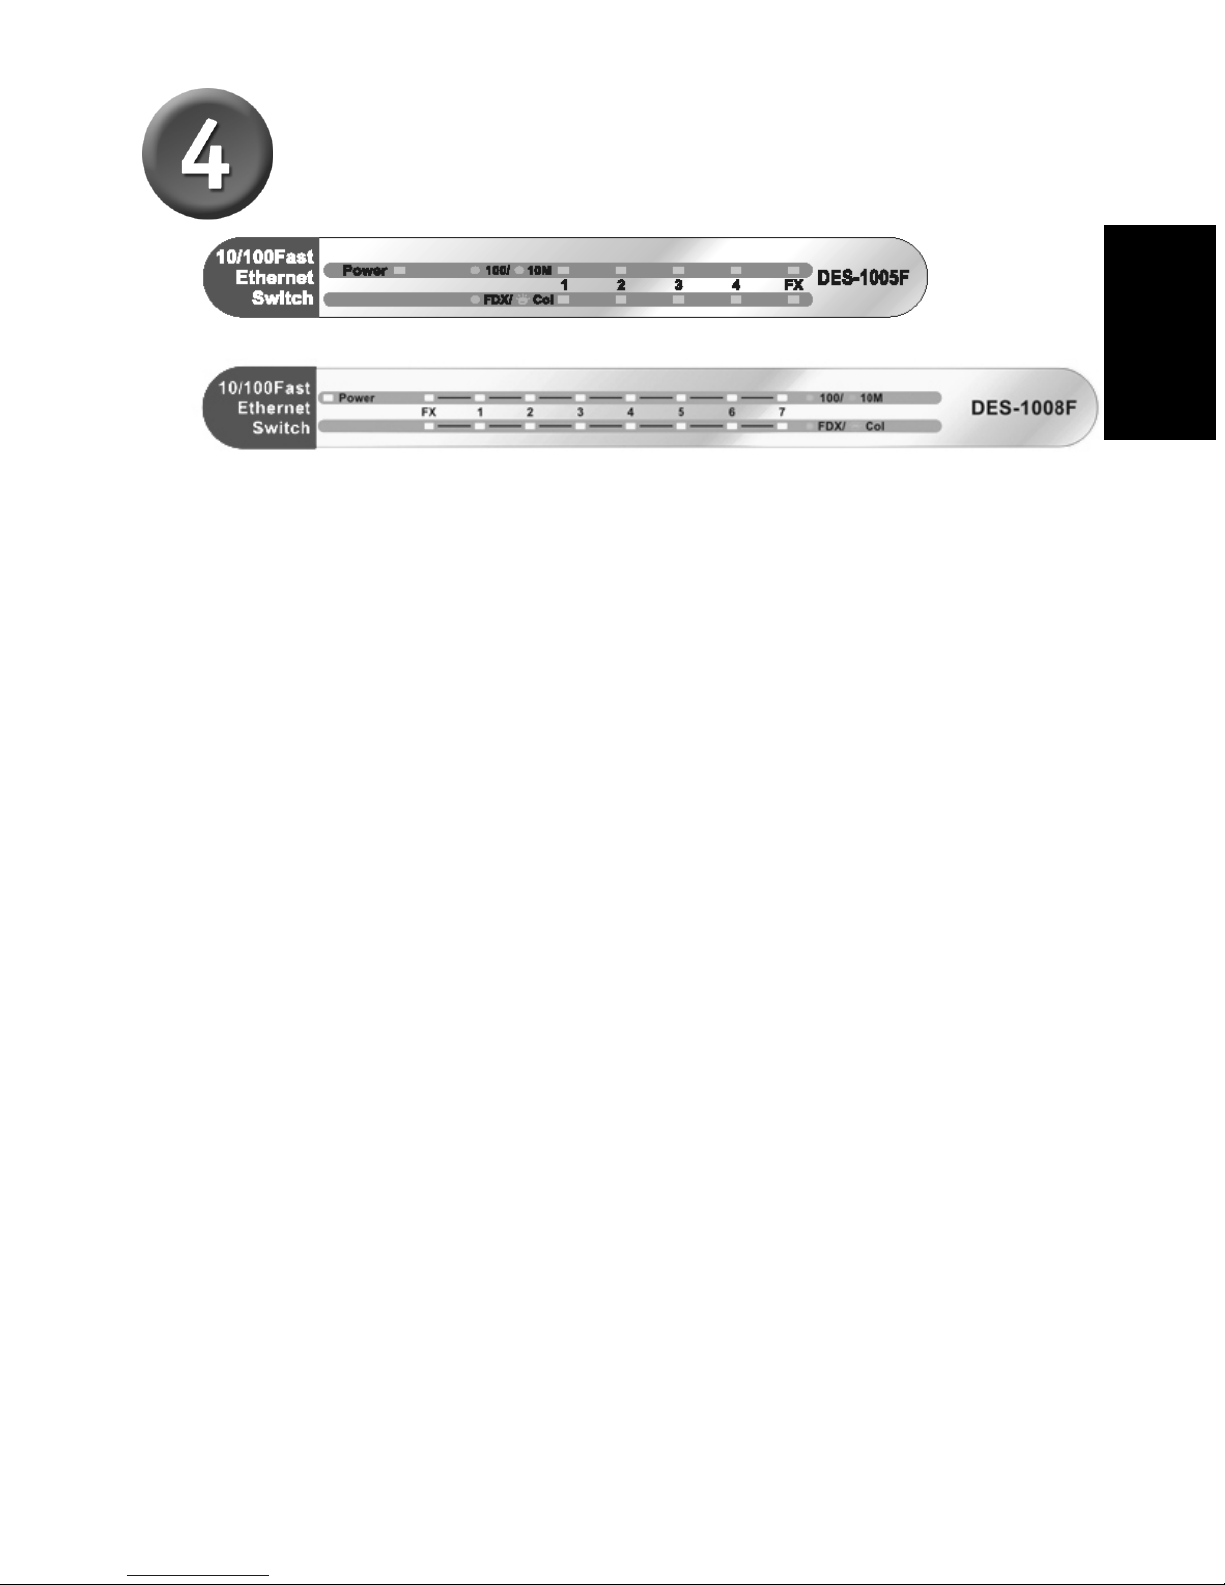
LED Indicators
Power Indicator (PWR)
This LED indicator lights green when the switch is receiving power, otherw ise ,
it is off.
Full-Duplex/Collision (Full-Duplex/Collision)
This LED indicator lights green when a respectiv e port is in full duplex (FDX)
mode. Otherwise, it is blinking when collisions a re occurring on the respective
port.
Link/Activity (100M LINK/ACT(green), 10M LINK/ACT(amber))
This LED indicator lights green when the port is connected to a 100Mbps Fast
Ethernet station, if the indicator blinking green will be transmission or received
data on the 100Mbps network. Otherwise, if the indicator lights amber when
the port is connected to a 10Mbps Ethernet station, if the indicato r blinking
amber will be transmission or received data on the 10Mbps network.
ENGLISH
Technical Support
You can find software updates and user documentation on the D-Link websites.
D-Link provides free technical support for customers within Canada,
the United Kingdom, and Ireland.
Customers can contact D-Link technical support through our websites,
or by phone.
For Customers within
The United Kingdom & Ireland:
D-Link UK & Ireland Technical Support over the Telephone:
08456 12 0003 (United Kingdom)
+44 8456 12 0003 (Ireland)
Lines Open
8.00am-10.00pm Mon-Fri
10.00am-7.00pm Sat & Sun
D-Link UK & Ireland Technical Support over the Internet:
http://www.dlink.co.uk
ftp://ftp.dlink.co.uk
For Customers within Canada:
D-Link Canada Technical Support over the Telephone:
1-800-361-5265 (Canada)
Mon. to Fri. 7:30AM to 9:00PM EST
D-Link Canada Technical Support over the Internet:
http://support.dlink.ca
email: support@dlink.ca
Vor dem Start
Diese Kurzanleitung für die Installat i on enthäl t Hi nweise zur Inbetriebnahme des
10/100 MBit/s Fast Et hernet Switch DES-1005F/DES-1008F von D-Link. Das von
Ihnen erworbene Modell kann im äußeren Erscheinungsbild von den in den
Ill ust r at ionen abgebil deten Modellen abweichen. Weitere Informat ionen zum
Switch, seinen Komponenten, zur Herstell ung von Netzwerkverbindungen und zu
technischen Daten finden Sie im Benutzerhandbuch.
Lieferumfang überprüfen
Die folgenden Artikel gehören zum Li eferum f ang des DES-1005F/8F:
Sollte e ines dieser Teile fehlen o der beschädigt sein, we nden Sie sich bitte a n Ihren Fachhändle r.
© 2003 D-Link Systems Inc. Alle Rechte vorbehalten. Marken und eingetragene Marken sind Eigentum ihrer jeweil igen
Inhaber. Änderungen vorbehalten.
DES-1005F/8
F
10/100 MBit/s Fast Ethernet Switch
• 10/100 MBit/s Fast Ethernet Switch
DES-1005F/DES-1008F
• Benutzerhandbuch
• Kurzanleitung für die Installation
• Netzteil 7.5 V, 1 A
(Gleichstrom)
Die Verwendung
Netzteils mit abweichender
Spannung führt zur
Beschädigung des Gerä ts und
zum Erlöschen der Garantie.
DEUTSCH
DES-1005F/ DES-1008F einrichten
Beachten Sie bei der Auswahl des Standorts bitte Folgendes:
A. Stellen Sie den DES-1005F/8F an einem kühlen und trockene n Ort auf.
Zulässige Werte für Temperatur und Luftfeuchtigkeit finden Sie in den
technischen Daten.
B. Das Gerät darf keinen starken elektromagnetischen Felde rn, Vibrationen,
Staub und direktem Sonnenlicht ausgesetzt we rden.
C. Lassen Sie für eine ausreichende Luftzufuhr mindestens 10 cm Freiraum
um das Gerät herum.
D. Vergewissern Sie sich, dass der Netzstecker unbeschädigt ist und sicher
in der Steckdose sitzt.
Wandmontage
Der DES-1005F/8F ist auch zur Wandmo ntage ge eignet. Dazu befinden sich
an der Unterseite des Geräts zwei Montag eschlitze. Achten Sie darauf, dass
die Vorderseite des Geräts sichtbar bleibt, damit die LED-Anzeigen
abge lesen werden können. Richten Sie sich nach der Abbildung unten.
A. Montage an einer Betonwand
1. Bohren Sie Löche r für die Kunststoffdübel in die Betonwa nd, und
stecken Sie sie hinein.
2. Drehen Sie die Schrauben (T3 × 15L) in die Dübel.
3. Hängen Sie das Gerä t in den Montageschlitzen an der Wand auf.
B. Montage an einer Holzwand
1. Drehen Sie die Schrauben (T3 × 15L) in die Holzwand.
2. Hängen Sie das Gerät in den Mo ntageschlitzen an de r Wand auf.
(1) mindestens 2 cm bei
Holzwä nden
(2) mindestens 7,5 cm
bei Betonwänden
Stellen Sie keine anderen Geräte auf den Switch.
DEUTSCH
DES-1005F/DES-1008F mit dem
Netzwerk verbinden
Netzanschluss für Gleichstrom (DC Power Jack): Die Stromversorgung des
Swi tch erfolgt über ein externes Netzgerät. Da der Switch keinen Netzschalter be sitzt,
geht er automatisch in Betrie b, wenn Sie das Netzteil in eine Steckdo se stecken.
Auto-MDI-X-Anschlüsse: Über die Anschlüsse (Port 1 – Port 4) für den DES-1005F
und (Port 1 – 7) für den DES-1008F werden die Geräte mit dem Hub verbunden.
Durch die Funktio n Auto -MDI-X wird a utomatisch erkannt, ob ein Adernpaar-Tausch
erforderlich ist. In diesem Fall bew irkt die Funktion den Tausch zwischen den
Adernpaaren TX (Sendeda ten) und RX (Empfangsdate n). Mit dieser Funktion
könne n ungekreuzte Kabel für jede Verbindung verwendet werden. Die
Verbindungsregel „MDI zu MDI-X“ entfällt. An den Switches verfügen alle TPAnschlüsse über diese Funktion. Unge kreuzte Kabel können für alle Verbindungen
verwende t werden.
Glasfaseranschluss 100Base-FX: Dieser Anschluss unterstützt MultimodeGlasfaser (100Base-FX, 62,5/125 µm). Der TX-Anschluss einer Se ite muss mit dem
RX-Anschluss der jewe iligen anderen Seite verbunden werden.
Duplex-Schalter: Mit die se m Schalter können Sie bei 100Base-FX-Betrieb zwischen
Voll- und Halbduplex-Modus wechseln. In der Stellung FDX befindet sich der
Anschluss im Vollduplex-Modus, in der Stellung HDX ist der Halbduplex-Modus aktiv.
DEUTSCH
LED-Anzeigen
Betrieb sanzeige (PWR)
Diese LED-Anzeige leuchtet grün, wenn der Switch an das Stromnetz
ange schlossen ist. Andernfalls ist die Anzeige dunkel.
Vollduplex/Kollision (Full-Duplex/Collision)
Dies e LED-An zeige l euchtet grün auf , wenn der entspr ec hend e Ansc hluss im
Volld upl ex- Modus (FD X) b etri eben wird oder blin kt, wenn am ent sp rec hend en
Anschluss Kollisionen auftreten.
Verbindung/Aktivität (100M LINK/ACT (grün), 10M LINK/ACT (gelb))
Diese LED-Anzeige le uchtet grün, wenn der Anschluss mit einer 100 Mbit/s
Fast Ethernet-Station verbunden ist. Sie blinkt grün, wenn Daten mit
100 Mbit/s gesendet oder empfangen werden. Die Anze ige leuchtet ge lb,
wenn der Anschluss mit einer 10 Mbit/s Ethernet-Station verbunden ist. Sie
blinkt gelb, wenn Daten mit 10 Mbit/s gesendet oder empfange n werden.
DEUTSCH
Technische Unterstützung
Aktualisierte Versionen von Software und Benutzerhandbuch finden
Sie auf der Website von D-Link.
D-Link bietet kostenfreie technische Unterstützung für Kunden
innerhalb Deutschlands, Österreichs, der Schweiz und Osteuropas.
Unsere Kunden können technische Unterstützung über unsere
Website, per E-Mail oder telefonisch anfordern.
Web: http://www.dlink.de
E-Mail: support@dlink.de
Telefon: +49 (1805)2787
0,12€/Min aus dem Festnetz der Deutschen Telekom.
Telefonische technische Unterstützung erhalten Sie Montags bis Freitags
von 09.00 bis 17.30 Uhr.
Unterstützung erhalten Sie auch bei der Premiumhotline für D-Link
Produkte unter der Rufnummer 09001-475767
Montag bis Freitag von 6-22 Uhr und am Wochenende von 11-18 Uhr.
1,75€/Min aus dem Festnetz der Deutschen Telekom.
Wenn Sie Kunde von D-Link außerhalb Deutschlands, Österreichs, der
Schweiz und Osteuropas sind, wenden Sie sich bitte an die zuständige
Niederlassung aus der Liste im Benutzerhandbuch.
Avant de commencer
Ce guide d’installation rapide vous explique pas-à-pas comment instlaller le switche Fast
Ethernet DES-1005F/DES-1008F. Le modèle que vous avez acheté peut paraître
sensiblement différent de ce ux montrés dans les illustrations. Pour de plus amples
informations sur le switch, ses composants, les conne xions réseaux et les spécificatio ns
techniques, se référer au guide de l’utilisateur livré avec le switch.
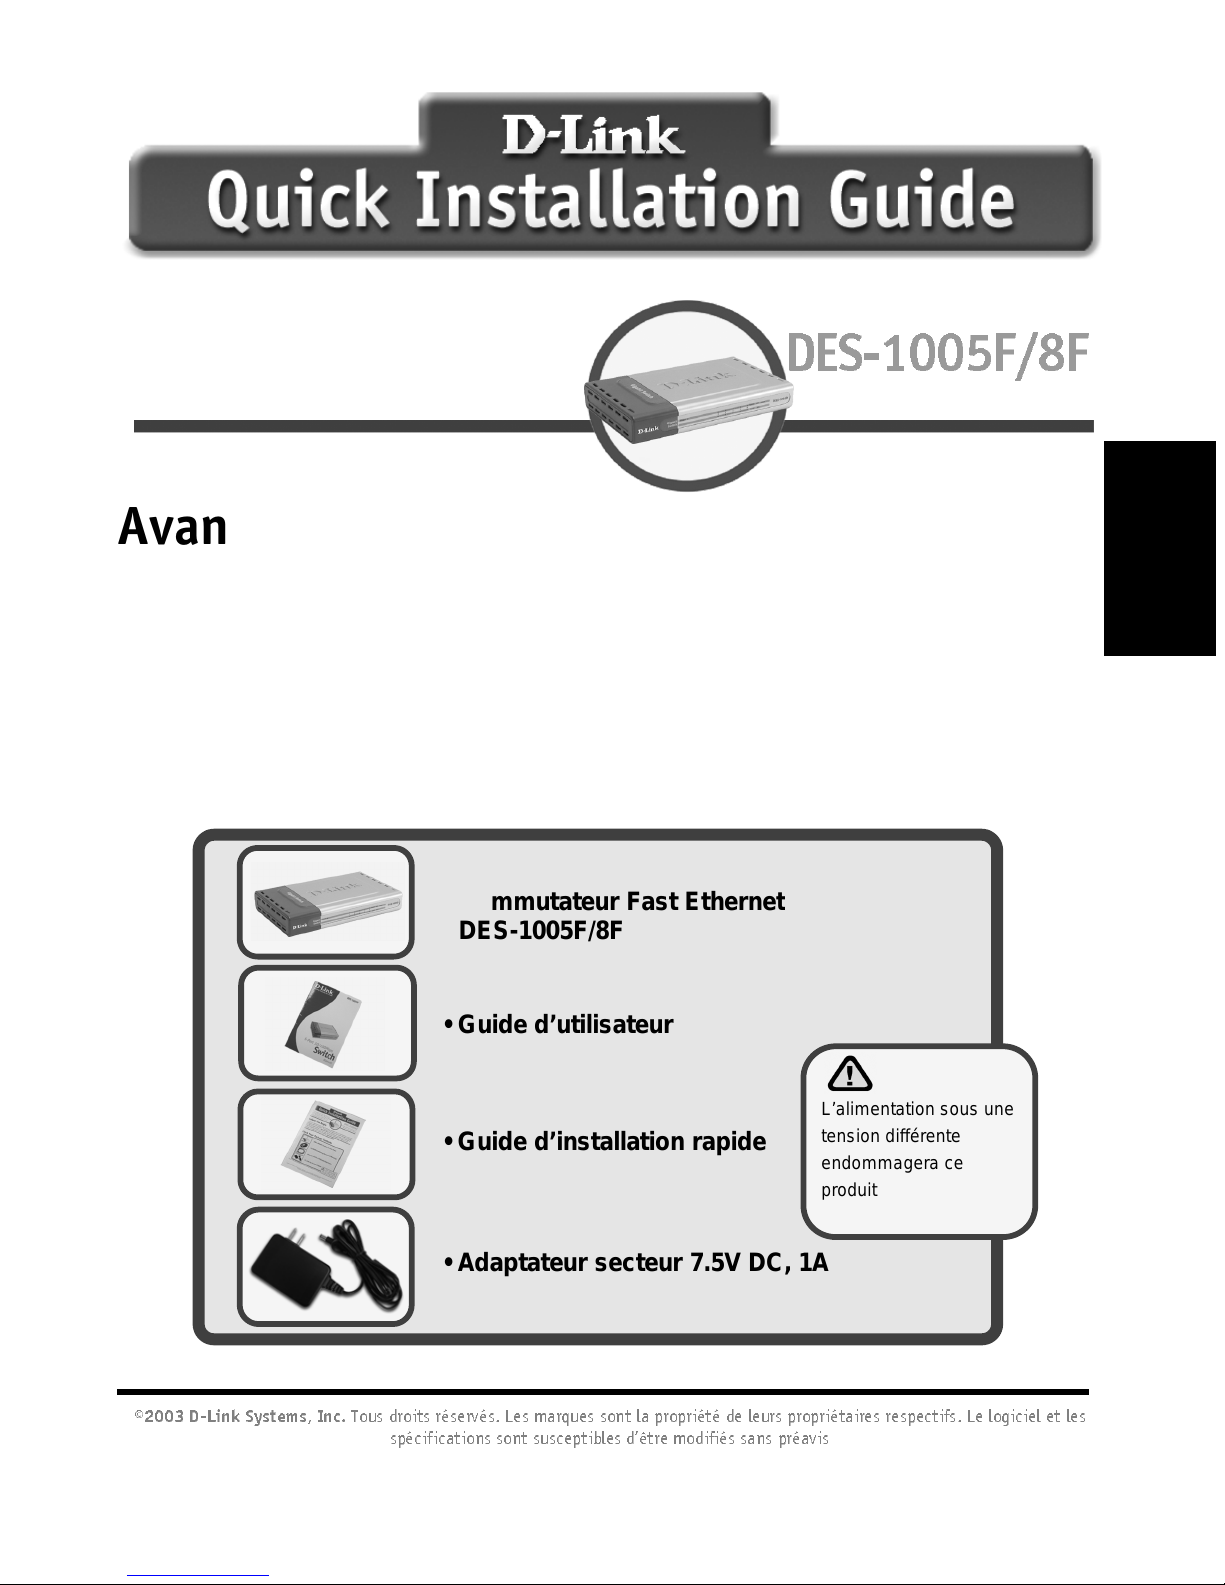
Vérifiez le contenu de l’emballage
Voici les éléments que doit contenir le DES-1005F/8F que vous a vez acheté :
Si l’un des éléments ci-dessus manque, contactez votre revendeur.
©2003 D-Link Systems, Inc.
Tous droits réservés. Les marques sont la propriété de leurs propriétaires respectifs. Le logiciel et les
spécifications sont susceptibles d’être modifiés sans préavis
• Commutateur
Fast Ethernet
DES-1005F/8F
• Guide d’utilisateur
• Guide d’installation rapide
• Adaptateur secteur 7.5V DC, 1A
L’alimentation sous une
tension différente
endommagera ce
produit et annulera la
garantie
Commutateur Fast Ethernet
DES-1005F/8F
FRANçAIS
 Loading...