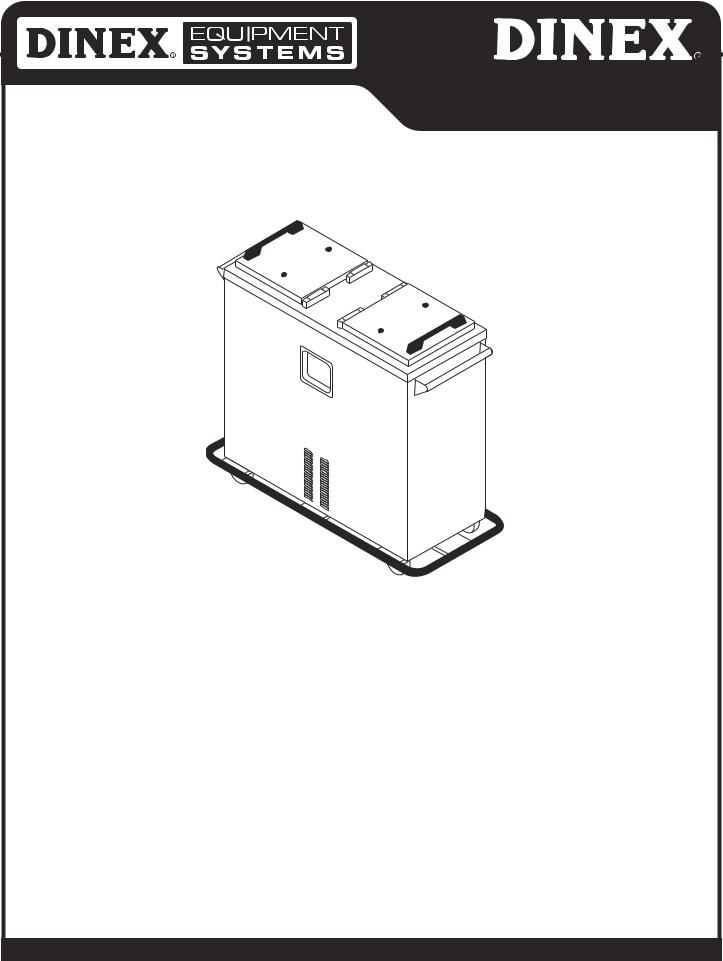
Dinex IDWB2-0775 Service Manual

Service Manual
Heater & Dispenser
Models:
IDWB2/0900, IDWB2/0775, IDWB3/0900,
IDWB3/0775, IDWB4/0900, IDWB4/0775
Introduction . . . . . . . . . . . . . . . . . . . . . . . . . . . . . . . . . . . . . . . . . . . . . . . . . . . . . . . . . . . . . . . . . . . . . . . . . . . . 2
Unpack & Set-up . . . . . . . . . . . . . . . . . . . . . . . . . . . . . . . . . . . . . . . . . . . . . . . . . . . . . . . . . . . . . . . . . . . . . . . . 2
Installation & Operating Instructions . . . . . . . . . . . . . . . . . . . . . . . . . . . . . . . . . . . . . . . . . . . . . . . . . . . . . . 2
Maintenance . . . . . . . . . . . . . . . . . . . . . . . . . . . . . . . . . . . . . . . . . . . . . . . . . . . . . . . . . . . . . . . . . . . . . . . . . . . . 3
Dinex® Warranty. . . . . . . . . . . . . . . . . . . . . . . . . . . . . . . . . . . . . . . . . . . . . . . . . . . . . . . . . . . . . . . . . . . . . . . . . 5
Replacement Parts. . . . . . . . . . . . . . . . . . . . . . . . . . . . . . . . . . . . . . . . . . . . . . . . . . . . . . . . . . . . . . . . . . . . . . . 6
Wiring Diagram . . . . . . . . . . . . . . . . . . . . . . . . . . . . . . . . . . . . . . . . . . . . . . . . . . . . . . . . . . . . . . . . . . . . . . . . . 8
For Service Information, call 1-888-673-4639
Please provide following information:
•Model number
•Serial number
•Part Description and number as shown in parts list.
Printed in the USA |
Manual No. WBHD Rev-03/03 |
DINEX INTERNATIONAL, INC. • 628-2 HEBRON AVENUE, GLASTONBURY CT 06033 • WWW.DINEX.COM

Introduction:
Congratulations! You have just purchased one of the finest pieces of equipment on the market today. Before installing or operating our new Dinex® Products equipment you should read through this material. This manual should be retained for further reference as it contains installation and operating instructions, service tips, part list and warranty information. Should you have any questions concerning the Equipment, please call the Dinex Hotline at 1-888-673- 4639 (Monday through Friday from 8 am to 5 pm, Eastern Standard Time).
IMPORTANT: For your safety, read and follow all cautions, ! information and warnings
FREIGHT DAMAGE CLAIMS
Your Dinex® Products equipment was carefully inspected and packed before leaving our factory. The transportation company assumes full responsibility for safe delivery of this equipment. Dinex® Products cannot assume responsi-
or
person making delivery.
A freight claim should be filed immediately with the transportation company. If damage is unnoticed or concealed until equipment is unpacked, notify the transportation company immediately and tell them you want to file a concealed damage claim. This must be done within fifteen (15) days after delivery was made. Be sure to retain all
packing material and cartons.
!performed only by persons qualified or licensed to install electrical equipment.
•Adjustments and service work should be performed only by a qualified service technician. Service is available through Authorized Dinex® Products Parts & Service Distributors throughout the United States. For a complete listing of these consult your distributor listing or write Dinex® Products for the name of the nearest distributor.
•This equipment in intended for commercial use only. Not for household use.
•Use of other than genuine Dinex® Products replacements parts or service work performed by other than authorized Dinex® Products service agents will void the warranty.
•Do not use any corrosive cleaners. Use only cleaners approved for stainless steel.WARNING: Installation of this equipment should be
Installation:
NOTE: It is the responsibility of the installer to comply with ! all local codes.
2.Make sure that the master switch is in the OFF position. Turn thermostat control knob to the off position.
3.Connect unit to proper electrical serviceUnit can operate on 208 or 240 V.A.C., single phase.
Receptacles required are:
a.Models: IDWB2/0900 81 IDWB2/0775 6-20R (20 Amp) Receptacle
b.Models: IDWB3/0900, IDWB3/0775. IDWB4/0900 & IDWB4/0775 = 6-30R (30 Amp) Receptacle
4.Turn master switch “ON”, power “ON” pilot light will glow and blower motor will start to run.
!master switch “OFF” and check blower wheel for freight damage or loose objects.CAUTION: If excessive noise or vibration is noticed, turn
Operation Instructions:
up line. Due to the high quality insulation characteristics, it is not necessary to electrically reconnect the dispenser during the serving period.
!twenty-four (24) hours a day. The master switch should be turned “OFF” after serving the last meal of the day.WARNING: Unit should not be operated continuously
LOADING OF BASES
! WARNING: Over filling dispenser silos or use of other than Dinex brand bases may cause injury to the operator or damage to the dispenser, thus voiding the warranty.
1.Each silo is designed for use with Dinex unitized bases, depending on the model purchased.
2.There is an easy way to determine when the correct number of unitized bases have been loaded into a silo. Fill the silo until the bases are flush with the top of the unit, then remove one base. You should now have the proper number of bases in the silo.
!This can damage the silo components and void the warranty. Place three to four bases at a time into the silo.NOTE: Never drop stacks of bases into the silo assembly.
Page 2

CONTROL SETTINGS
1.The master switch in the control panel on the front of the unit controls the power to the unit.
2.The pilot light in the control panel will indicate power “ON” when the master switch is turned to the “ON”position.
WAX BASE SILO THERMOSTAT SETTINGS
1.The heaters in the unitized base are controlled by an adjustable thermostat located in the control panel. The thermostat knob has an OFF position and is numbered 1 to 10. With the master switch “ON” and the thermostat set to “OFF”, the blower motor will run but the heaters will not operate. Thermostat must be turned to a setting of 1 or higher to operate the heaters in the base silo.
2.Turn the thermostat knob clockwise to the number “7.5” setting. The number “10” setting is the highest temperature setting for the dispenser. If you find that the bases are too hot for your application, reduce the temperature by turning the thermostat knob back to the 5, 6, or 7 setting. Since virtually all facilities operate differently, the best way to determine your thermostat setting is to start with the No. 7.5 setting, and adjust up or down for the next meal. Keep turning the knob until the proper temperature is reached.
3.Once the proper temperature setting is determined, it is not necessary to reset the thermostat at every meal. Leave the thermostat at the desired setting and turn the unit on and off using the master switch.
APPROXIMATE HEAT-UP TIMES
Cold bases (first meal of the day): 1-1/2 to 2 hours. Warm bases: 1 to 1-1/2 hours
All times are approximate only and may vary depending on each facilities operation, locations of units and supply voltage.
Make sure that silo doors are closed during the heating cycle.
DISPENSING BASES
1.Turn master switch “OFF” and disconnect electrical plug from receptacle. Move dispenser to start of the tray make-up line.
! WARNING: Severe burns may be caused if instructions are not followed. Operator must wear heavy gloves when dispensing bases.
2.Never touch bases with your bare hands, always use heavy gloves and a suction lifter to handle bases.
3.If, when using a suction lifter, a base comes loose, do not try to catch the base...let it fall.
4.Never assume that a base is cool enough to handle with your bare hands. Bases retain enough heat to cause burns for several hours after being removed from the dispenser.
5.If a base becomes jammed in the silo, never reach into the silo to free it. Use a long stick (such as a broom handle) to free the base.
6.Dispense bases using the Dinex Suction Lifter No. TMP1097HNDLIFT. Hold the lifter in the palm of your hand with your thumb over the release button. Use a snap action of your wrist to attach the lifter to the base, lift the base out of the silo and onto a waiting tray or base underliner, press the release button with your thumb to release base with the lifter.
Do not leave the suction lifter attached to a hot base. This will greatly shorten the life of the suction lifter cup.
Maintenance
!
!
!
!
!
Page 3
 Loading...