

Page 1

Model GL Force Gauge User’s Guide
Thank you for purchasing the Dillon Model GL Electronic Force Gauge. A force
gauge is designed to measure forces inline with its load cell stem. This instrument may be
used handheld, attached to a test stand or mounted to a fixture in order to measure force
reactions and/or weight.
Features:
9 Measures tension (pull) and compression (push) forces
9 Die cast metal enclosure
9 Handheld use or mount using four threaded holes provided
9 Rechargeable batteries
9 Backlight
9 Serial data output to PC
9 Includes everything needed for many common tests
The model GL is available in a variety of capacities from 10 to 500 N. All operate
identically. Only the maximum capacity and display graduations vary. Various power
adapters exist for different countries, however all operate identically once plugged in.
Discard any extra power supplies included that are not suitable for your location.
Register:
Register your Dillon products at www.dillonforce.com
Contents:
Model GL Electronic Force Gauge
AC Power adapter/charger
Five popular grip styles – Hook, plate, notch, inverted notch, cone point
Extension rod
Plastic carry case
User’s guide
Calibration sheet
Display:
Remove protective film from display for best viewing.
Batteries
Charge the battery for at least 12 hours before first use. Subsequent recharging time is
about 6 hours. The GL has a working time of about 10 hours on a charge at room
temperature.
LINE
kg
lb
N
Page 2
The GL Force Gauge can operate from its battery pack or while connected to the power
adapter/charger. When the battery is too low, appears. Connect to AC power
adaptor/charger. The indicator light is red when charging. The LED changes from red to
green when the battery is full.
Fully discharging the battery is not necessary or recommended. If not using the gauge for
long time, freshen the charge every three months.
OVER LOAD
Damages from overloads are not covered by warranty. Avoid loading above rated
capacity. If the applied force (either pull or push) exceeds rated gauge capacity, an alarm
will sound. Unload the force gauge to protect load cell.
If the applied force exceeds 120% of the capacity, the load cell may be damaged. Compare
versus a known weight in both tension and compression. Repairs should be directed
through your authorized Dillon distributor.
Overload damage is based on gross load, which may vary from displayed load. Always
take into account the load which has been zeroed off.
Impact loads should be avoided. Dropping the force gauge onto its load cell stem may
result in overload, particularly in small capacities.
Operation:
Always push or pull along the axis of the load cell stem. Exerting forces off-axis can
result in erroneous results and/or damage to the force gauge. The unit of measure
annuniator flickers when the load is changing.
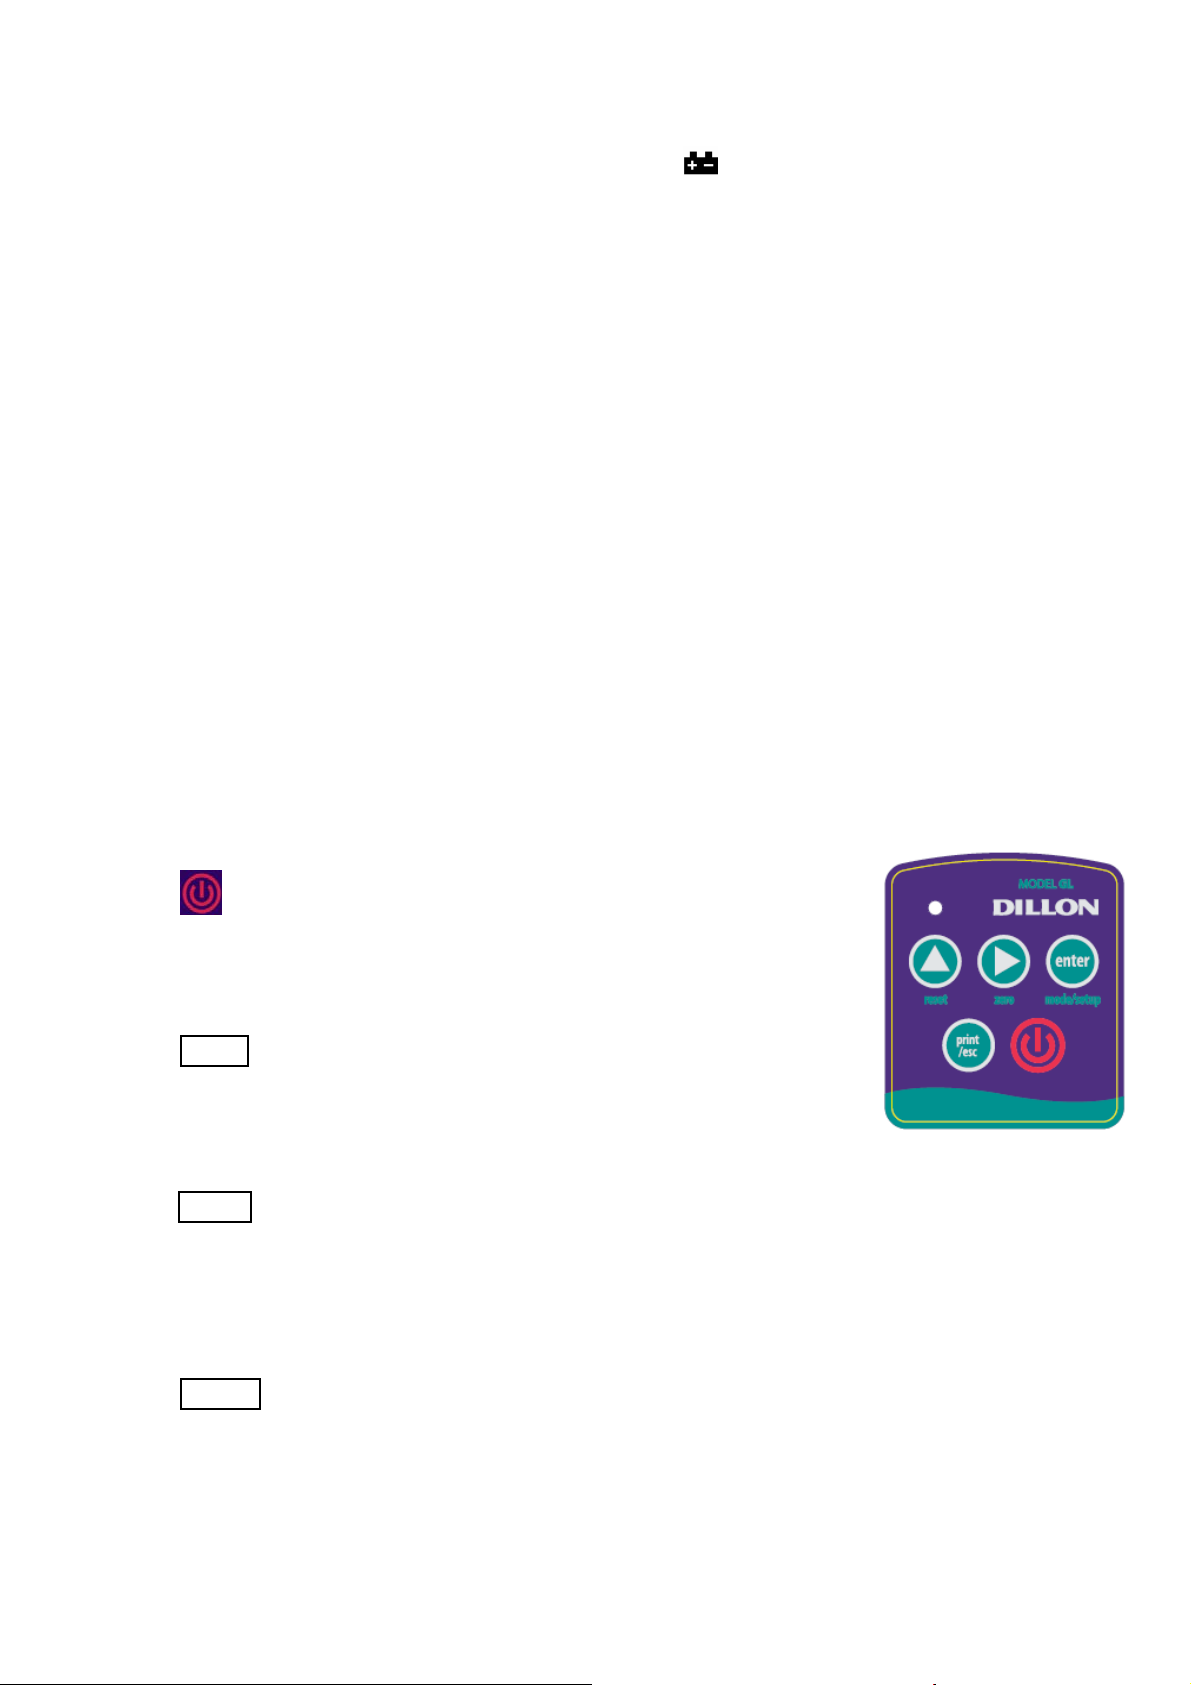
Power
Powers the instrument on. The gauge activates all display segments,
performs a self-test, and shows “0.0”, which indicates that the gauge
is ready for measurement. Press again to turn off the power.
zero
When pressed the display reads zero. The instrument shows
changes in force from this reference point. This function is handy to
tare weight from test fixtures.
print
The displayed reading is transferred through the serial port when the button is pressed.
Requires a serial cable. Baud rate is 9600, 7 data bits, 1 stop bit, no parity. One reading
per second maximum output rate.
mode
Toggles display between Live and Peak modes.
Live mode shows force/weight increases and decreases as they occur.
Peak mode keeps the highest number on the display. The Pull / Push annuciator shows
which direction it occurred. Press reset to clear this value.
Page 3

SETUP MODE
Pressing mode/setup for 3 seconds enters setup mode. Once in setup, use the navigation
markings for selection and entry (▲, ►).
Unit of measure:
Configures which unit of measure is shown. The GL force gauge has unit conversions
built-in.
Press and hold mode/setup for 3 seconds. When screen shows “Unit”, press ► . Press ▲_
to cycle displayed units of measure between kg—N—lb (or g-N-lb as appropriate for gauge capacity).
Press ► to accept and continue with setup procedure.
Factory setting: N
Automatic power off :
Configures the inactivity period before the gauge powers down. This lengthens time
between charges.
Press and hold mode/setup for 3 seconds. Press ▲ until “Auto” shows. Press ► . Press
▲ to increment the flashing digit. Press ► to advance to the next digit. Press ► after the
last digit to accept the new value and proceed with setup.
The auto-off time setting is 00-99 minutes. An entry of 00 disables the auto-off function.
Factory setting: 10 (10 minutes of gauge inactivity)
The gauge powers off automatically if none of the following occurs within the time period
in the setting:
• Key press
• Change is weight or load on the display
• Serial request input.
Local gravity constant:
The GL Force Gauge may be adjusted for use as a weighing scale in locations where
gravity varies significantly from typical. Adjusting this value is not common. It is not
recommended to change unless living in extreme altitudes
and the instrument is being used
to measure weight/mass.
Press and hold mode/setup for 3 seconds. Press ▲ until “Loc.n” appears. Press ► . Press
▲ to increment the flashing digit. Press ► to advance to the next digit. When the last digit is
complete, press ► to accept new value and proceed with setup.
Factory setting: 9.807 m/s2. To adjust the value without knowing your gravitational
constant, insure Loc.n is at 9.807. Attach the hook and zero instrument. Suspend a known
weight (near gauge capacity) and observe the load.
New Loc.n reading is = (Displayed weight / Known applied weight) * 9.807
Reverify after entry.
Reset factory defaults:
Press and hold mode/setup for 3 seconds. Press ▲ until “dEF” appears. Press
Page 4

► . Press ▲ to cycle between choices of YES and NO. YES will return to
factory default settings. Choosing NO will keep the current settings. Press ► to
accept choice and return to operating mode.
Recalibration:
Ensure the force gauge is meeting your accuracy requirements by recalibrating at
regular intervals. Your Dillon distributor can assist you with this practice and service.
Serial Inputs
Content Instruction
*
Response
Print
Zero gauge
Peak/live mode ‘T” Toggles between peak value & live value
Trouble shooting
Item Reason Solution
Gauge locks on beep
Gauge does not power on
Gauge powers off
Serial output not
recognized
Gauge does not read
accurately
“P”
“Z”
* One command per second maximum input rate.
Low battery Connect to charger
Low battery Connect to charger
Low battery Connect to charger
Auto-off function
configured
Improper parameters in
software program
Undesired loading such
as side load or torque
Local gravity constant
parameter configured
Overloaded or out of
calibration gauge
Adjust auto-off to longer interval or turn off
Align settings with gauge output settings. See
PRINT section.
Insure push or pull force acts through load cell.
Eliminate torque or off-axis loads.
Verify Loc.n parameter in setup.
Contact your authorized Dillon distributor
Returns reading output
Display goes to zero
an Avery Weigh-Tronix Brand
www.dillonforce.com
USA office
1000 Armstrong Drive
Fairmont, Minnesota 56031 USA
Sales +01 (507) 238-8796
Service +01 (507) 238-4461
UK office
P. O. Box 9533
Smethwick
West Midlands B66 2TE U.K.
Sales +44 870 444 6132
Service +44 870 901 4116
11/06
 Loading...