


AR-1748

WORLD B AND RADIO
AR-1748
AM/FM/Shortwave fi eld radio with LCD backlight
rotacidni htgnerts langis dna yalpsid
OWNER’S MANUAL
Distributed by:
Electus Distribution Pty Ltd
320 Victoria Rd
Rydalmere NSW 2116 Australia
Ph: 1300 738 555
Fax: 1300 738 500
www.electusdistribution.com.au
5HY


3
WARNING
• Do not expose this appliance to rain or moisture.
• Do not submerge or expose to water.
• Protect from high humidity and rain.
• Only operate within specied temperature range (0 °C to 40 °C).
• Unplug immediately if liquid has been spilled or object have fallen
into the apparatus.
• Clean only with a dry cloth. Do not use detergents or chemical
solvents as this might damage the nish.
• Unplug and disconnect external antennas during lightning storms.
• Do not remove cover [or back].
• Refer servicing to qualied service personnel.
4
INSTALLING BATTERIES
The battery compartment is on the back of the radio. Remove it by
pressing the two tabs and pulling up. Install only fresh, new alkaline
D cells, all of the same brand and type. To prevent battery acid leak-
age, follow these instructions. Battery acid leakage is not covered by
the radio’s warranty. Never install or replace with batteries of dierent
brands and types. Never intermix old batteries with new ones. When
not using the radio for more than 30 days, remove the batteries.
USING BATTERIES
Use 6 D size alkaline batteries. Install them with correct polarity us-
ing the diagram inside the battery compartment on the back of the
radio. Replace them if the battery strength indicator in the display
shows one bar or the sound becomes distorted. The radio will turn
o automatically if the batteries become too weak.
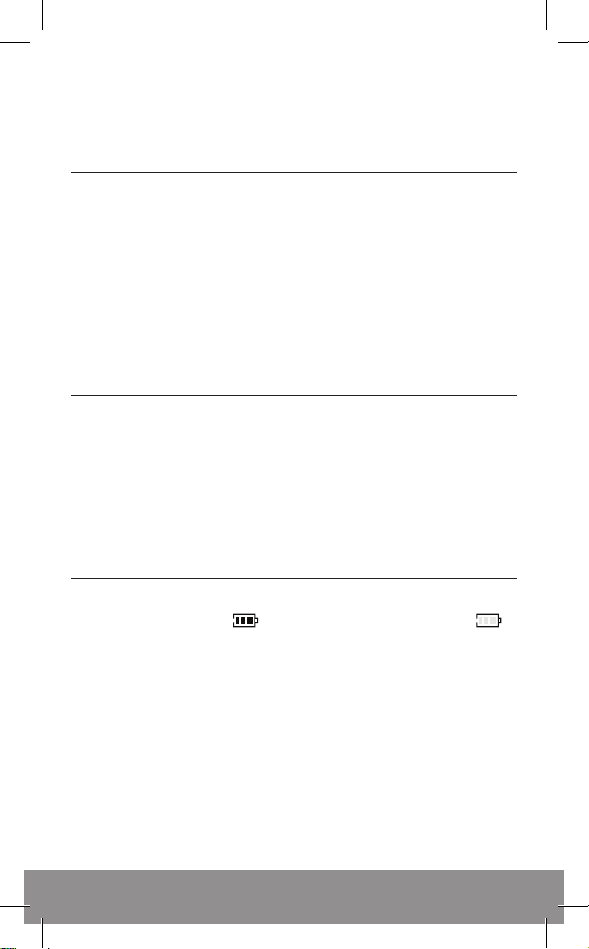
BATTERY LEVEL INDICATOR
The battery level indicator is in the upper left corner of the display.
When batteries are full, “
” will be displayed in the LCD; if “ ”
flashes, it indicates that batteries are low and the radio will soon turn
o automatically.

5
USING AC POWER
Plug AC adapter into the socket on the left side of the radio. Use
only the AC adapter supplied. When the AC adapter is plugged in,
the full power level will show in the upper left corner of the display,
looking like a full battery. If you lose the AC adapter that came with
the radio, use one with 9 Volt DC output, negative polarity, 500
milliampere and a plug with 5.5 millimeter outer diameter, 2.1
millimeter inner diameter.
POWERING FROM A CAR OR BOAT
Use a DC to DC converter. Output: 9 Volt DC, negative polarity, outer
diameter 5.5 millimeter; inner diameter 2.1 millimeter.
TURNING ON AND OFF / SETTING AND
DEACTIVATING THE SLEEP TIMER
Turn on the radio by pressing the red POWER & SLEEP button on the
front top right corner of the radio. When it turns on you will briefly
see a sleep timer symbol in the bottom portion of the display, this
is the sleep time and the radio will play for this amount of minutes
and then shut o. It can be deactivated by continuously pressing the
power button until ‘on’ appears in the bottom of the display; with
each press you will see the numbers going down from 90 to 60 to
45 to 30 to 15 to 10 to 5 to 1 minute and then to ‘on’. When ‘on’
appears, stop pressing the button. The sleep timer is now disengaged
and you don’t have to change it unless you want a sleep time to
appear.
To activate the sleep timer, turn the radio on and press the POWER &
SLEEP button continuously until the desired sleep time appears. The
radio will play for the specified length of time and automatically shut
o. The sleep timer symbol will show in the display, “
”.
 Loading...