

Dell W-AP105 Owner's Manual
AP-105 Mounting Kit
NOTE
AP105_008
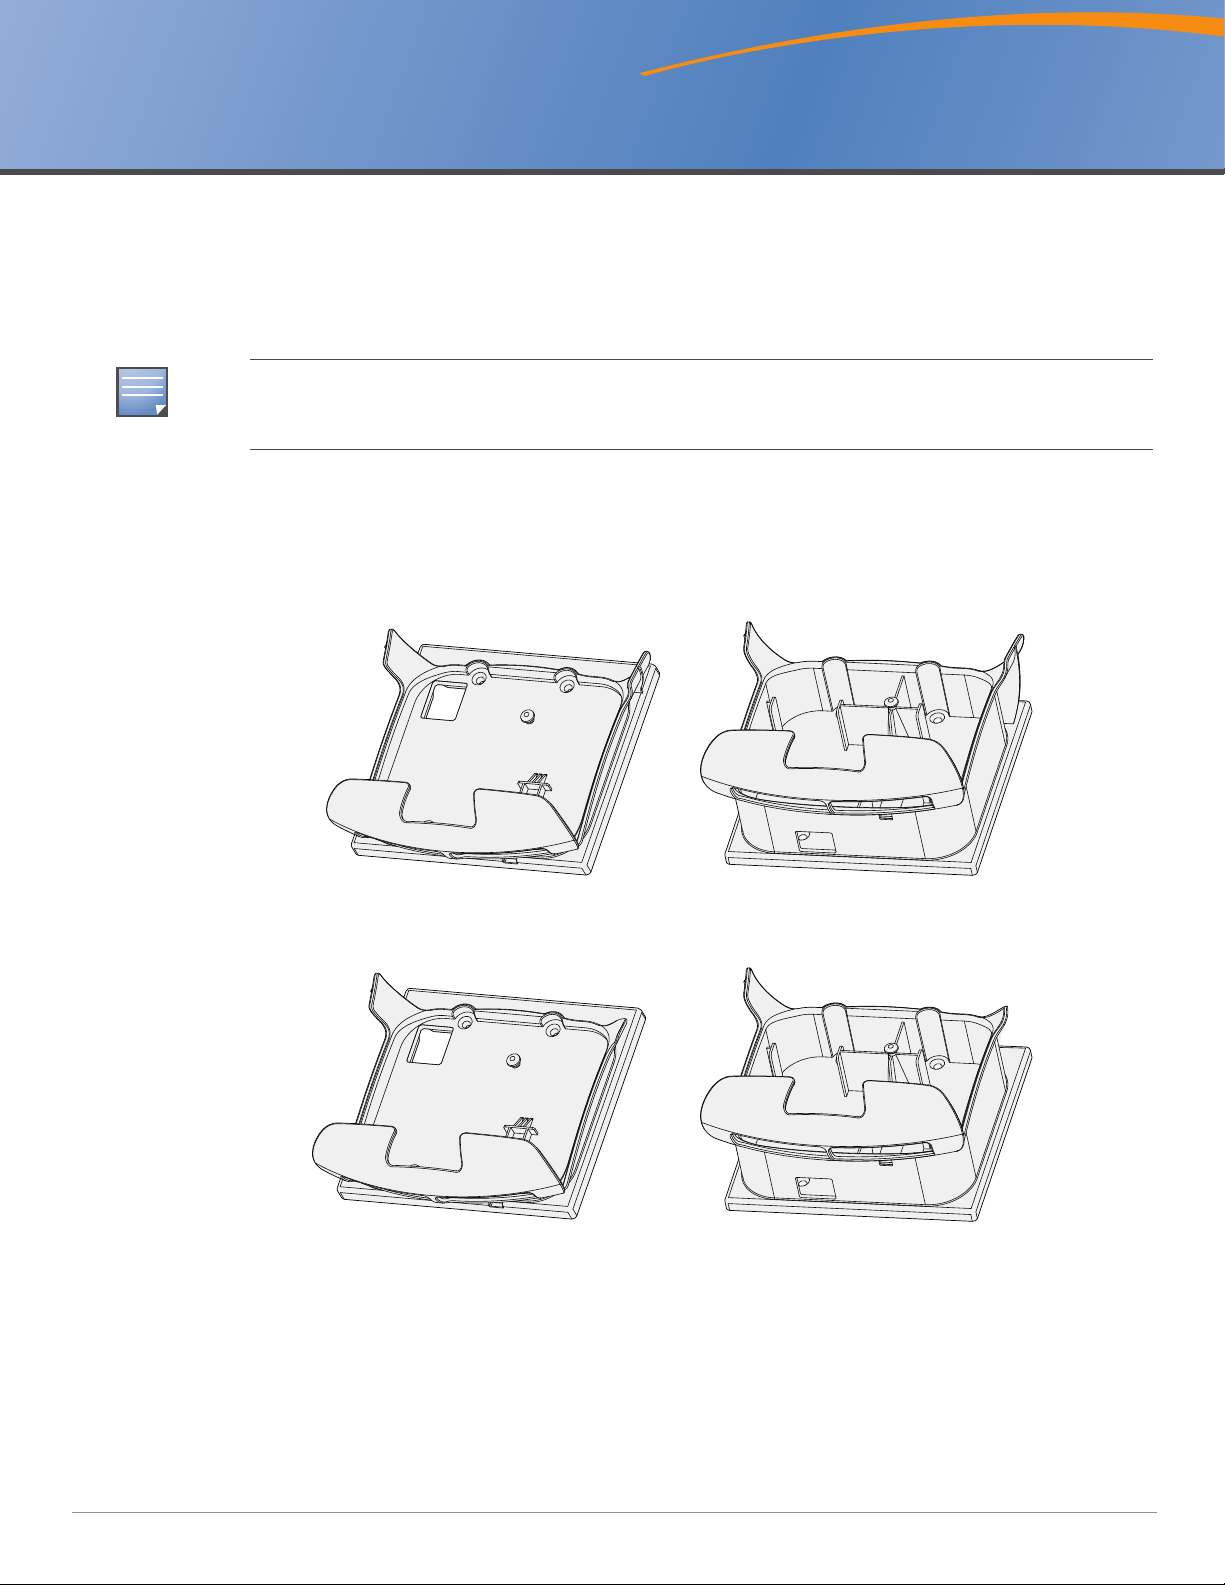
Box Mount Bracket Wall Mount Bracket
AP105_008
Wall Mount Bracket
Box Mount Bracket
Installation Guide
Introduction
The AP-105 Wall Mounting kit provides two options, with built-in security features, for mounting your
AP-105 to a wall. Use the Box Mount Bracket to install the AP over wall box and use the Wall Mount
Bracket to install the AP directly on a wall.
This installation guide pertains to both the AP-105-MNT and AP-105-MNT-DC. The AP-105-MNT can only be
used with an AP that is powered by Power Over Ethernet (PoE), while the AP-105-MNT-DC allows the use of a
DC power source.
The kit includes the following:
z 1x plastic Box Mount Bracket
z 1x plastic Wall Mount Bracket
Figure 1 AP-105-MNT
Figure 2 AP-105-MNT-DC
Required Tools
z A screwdriver that matches the screws used for mounting your brackets.
z An M5 (Metric) or 3/16" (Standard) hex key.
0510651-02 | July 2010 1
Installation
AP105_010
Box Mount Bracket
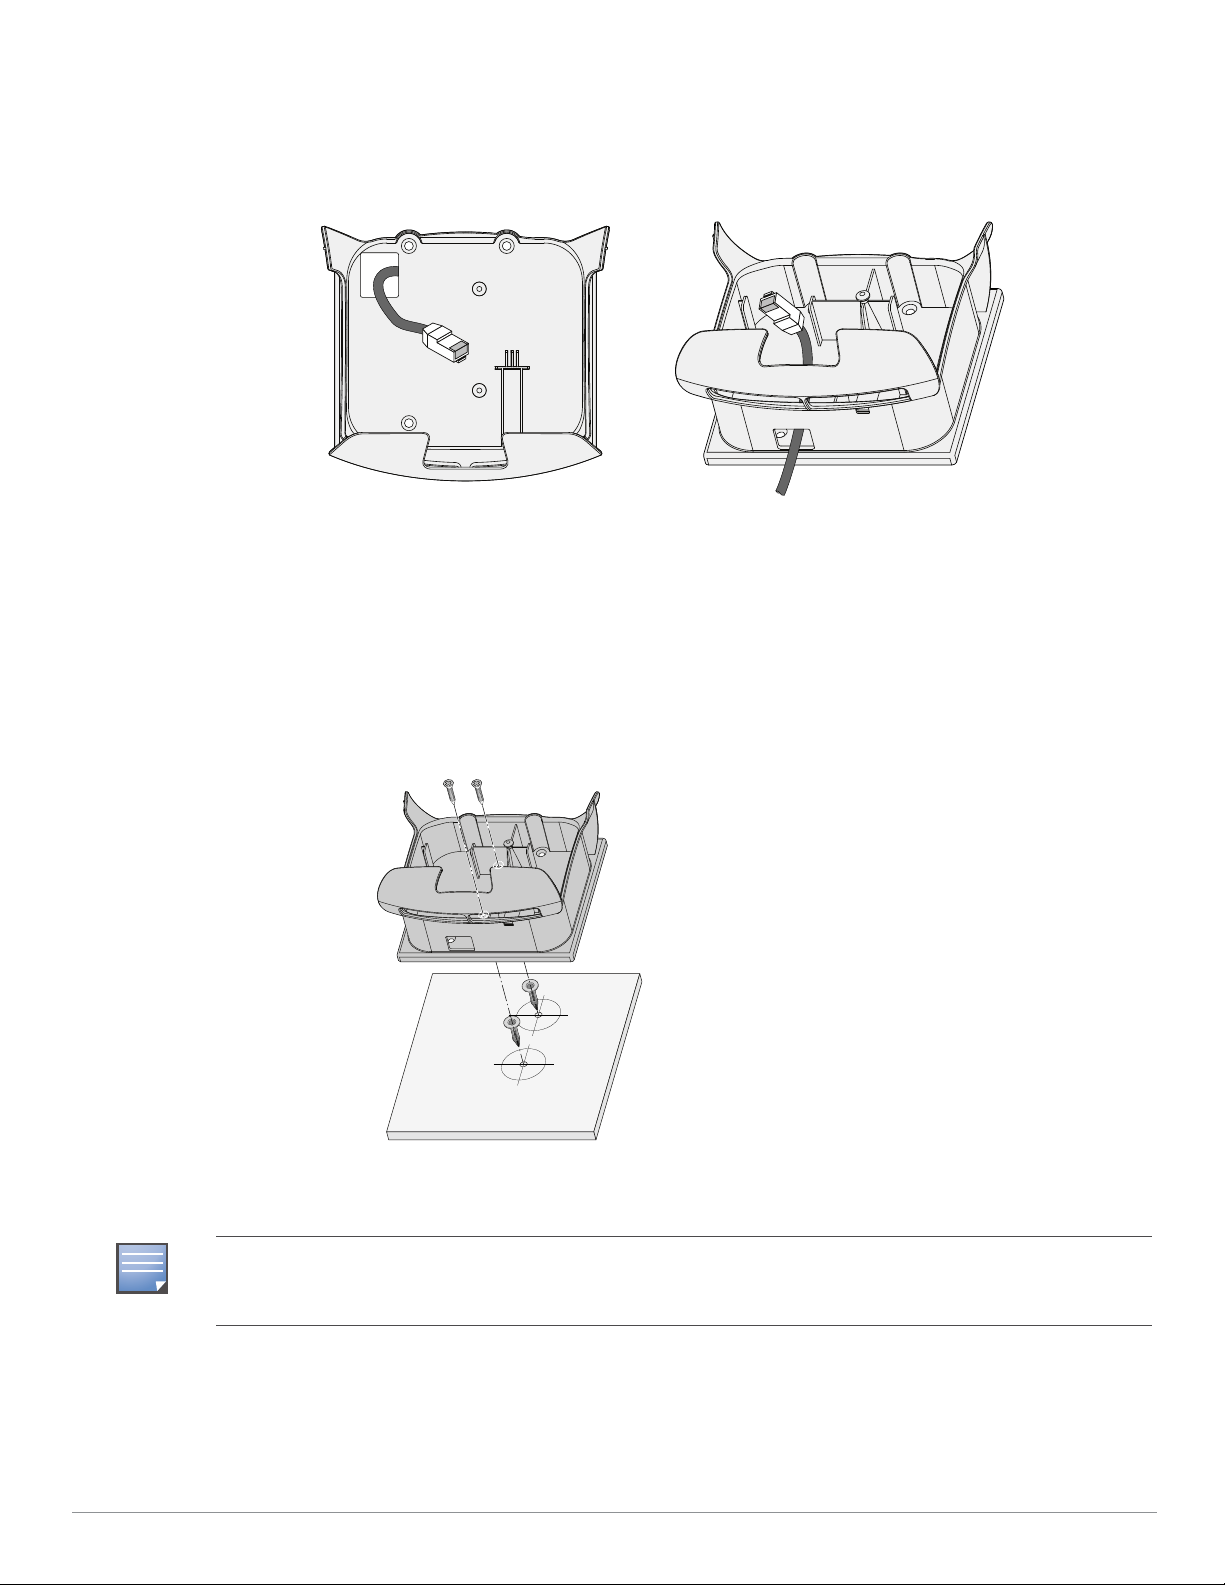
Cable Route
to ENET Port
Cable from
Gang Box
Wall Mount Bracket
AP105_012
NOTE
1. Before securing your mount to a double-gang box or directly to the wall, route the ethernet cable
through the openings show in Figure 3.
Figure 3 Cable Routing
2. Install your mounting bracket.
For the Wall Mount Bracket (Figure 4):
a. Before installing your Wall Mount Bracket, install the appropriate wall anchors. Screws and wall
anchors are not included.
b. Align the screw holes in the mount with the holes or anchors on the wall.
c. Insert the screws and tighten them to secure your Wall Mount Bracket.
Figure 4 Wall Mount Bracket Installation
For the Box Mount Bracket:
If you plan to permanently connect a serial console cable to the AP installed over a gang-box, you must use the
Wall Mount Bracket instead of the Box Mount Bracket. This provides the necessary space behind the AP to run
both cables.
a. Align the screw holes in the mount with the those in the gang box, as shown in Figure 5.
b. Insert the screws and tighten them to secure your Box Mount Bracket.
2 AP-105 Mounting Kit | Installation Guide
 Loading...