

Dell PowerVault 120T DLT1, PowerVault 120T Information Update

Dell™ PowerVault™ 120T
Service Tag/Plate Information Update
This document describes the procedure for removing the service tag from a defectivesystemand
transferring it to your replacement system.
CAUTION: In order to track the future warranty of your Dell purchased system, you must
follow the instructions outlined below. Failure to perform these steps may result in a delay
in future se rv ice for your syste m.
Service Tag/Plate Transfer Procedure
To transfer the Dell service ta g/plate to the replacement system:
1. Unpack the replacement system.
2. Shut down the defective system and disconnect the power cable.
3. Locate the service tag/plate on the defective system (see Figure 1).
P/N 3C141 Rev. A00
support.dell.comwww.dell.com
October 2000
03C141 A00
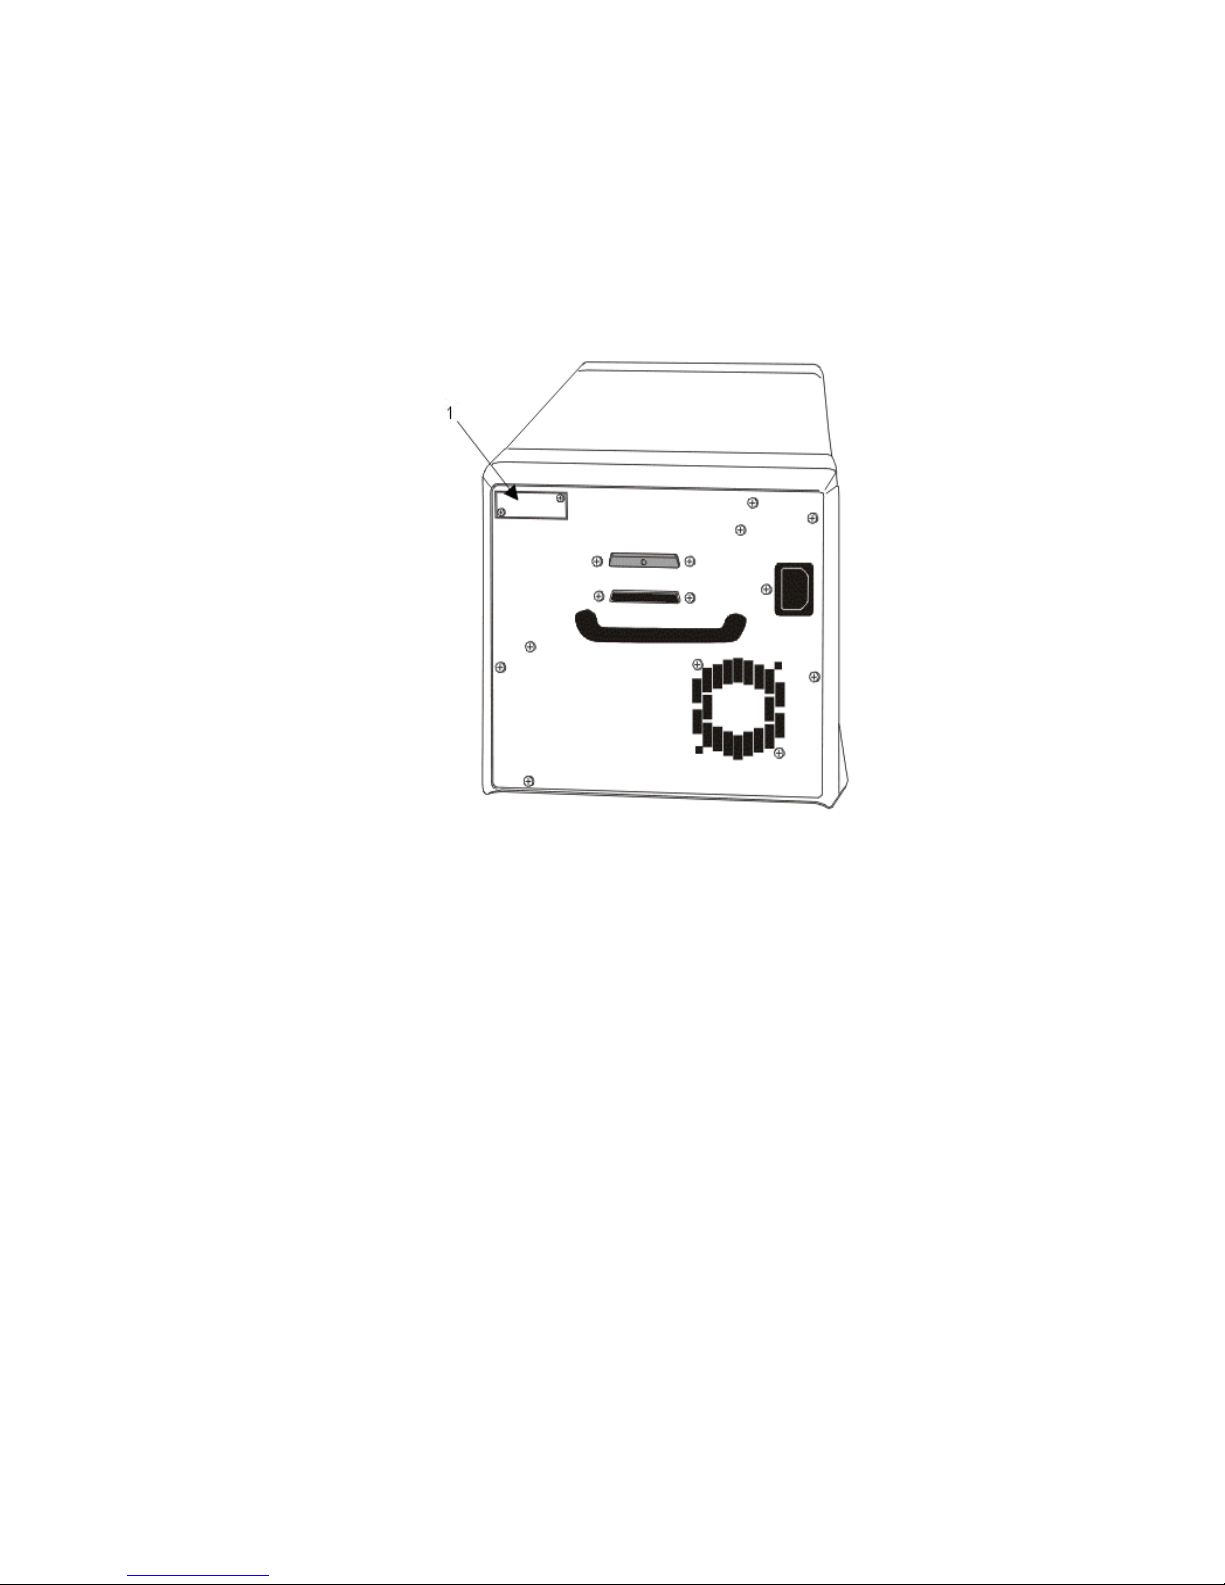
Figure 1. Locating the Service Tag/Plate
4. Using a #2 phillips screwdriver, remove the two screws securing the service tag/plate to the
back of the defective system.
5. Using the t wo screws you removed in step 4, secure the service tag/plate to the back of the
replacement system.
6. Connect the power cable to the replacement system.
7. Carefully packthe defective system and return it to Dell.
____________________
Information in this document is subject to change without notice.
© 2000 Dell Computer Corporation. All rights reserved. Printed in the U.S.A.
Dell
,the
Trademarks used in this text:
Corporation. Other trademarks and trade names may be used in this document to refer to either the entities
claiming the marks and names or their products. Dell Computer Corporation disclaims any proprietary interest in
trademarks and trade names other than its own.
DELL E COM
logo, and
PowerVault
are trademarks of Dell Computer
 Loading...