

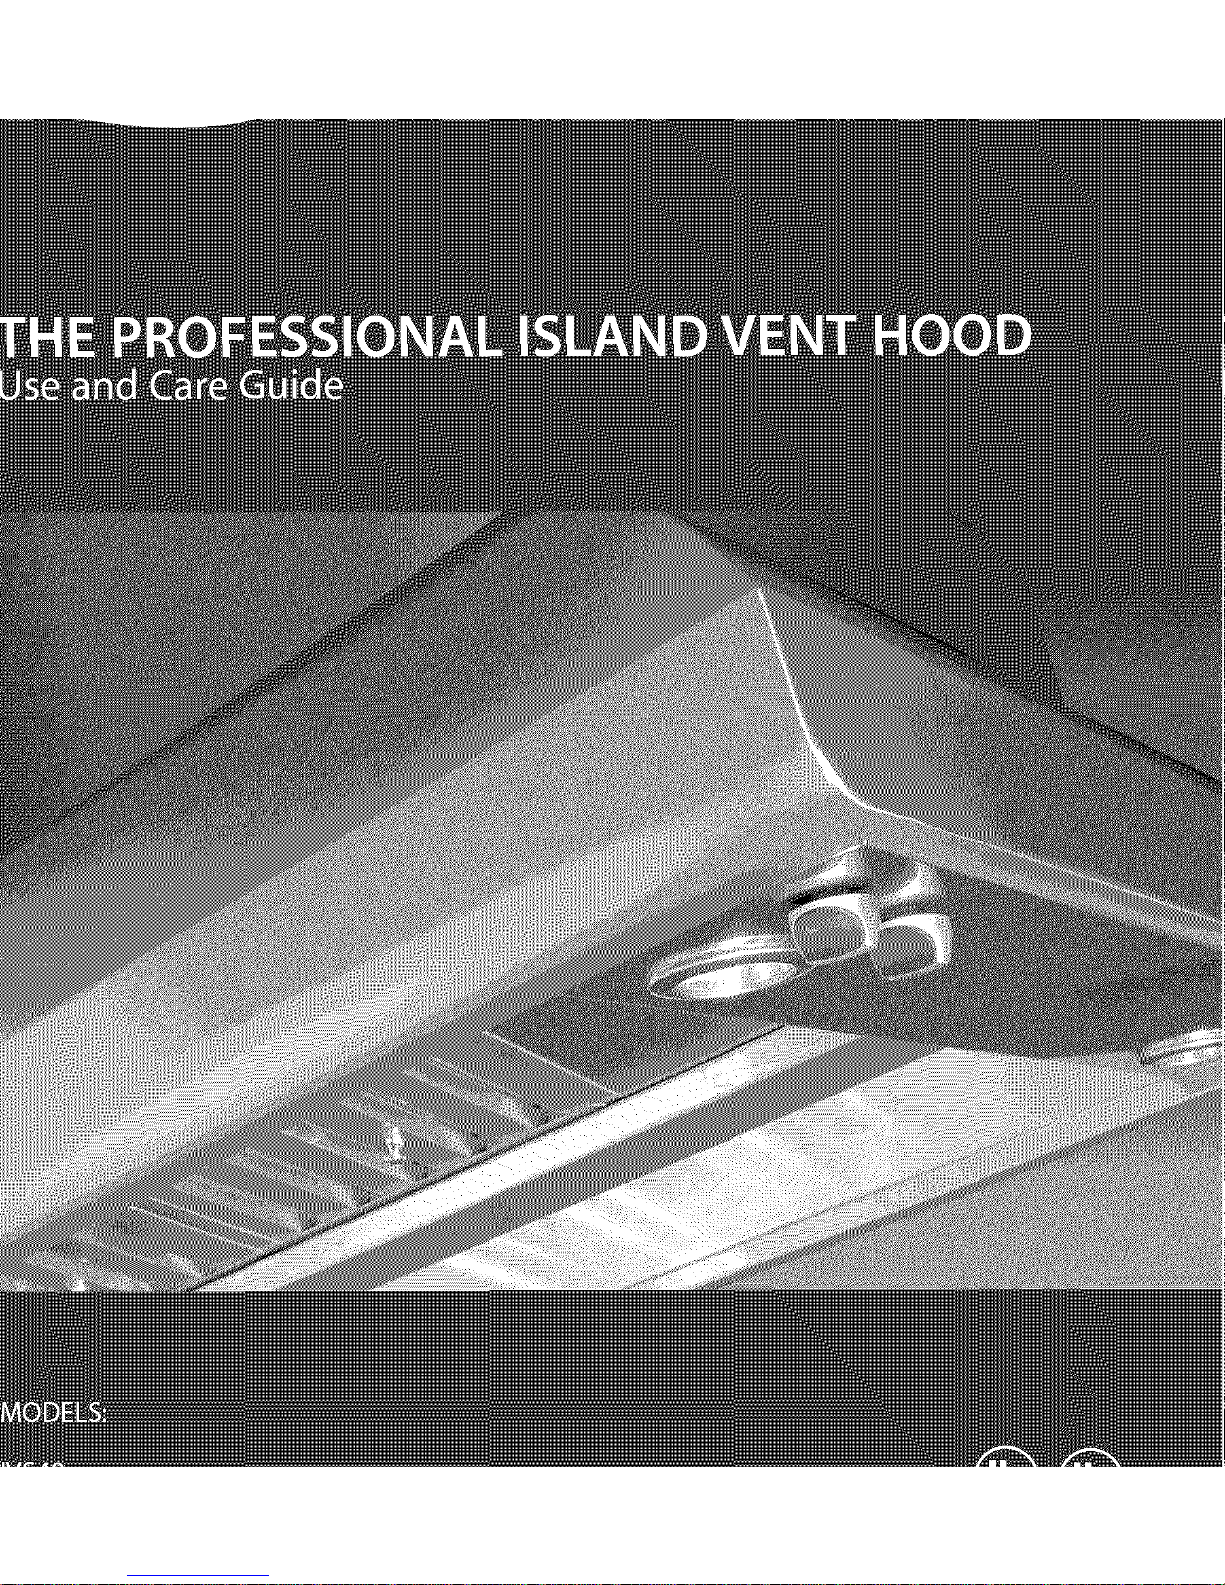
DCS IVS52, 17803 Use And Care Manual
A MESSAGE TO OUR CUSTOMERS
Thank you for selecting this DL3 Professiona! Island Vent Hood. Because of this appliance's unique features we
have developed this Use and Care Guide. It contains valuable information on how to properly operate and
maintain your new appliance for years of safe and enjoyable cooking.
To serve you better, please flit out and submit your Ownership Registration by visiting our website at
www.dcsapptiances.com and selecting "Customer Service" on the home page and then select "Ownership
Registration" or submit the enclosed Ownership Registration Card to the address below. In addition, keep this
guide handy, as it wifl hetp answer questions that may arise asyou use your new appliance.
For your convenience, product questions can be answered by a DCB Customer Care Representative by phone:
1-888-281-5698, emaih support@dcsappliances.com, or by mail:
Fisher & Payke!Appfiances, Inc.
Attention: DCS Customer Care
5900Skytab Road
Huntington Beach, CA92647
www.dcsappliance.com
APPROVED FOR RESIDENTIAL APPLIANCES AND RESIDENTIAL USE ONLY.
PLEASE READ ENTIRE INSTRUCTIONS BEFORE PROCEEDING.
Installation must comply with ell Iocd codes.
WARNING
If the information in this manual is not followed exactly, a fire or explosion
may result causing property damage, personal injury or death. Do not store or
use gasoline or other flammable vapors and liquids in the vicinity of this or any
other appfiance.
WARNING
To reduce the risk of injury to persons in the event of a rangetop grease fire,
observe the following: Turn burner offfirst Smother flames with a closeofltdng
rid, cookie sheet, or metal tray. Be careful to prevent burns. If the flames do not
go out immediately evacuate and call the fire department. Never pick up a
flaming pan o You may be burned. DO NOT USE WATER, including wet
dishcloths or towels oa violent steam explosion will result. Use an extinguisher
ONLY if:
1) You know you have a Class ABC extinguisher, and you already know
how to operate it.
2) The fire is small and contained in the area where it started.
3) The fire department is being called.
4) You can fight the fire with your back to an exit.
Z_ SAFETY WARNING:
Turn off power circuit at service panel and lock out panel, before wiring this
appliance.
Requirement: 120 V AC 60 Hz. 15 A Branch Circuit
PLEASE RETAIN THIS MANUAL FOR FUTURE REFERENCE,
A MESSAGE TO OUR CUSTOMERS
FOR YOUR SAFETY
If You Smell Gas:
t Do not try to light any appliance.
t Do not touch any electricalswitch; do not use any phone in your building.
[] Immediately call your gas supplier from a neighbor's phone. Follow the
gas supplier's instructions.
[] If you cannot reach your gas supplier, call the fire department.
[] Installation and service must be performed by a qualified installer, service
agency or the gas supplier
TABLE OF CONTENTS
SAFETY PRACTICES.........................................................................................................................................................3
USE AND CARE ................................................................................................................................................................4-5
CARE AND MAINTENANCE ........................................................................................................................................6
HOW TO OBTAIN SERVICE ..........................................................................................................................................7
WARRANTY ............................................................................................................................................................................8
SAFETY PRACTICES AND PRECAUTIONS
/_ WARNING:
Toreduce the risk of a range top grease fire:
A) Never Heavesurface units unattended at high settings. BoHovers cause smoking and greasy
spHiovers that may ignite. Heat oii showily on Howor medium settings.
B) Aiways turn hood"ON'when cooking at high heat or when flaming foods.
C)Ciean ventilating fans frequendy. Grease shouid not be allowed to accumuhte on fan or fiiter.
D) Use proper pan size. Aiways use cookware appropriate for the size of the surface unit.
Make-Up air may be necessary to prevent air flowing down chimney, or through unsealed door,
window, or fireplace opening.
WARNING:
To reduce the risk of fire, electrical shock, or injury to persons, observe the
fo#owing guidefines.
A) installation and electrical wiring must be performed by qualified personnel in accordance with
ail applicable codes & standards, including fire-rated construction.
B) To prevent backdrafting, sufficient air is needed to maintain proper combustion and safe
exhausting of gases through the flue (chimney) of fuel burning equipment. Follow the cooking
equipment manufacturers guideline and safety standards such asthose punished by the
National Fire Protection Association (NFPA) and the American Society for Heating, [Refrigeration
and Air Conditioning Engineers (ASHRAE), and the local code authorities.
C) Use caution when cutting or drilling into wails or ceilings as not to damage electrical wiring
and other hidden utilities.
WARNING:
To Reduce the risk of fire and to properly exhaust air, be sure to duct air to
outside. Do not vent exhaust air into spaces within walls or ceiling, nor into
attics, crawl spaces, or garages.
NOTE: Unit MUST be vented to the outside of the building.
IMPORTANT: Refer to ducting information supplied in the Installation Manual (pin 17804)
z_ WARNING:
To Reduce the risk of electrical shock or injury to persons, all vent hoods must
be installed with ventilators that have been approved for use with the hood.
USEAND CARE
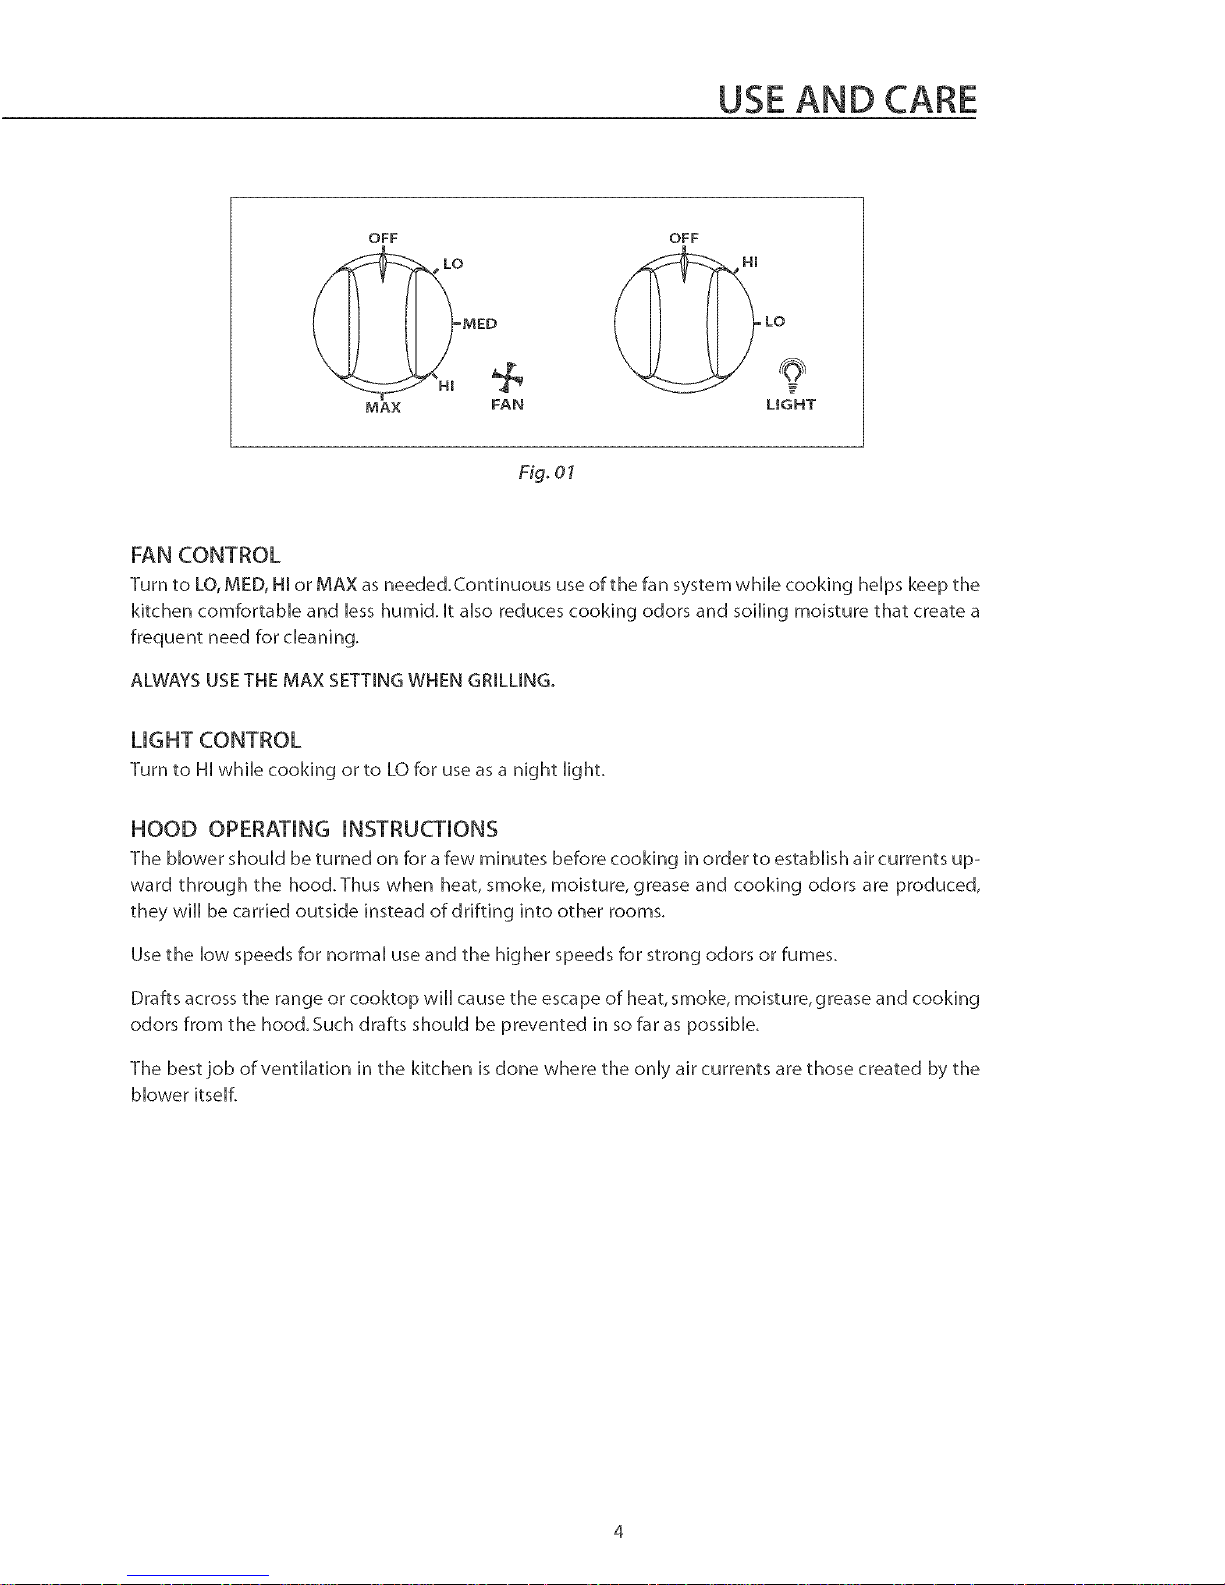
OFF
MED
MA× FAN
OFF
LO
LIGHT
Fig. 01
FAN CONTROL
Turn to LO, MED, HI or MAX as needed.Continuous use of the fan system while cooking heHpskeep the
kitchen comfortaNe and Hesshumid. HtaHsoreduces cooking odors and soiling moisture that create a
frequent need for cHeanin9.
ALWAYS USE THE MAX SETTING WHEN GRILLING.
LIGHT CONTROL
Turn to HHwhile cooking or to LO for use as a night Hight.
HOOD OPERATING INSTRUCTIONS
The Nower shouHd be turned on for a few minutes before cooking in order to establish air currents up-
ward through the hood.Thus when heat, smoke, moisture, grease and cooking odors are produced,
they will be carried outside instead of drifting into other rooms.
Use the low speeds for normal use and the higher speeds for strong odors or fumes.
Drafts across the range or cooktop will cause the escape of heat, smoke, moisture, grease and cooking
odors from the hood. Such drafts should be prevented in so far as possible.
The best job of ventilation in the kitchen is done where the only air currents are those created by the
blower itself.
USEAND CARE
BLOWER
The motor is operated by a four-speed control switch. You may change the speed of the motor
depending on the amount of grease and smoke you are creating while cooking.
ALWAYS USE THE MAX SETTING WHEN GRILLING.
FILTERS AND DRIP TRAYS
These hoods have reusable stainless steel grease baffles and drip trays.The baffles guide the grease
released by foods on the cooktop into the drip trays.
IMPORTANT:
The baffles must ALWAYS be in place when the hood is used.
The baffles and drip trays should be cleaned once a month, or as needed.To dean the baffles and drip
trays, drain and wipe all[ excess grease with a dry paper towel Soak them and then swish them around
in hot water and detergent. Don't use ammonia or ammonia products because they wH[ darken the
metal.
Do not use abrasives or oven cleaners. Rinse,
shake and let them dry before replacing.They
may also be cleaned in an automatic
dishwasher.
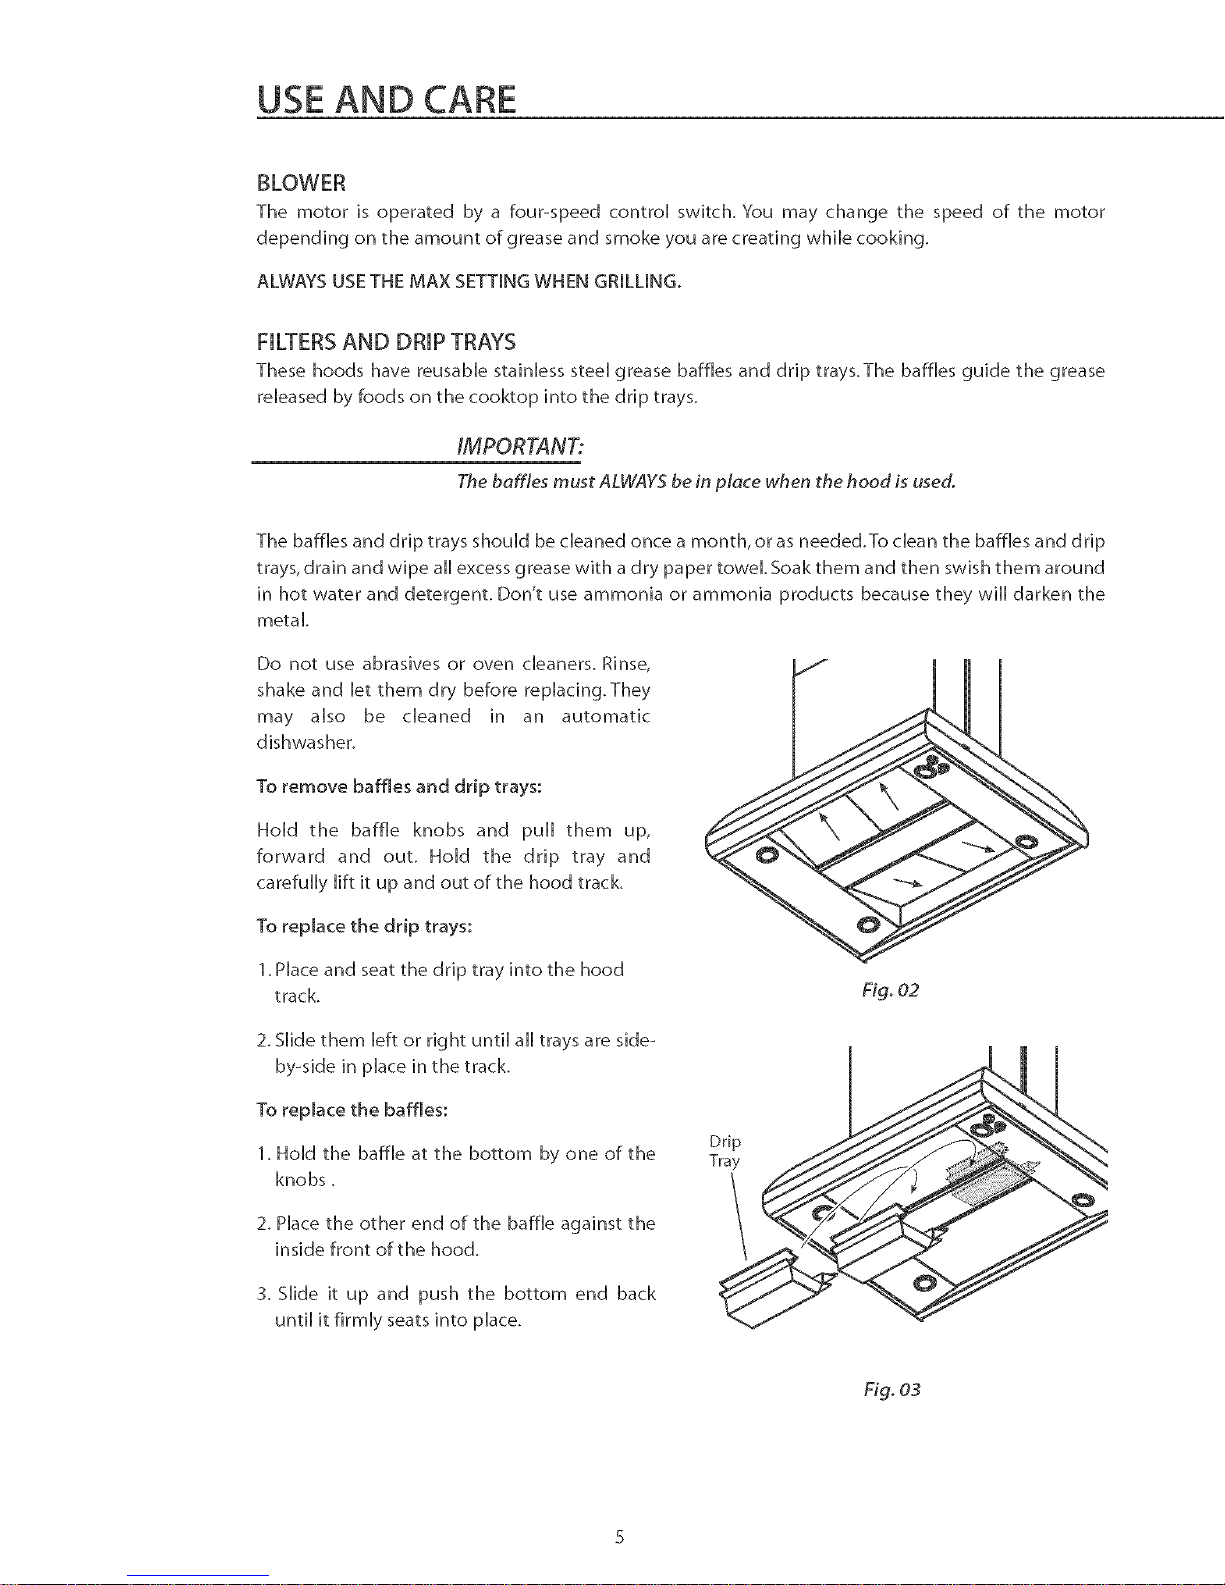
To remove baffles and drip trays:
Hold the baffle knobs and pull them up,
forward and out. Hold the drip tray and
carefully lift it up and out of the hood track.
To replace the drip trays:
1.Place and seat the drip tray into the hood
track.
Fig. 02
2. Slide them [eft or right until a[[ trays are side-
by-side in place in the track.
To replace the baffles:
1. Hold the baffle at the bottom by one of the
knobs.
2. Place the other end of the baffle against the
inside front of the hood.
3. Slide it up and push the bottom end back
until it firmly seats into place.
Drip q
Tray
Fig. 03

CARE AND MAINTENANCE
TO CLEAN HOOD SURFACE
lm For genera[ care, wipe the outside of the stMnHess stee[ with sudsy water or househoHd cleaners
such as Fantastic ° or Formuh 409 °, rinse well and dry with dean soft cloth to avoid water
marks.
lm Wipe and dry brushed stMn[ess steel in the same direction as the grain.
lm Do not use abrasive products.
m To remove finger prints and give added shine use spray cleaners such as Stainless Steel Magic °
and Shimmer o
LIGHTS
CAUTION:
Before replacing the light bulbs, switch power off at service panel and lock
service panel disconnecting means to prevent power from being switched on
accidentally.
NOTE: Turn off the lights and fan. Allow the lights to cool before handling. If new fighzs do not
operate be sure lights are inserted correctly before calling service.
REPLACE LIGHTS
lm Remove the damaged light (twist counter clockwise)and replace with a new 120 Volt, _50Watt
(maximum) 50 ° halogen light made for a GUIO base.
Z_ WARNING:
Halogen lamps are constructed of a glass bulb with a pressurized internal
filament tube that operates at high temperatures and could unexpectedly
shatter. Should the outer bulb break, particles of extremely hot glass could be
discharged into the fixture enclosure and/or surrounding environment,
thereby creating a risk of personal injury or fire. When replacing the bulb, let
the bulb cool, and assure that power to the fight has been turned off. Never
allow the hot bulb to come into contact with water. DO NOT TOUCH the Light
Bulb when in use. They may be hot enough to cause injury.
 Loading...