

Page 1
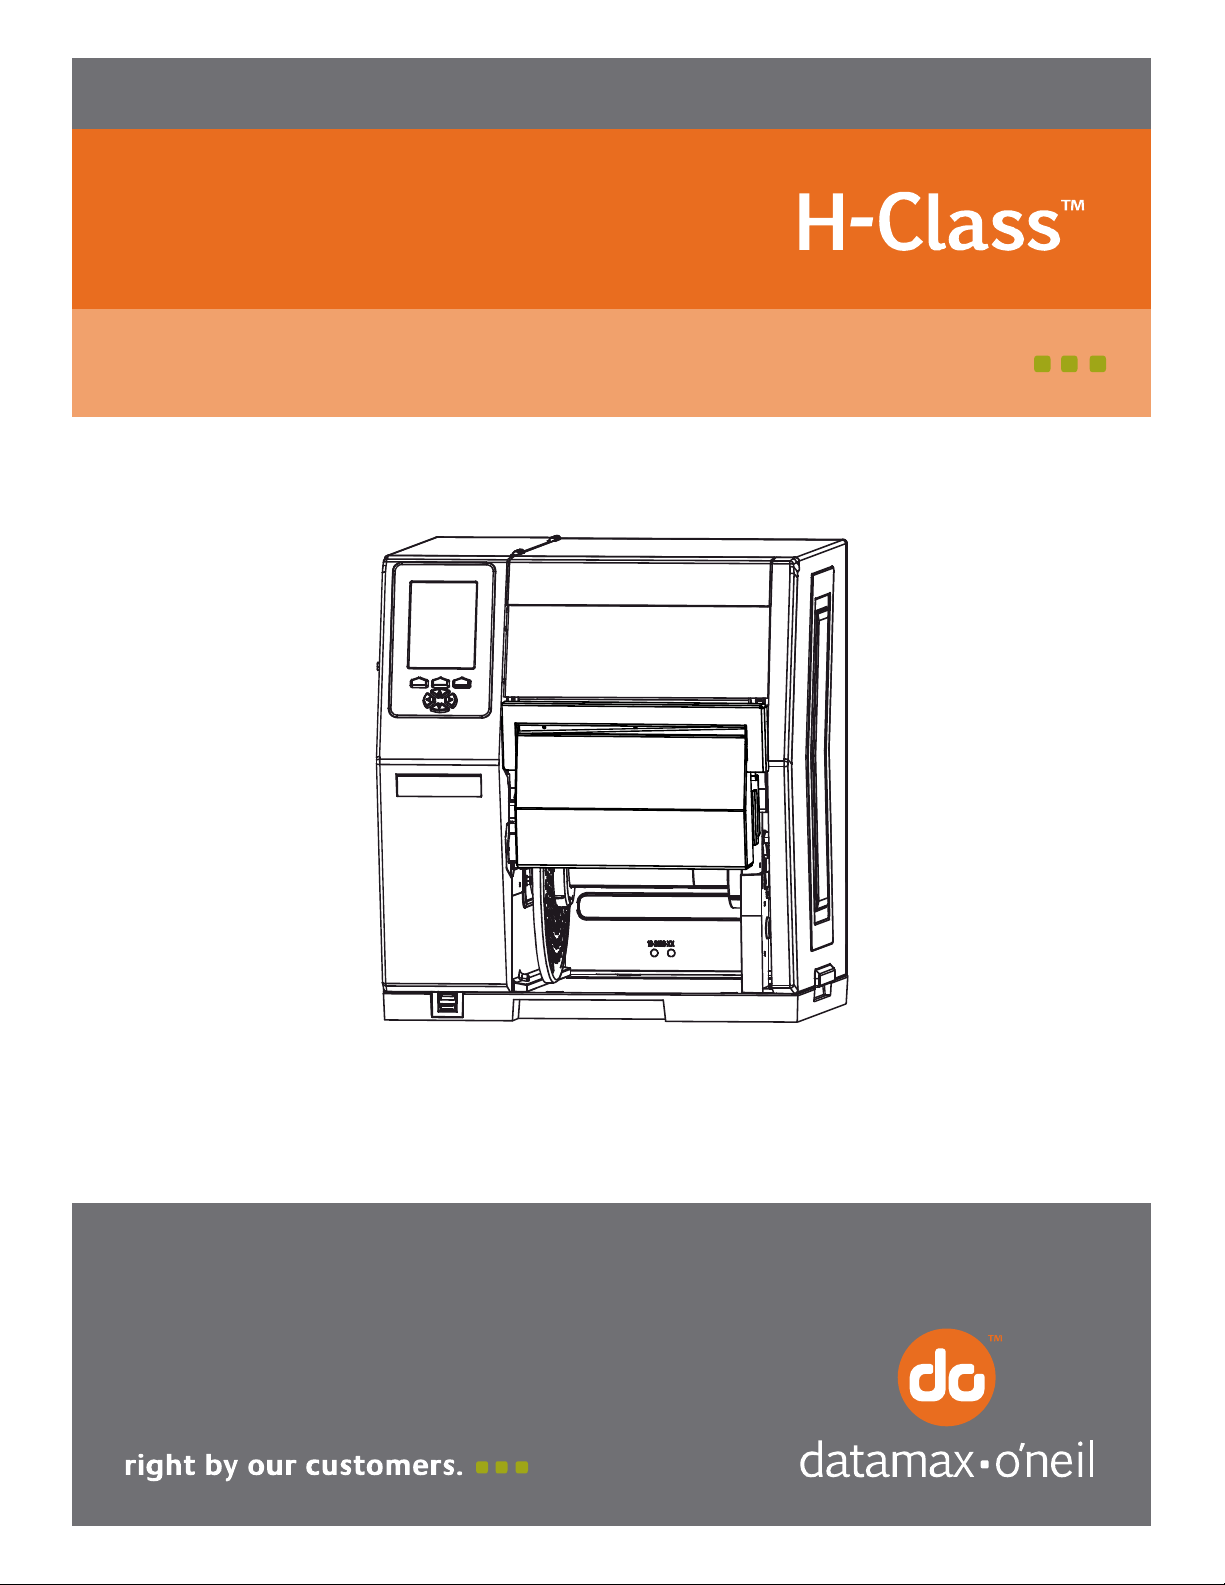
92-2469-01 Rev.B
Cutter Option
Page 2

Page 3
Overview
This document describes the installation, use and care of the Cutter option for wide model H-Class
printers. After taking a moment to verify the contents of the kit and the tools required, follow the steps
below to install, use and maintain the Cutter option.
Contents
In addition to this procedure, the kit contains the following items:
Item Description
Cutter Assembly
Screw (2)
1
2
Tools Required
To install this option, you will need a Phillips screwdriver.
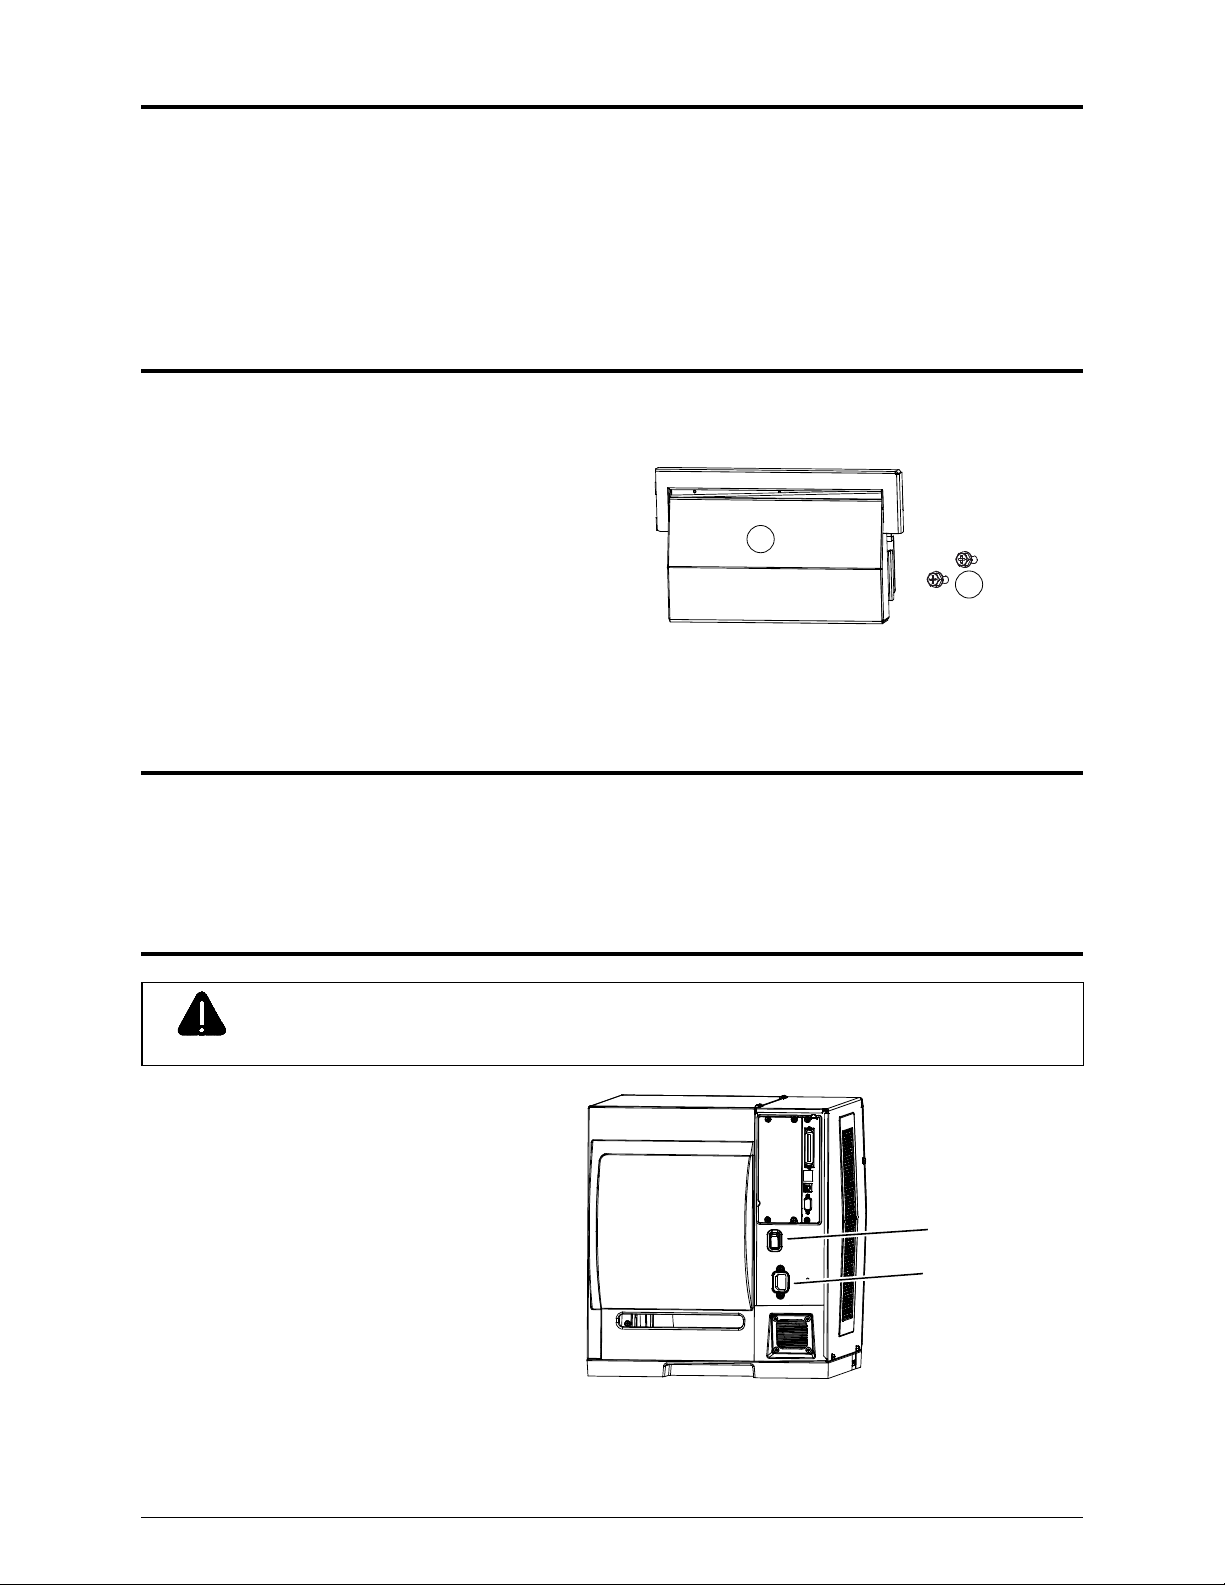
Installing the Cutter
Always remove power before performing installation or maintenance.
CAUTION
1) Turn OFF the Power Switch and unplug
the power cord from the AC Receptacle.
Power Switch
AC Receptacle
1
Page 4
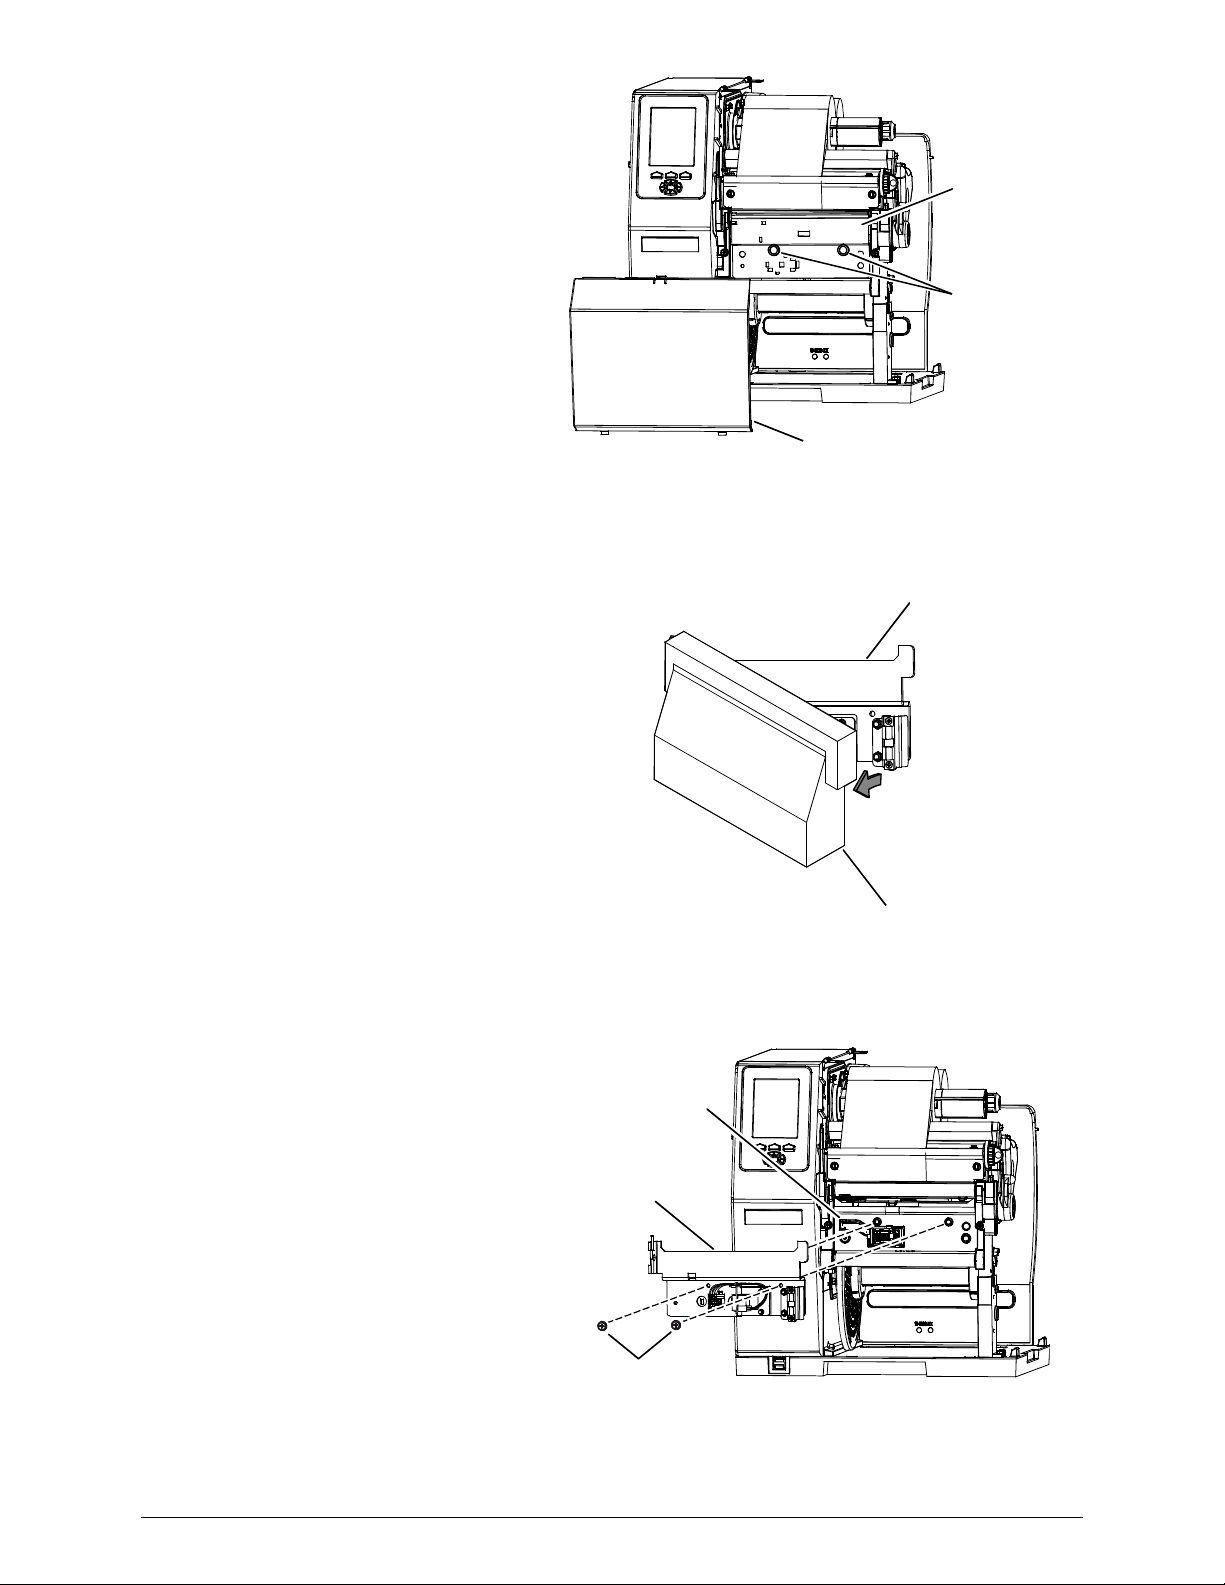
2) Raise the cover and remove media.
Remove the Panel, Thumbscrews and
Tear Bar
Tear Bar.
3) Separate the Hinge Plate from the
Cutter Assembly (Item ).
Panel
Thumbscrews
Hinge Plate
4) Carefully press the Hinge Plate onto the
Front Plate and then secure it using the
two Screws (Item ).
Hinge
Plate
Screws
Front
Plate
Cutter Assembly
2
Page 5

Mounting
Pins
5) Mount the Cutter Assembly onto the
Mounting Pins of the Hinge Plate.
6) Plug the Cutter Cable into the Hinge
Plate Jack, and then close the Cutter
Assembly. This completes the
installation.
Cutter
Assembly
Cutter
Cable
Hinge
Plate
Hinge Plate
Jack
Using the Cutter
1) Ensure the Media has a clean, straight
edge then load and route it through the
Cutter Opening. (See the Operator’s
Manual for detailed loading information.)
Cutter
Assembly
Media
Cutter
Opening
3
Page 6

2) Close the cover then plug the power cord
into the AC Receptacle and turn ON the
Power Switch
Power Switch.
3) Press the FEED Key on the Front
Panel, and then proceed accordingly:
If cutting standard size labels and a
cut was performed, this completes
installation; or,
If a cut was not performed, see
“Configuring the Printer,” below.
Note: If cutting small labels,
performance may be increased; see
“Increasing Small Label Throughput,”
Front Panel
FEED
Key
AC Receptacle
below.
Configuring the Printer
The Cutter, a plug and play option, may require configuration if the default setup has changed:
Note: The Cutter can also be controlled by host software commands. Ensure that your labeling
program is properly set to cut, including the desired label size. To test the Cutter, see
“Testing the Cutter”; or, if problems occur, see “Troubleshooting” (below).
a) Press the MENU Key on the printer’s front panel. (See the Operator’s Manual for menu details.)
b) Using the DOWN ARROW Key, scroll to PRINTER OPTIONS then press the ENTER Key.
c) Using the DOWN ARROW Key, scroll to CUTTER then press the ENTER Key.
d) Using the DOWN ARROW Key, scroll to AUTO then press the ENTER Key.
e) Press the ESCAPE Key and then, at the SAVE CHANGES? prompt, select YES.
f) Turn the Power Switch OFF and ON to complete configuration.
4
Page 7

Increasing Small Label Throughput
CUT BEHIND is a menu setting that allows the printer to queue then cut a specified number (0 – 2) of
small labels, where the elimination of repeated positioning operations can result in a throughput
increase. To achieve faster throughputs when cutting batches of small labels, follow the procedure
below to establish the queue amount and setup the printer:
a) Measure the length (L) of your media, label edge to label edge including gap, if any.
b) Calculate the Cut Behind number (N): Divide the distance** of 1.24 inches (31.50 mm) by the
length (L) of the media. N = 1.24 ÷ L
**This distance may vary between printers and require slight modification.
c) Calculate the Present Distance (PD): Subtract the product of the length (L) and the Cut Behind
number (N) from the distance** of 1.24 inches (31.50 mm). PD = 1.24 – (N x L)
d) Enter the calculated Present Distance (PD) in the PRINT CONTROL / PRESENT DISTANCE
menu.
e) Enter the calculated Cut Behind number (N) in the PRINTER OPTIONS / CUTTER / CUT
BEHIND menu, and then exit the menu and save your settings.
f) Test the setup: With the media installed, repeatedly press the FEED Key to verify the cut location
– if the location is incorrect adjust the PRESENT DISTANCE accordingly, adding distance to
move the cut farther out or subtracting to move it closer. When satisfactory, the printer is ready
for use.
Notes:
PRINT CONTROL / PRESENT DISTANCE cannot be set to AUTO.
SYSTEM SETTINGS / FAULT HANDLING / VOID AND RETRY should not be used with this
function.
During the setup process some queued blank labels may be lost.
See the Operator’s Manual for menu and other details.
5
Page 8

Maintaining the Cutter
To ensure trouble free operation, the Cutter should be cleaned (using the items listed below) after printing
each roll of labels, and more often if the cutting action becomes sluggish.
Recommended Cleaning Items
Isopropyl alcohol
Cotton swabs
Compressed air or soft-bristle brush
CAUTION
Follow these steps to clean the Cutter:
Remove power before performing maintenance.
Cutter Blades are SHARP. Keep body parts away from the cutting surfaces.
Never use metal objects on the cutting surfaces.
Take proper precautions when using isopropyl alcohol, a flammable liquid.
1) Turn OFF the Power Switch and unplug
the power cord from the AC Receptacle.
2) Remove media from the printer. Open
the Cutter Assembly, disconnect the
Cutter Cable from the Hinge Plate
Jack, and then remove the Cutter
Assembly from the Hinge Plate.
Cutter
Cable
Cutter
Assembly
Power Switch
AC Receptacle
Hinge Plate
Jack
6
Page 9

3) Remove the four Cover Screws and two
Rear Shields from the Cutter
Assembly.
Cutter Assembly
Cover Screws
4) Remove the Cover from the Mechanism
and then, using compressed air (or a
brush), remove all debris.
5) Pressing on the Lever to gain access
Cover
Fixed
Blade
Rear Shields
(Cabling not shown for clarity.)
Mechanism
Cotton Swab
and using a Cotton Swab dampened
with alcohol (see note below), wipe clean
Movable
Blade
the Fixed Blade, the Movable Blade,
and the other areas where adhesive has
accumulated.
Note: Heavy deposits can be removed using WD-40 (or another non-damaging adhesive
remover) if carefully and sparingly applied using a cotton swab. Never spray directly onto
the assembly; severe damage can result.
7
Lever
Page 10

6) Place the Cover and the two Rear Shields onto the Mechanism, and then secure all with the four
Cover Screws.
Cover
Cover
Screws
Mechanism
Rear
Shields
7) Place the Cutter Assembly onto the
Hinge Plate then connect the Cutter
Cable to the Hinge Plate Jack. Close
the Cutter Assembly.
Cutter
Cable
Cutter
Assembly
Hinge Plate
Jack
8) Load media. Close the cover. Plug the
power cord into the AC Receptacle and
turn ON the Power Switch.
Power Switch
AC Receptacle
8
Page 11

Testing the Cutter
Diagnostics allow the function of the option to be tested by executing and displaying a count of cutting
attempts. Follow the steps below to perform a functional test of the Cutter:
1) Press the MENU Key on the printer’s front panel.
2) Using the DOWN ARROW Key, scroll to DIAGNOSTICS then press the ENTER Key.
3) Using the DOWN ARROW Key, scroll to OPTIONS TESTING then press the ENTER Key.
4) Using the DOWN ARROW Key, scroll to TEST CUTTER then press the ENTER Key.
5) Using the DOWN ARROW Key or the UP ARROW Key, select the number of test cycles (1, 10, or
100 times) to perform.
6) Press the ENTER Key to begin the test.
Note: Press the CANCEL Key to terminate testing and return to operating mode.
Troubleshooting
Follow the guide below if a problem arises:
If experiencing this problem… Try this possible solution:
Cannot load media through the cutter: The mechanism may be in an intermediate position – with
the cutter closed, turn the Power Switch ON and OFF; and
then, try to load media.
Cut labels are not the correct size: The label size may not be correctly set in your software
program (or in the printer’s menu system) – change your
software settings (and / or the printer’s label size settings,
see the “Operator’s Manual for details).
Cutter Fault is displayed: The Cutter Cable may not be connected – connect the
Cutter Cable to the Hinge Plate Jack.
No cuts are made:
The Cutter Cable may not be connected – connect the
Cutter Cable to the Hinge Plate Jack.
The Cutter may not be enabled in your software
program (or in the printer’s menu system) – change
your software settings (and / or enable the cutter in
the menu, see the “Configuring the Printer,” above).
9
Page 12

 Loading...