

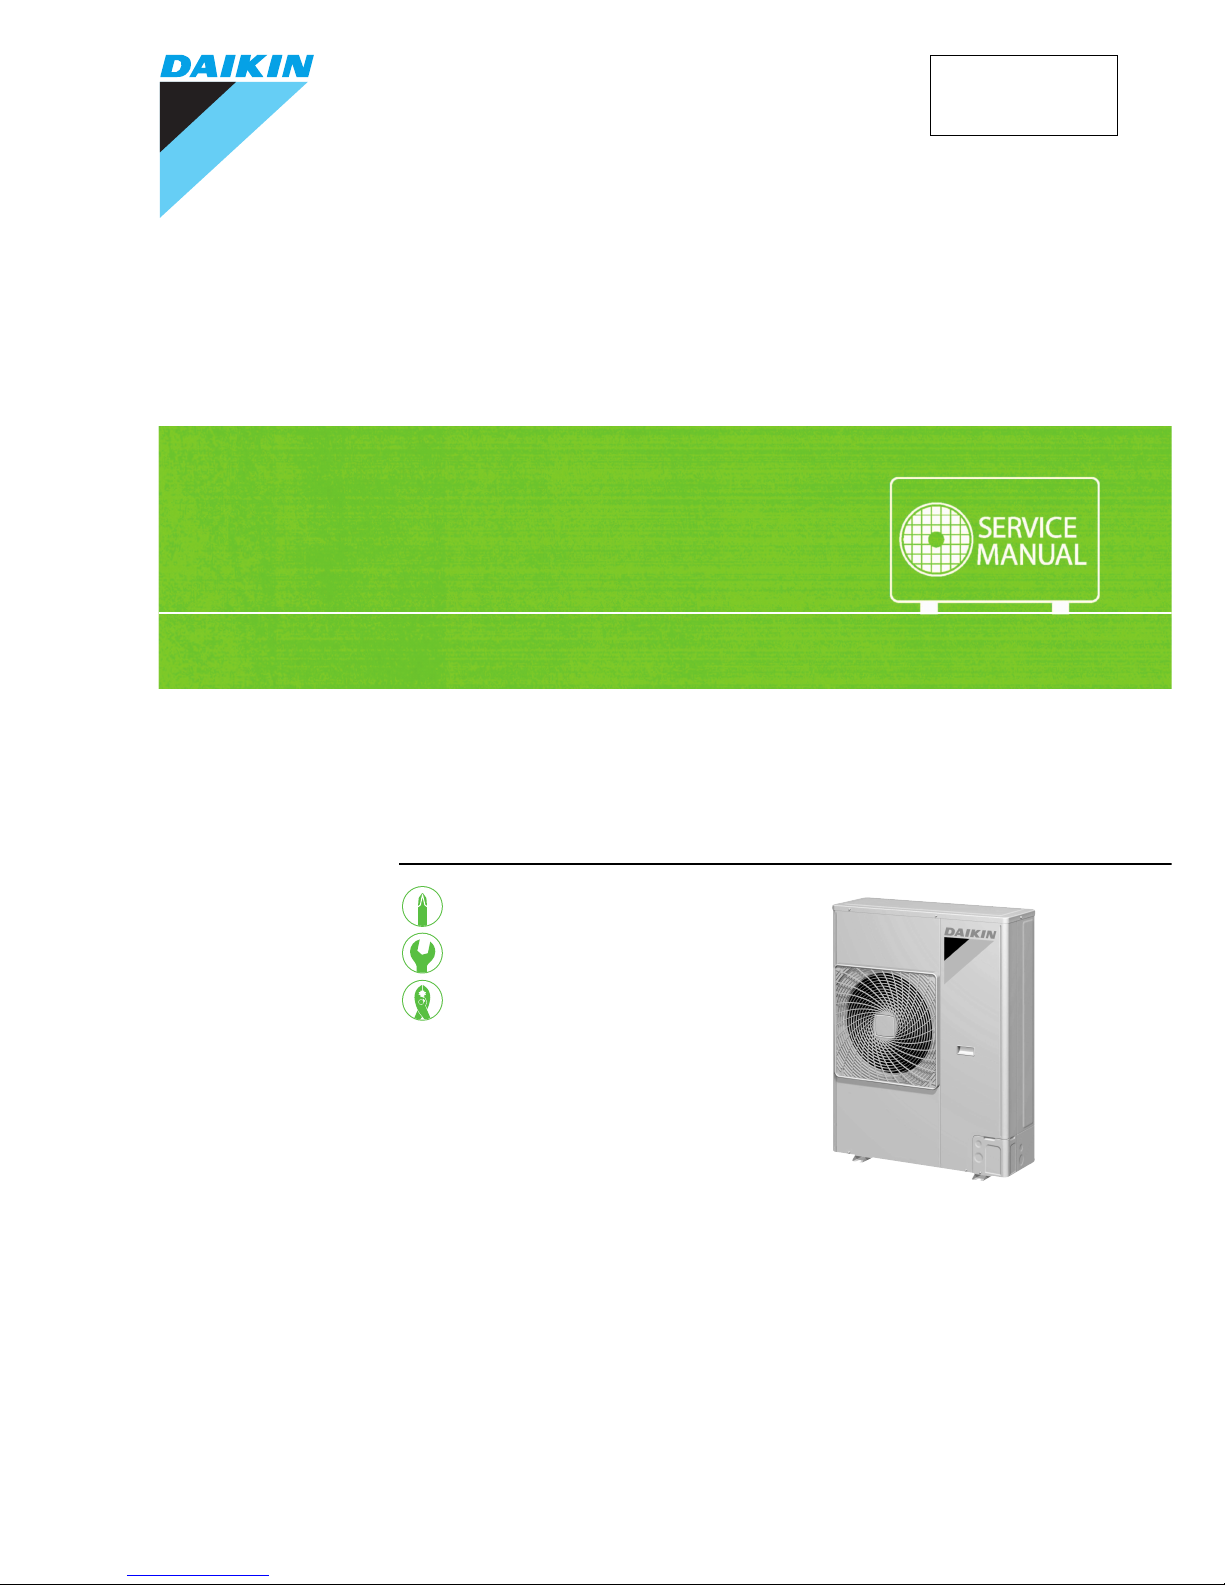
Daikin R125LUY1, R71LUY1, R100LUY1, R140LUY1 Service Manual
REMOVAL
PROCEDURE
SERVICE MANUAL
Outdoor Unit
Non-Inverter
Pair Type
3/4/5/6 HP Class
Si241312

Service Manual
Removal Procedure
Outdoor Unit
Applicable Models
zCooling Only
R71LUY1
R100LUY1
R125LUY1
R140LUY1

Si241312
Removal Procedure 1
Table of Contents
1. Procedure to Remove Outside Panels....................................................2
2. Procedure to Remove Switch Box ..........................................................3
3. Procedure to Remove Propeller Fan and Fan Motor ..............................4
4. Procedure to Remove PCB Assy............................................................5
5. Procedure to Remove Thermistor...........................................................6
6. Procedure to Remove Electronic Expansion Valve
and Low Pressure Sensor.......................................................................7
7. Procedure to Remove Compressor.........................................................8
Procedure to Remove Outside Panels Si241312
2 Removal Procedure
1. Procedure to Remove Outside Panels
Procedure Warning Be sure to wait for 10 minutes or more after turning off all power
supplies before disassembling work.
Step
Procedure Points
1
Pull the lower part (7
positions) of suction
grille to your side and
disengage 3 hooks in
its upper side, then pull
down the entire grille to
remove it.
2
To remove the front
panel (front part of the
side panel), dismount 1
screw, and pull down
the panel.
3
To remove the top
panel, dismount 8
screws.
4
Dismount 1 screw to
remove the front panel
of piping cover.
5
Dismount 4 screws to
remove the side panel
of piping cover.
6
Dismount 7 screws to
remove the rear part of
the side panel.
Top panel
Suction grille
Piping cover side panel
Piping cover front panel
Rear part of
side panel
Front
panel
Front
panel
 Loading...