

Dacor DYF42BNDI Use & Care Manual
The Life of the Kitchen?
USE AND CARE MANUAL
DISCOVERY TM CUSTOM PANEL
BUILT-IN REFRIGERATORS
Models. DYF42BNDI and DYF48BNDI
ReFrigerator SaFety ................................................. 1
Important InFormation ............................................. 2
BeFore Use ............................................................ 2
ReFrigerator Operation ........................................... 3
Care and Cleaning .............................................. 10
Troubleshooting ................................................... 12
Warranty and Service .......................................... 13
Product Data Sheets ............................................. 15
Franc ais ............................................................ 17
Pa_ No. 107309 Rev. A/W10556315
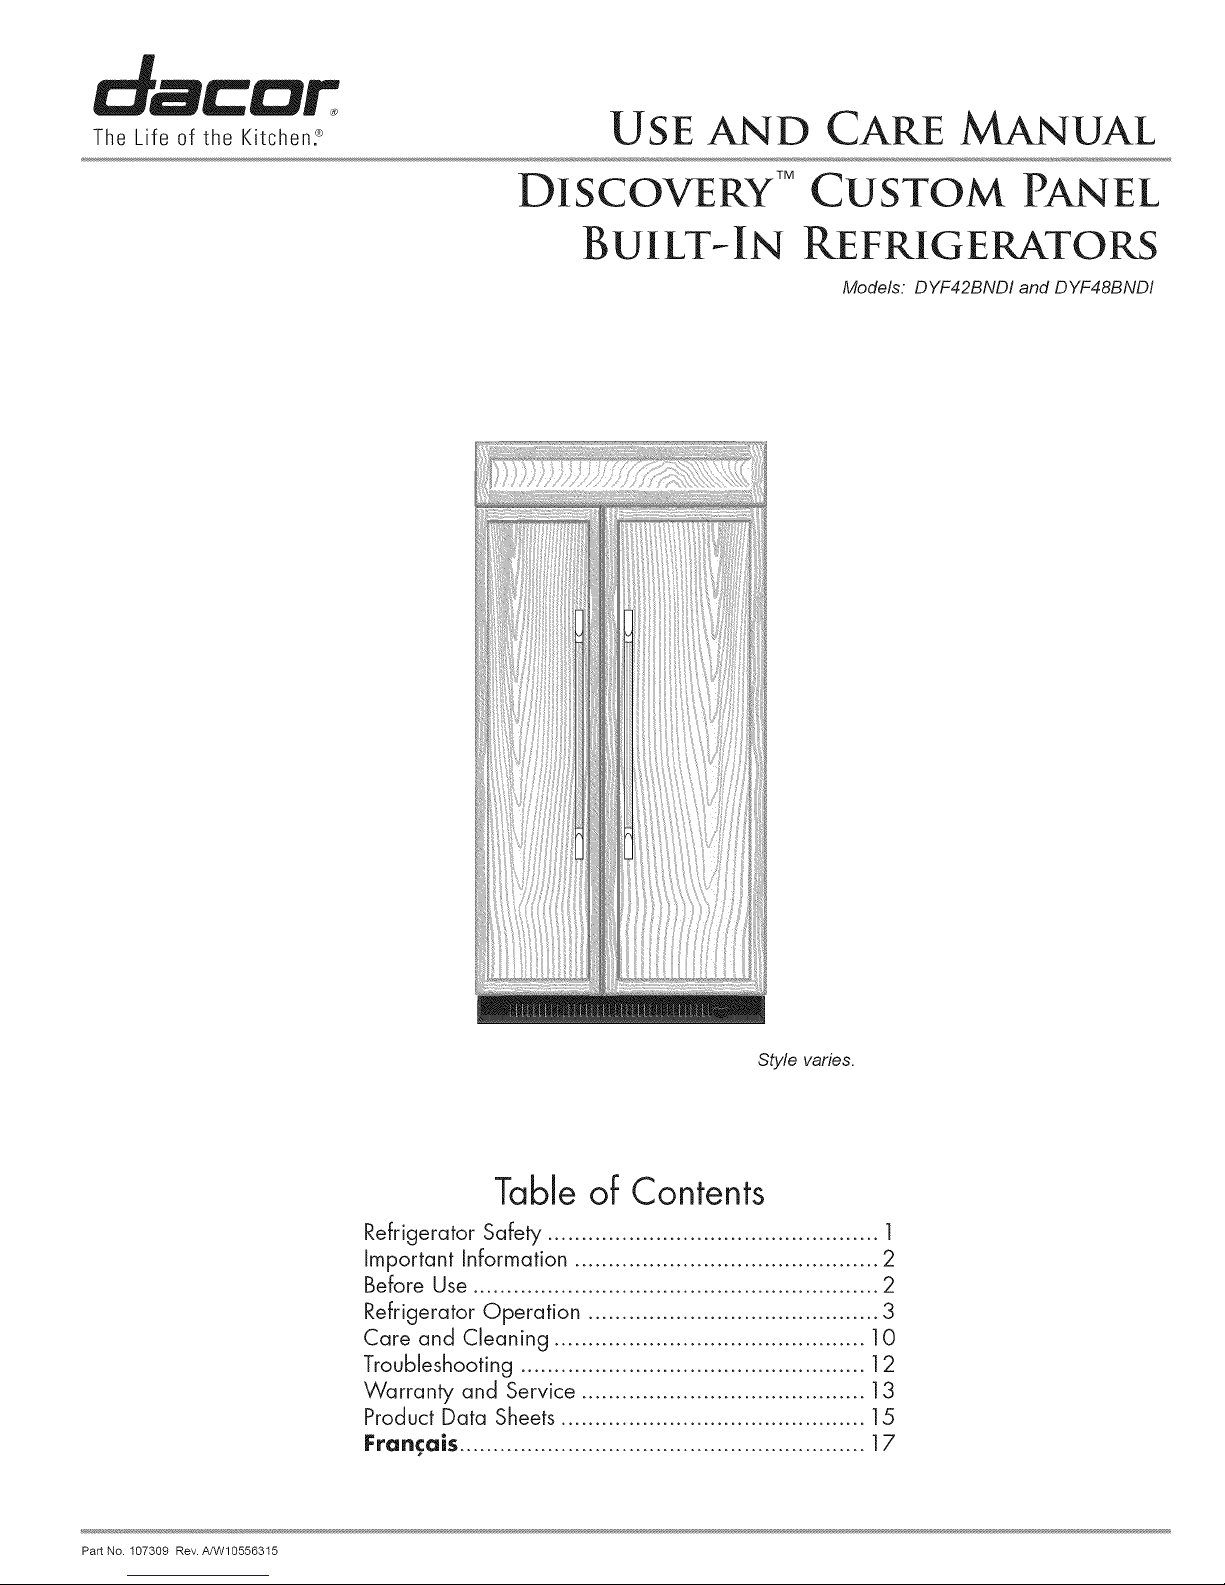
Style varies.
Table of Contents
To Our Valued Customer:
Congratulations on your purchase of the very latest in Dacor ®products! Our unique combination of features, style and
performance make us The Life of the Kitchen ", and a great addition to your home.
In order to familiarize yourself with the controls, functions and full potential of your new Distinctive Appliance, read this
use and care manual thoroughly, beginning with the Important Safety Instructions section.
All Dacor appliances are designed and manufactured with quality and pride, while working within the framework of our
company value. Should you ever experience a problem with your product, please first check the Before You Ca//for
Service section of this manual for guidance. It provides useful suggestions and remedies prior to calling for service.
Valuable customer input helps us to continuously improve our products and services, so please feel free to contact
our Customer Service Team for assistance with any of your product support needs.
Dacor Customer Service Team
14425 Clark Avenue
City of Industry, CA 91745
Telephone:
Fax:
Hours of Operation:
Web Site:
Thank you for choosing Dacor for your home. We are a company built by families for families and we are dedicated
to serving yours. We are confident that your new Dacor product will deliver a high level of performance and
enjoyment for many years to come.
Sincerely,
(800) 793-0093
(626) 403-3130
Monday through Friday
6:00 A.M to 5:00 P.M, Pacific Time
www.dacor.com
The Dacor Customer Service Team
© 2013 Dacor, all rights resen,,=,_
Your safety and the safety of others are very important.
We have provided many important safety messages in this manual and on your appliance. Always read and obey all safety
messages.
This is the safety alert symbol.
This symbol alerts you to potential hazards that can kill or hurt you and others.
All safety messages will follow the safety alert symbol and either the word "DANGER" or "WARNING."
These words mean:
You can be killed or seriously injured ifyou don't immediately
follow instructions.
You can be killed or seriously injured if you don't follow
instructions.
All safety messages will tell you what the potential hazard is, tell you how to reduce the chance of injury, and tell you what can
happen if the instructions are not followed.
IMPORTANT SAFETY INSTRUCTIONS
WARN ING" To reduce the risk of fire, electric shock, or injury when using your refrigerator, follow these basic precautions:
[] Plug into a grounded 3 prong outlet.
[] Do not remove ground prong.
[] Do not use an adapter.
[] Do not use an extension cord.
[] Disconnect power before servicing.
[] Replace all parts and panels before operating.
[] Remove doors from your old refrigerator.
SAVETHESEINSTRUCTIONS
[] Use nonflammable cleaner.
[] Keep flammable materials and vapors, such as gasoline,
away from refrigerator.
[] Use two or more people to move and install refrigerator.
[] Disconnect power before installing ice maker (on ice maker
kit ready models only).
[] Use a sturdy glass when dispensing ice (on some models).
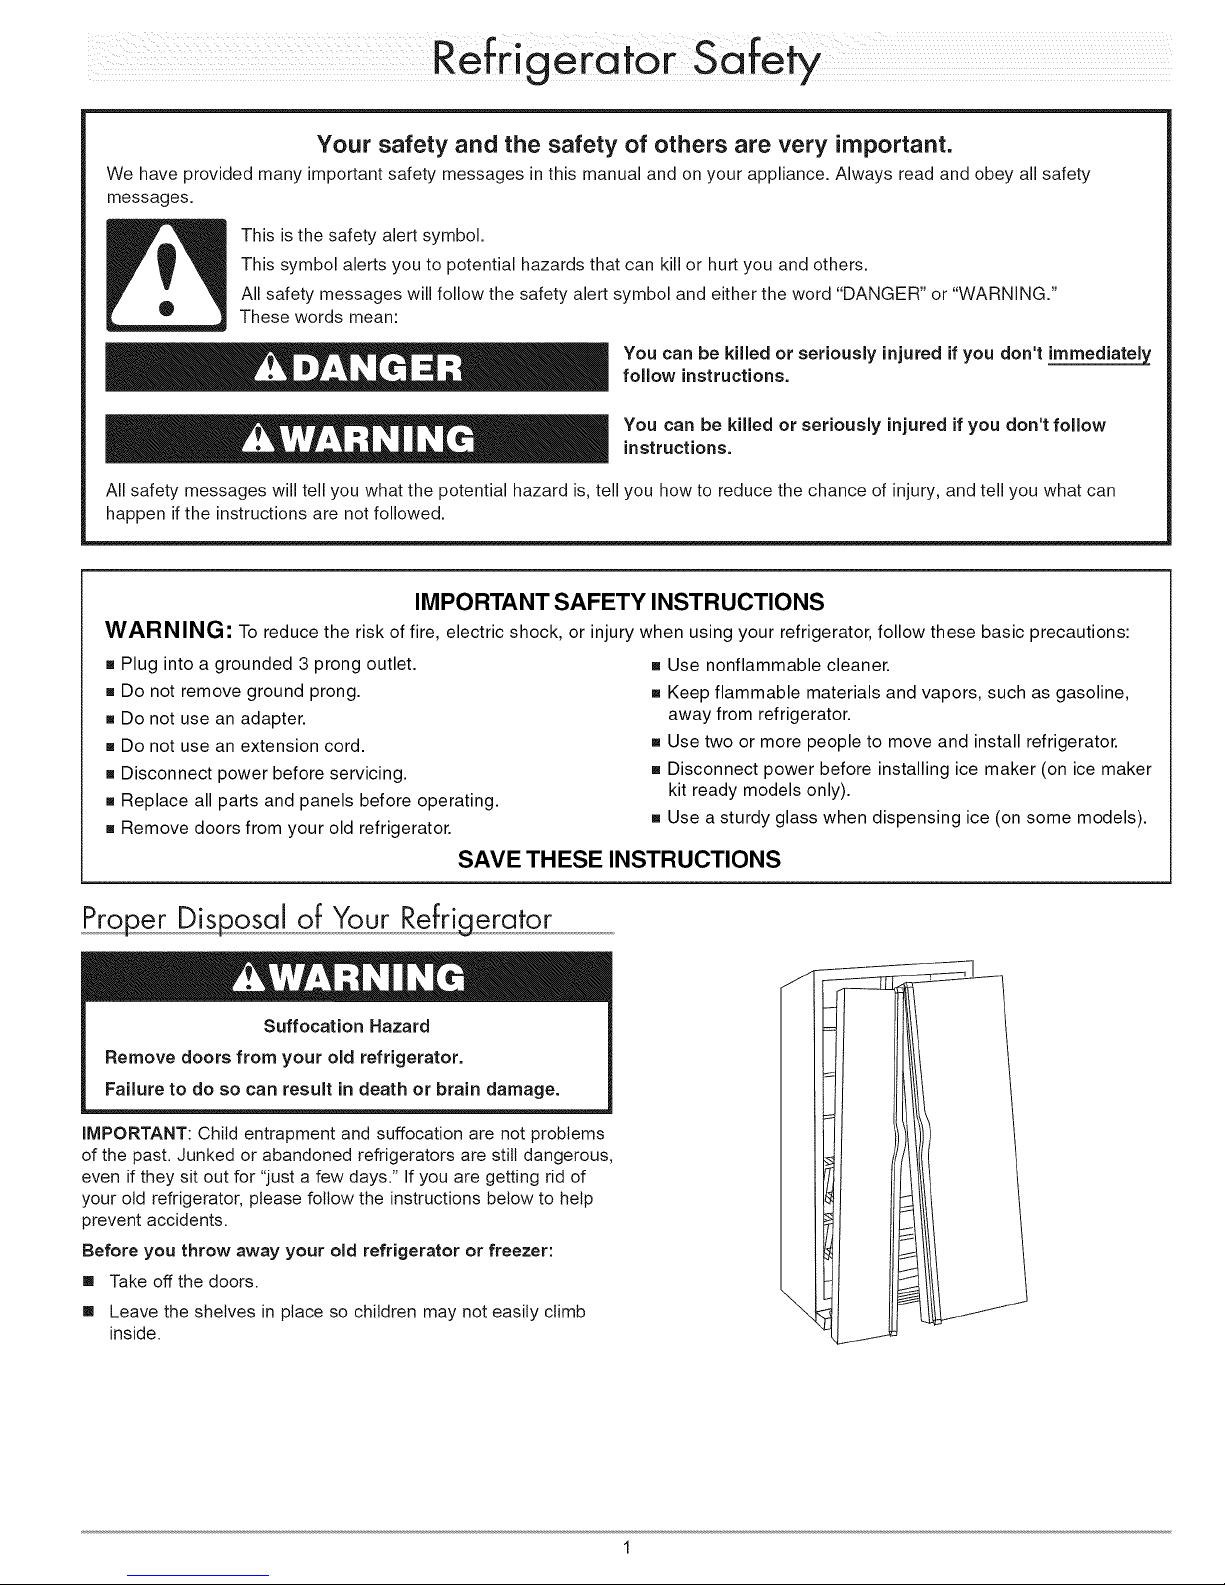
Proper Disposal of Your Refrigerator
Suffocation Hazard
Remove doors from your old refrigerator.
Failure to do so can result in death or brain damage.
IMPORTANT: Child entrapment and suffocation are not problems
of the past. Junked or abandoned refrigerators are still dangerous,
even if they sit out for "just a few days." If you are getting rid of
your old refrigerator, please follow the instructions below to help
prevent accidents.
Before you throw away your old refrigerator or freezer:
[] Take off the doors.
[] Leave the shelves in place so children may not easily climb
inside.
[mporta ation
Installer: Please leave this guide with this appliance.
Consumer: Please read and keep this use and care manual for
future reference. This guide provides proper use and maintenance
information. Keep this guide and the sales receipt and/
or cancelled check together for future reference. Proof of
original purchase date is needed for warranty service.
IMPORTANT: If you receive a damaged product, immediately
contact your dealer or builder, Do not install or use a damaged
appliance,
If you have any questions, call:
Dacor Customer Service
(800) 793-0093 (U.S.A. and Canada)
Monday -- Friday 6:00 A.M.to 5:00 P.M.Pacific Time
Web site: www.dacor.com
Remove the Packagi ng
[] Remove tape and glue residue from surfaces before turning on
the refrigerator. Rub a small amount of liquid dish soap over
the adhesive with your fingers. Wipe with warm water and dry.
[] Do not use sharp instruments, rubbing alcohol, flammable
fluids or abrasive cleaners to remove tape or glue. These
products can damage the surface of your refrigerator. For
more information, see Refrigerator Safety section.
[] Dispose of/recycle all packaging materials.
Clean Before Using
After you remove all of the packaging materials, clean the inside
of your refrigerator before using it. See the cleaning instructions in
the Care and Cleaning section.
Important information to know about glass shelves and
covers:
Do not clean glass shelves or covers with warm water when
they are cold. Shelves and covers may break if exposed to
sudden temperature changes or impact, such as bumping.
Tempered glass is designed to shatter into many small,
pebble-size pieces. This is normal. Glass shelves and covers
are heavy. Use both hands when removing them to avoid
dropping.
Water Su p!y,,, Requireme nts
Read all directions before you begin.
IMPORTANT:
[] When your refrigerator was installed, the water connection
from the water source should have been connected to
your refrigerator. If your refrigerator is not connected to a
water source, see Connect Water Supply in the installation
instructions. If you have any questions about your water
connection, see the Troubleshooting section or call a licensed,
qualified plumber.
[] If you turn the refrigerator on before the water line is
connected, turn the ice maker OFF. See Ice Maker and
Storage Bin on page 6.
[] All installations must meet local plumbing code requirements.
Have the complete model and serial number identification of your
refrigerator ready. These numbers are found on a serial number
label, located on the right side of the refrigerator liner. Record
these numbers on this page for easy access.
Model number
Serial number
Date d purchase
For service and warranty information, see page 13.
Since Dacor constantly improves the quality and performance of
our products, we may need to make changes to the appliance
without revising this manual.
Visit www.dacor.com to download the latest version of this
manual.
Water Pressure
A cold water supply with water pressure between 30 and 120 psi
(207 and 827 kPa) is required to operate the water dispenser and
ice maker. If you have questions about your water pressure, see
the Troubleshooting section or call a licensed, qualified plumber.
Reverse Osmosis Water Supply
IMPORTANT: The pressure of the water supply coming out of
a reverse osmosis system going to the water inlet valve of the
refrigerator needs to be between 30 and 120 psi (207 and 827
kPa).
If a reverse osmosis water filtration system is connected to your
cold water supply, the water pressure to the reverse osmosis
system needs to be a minimum d 40 psi (276 kPa).
If the water pressure to the reverse osmosis system is less than
40 psi (276 kPa):
[] Check to see whether the sediment filter in the reverse
osmosis system is blocked. Replace the filter if necessary.
[] Allow the storage tank on the reverse osmosis system to refill
after heavy usage.
[] If your refrigerator has a water filter, it may further reduce
the water pressure when used in conjunction with a reverse
osmosis system. Remove the water filter. See the Using the
Dispenser without the Water Filter on page 11.
If you have questions about your water pressure, call a licensed,
qualified plumber.
Water System Preparation
Please read before using the water system.
IMPORTANT: After connecting the refrigerator to a water source
or replacing the water filter, fill and discard three full containers of
ice to prepare the water filter for use, before using the ice.
m
_Do not with water that is unsafe of
Ldisinfected waters that may contain filterable cysts.
NOTE: If your model has a base grille filter system, make sure
the base grille filter is properly installed and the cap is in the
horizontal position.
use
unknown quality without adequate disinfection before or after
the system. Systems certified for cyst reduction may be used on
microbiologicalty
or
Refrigerator O pera tic n
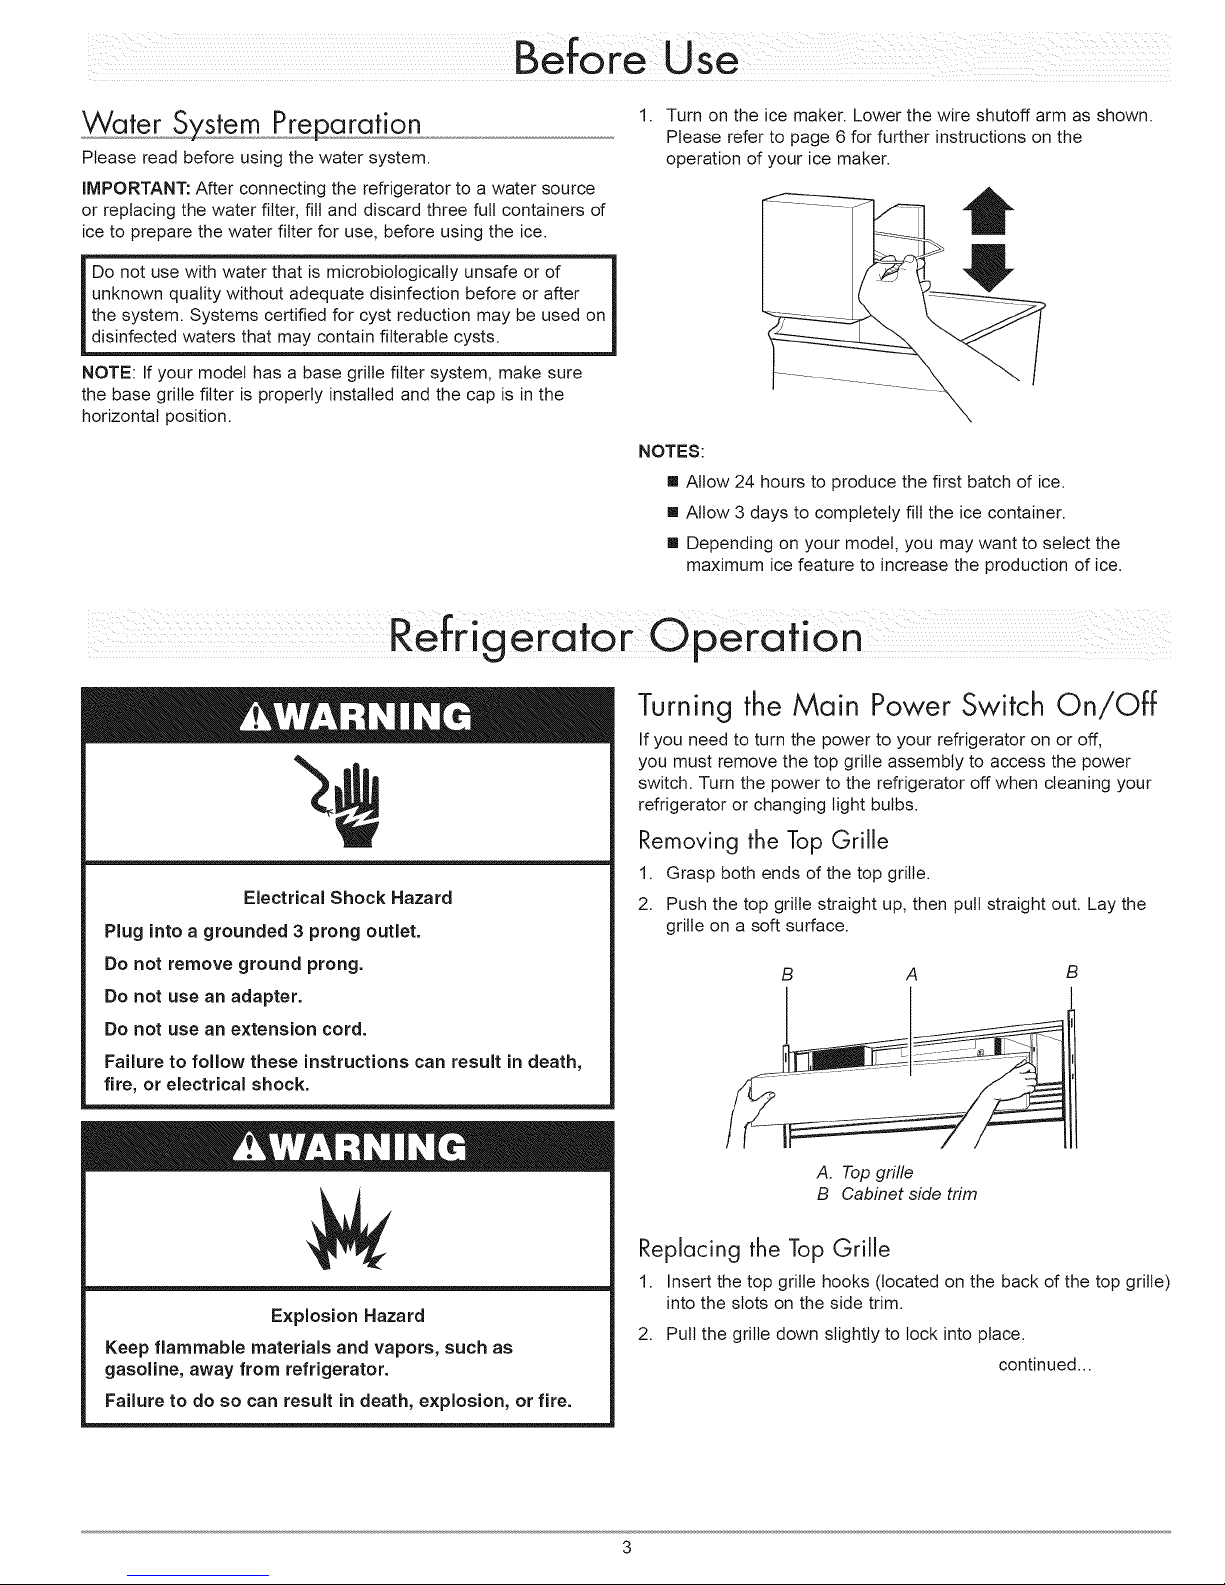
1. Turn on the ice maker. Lower the wire shutoff arm as shown.
Please refer to page 6 for further instructions on the
operation of your ice maker.
NOTES:
[] Allow 24 hours to produce the first batch of ice.
m Allow 3 days to completely fill the ice container.
[] Depending on your model, you may want to select the
maximum ice feature to increase the production of ice.
Electrical Shock Hazard
Plug into a grounded 3 prong outlet.
Do not remove ground prong.
Do not use an adapter.
Do not use an extension cord.
Failure to follow these instructions can result in death,
fire, or electrical shock.
Explosion Hazard
Keep flammable materials and vapors, such as
gasoline, away from refrigerator.
Failure to do so can result in death, explosion, or fire.
Turning the Main Power Switch On/Off
If you need to turn the power to your refrigerator on or off,
you must remove the top grille assembly to access the power
switch. Turn the power to the refrigerator off when cleaning your
refrigerator or changing light bulbs.
Removing the Top Grille
1. Grasp both ends of the top grille.
2. Push the top grille straight up, then pull straight out. Lay the
grille on a soft surface.
B A B
A. Top grille
B Cabinet side trim
Replacing the Top Grille
1. Insert the top grille hooks (located on the back of the top grille)
into the slots on the side trim.
2. Pull the grille down slightly to lock into place.
continued...
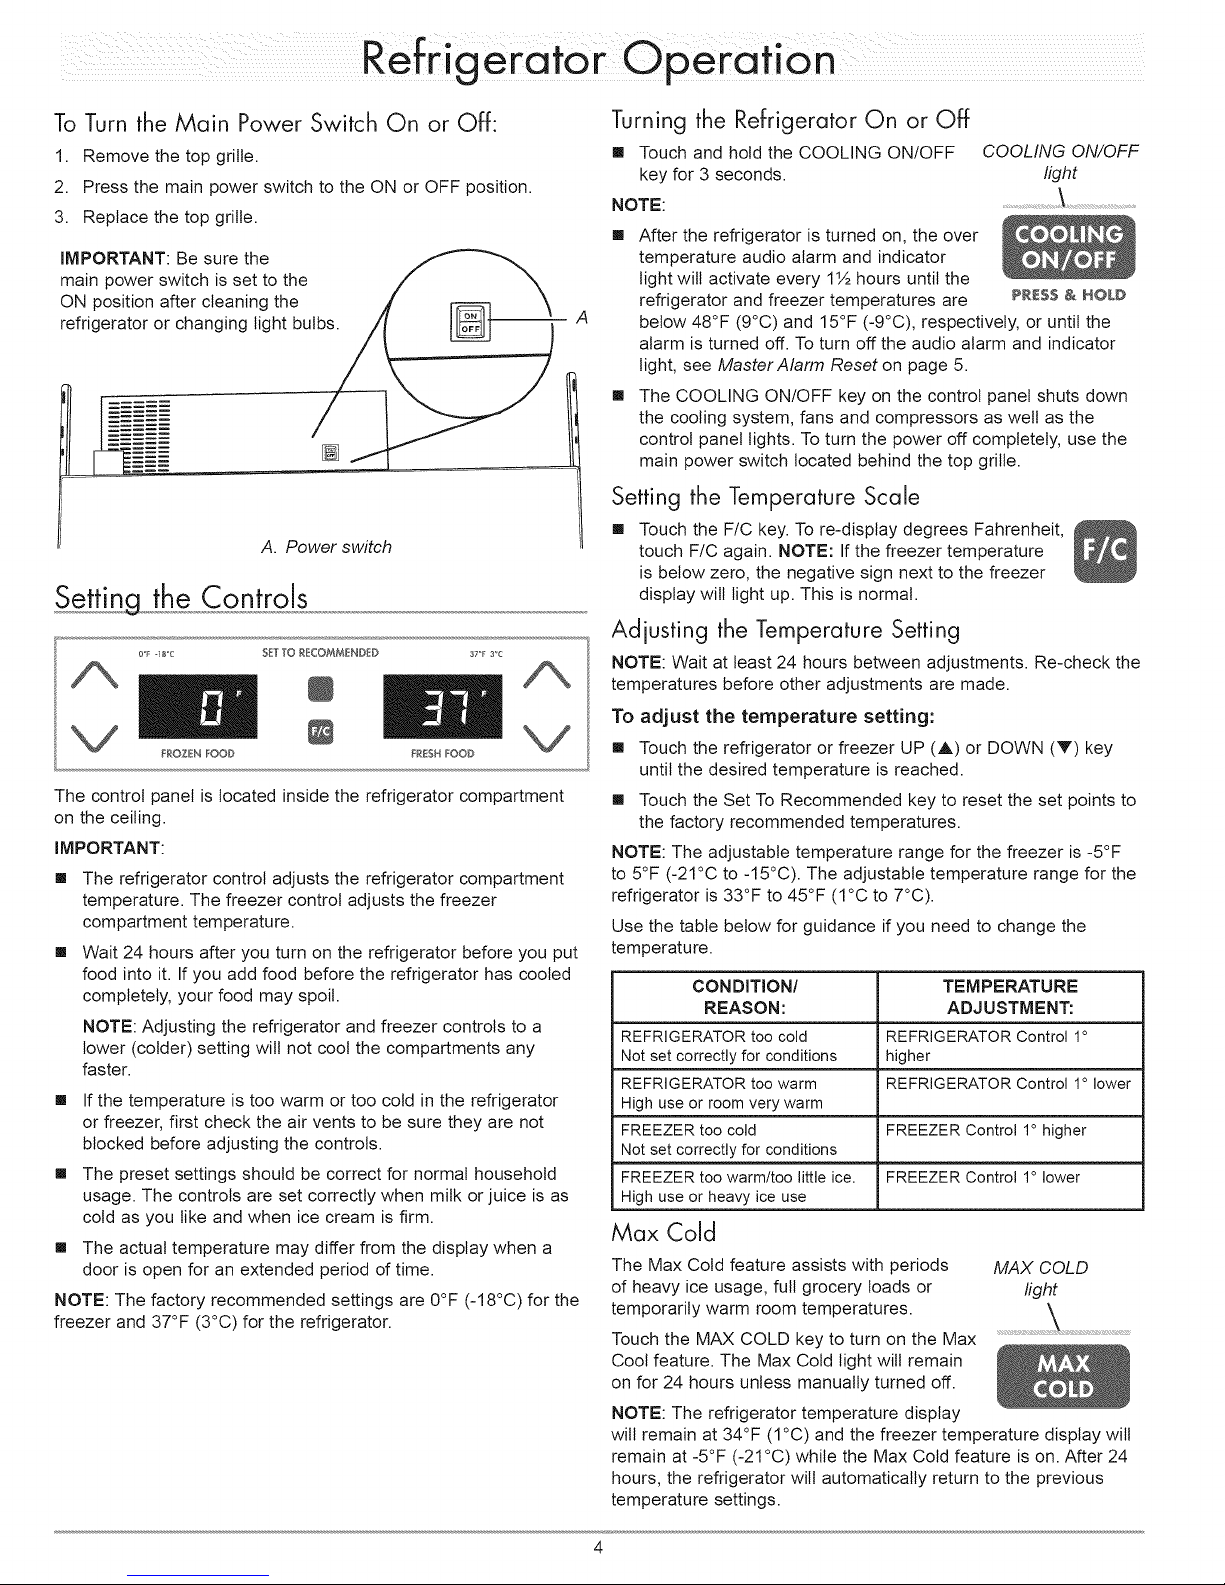
To Turn the Main Power Switch On or Off:
1. Remove the top grille.
2. Press the main power switch to the ON or OFF position.
3. Replace the top grille.
IMPORTANT: Be sure the
main power switch is set to the
ON position after cleaning the
refrigerator or changing light bulbs.
A. Power switch
Setting the Controls
o_ l_'c SETTO RECOMMENDED _TF 3C
/too
FROZEN FOOD FRESHFOOD
The control panel is located inside the refrigerator compartment
on the ceiling.
IMPORTANT:
[]
The refrigerator control adjusts the refrigerator compartment
temperature. The freezer control adjusts the freezer
compartment temperature.
[]
Wait 24 hours after you turn on the refrigerator before you put
food into it. If you add food before the refrigerator has cooled
completely, your food may spoil.
NOTE: Adjusting the refrigerator and freezer controls to a
lower (colder) setting will not cool the compartments any
faster.
[] If the temperature is too warm or too cold in the refrigerator
or freezer, first check the air vents to be sure they are not
blocked before adjusting the controls.
[] The preset settings should be correct for normal household
usage. The controls are set correctly when milk or juice is as
cold as you like and when ice cream is firm.
[] The actual temperature may differ from the display when a
door is open for an extended period d time.
NOTE: The factory recommended settings are 0°F (-18°C) for the
freezer and 37°F (3°C) for the refrigerator.
°/m
Turning the Refrigerator On or Off
[] Touch and hold the COOLING ON/OFF
key for 3 seconds.
NOTE:
[]
After the refrigerator is turned on, the over
temperature audio alarm and indicator
light will activate every 1½ hours until the
A
refrigerator and freezer temperatures are
below 48°F (9°C) and 15°F (-9°C), respectively, or until the
alarm is turned off. To turn off the audio alarm and indicator
light, see Master Alarm Reset on page 5.
[]
The COOLING ON/OFF key on the control panel shuts down
the cooling system, fans and compressors as well as the
control panel lights. To turn the power off completely, use the
main power switch located behind the top grille.
Setting the Temperature Scale
[] Touch the F/C key. To re-display degrees Fahrenheit,
touch F/C again. NOTE: If the freezer temperature
is below zero, the negative sign next to the freezer
display will Sightup. This is normal.
COOLING ON/OFF
light
PRESS & HOLD
Adjusting the Temperature Setting
NOTE: Wait at least 24 hours between adjustments. Re-check the
temperatures before other adjustments are made.
To adjust the temperature setting:
[] Touch the refrigerator or freezer UP (A) or DOWN (V) key
until the desired temperature is reached.
[] Touch the Set To Recommended key to reset the set points to
the factory recommended temperatures.
NOTE: The adjustable temperature range for the freezer is -5°F
to 5°F (-21°C to -15°C). The adjustable temperature range for the
refrigerator is 33°F to 45°F (1°C to 7°C).
Use the table below for guidance if you need to change the
temperature.
CONDmON! TEMPERATURE
REASON: ADJUSTMENT:
REFRIGERATORtoo cold REFRIGERATORControl 1°
Notset correctly for conditions higher
REFRIGERATORtoo warm REFRIGERATORControl 1° lower
High use or room verywarm
FREEZERtoo cold FREEZERControl 1° higher
Notset correctly for conditions
FREEZERtoo warm/too little ice. FREEZERControl 1° lower
High use or heavy ice use
Max Cold
The Max Cold feature assists with periods MAX COLD
of heavy ice usage, full grocery loads or light
temporarily warm room temperatures.
Touch the MAX COLD key to turn on the Max
Cool feature. The Max Cold light will remain
on for 24 hours unless manually turned off.
NOTE: The refrigerator temperature display
will remain at 34°F (1°C) and the freezer temperature display will
remain at -5°F (-21°C) while the Max Cold feature is on. After 24
hours, the refrigerator wilt automatically return to the previous
temperature settings.
 Loading...