

Page 1

RTX220 QR - Manual
Product name/code RAX42x-XJ Series
Interface Types & Speeds Multi-lane SAS/SATA 6Gb/s (SFF-8088)
Compatibility 3.5 inch SATA Hard Drives
Data Connectors Two (2) SFF-8088 mini-SAS Connectors
Operating System
Requirements
Compliance EMI Standard: FCC Part 15 Class A, CE
Shipping Weight 35 pounds (includes accessories)
Product Dimensions 17.73” x 3.5” x 16.86” (450mm x 89mm x 428mm)
Technical Support We don’t expect anything to go wrong with your CRU product. But if it does, Tech Sup-
Product Warranty
CRU-DataPort (CRU) warrants this product to be free of signicant defects in material and workmanship for a period of two years from the original date of purchase.
CRU’s warranty is nontransferable and is limited to the original purchaser.
Limitation of Liability
The warranties set forth in this agreement replace all other warranties. CRU expressly disclaims all other warranties, including but not limited to, the implied warranties of merchantability and tness for a particular purpose and non-infringement of third-party rights with respect to the documentation and hardware. No CRU
dealer, agent, or employee is authorized to make any modication, extension, or addition to this warranty. In no event will CRU or its suppliers be liable for any costs
of procurement of substitute products or services, lost prots, loss of information or data, computer malfunction, or any other special, indirect, consequential, or
incidental damages arising in any way out of the sale of, use of, or inability to use any CRU product or service, even if CRU has been advised of the possibility of such
damages. In no case shall CRU’s liability exceed the actual money paid for the products at issue. CRU reserves the right to make modications and additions to this
product without notice or taking on additional liability.
FCC Compliance Statement: “This device complies with Part 15 of the FCC rules. Operation is subject to the following two conditions: (1) This device may not cause
harmful interference, and (2) this device must accept any interference received, including interference that may cause undesired operation.”
This equipment has been tested and found to comply with the limits for a Class A digital device, pursuant to Part 15 of the FCC Rules. These limits are designed to
provide reasonable protection against harmful interference when the equipment is operated in a commercial environment. This equipment generates, uses, and can
radiate radio frequency energy and, if not installed and used in accordance with the instruction manual, may cause harmful interference to radio communications.
Operation of this equipment in a residential area is likely to cause harmful interference in which case the user will be required to correct the interference at this own
expense.
In the event that you experience Radio Frequency Interference, you should take the following steps to resolve the problem:
1) Ensure that the case of your attached drive is grounded.
2) Use a data cable with RFI reducing ferrites on each end.
3) Use a power supply with an RFI reducing ferrite approximately 5 inches from the DC plug.
4) Reorient or relocate the receiving antenna
3.5 inch SAS Hard Drives (Dual Port Congurations Only)
• Windows 7, Vista, or XP
• Mac OS X
• Linux distributions that support SFF-8088 connections
EMC Standard: EN55022, EN55024
port is standing by and ready to help.
Contact us at http://www.cru-dataport.com/support. We also offer phone support at
(800) 260-9800.
FOR OFFICE OR COMMERCIAL USE
RAXTM42x-XJ Series Quick Start Guide
Visit http://www.cru-dataport.com/technical-support/product-manuals.php to download a copy of the
complete User Manual. Additional product information can be found at www.cru-dataport.com and
www.wiebetech.com. WiebeTech is a brand of CRU.
Models Covered:
RAX420-XJ
RAX421-XJ
RAX425-XJ
RAX421D-XJ
RAX425D-XJ
RAX
1. Hard Drive Installation
1.1 RAX420-XJ
a) Open the door by pulling on the ejection handle.
b) Slide in the hard drive, connector end-rst. (Note: The drive’s label should be facing up.)
c) Shut the door by pushing the handle back into the closed position.
1.2 RAX421-XJ and RAX421D-XJ
a) If the carrier is bundled with the unit, use the included set of keys to unlock
each carrier and then remove the carrier from the frame.
b) Remove the screw securing the drive cover to the back of the carrier with a Phillips-
head screwdriver. Then slide the cover toward the back and pull up to remove it.
c) Insert a SATA hard drive into the unied power and data connector inside the carrier.
d) Secure the hard drive to the carrier by using the mounting screws provided.
e) Attach the Temperature Control Cooling Sensor to the top of the hard drive with a
piece of tape. The Temperature Control Cooling Sensor is the double-wired cord with a
sensor nub at the end that extends out from the carrier PCB board.
f) Replace the cover and secure it into the rear of the carrier with the screw you
removed in Step B.
g) Reinsert the carrier into the frame.
A9-420-0001-1 Revision: 2.0
Page 2
RTX220 QR - Manual
1.3 RAX425-XJ and RAX425D-XJ
a) If the carrier is bundled with the unit, push in on the handle to pop it out, and then
pull on the handle to remove the carrier from the frame.
b) Use a Phillips-head screwdriver to remove the screws securing the drive cover on
either side of the carrier, and then remove the cover.
c) Carefully insert the drive (not included) into the carrier. Slide the drive towards the Drive
Carrier Board so that the I/O connector on the drive mates with the connector on the
Drive Carrier Board. Hold the hard drive inside the carrier and turn the drive carrier
assembly over.
d) Secure the hard drive to the bottom of the carrier by using the mounting screws provided.
e) Replace the cover and secure it into the sides of the carrier with the screw you
removed in Step B.
f) Reinsert the carrier into the frame.
g) Use the included set of keys to turn the keylock 90 degrees counter-clockwise to
secure the carrier.
2. Operating Your RAX
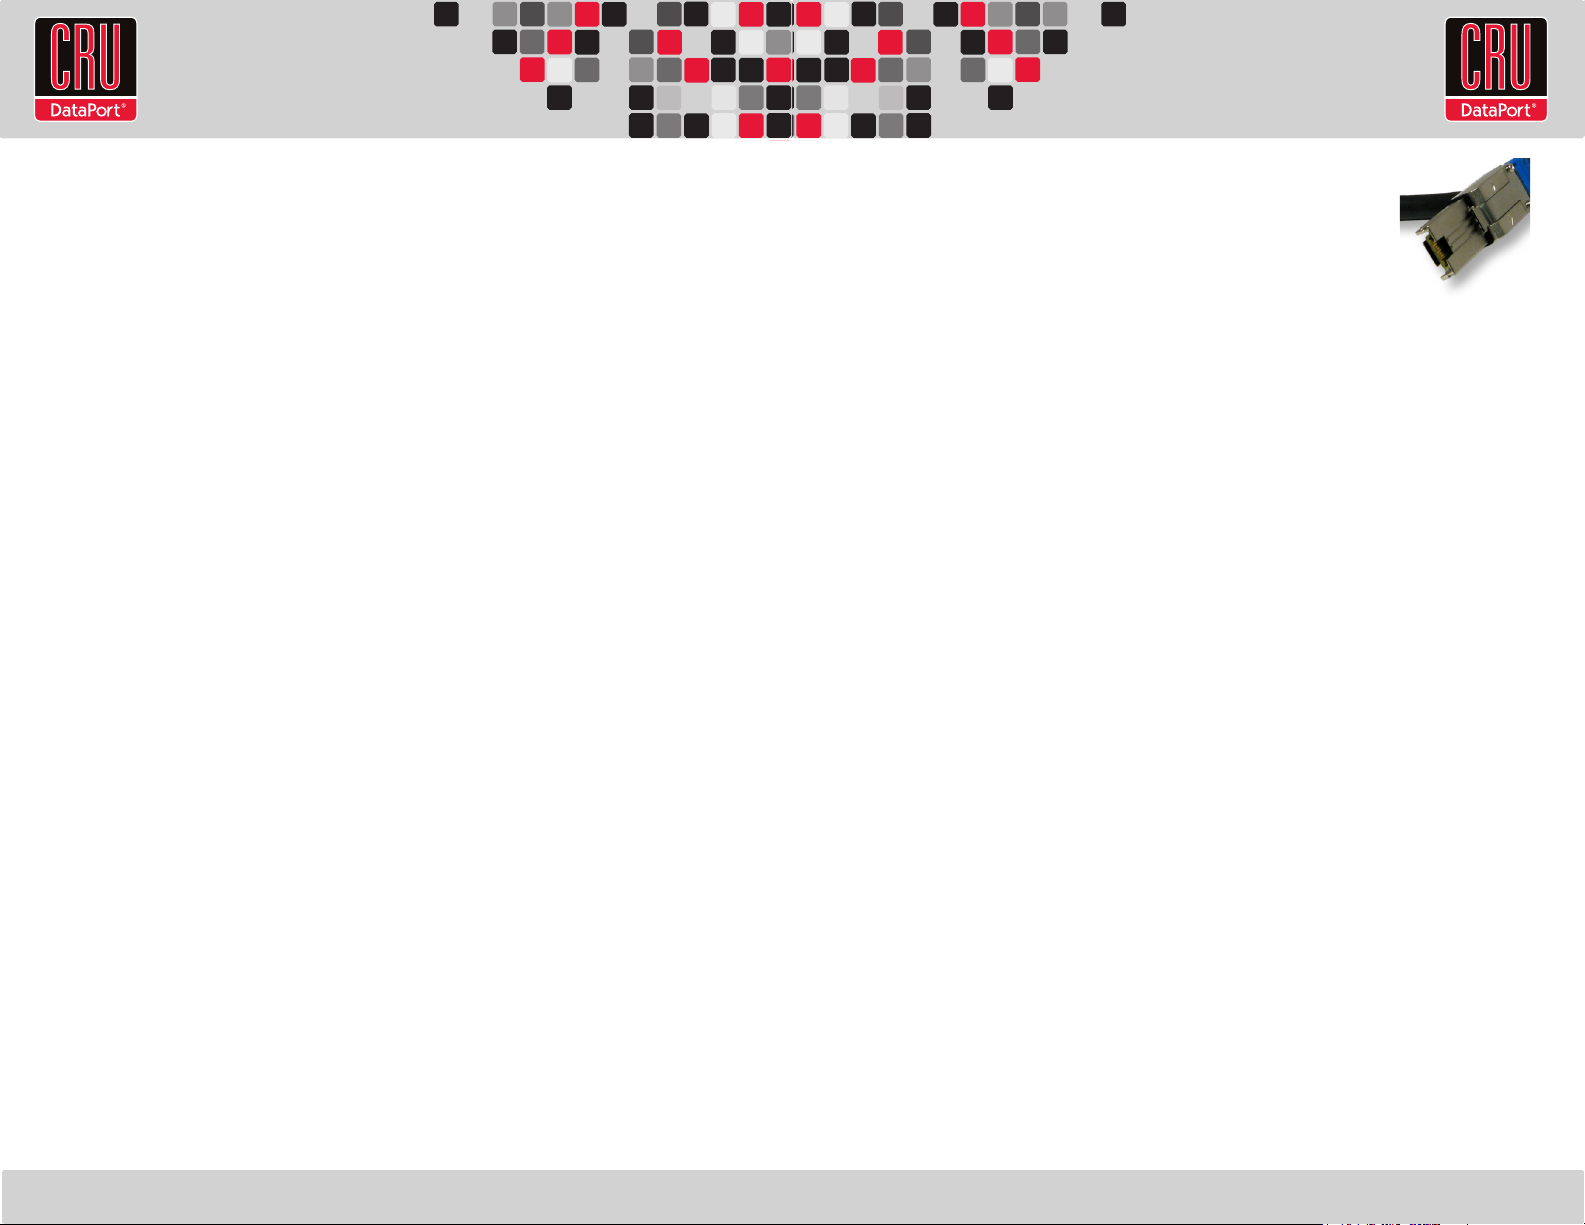
Connect the SFF-8088 data cable to the RAX and your host computer. Plug in the power cord.
With hard drives in the unit, turn on the power.
3. Dual Port Congurations
The RAX421D-XJ and RAX425D-XJ support two host machines connected
via two multi-lane SAS/SATA (SFF-8088) connections. Both hosts on a
dual port conguration cannot simultaneously write to the RAX unit. A
dual port conguration only ensures redundancy in case one host machine
is disabled or goes down.
Multi-lane SAS/SATA
4. Rack Mounting Warnings
Elevated Operating Ambient Temperature: The operating ambient temperature of the
rack environment may be greater than the room ambient temperature if the enclosure is
installed in a closed or multi-unit rack assembly. Install the equipment in an environment
compatible with the maximum ambient temperature of 40° C.
Reduced Air Flow: Do not block or inhibit the air ow required for safe operation of the
enclosure.
Mechanical Loading: Use care when mounting the rack in order to prevent injury.
Circuit Overloading: Do not overload the circuits. Refer to the name plate ratings on the
equipment.
(SFF-8088)
For the RAX420-XJ, the drives will begin to spin up automatically.
For the RAX421-XJ, use the included set of keys to turn the key lock 90 degrees clockwise to
power on each hard drive.
For the RAX425-XJ, push in the power buttons on each frame until the LED lights up to power
on each hard drive.
Your RAX is now ready to use! If the hard drives are already formatted, the RAX can be
used right away. If the hard drives are brand new, or the formats are not compatible with
your computer, the drives will need to be formatted before being used. See the “Usage with
Mac and Windows Operating Systems” section of the complete User Manual for formatting
instructions.
 Loading...