

CRU MoveDock 3S Quick Start Manuals
MoveDock® 3S
Quick Start Guide
Features
• Specifically designed for use with CRU®’s Data Express® DX115
carriers
• Access data quickly via USB 3.0 and eSATA
• Heavy duty stainless steel construction for rugged applications
• Interconnect rated at 25,000+ insertions
• Backwards compatible with USB 2.0
MoveDock 3S Quick Start Guide
1 General Information
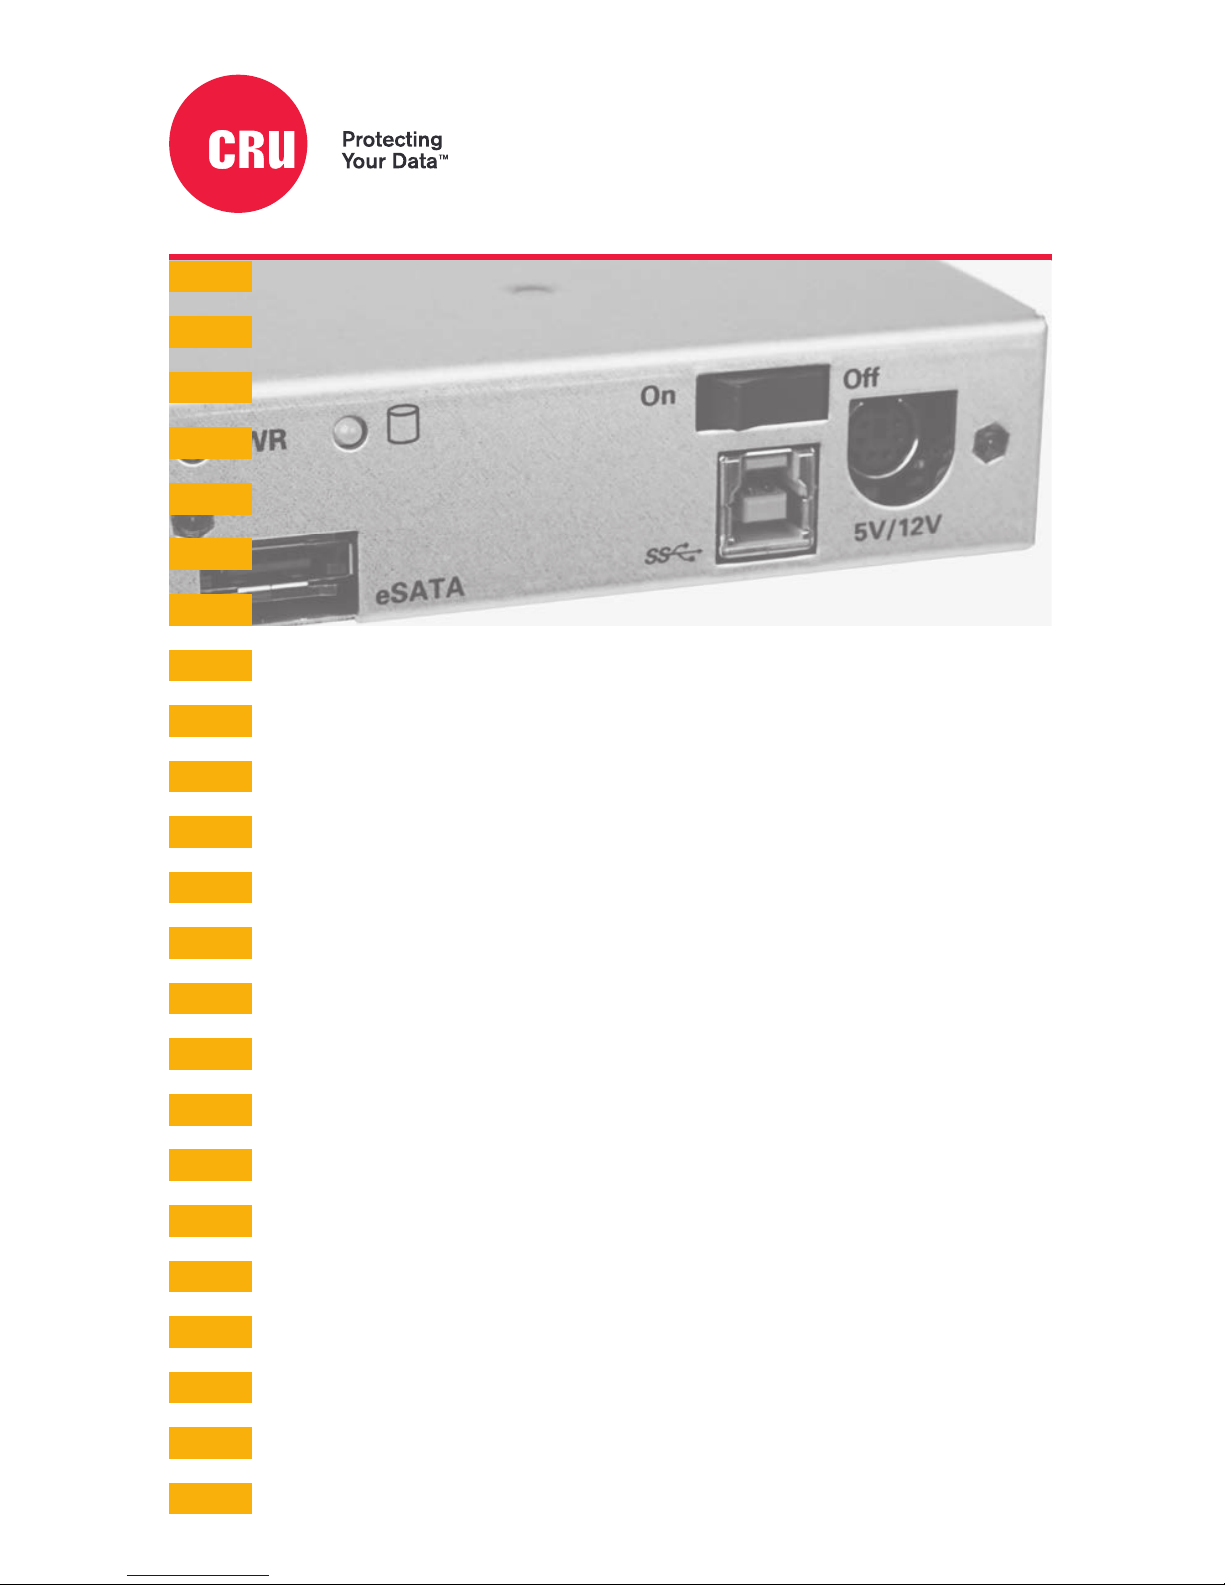
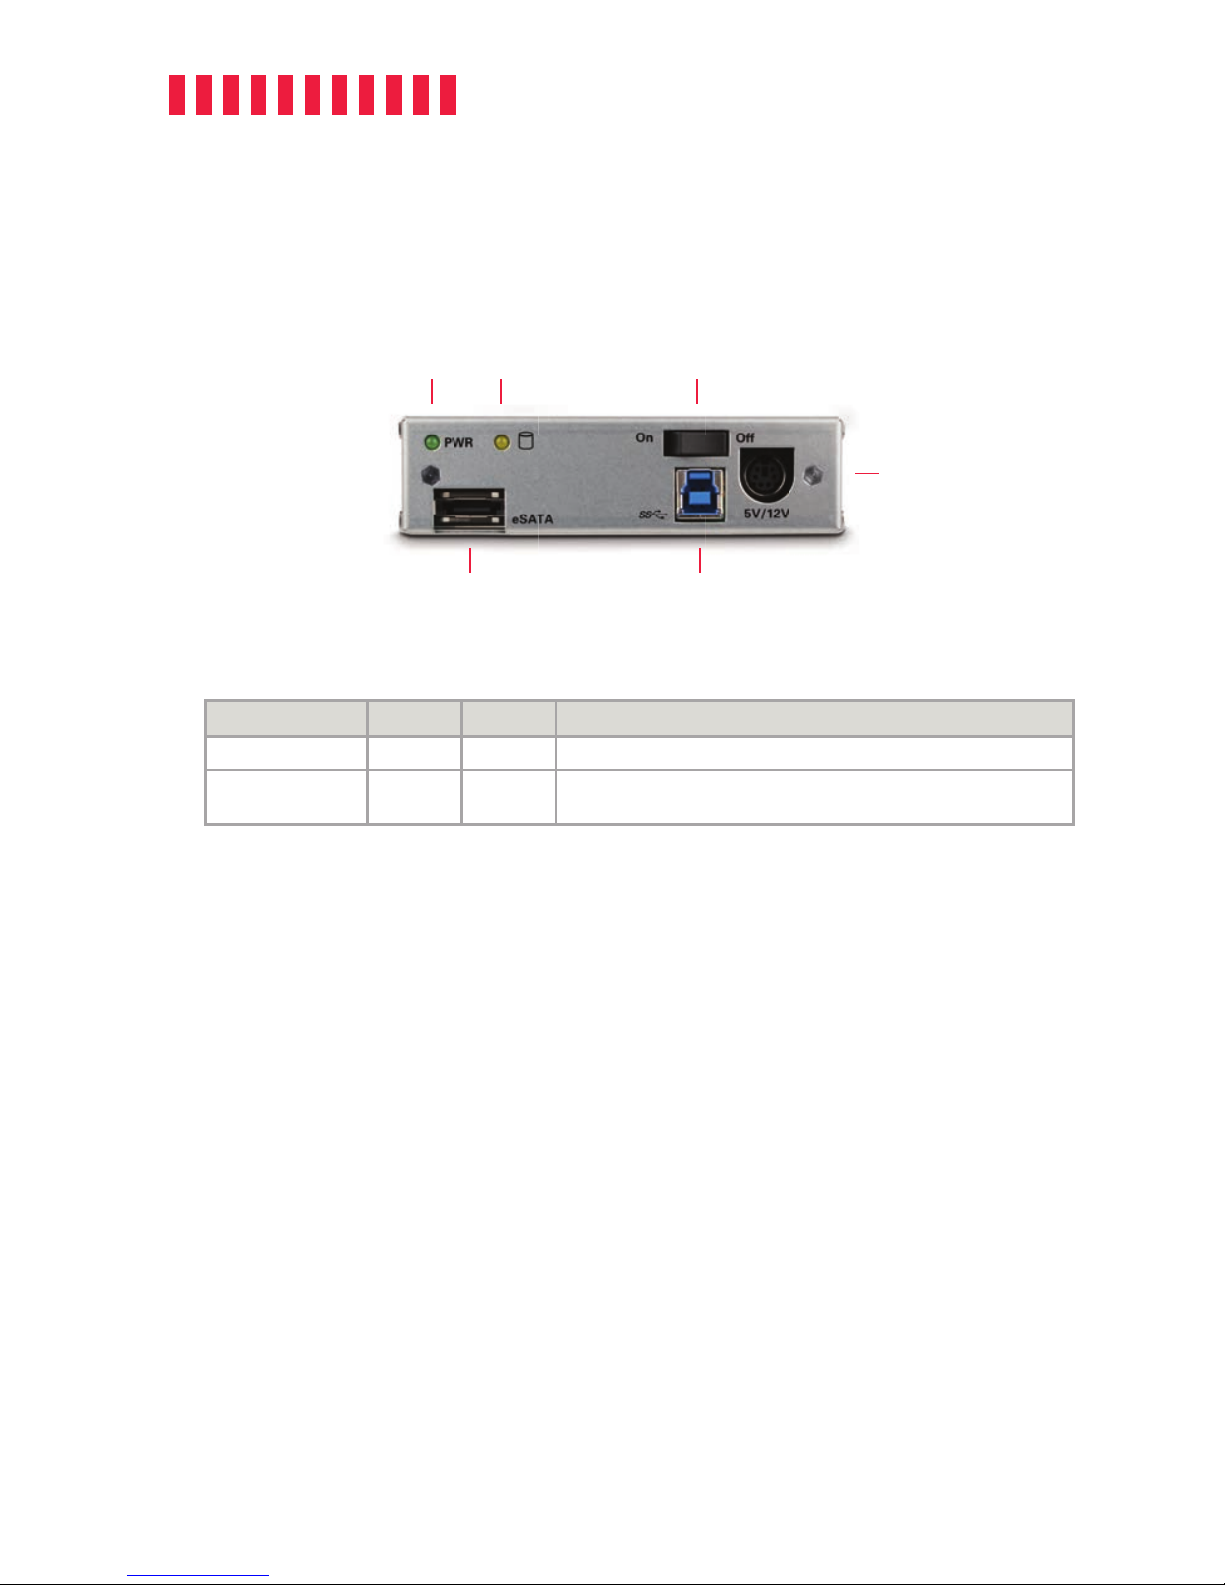
1.1 Identifying Parts
1.2 LED Behavior
LED Color State Description
Drive Power Green Solid The drive attached to the MoveDock is powered on.
Drive Activity Amber Blinking
The drive inside the bay is being accessed by your
computer.
1 Installation Steps
1.1 Drive Installation Steps
a. Remove the drive cover from the carrier.
b. Carefully insert the drive into the carrier. Slide the drive toward the back of the PCA board on the
back of the carrier until it clicks into place.
c. Hold the drive in place and turn the drive/carrier assembly over.
d. Fasten the drive into place with the four (4) provided screws. Some drives may require minor
adjustment.
e. Turn the carrier back over and install the drive cover. Secure it with the two (2) provided screws.
Power
Button
2
eSATA Port
USB 3.0 Port
Power
LED
Drive Activity
LED
DC Power In
 Loading...