

Page 1
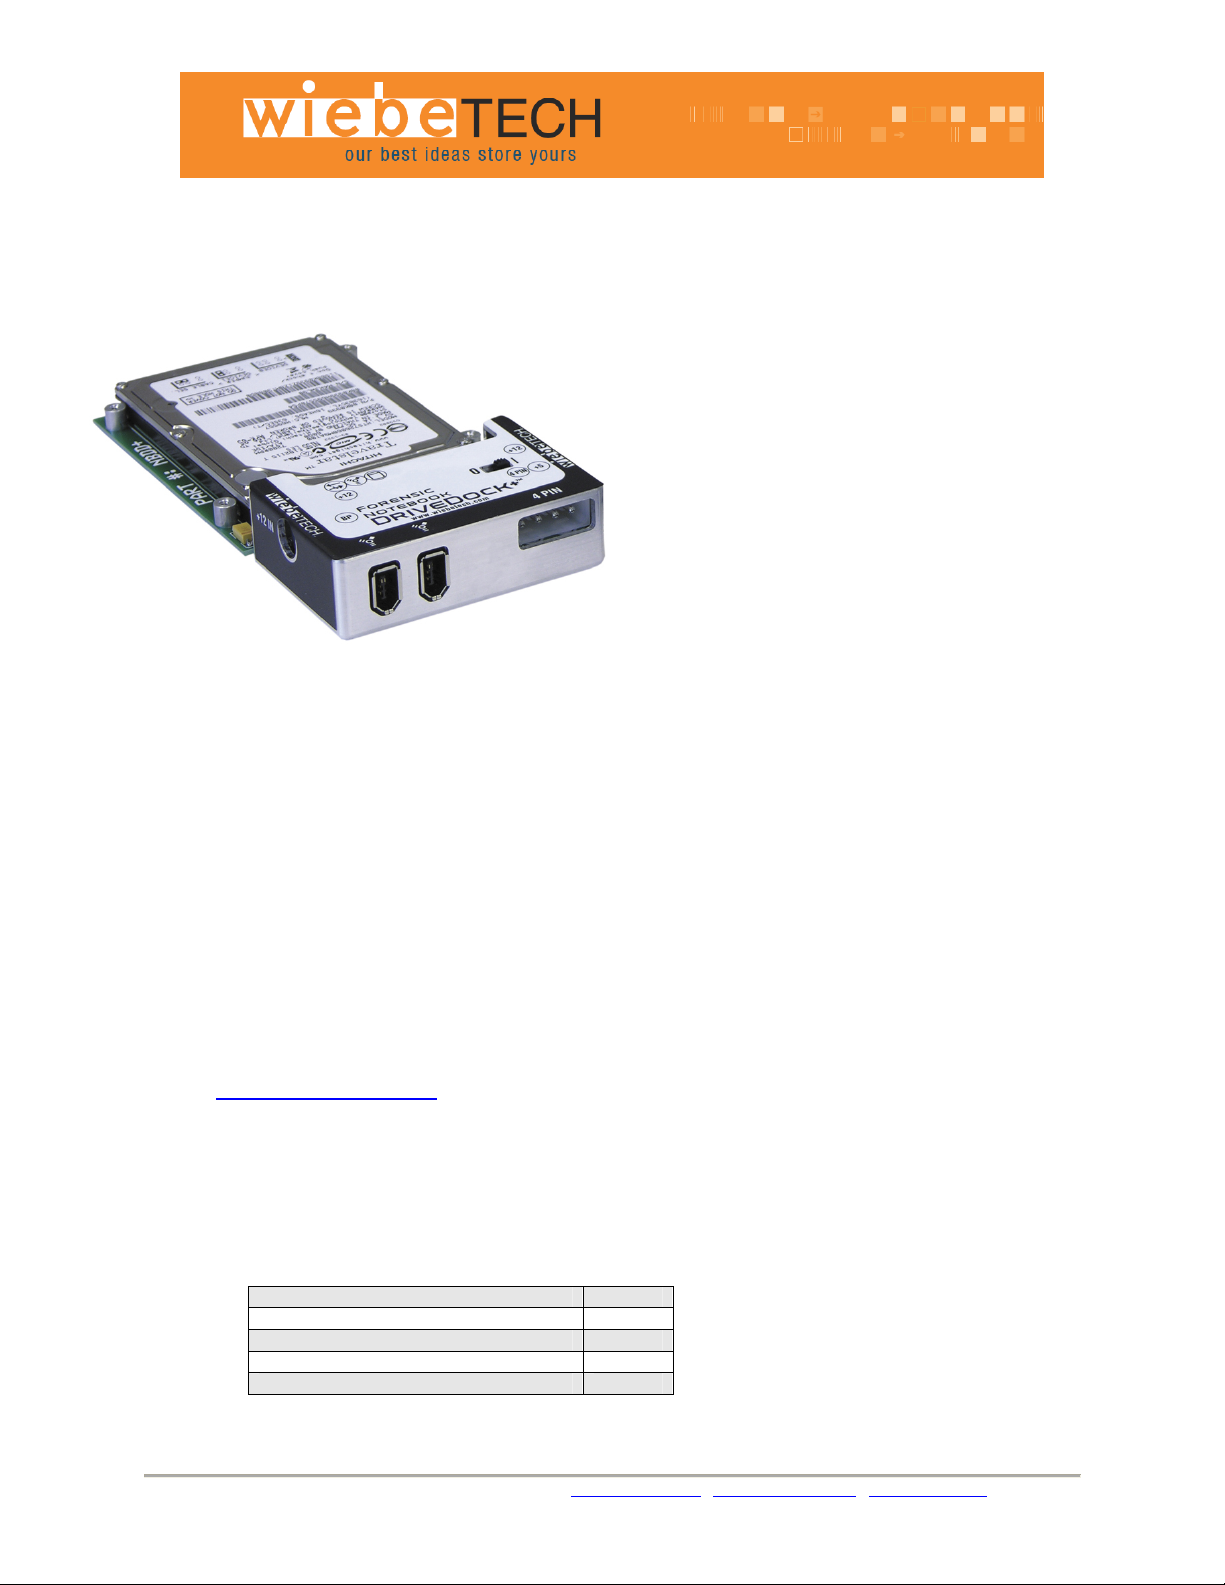
Forensic NoteBook DriveDock+™
USER’S MANUAL
Revised September 23, 2005
Features
• Dual, daisy-chainable FireWire 400 ports
• Write-blocking preserves the integrity of
evidentiary drives
• Bus-powered through FireWire, plus two
options for external power
• LEDs show when unit is receiving power as
well as power output status
• Host-detection LED indicates valid
connection to a FireWire host
Forensic Device User Advisory
We recommend that you perform a final check on this product.
Prior to first use, please verify that the write-blocking function of this product is working properly. This is
easily done: attach a known good formatted drive, and verify that the drive mounts properly on your
computer. Use a drive that has data on it that you are willing to overwrite. Transfer files to the drive. The
files will appear to transfer to the drive. Thereafter, unmount the drive and remount the drive. The files
that you wrote to the drive should not appear after the drive is remounted. If they do appear, there is a
problem with your Forensic Device, and you should contact our support department for further
instructions.
WiebeTech support may be reached at:
(866) 744-8722 (toll free)
(316) 744-8722 (international)
(316) 744-1398 (fax)
support@wiebetech.com
Installation Instructions
(email)
1. Check the accessories with your Forensic NoteBook Dri veDock+™. Please contact WiebeTech if any items
are missing or damaged. The box should contain:
Phone: Toll Free 866.744.8722 Main 316.744.8722 • Fax: 316.744.1398 * sales@wiebetech.com * support@wiebetech.com * www.wiebetech.com
Forensic NoteBook DriveDock+ 1
FireWire 400 cable 1
Hard drive screws 4
Rubber bumpers 6
Manual and Warranty information (on CD)
Page 2
|
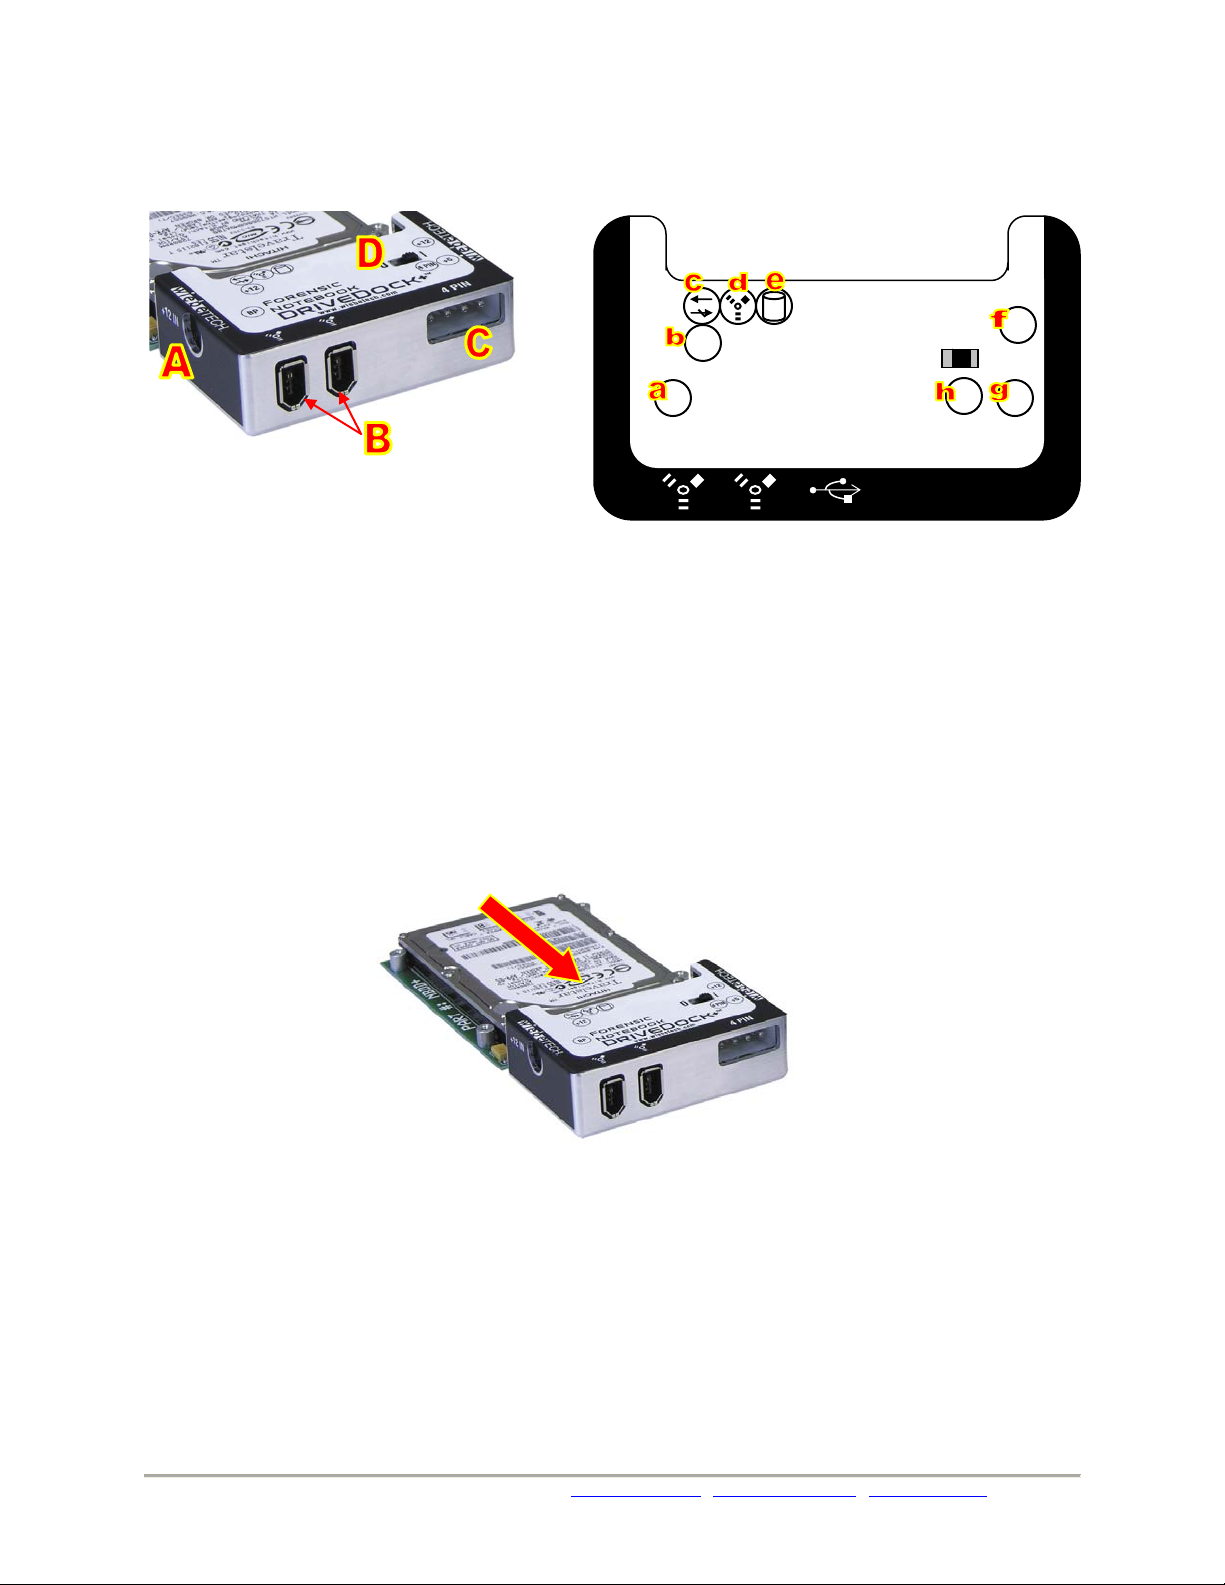
2. Take a moment to familiarize yourself with the parts of your new Forensic NoteBook DriveDock+™. This
will aid you in the remaining steps.
LEDs
2
+12
+12
0
Forensic
BP +5
4 PIN
NoteBook
A +12V power input from optional AC adapter
B 1394a FireWire 400 Ports
C DC input for 4-pin power connector
D Power Switch ( | = On, 0 = Off)
a FireWire bus power is present
b +12V DC power input is present
c Unit is write-blocked
d Unit is connected to FireWire host
e hard drive access
f +12V Power output to drive
g +5V Power output to drive
h 4-pin power input is present
DriveDock+™
3. Connect the hard drive to the dock. If you’ve removed the drive from a laptop computer, it may be inside a
mounting sleeve. You’ll need to remove this so that the drive will fit with the DriveDock. Place the drive onto the
green plate with the label side up. Carefully slide the drive forward until the pins are fully inserted into the IDE
connector. If you wish, you may secure the drive in place with the included screws.
4. Connect the FireWire cable from your computer into the app ropriate port on the DriveDock.
5. Connect power to the Dock. There are three options:
a. The NoteBook DriveDock can be bus powered through FireWire, and therefore does not require an
additional power source when used with powered FireWire hosts. When bus power is present, the LED
labeled “BP” will illuminate.
b. To connect to FireWire hosts lacking sufficient bus power, plug in the optional AC adapter. When the AC
adapter is connected, the LED labeled “+12” will illuminate.
c. Alternatively, you may supply power through a standard 4-pin Molex connector. When power is connected
in this way, the LED labeled “4 PIN” will illuminate.
Phone: Toll Free 866.744.8722 Main 316.744.8722 • Fax: 316.744.1398 * sales@wiebetech.com * support@wiebetech.com * www.wiebetech.com
Page 3

Your DriveDock is now ready to use! Turn on the unit by moving the power switch toward the side labeled “|”. When
power is on, the output LEDs “+12” and “+5” will illuminate to show that power is going to the hard drive.
The red LED access indicator will light briefly after the unit is powered up, indicating that the FireWire bridge has
successfully established communication with the drive. Thereafter, it will light whenever the drive is accessed. If the
access LED does not blink shortly after drive spin up, it may indicate a problem with the drive or the dock. If the
access LED blinks at a steady rate, this also may be indicative of a problem or an incorrectly jumpered drive. Contact
technical support for further assistance if necessary. If your hard drive is already formatted, you can begin using it
right away. New hard drives will need to be formatted before they can be used.
Note: The DriveDock+ may utilize any 12V
regulated switching power supply capable of
supplying 2A or greater. Do not use an
unregulated adapter, as damage may occur to
the Dock or the attached drive.
3
Usage with Macintosh Computers
Compatibility
The Forensic NoteBook DriveDock+™ is fully plug-and-play under Mac OS 9.2 and OS X. No drivers are needed.
The USB 2.0 port is USB 1.1 compatible.
Mounting Volumes
When the drive is connected and the unit is turned on, the drive’s volume(s) will mount to the desktop. You can
access the drive and begin retrieving data right away.
Usage with Windows Operating System
Compatibility
The Forensic NoteBook DriveDock+™ is fully plug-and-play with Windows XP. No drivers are neede d. T he USB 2.0
port is USB 1.1 compatible.
Mounting Volumes
When the drive is connected and the unit is turned on, the drive’s volume(s) will mount to My Computer. You can
access the drive and begin retrieving data right away.
Technical Specifications
Interface
External Power Supply
Power Input
Power Output
Power Switch
Host Indicators
Access Indicator
Write Block indicator
Operating Temperature
Operating Humidity
Bus Powering
Compatibility
Phone: Toll Free 866.744.8722 Main 316.744.8722 • Fax: 316.744.1398 * sales@wiebetech.com * support@wiebetech.com * www.wiebetech.com
FireWire 400 using OXFW911
USB not supported
100-240VAC +12V / 3A (not included—WiebeTech Part # PWR-3)
(+12V): +12V DC Jack
(+12V / +5V): Standard disk drive 4-pin Molex power jack
+5V at 0.75A
On / Off
FireWire host attached LED
Provides visual indication of hard drive activity
Indicates write-blocked operation
50 – 85° Fahrenheit (10 – 30° Celsius)
5% to 95%, noncondensing
Converts FireWire bus power to +5V
2.5” ATAPI drives
Page 4

4
Operating System
Windows XP
Mac OS 9.2, OS X
Linux distributions supporting FireWire
Shipping Weight
Dimensions
2 pounds
3.2” x 2.2” x 0.95” (81mm x 56mm x 24mm)
Dimensions are exclusive of attached plates, drives, and cables.
Warranty
90 days of free telephone support (toll-free) and a one-year limited
warranty. Other limitations apply – check warranty statement.
Forensic NoteBook DriveDock+™ is a trademark of WiebeTech LLC. Other marks are the property of their respective
owners.
© 2005 WiebeTech LLC. All rights reserved.
FCC Compliance Statement. “This device complies with Part 15 of the FCC rules. Operation is subject to the following two conditions: (1) This
device may not cause harmful interference, and (2) this device must accept any interference received, including interference that may cause undesired
operation.”
Forensic NoteBook
DriveDock+
Tested to comply
with FCC standards
FOR HOME OR OFFICE USE
In the event that you experience Radio Frequency Interference, you should take the following steps to resolve the problem:
1) Ensure that the bottom plate and case of your attached drive is grounded, either to the DriveDock case or to an Earth ground.
2) Use a FireWire cable with RFI reducing ferrites on each end.
3) Use a power supply with an RFI reducing ferrite approximately 5 inches from the DC plug.
If you have any questions or problems, please contact support@wiebetech.com
WiebeTech products, check our website or contact sales@wiebetech.com. We appreciate being able to serve you!
for technical support. If you are interested in purchasing more
Phone: Toll Free 866.744.8722 Main 316.744.8722 • Fax: 316.744.1398 * sales@wiebetech.com * support@wiebetech.com * www.wiebetech.com
 Loading...