

Page 1
Ice Slide for ED/DF200/250 Units Installation Instructions
INSTALLATION INSTRUCTIONS
Ice Slide for ED/DF200/250 Units with Icemaker Already Installed
Kit contains – ice slide (stainless steel), ice diverter kit, and instructions
RECOMMENDED TOOLS
• #2 phillips head screw driver
• Long pair of channel-lock or vise-grip style pliers
• 11/32 & 3/8 nut drivers or socket head equivalents
• Small head flat screw driver or equivalent
Other items – should be available at store location upon request
• Step ladder
• Keys to dispenser – use to ‘lock out’ unit
• 5 gallon bucket or equivalent
NOTE: If installation is to be done in the morning hours, the store should be contacted the day
before install and have them shut off icemaker on top of unit before closing for the day. This will
minimize the amount of ice that will have to be removed from hopper to install the ‘ice slide’.
1. Remove manual ice fill lid from Icemaker adapter.
2. Remove ice baffle (see FIGURE 1) from icemaker
adapter using 11/32 nut driver.
3. Dispense ice out of hopper into bucket via ice
chute to empty hopper of ice.
4. Using bucket – fill with ‘warm’ water and melt
remaining ice in hopper area; Note: this water will
also melt ice existing on the cold plate.
FIGURE 1. Ice Baffle
CAUTION: Unit should be unplugged at this time to ensure ‘off cycle’ agitation does not occur
while accessing interior hopper area to remove agitator.
Release Date: November 16, 2004 www.cornelius.com Revision: A
© 2004, IMI Cornelius Inc. - 1 - Publication Number: 629088508INS
Page 2
Ice Slide for ED/DF200/250 Units Installation Instructions
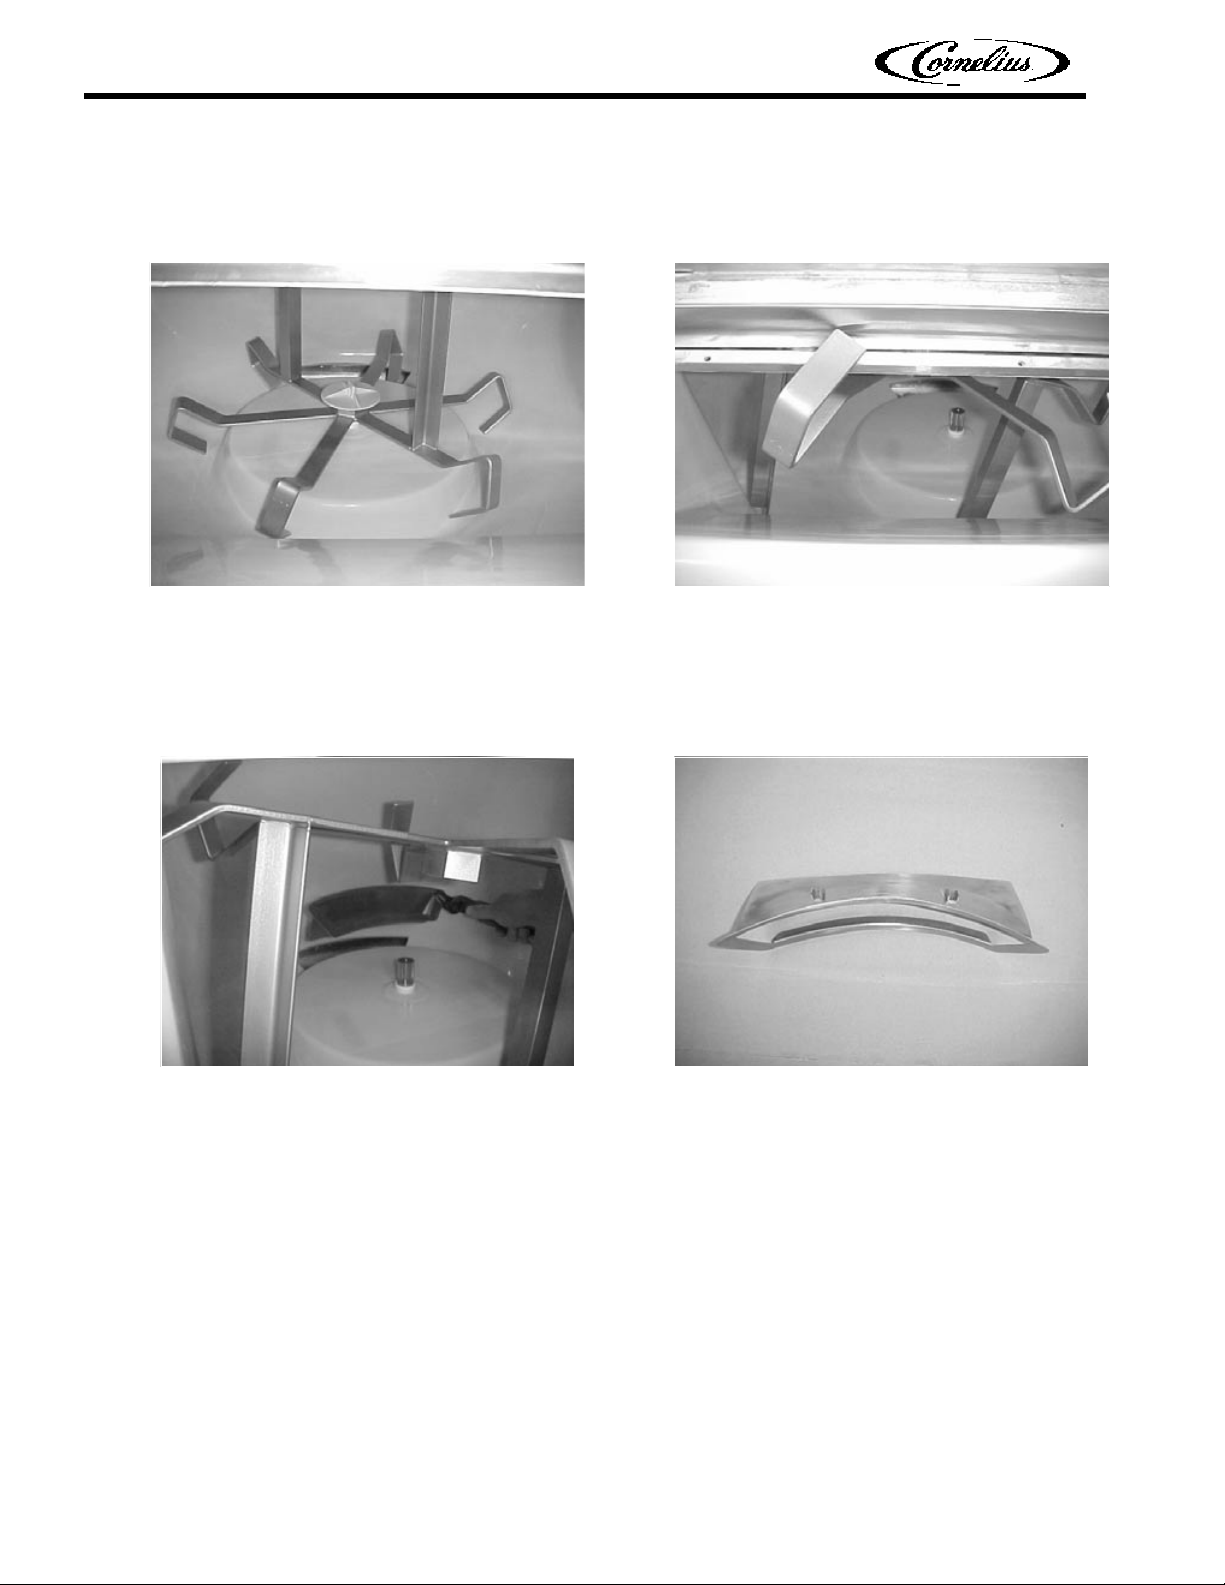
5. Loosen and remove agitator retainer inside hopper area (see FIGURE 2). Remove agitator from
motor shaft and turn ‘upside down’ inside hopper to ‘hang’ agitator from front left lip of icemaker
adapter (see FIGURE 3). Note: agitator will remain inside hopper area during installation of ‘ice
slide’.
FIGURE 2. Agitator Inside Hopper FIGURE 3. Hook Agitator to Front Lip of Adapter
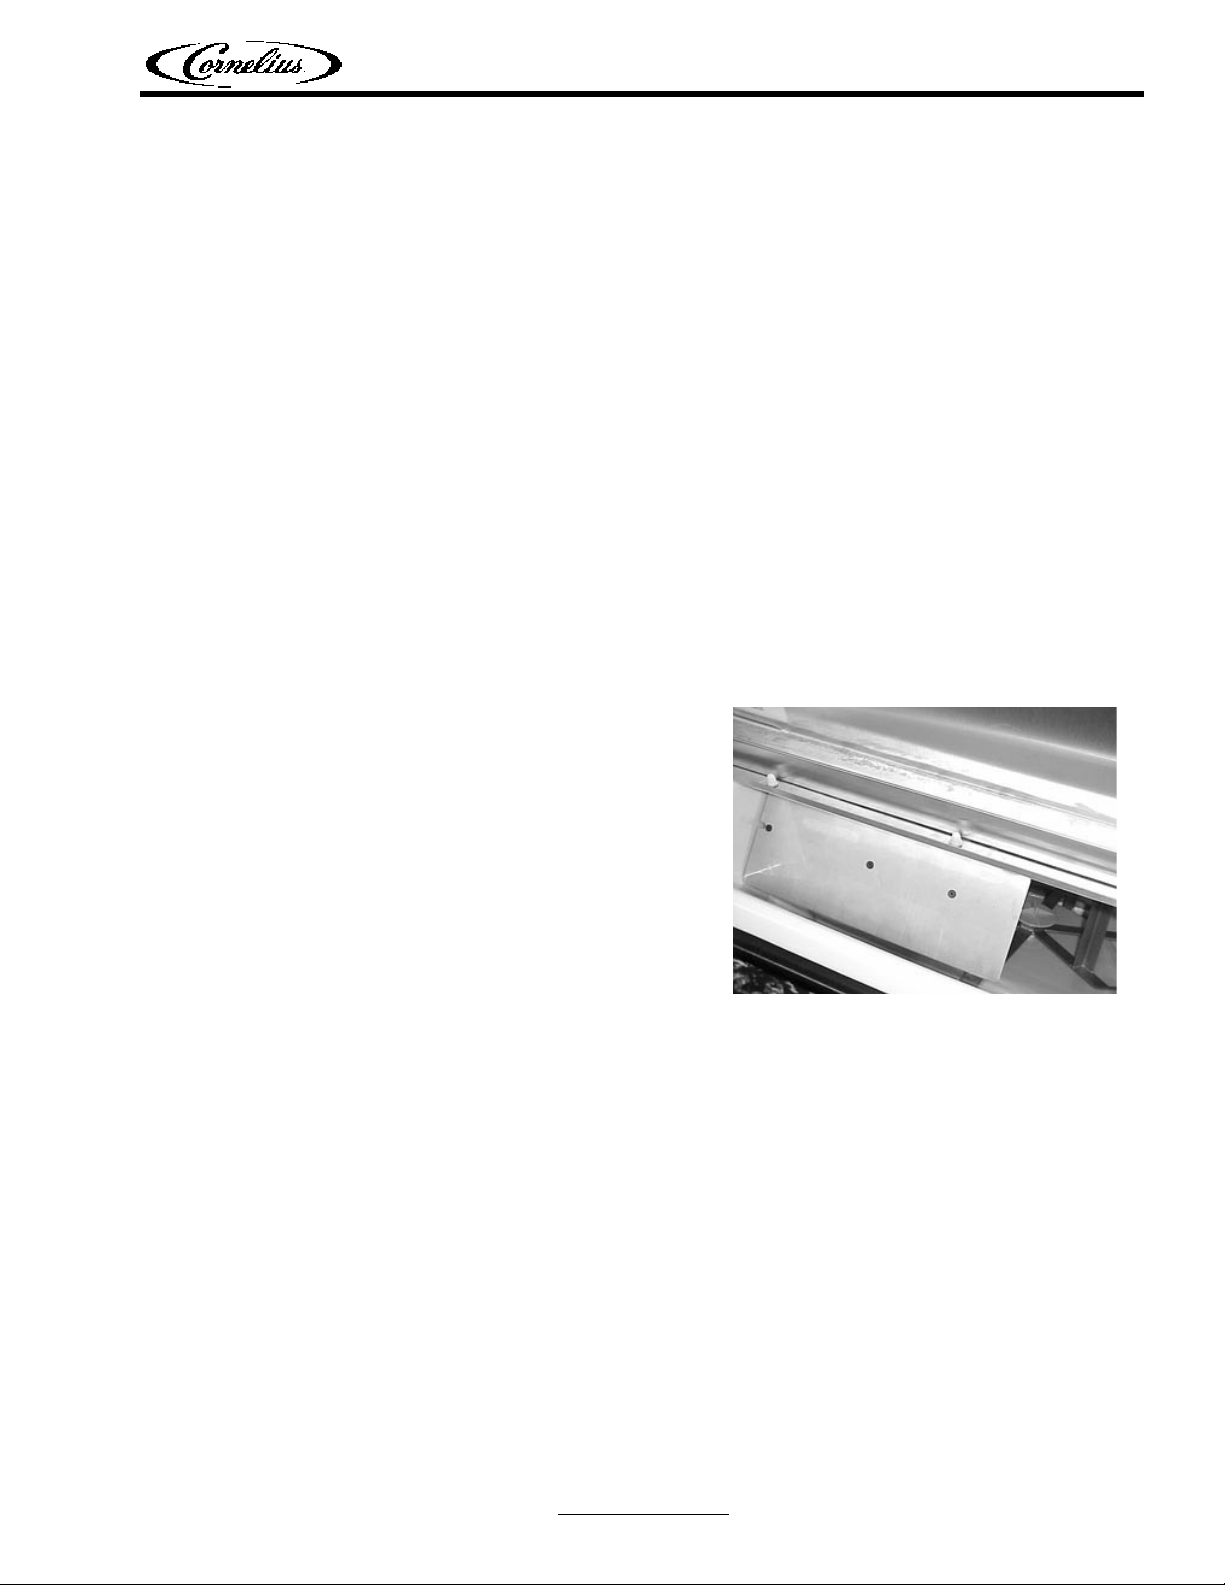
6. From inside Hopper, using pliers, position ‘ice slide’ to match cut-out in hopper (see FIGURE 4) and
set front ledge of ‘ice-slide’ inside cut-out and push down on backside. Ice slide should ‘snap’ into
cut-out in hopper. Retaining clips (see FIGURE 5) on ‘ice-slide’ should extend under the hopper
surface.
FIGURE 4. Position Ice Slide Inside Hopper FIGURE 5. Ice Slide (Backside)
Publication Number: 629088508INS - 2 - © 2004, IMI Cornelius Inc.
Page 3

Ice Slide for ED/DF200/250 Units Installation Instructions
7. Reinstall agitator to motor shaft and secure with retainer (see FIGURE 6) removed during step 5.
8. Manually rotate agitator within hopper area to check for any interference between agitator arms and
‘ice slide’. If agitator arm(s) hit ‘ice slide’ – gently bend agitator arm(s) up to eliminate interference.
FIGURE 6. Agitator with Ice Slide Installed FIGURE 7. Timer Board Settings Reset
9. Remove merchandiser and gain access to electrical box by removing 2 screws above light bulb and
main screw located at top of white reflector panel. Locate timer board and reset Agitation timer
settings to 2 seconds ‘ON’ and 3 hours ‘OFF’ (see FIGURE 7).
10. Check ice chute for installation of ‘ice diverter’ (see FIGURE 8). Install ice diverter if not already
installed per instructions with ice diverter kit. Note that ‘gate restrictor’ may be left installed behind
ice chute (between ice diverter and gate slide), but ice chute opening should be set at least 1 ½”
(see FIGURE 9) if gate restrictor is left installed.
FIGURE 8. Ice Diverter (Metal Plate with Flange) Installed FIGURE 9. Gate Restrictor Set at 1 1/2” Opening
NOTE: Upper ice chute removed in FIGURE 8 and FIGURE 9 to clearly show installed
components.
11. Reconnect power to unit and double-check for interference between agitator arms and ‘ice-slide’.
Be sure that key switch remains in ‘OFF’ position.
12. Reinstall ice baffle to icemaker adapter and manual fill lid. Turn on ice machine and turn key switch
on dispenser to ‘ON’ position.
It is recommended that a minimal of 45 minutes elapse after turning on ice machine before
dispensing ice or product. This will ensure that sufficient ice has filled hopper and cold plate
areas.
Unit should now be ready to dispense ice and product for customer use.
© 2004, IMI Cornelius Inc. - 3 - Publication Number: 629088508INS
 Loading...