

Page 1

ENGLISH
Conceptronic C100BRS4H
Quick Installation Guide
Congratulations on the purchase of your Conceptronic 4-ports Broadband Router.
The enclosed Hardware Installation Guide gives you a step-by-step explanation of how to install the Conceptronic C100BRS4H.
When problems occur, we advise you to go to our support-site (go to www.conceptronic.net
‘Support’ Here you will find the Frequently Asked Questions Database.
When you have other questions about your product and you cannot find it at our webiste, then contact us by email: support@conceptronic.net
For more information about Conceptronic products, please visit the Conceptronic Web Site:
www.conceptronic.net
1. Introduction
We thank you for the purchase of the Conceptronic C100BRS4H. With the C100BRS4H you can sue one Internet connection
with several Computers at one time. With the C100BRS4H you will expand your new network or existing network with a 4
ports switch, router and firewall.
Please read this manual for hardware installation and configuring your device.
1.1 Overview of the most important characteristics
• Sharing the Internet with several PC’s
• 4 network ports (10/100 Mbps)
• Firewall to protect your network
• The Conceptronic C100BRS4 can be easily installed through your web browser without the need of installing extra
software.
• Support for all major Operating Systems and Networks
• Support for DHCP server / client. Easy and user friendly configuration
1.2 Specifications
Support for:
• Static & Dynamic IP, PPPoE, PPtP (most of the time used for ADSL and Cable Modem connections)
• VPN (Virtual Private Network) PPPtP client, Ipsec & PPtP passthrough
• DHCP Server/Client
• NAT firewall protection (there will be no direct internet access to your local computers)
• Address Mapping and Virtual Servers (Route Internet traffic to special servers or computers)
• IP Packet Access Control
• Hacker Attack Protection
• Monitoring functions for DHCP client logging. Security Log and see the connection status of the device
1.3 Minimum System Requirements
One wireless system you want to connect wireless to your wired network.
Web Browser (Microsoft Explorer® or Netscape® or Mozilla® etc.)
TCP/IP is necessary for using and configuring the Conceptronic C100BRS4H broadband router
1.4 Package Contents
C100BRS4H broadband router
AC/DC 12V – 500mA
RJ-45 Network Cable (Cat5e)
CD-ROM (Manual)
Hardware Installation Guide
and click
1
Page 2
ENGLISH
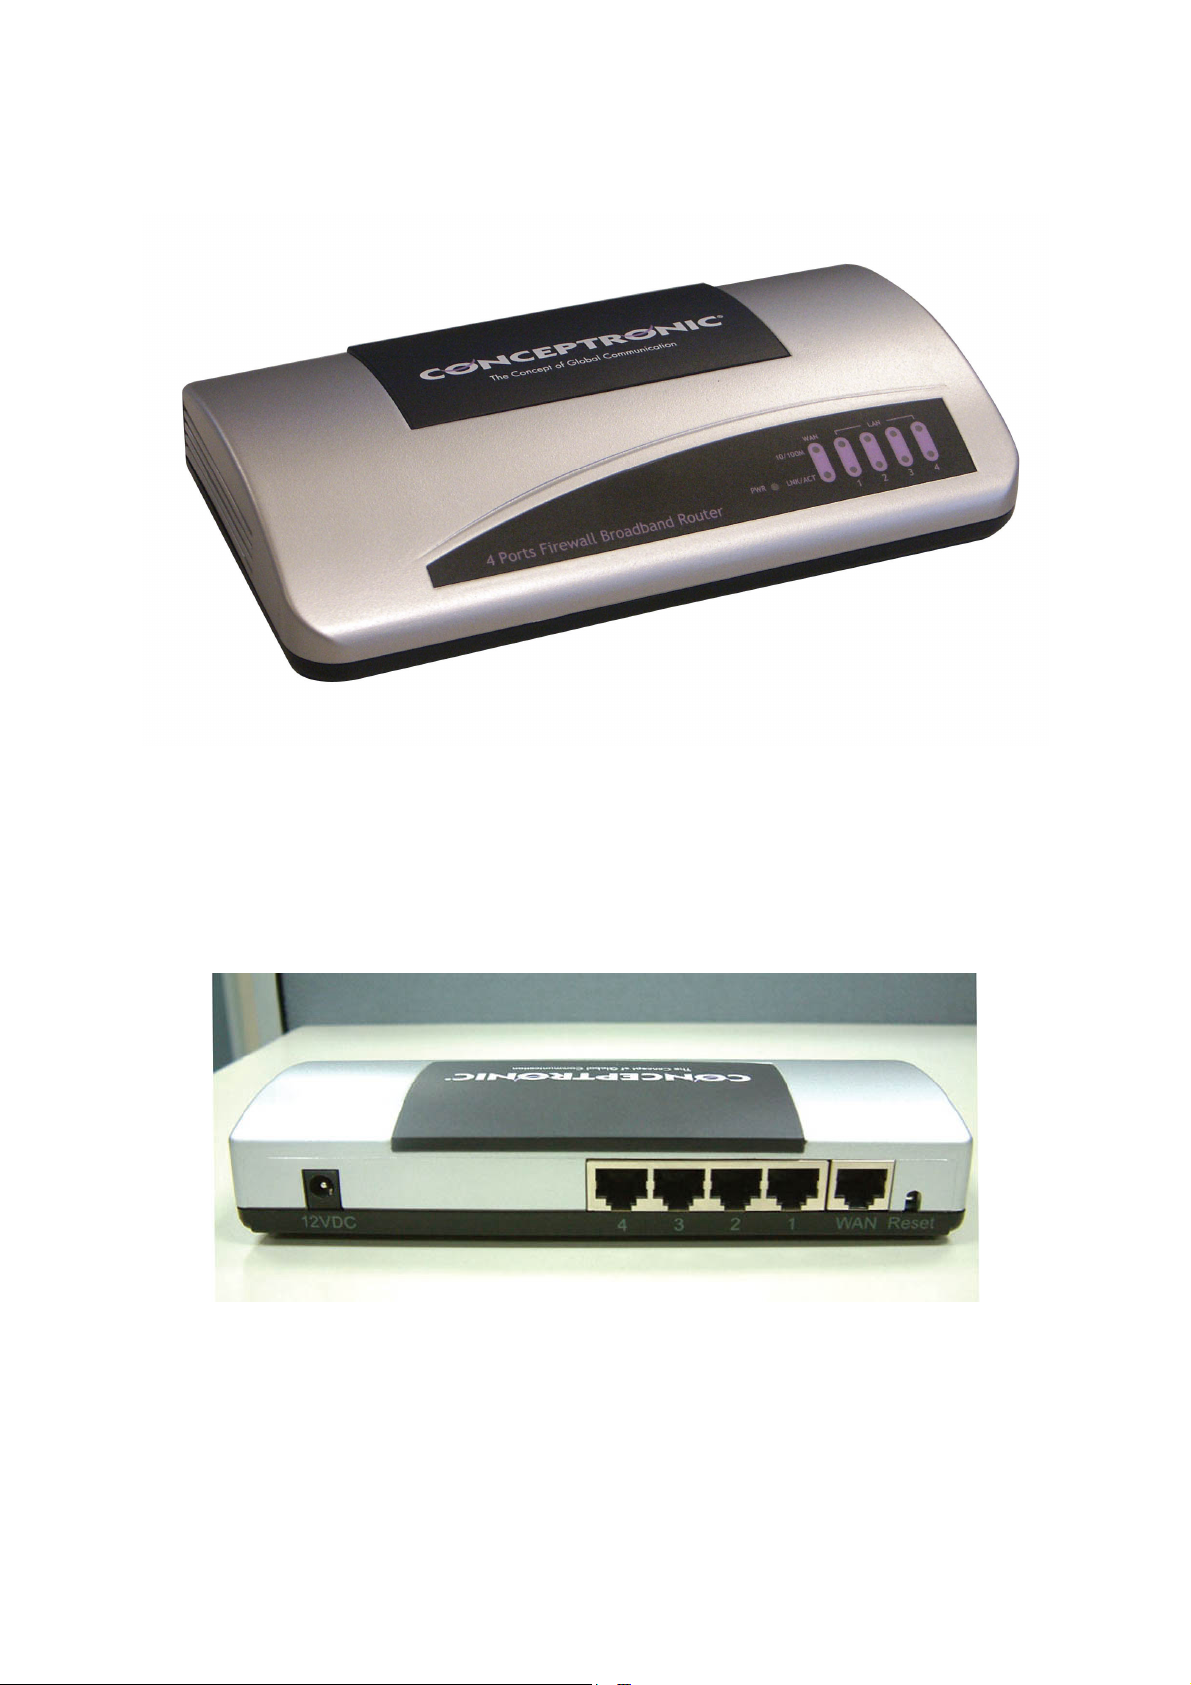
1.5 Explanation of controls
LED’s on the Conceptronic C100BRS4H:
1 - LED for PWR (Power): will turn green when the C100BRS4H is connected to the powersupply 2 - LED for WAN (Wide area Network) 3 - LED for 10/100: Orange when a 10Mbps device is connected, Green for a 100Mbps device 4 - LED for LNK/ACT (Link / Activate) 5 - LED for LAN (Local Area Network) 1 to 4: lights up when there is a connection to a computer, flashing when data is transmitted.
6 - Power Connection AC/DC 12V – 500mA 7 - 4 LAN ports (RJ-45) 8 - 1 WAN port (RJ-45) 9 - Reset Button
With the delivered RJ-45 Network cable you can connect your ADSL or Cable modem to your Conceptronic C100BRS4H
Reset button
The reset button is meant to restore all settings to factory defaults.
2
Page 3
ENGLISH
Factory reset or Restart might be helpful to get the C100BRS4H broadband router back to function normally.
Warning
If you upgrade firmware into the broadband router do not try to Factory reset, Software reset or power off the device.
This can result in a broken C100BRS4H
2. Installation
2.1 Preparing your computer to setup your Conceptronic Broadband router
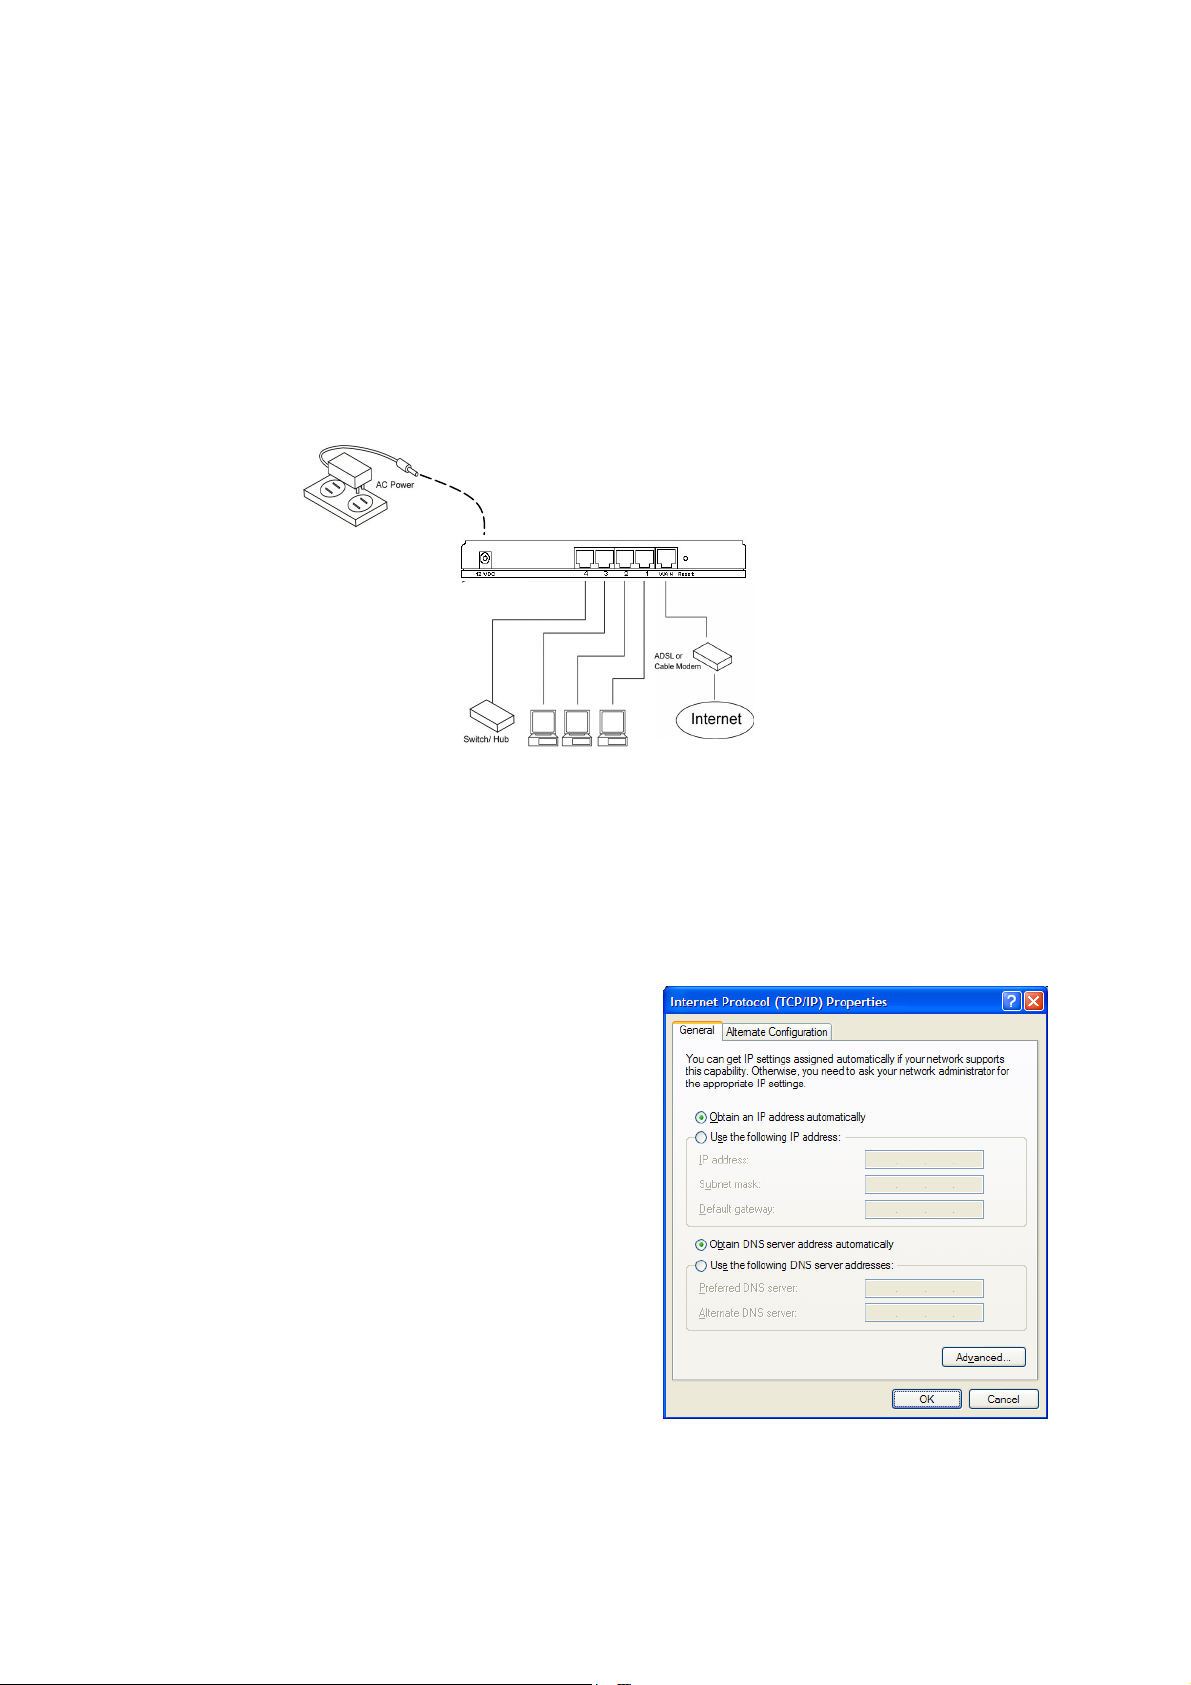
Please setup your network as shown in the setup diagram below
Connect the UTP network cable from your computer to the Conceptronic C100BRS4H
Before you can configure your broadband router to use with for instance your Internet provider you have to connect the
power supply to the wall-outlet and insert the power plug into the broadband router. After a few seconds the LEDS of the
broadband router will turn green.
Before you can configure your broadband router through the web browser interface you have to setup your network computer into the same network IP subnet range as the broadband router.
The Conceptronic C100BRS4 access point works with:
IP address: 192.168.2.1 and subnet mask 255.255.255.0
Conceptronic delivers the broadband router with DHCP server
enabled. This means that every computer will get an IP address in
the range of the broadband router when the computer is connected
to the LAN port of the broadband router.
You can skip this section of the manual when your computers are
used as DHCP clients already.
NOTE: please make sure that the Broadband router’s DHCP server is
the only DHCP server available in your network. If there is another
DHCP server on your network, you will need to switch one of the
DHCP servers off.
If your computer is working in an existing network environment
please write-down the settings before altering them.
Once you have configured your Conceptronic C100BRS4H you can
undo these steps.
Windows 98, ME, 2000 and XP
1. Go to the Windows control panel and double-click on the
Network icon or the Network Connections icon.
2. Right-click on the Local Area Connection for your network
adapter and
3. select Properties.
4. In the General Tab select the Internet Protocol TCP/IP settings for your network adapter and click on the Properties
button.
5. Select the “Obtain an IP address automatically” button. Press OK.
6. If your computer requests to reboot, please do so.
3
Page 4
ENGLISH
If your computer is using an own IP address, please write down the settings before changing these.
If your computer is configured to use DHCP do not modify anything.
When you are creating a new network, you can use 192.168.2.x as IP range for your network. All computers in your network will get automatically the correct IP. You do not need to do change anything.
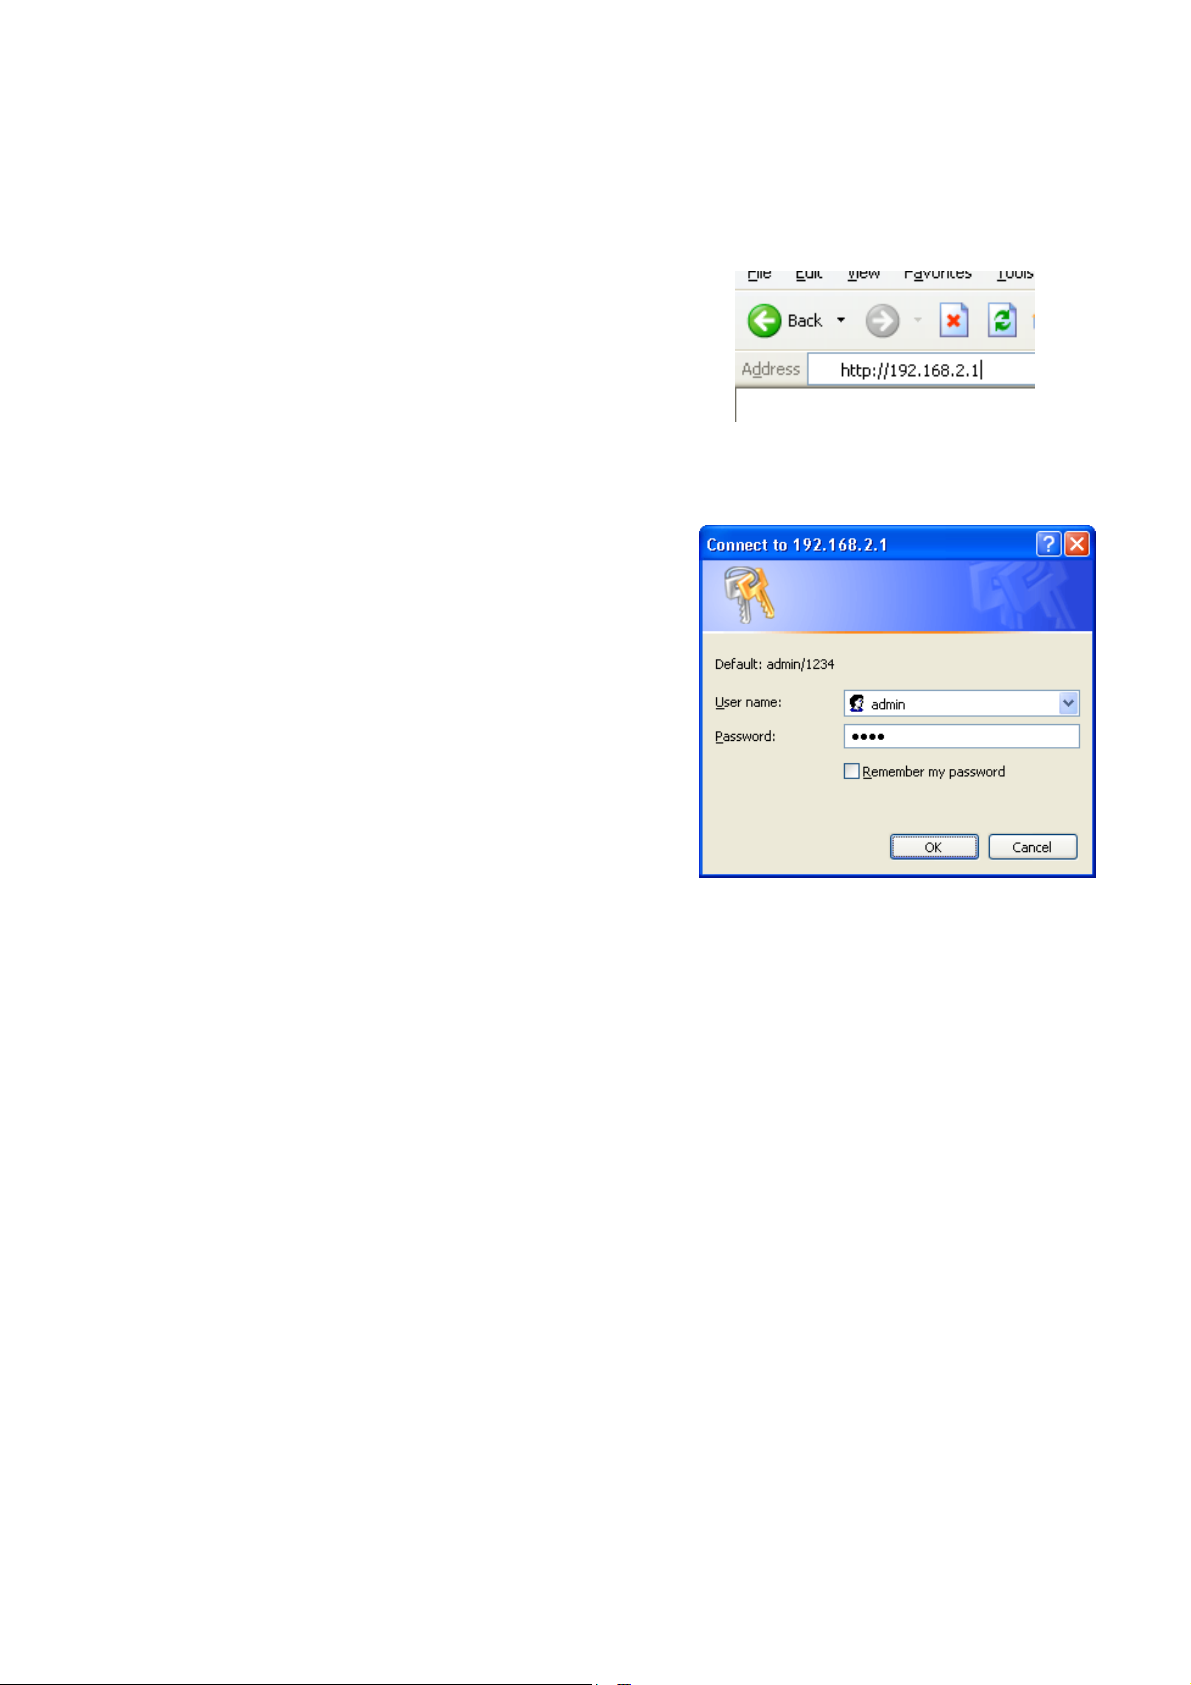
1) Once your PC has obtained an IP address from your router, enter the
default IP address 192.168.2.1 (broadband router’s IP address) into
the web browser of your computer.
2) The login screen below will appear. Enter the “User Name” and
“Password” and then click <OK> to login.
Note: By default the user name is “admin” and the password is
“1234”. For security reasons it is recommended that you change
the password as soon as possible
See menu option:
General setup/system/password.
If you reset the device to factory defaults the device will return to default settings. Please note that in default settings the username and password is mentioned in the logon screen.
4
Page 5

ENGLISH
Select the section (Quick Setup Wizard, General Setup, Status Information and Tools) you wish to configure and proceed to
the corresponding chapter. Use the selections on the web management’s top right hand page to navigate around the webbased management User Interface.
2.2 Quick Setup
The Quick Setup section is designed to get you using the broadband router as quick as possible. In the Quick Setup you are
required to fill in only the information necessary to access the Internet. Once you click on the Quick Setup Wizard in the
HOME page, you should see the screen below.
5
Page 6

ENGLISH
Step 1) Time Zone
The Time Zone allows your router to base its time on the settings configured here, this will affect functions such as Log entries and Firewall settings.
Parameter Description
Set Time Zone Select the time zone of the country you are currently in. The router will set
its time based on your selection.
Time Server Address You can manually assign time server address if the default time server does
not work.
Enable Daylight Savings The router can also take Daylight savings into account. If you wish to use
this function, you must check/tick the enable box to enable your daylight
saving configuration (below).
Start Daylight Savings Time Select the period in which you wish to start daylight Savings Time
End Daylight Savings Time Select the period in which you wish to end daylight Savings Time
Click on NEXT to proceed to the next page (step 2) Broadband Type.
6
Page 7

ENGLISH
Step 2) Broadband Type
In this section you have to select one of four types of connections that you will be using to connect your broadband router’s
WAN port to your ISP (see screen below).
Note: Different ISP’s require different methods of connecting to the Internet, please check with your ISP as to the type of
connection it requires.
Menu & Description
Cable Modem
Fixed-IP xDSL
PPPoE
PPTP
Click on one of the WAN type and then proceed to the manual’s relevant sub-section
Click on Back to return to the previous screen.
Your ISP will automatically give you an IP address
Your ISP has given you an IP address already
Your ISP requires you to use a Point-to-Point Protocol over
Ethernet (PPPoE) connection.
Your ISP requires you to use a Point-to-Point Tunneling Protocol
(PPTP) connection.
7
Page 8

ENGLISH
Cable Modem
Choose Cable Modem if the ISP will automatically give you an IP address. Some ISP’s may also require that you fill in
additional information such as Host Name and MAC address (see screen below).
Note: The Host Name and MAC address section is optional and you can skip this section if your ISP does not require these settings for you to connect to the Internet.
Parameters & Description
Host Name If your ISP requires a Host Name, type in the host name provided
by your ISP, otherwise leave it Blank if your ISP does not require
a Host Name.
MAC Address Your ISP may require a particular MAC address in order for you to
connect to the Internet. This MAC address is the PC’s MAC
address that your ISP had originally connected your Internet
connection to. Type in this MAC address in this section or use the
Clone MAC Address button to replace the WAN MAC address with
the MAC address of that PC (you have to be using that PC for the
Clone MAC Address button to work). If necessary, you can use the
Release and Renew buttons to release and renew the WAN IP
address.
Click <OK> when you have finished the configuration.
You have completed the configuration for the Cable Modem connection. You can start using the router
8
Page 9
ENGLISH
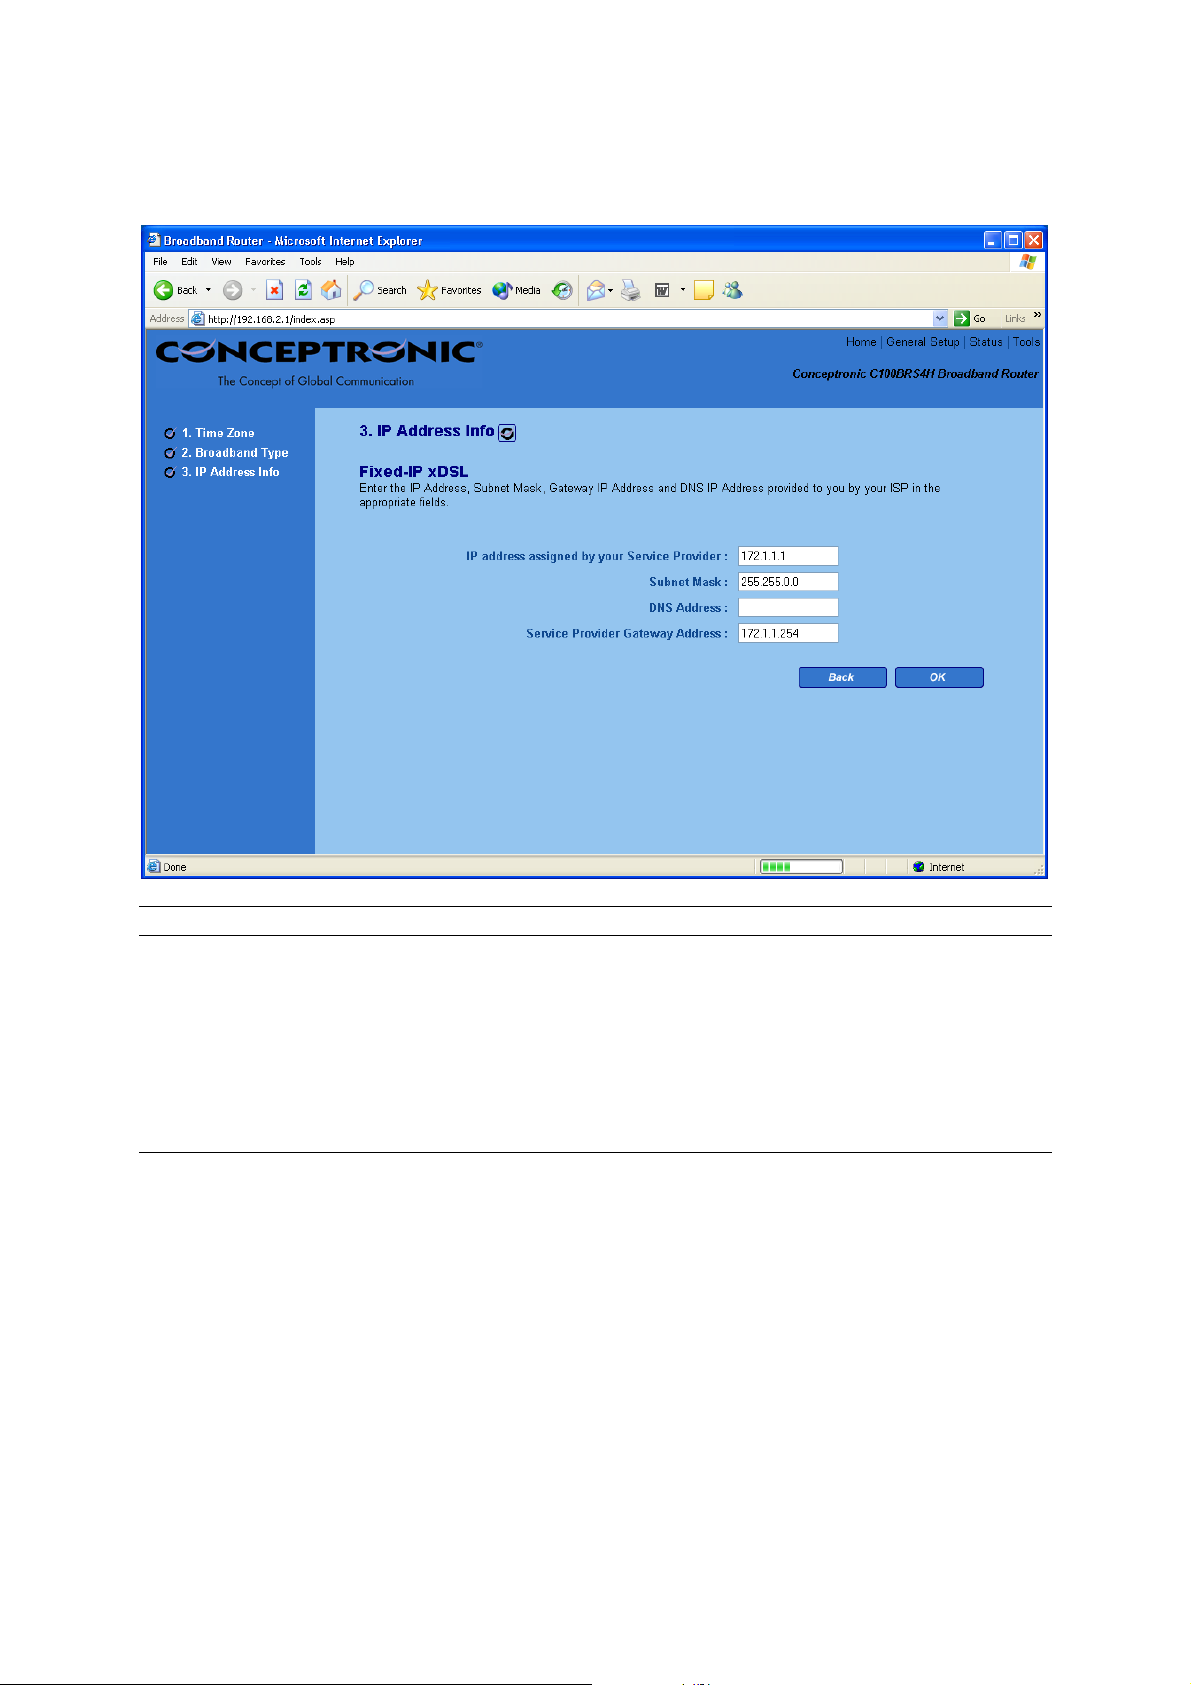
Fixed-IP xDSL
Select Fixed-IP xDSL if your ISP has given you a specific IP address for you to use. Your ISP should provide all the information required in this section.
Parameters & Description
IP This is the IP address that your ISP has given you.
Gateway IP This is the ISP’s IP address gateway
DNS this is the ISP’s DNS server IP address
Subnet Mask Enter the Subnet Ma provided by your ISP sk
(e.g. 255.255.255.0)
Click <OK> when you have finished the configuration.
You have completed the configuration for the Cable Modem connection. You can start using the router.
9
Page 10

ENGLISH
PPPoE
Select PPPoE if your ISP requires the PPPoE protocol to connect you to the Internet. Your ISP should provide all the information required in this section.
Parameter Description
User Name Enter the User Name provided by your ISP for the PPPoE connection
Password Enter the Password provided by your ISP for the PPPoE connection
Service Name This is optional. Enter the Service name should your ISP requires it, otherwise leave
it blank.
MTU This is optional. You can specify the maximum size of your transmission packet to the
Internet. Leave it as it is if you to not wish to set a maximum packet size.
Connection Type If you select “Continuous”, the router will always connect to the ISP. If the WAN line
breaks down and links again, the router will auto-reconnect to the ISP.
If you select “Connect On Demand”, the router will auto-connect to the ISP when
someone want to use the Internet and keep connected until the WAN idle timeout.
The router will close the WAN connection if the time period that no one is using the
Internet exceeds the “Idle Time”.
If you select “Manual”, the router will connect to ISP only when you click “Connect”
manually from the Web user interface. The WAN connection will not disconnected
due to the idle timeout. If the WAN line breaks down and latter links again, the
router will not auto-connect to the ISP.
10
Page 11

ENGLISH
Idle Time You can specify an idle time threshold (minutes) for the WAN port. This means if no
packets have been sent (no one using the Internet) during this specified period, the
router will automatically disconnect the connection with your ISP.
Note: This “idle timeout” function may not work due to abnormal activities of some
network application software, computer virus or hacker attacks from the Internet.
For example, some software sends network packets to the Internet in the
background, even when you are not using the Internet. So please turn off your
computer when you are not using it. This function also may not work with some ISP.
So please make sure this function can work properly when you use this function in the
first time, especially your ISP charge you by time used.
Click <OK> when you have finished the configuration above. Congratulations! You have completed the configuration for the PPPoE connection. You can start using the router now.
PPTP
Select PPTP if your ISP requires the PPTP protocol to connect you to the Internet. Your ISP should provide all the information required in this section.
11
Page 12

ENGLISH
Parameter Description
Obtain an IP address The ISP requires you to obtain an IP address by DHCP automatically
before connecting to the PPTP server.
Use the following IP address The ISP give you a static IP to be used to connect to the PPTP server.
IP Address
Subnet Mask Enter the Subnet Mask provided by your ISP
Gateway Enter the IP address of the ISP Gateway
User ID Enter the User Name provided by your ISP for the PPTP connection. Sometimes called
Password Enter the Password provided by your ISP for the PPTP connection
PPTP Gateway If your LAN has a PPTP gateway, then enter that PPTP gateway IP address here. If you
Connection ID This is the ID given by ISP. This is optional.
BEZEQ-ISRAEL Select this item if you are using the service provided by BEZEQ in Israel.
Connection Type If you select “Continuous”, the router will always connect to the ISP. If the WAN line
If you select “Connect On Demand”, the router will auto-connect to the ISP when
If you select “Manual”, the router will connect to ISP only when you click “Connect”
Idle Time You can specify an idle time threshold (minutes) for the WAN port. This means if no
This is the IP address that your ISP has given you to establish a PPTP connection.
(e.g. 255.255.255.0)
a Connection ID
do not have a PPTP gateway then enter the ISP’s Gateway IP address above
breaks down and links again, the router will auto-reconnect to the ISP.
someone want to use the Internet and keep connected until the WAN idle timeout.
The router will close the WAN connection if the time period that no one is using the
Internet exceeds the “Idle Time”.
manually from the Web user interface. The WAN connection will not disconnected
due to the idle timeout. If the WAN line breaks down and latter links again, the
router will not auto-connect to the ISP.
packets have been sent (no one using the Internet) throughout this specified period,
then the router will automatically disconnect the connection with your ISP.
Note: This “idle timeout” function may not work due to abnormal activities of some
network application software, computer virus or hacker attacks from the Internet.
For example, some software sends network packets to the Internet in the
background, even when you are not using the Internet. So please turn off your
computer when you are not using it. This function also may not work with some ISP.
So please make sure this function can work properly when you use this function in the
first time, especially your ISP charge you by time used.
Click <OK> when you have finished the configuration above. Congratulations! You have completed the configuration for the PPTP connection. You can start using the router now.
12
 Loading...