

Page 1
1. SELECT
Not in menu:
Allows for transition between: DMX address setting, Menu access, Waiting status
(display of DMX address or operating mode symbol).
In a menu:
Allows you to exit functions without making changes or to go back to the
programming menu.
2. UP/DOWN
Increases or decreases the DMX address.
Selects the next or previous function in the menus.
3. ENTER Confirming button.
4. SEL
(red led) When on it indicates that you are in the setting phase (DMX address or menu).
5. TX
(yellow led) When on it indicates that the projector is in MASTER mode and can control other MH Points
6. DMX
(green led) When flashing in DMX mode:
in DMX mode: it indicates that no DMX input signal is present or that an address setting is invalid.
When flashing in SOUND TO LIGHT mode: indicates sound signal peaks.
When on it indicates that a DMX input signal is present
7. Display
Shows the selected functions.
INSTRUCTIONS MANUAL
12V 50W
®
GB
POINT MH
CONTROL PANEL
OPERATION
The projector may be programmed to operate in AUTOMATIC mode (it carries out previously set scenes or sequences), or controlled by a CONTROL UNIT.
7654
13
2
OPERATION WITH CONTROL UNIT
All the projectors must be in SLAVE mode (SLA);
the projector receives a DMX signal and carries out the controls transmitted from the
control unit.
2) SA
(STAND-ALONE Mode): The projector operates individually.
In this mode, the “
Snd” SOUND TO LIGHT option (movement by Audio signals) may
be set.
3) SAt
(MASTER Mode): The projector generates a DMX output signal that can pilot
other projectors in
SLAVE mode (SLA).
In this mode, the “Snd” SOUND TO LIGHT option (movement by Audio signals) may
be set.
Address: 1
Slave
Max
100
Mode
Master (SAt)
Address: 1
Slave
Address: 1
Slave
DMX
mode (SLA) mode (SLA) mode (SLA)
Mode
Stand-Alone (SA)
Address: 1
Mode
Slave (SLA)
Max
100
Mode
Master (SAt)
Address: 1
Mode
Slave (SLA)
Address: 1
Mode
Slave (SLA)
DMX
Address: 1
Mode
Slave (SLA)
Control unit
Address: 5
Mode
Slave (SLA)
Address: 9
Mode
Slave (SLA)
DMX
Set the DMX digital signal address on each projector: addresses are valid from 1 to 507
(see Programming Operation with Control Unit).
Each projector uses 4 to 6 control channels, depending on whether the Pan Fine / Tilt
Fine high resolution
Hlr function (for greater movement precision) is active..
CHANNEL FUNCTION
1
COLOUR DISC
2
3
4
DIMMER
PA N (horizontal movement)
TILT (vertical movement)
CHANNEL FUNCTION
1
COLOUR DISC
2
3
4
5
6
DIMMER
PAN (horizontal movement)
PAN FINE
TILT (vertical movement)
TILT FINE
Channel functions and options
with option Hlr OFF (the projector uses 4 channels)
Example of address setting:
Projector 1➞Address 1
Projector 2➞Address 5
Projector 3➞Address 9
.....................➞......................
Example of address setting:
Projector 1➞Address 1
Projector 2➞Address 7
Projector 3➞Address 13
.....................➞......................
with option Hlr ON (the projector uses 6 channels)
AUTOMATIC MODE
In automatic, the projector may be configured in three different modes: SLA - SA - SAt
1)
SLA
(SLAVE Mode): The projector receives a DMX signal and carries out the
sequences transmitted from a main projector in
MASTER mode (SAt).
The projector must have address 1 (see Programming Automatic Mode: SLAVE
mode “SLA”).
Page 2
WARNING
Caution: The display returns to its initial visualisation after
60 sixty seconds of inactivity. The current program, not yet
confirmed with ENTER, will be cancelled.
N.B.: To e xit functions without making changes, to return to
the programming menu or the initial hold/rest status, push
the SELECT button several times.
Press UP/DOWN to scroll through the various functions
from the top to the bottom level of the menus or viceversa.
P
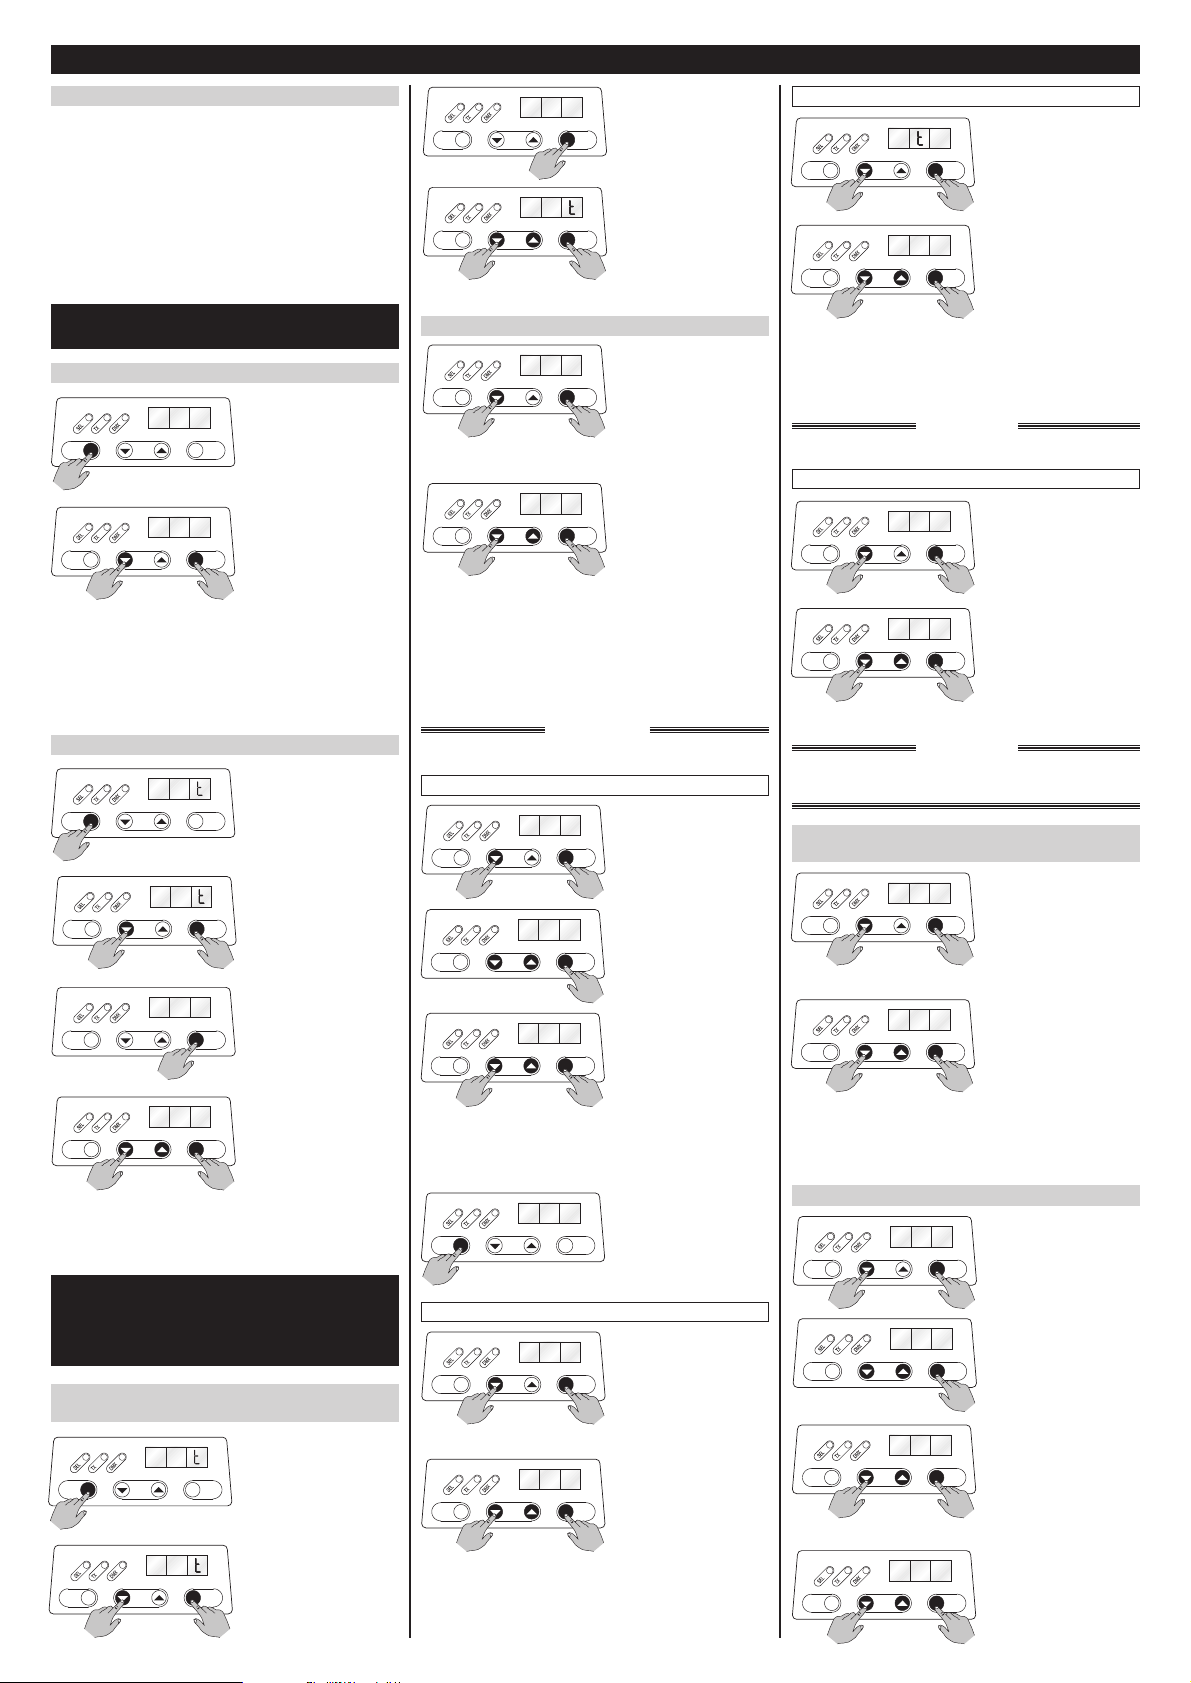
ROGRAMMING AUTOMATIC MODE
:
SLAVE MODE (SLA)
1
S E
ENTERSELECT
Press SELECT.
The red led lights up.
SETTING DMX ADDRESS
SELECTING SLAVE MODE (SLA)
SELECTING STAND-ALONE MODE (SA)
MASTER (SAt)
HEA
FUNCTION
: horizontal movement Pan and
vertical movement Tilt
rAI
FUNCTION
: color disc rotation speed
1
S E
ENTERSELECT
Press UP/DOWN to
select address 1.
Press ENTER to confirm.
S E
ENTERSELECT
OP
S E
ENTERSELECT
Au
S E
ENTERSELECT
OP
Press SELECT twice.
The red led lights up and
the display shows: OPt.
S E
ENTERSELECT
Au
Press UP/DOWN to
select the automatic Aut
Menu.
Press ENTER to confirm.
The display shows: EnA.
S E
ENTERSELECT
EnA
S E
ENTERSELECT
SLA
N.B.: In the setting phase, if you press DOWN while
pressing UP the address decreases to the minimum
value (1). Vice versa, if you press UP while pressing
DOWN the address increases to the maximum value
(507).
Press ENTER to access
EnA operating mode.
The display shows one
of the three following
modes: SLA - SA - SAt.
Press UP-DOWN to
select SLAVE (
SLA)
mode.
Press ENTER to confirm.
The display shows: EnA.
Press SELECT twice to return to rest mode.
P
ROGRAMMING AUTOMATIC MODE
:
• STAND-ALONE MODE (SA)
• MASTER (SAt)
• SOUND TO LIGHT (Snd function HEA)
Press SELECT twice.
The red led lights up and
the display shows: OPt.
S E
ENTERSELECT
rAl
S E
ENTERSELECT
30
Press UP/DOWN to
select rAI function.
Press ENTER to access
the function.
Press UP-DOWN to
select the colour disc
rotation speed: 30 (2
rpm) - 60 (1 rpm) - 120
(0,5 rpm).
Press ENTER to confirm.
The display shows:
rAI.
Press UP/DOWN to
select the automatic Aut
Menu.
Press ENTER to confirm.
The display shows: EnA.
tl
FUNCTION
: colour disc step time
S E
ENTERSELECT
l
Press UP-DOWN to
select tl function.
Press ENTER to access
the function.
S E
ENTERSELECT
3
Press UP/DOWN to
select the step time for
colour disc movement:
3 - 6 - 12 - 24 - 60 - 120
- 240 - 360.
Press ENTER to confirm.
The display shows: tl.
S E
ENTERSELECT
A
HE
Press UP-DOWN to select
HEA function
.
Press ENTER to access
the function.
The display shows one of
the two following modes:
Au - Snd.
S E
ENTERSELECT
A u
Press UP/DOWN to
define the Pan and Tilt
operating mode:
Au
Automatic movement according to the speed to be set
in
SPd function (Pan and Tilt movement speed).
Snd Movement according to music (SOUND TO LIGHT).
Press ENTER to confirm. The display shows:
HEA.
S E
ENTERSELECT
H I
Press UP/DOWN to
select the maximum
position (HI) for Pan
movement.
Press ENTER to confirm.
PAn
FUNCTION
: horizontal movement angle
S E
ENTERSELECT
n
PA
Press UP/DOWN to
select PA n function.
Press ENTER to access
the function.
S E
ENTERSELECT
L0
The display shows the
minimum position (LO)
for Pan movement.
Press ENTER to
confirm.
S E
ENTERSELECT
55
Press UP/DOWN to
select a value between
0
(corresponding to 0°) and
255 (corresponding to
360°).
Press ENTER to confirm.
The display shows: LO.
COL
FUNCTION
: colour disc operating mode
SEL
FUNCTION
: colours selection
S E
ENTERSELECT
EnA
S E
ENTERSELECT
SA
S E
ENTERSELECT
C1
S E
ENTERSELECT
On
S E
ENTERSELECT
COL
S E
ENTERSELECT
rA
S E
ENTERSELECT
SEL
The display shows: C1
(colour 1).
Press ENTER to confirm
C1 colour.
Press UP/DOWN to
select ON or OFF in order
to enable/disable the
colour in the sequence.
Press ENTER to confirm.
Press UP-DOWN to
select
COL function.
Press ENTER to access
the function.
Press UP-DOWN to
select the colour disc
operating mode:
S E
ENTERSELECT
SEL
Press SELECT to return
to SEL function at the
end of operation: colour
selection.
Press UP/DOWN to
select
SEL function.
Press ENTER to access
the function.
1)SE(positioning on selected colours with SEL function)
2)rA(low-speed rotation through all colours)
3)Au(random positioning on colours)
Press ENTER to confirm. The display shows:
COL.
N.B.: After having selected the mode you desire, carry out only
the appropriate programming as indicated in items 1) 2) 3).
N.B.: These steps should be repeated for all 7 colours (C1÷C7).
C1 = white - C2 = red - C3 = yellow - C4 = violet
C5 = green - C6 = orange - C7 = blue
Press UP/DOWN to select the colours.
Press ENTER to access
EnA operating mode.
The display shows one
of the three following
modes: SLA - SA - SAt.
Press UP-DOWN to
select the mode you want:
(SA): STAND-ALONE
(SAt): MASTER
Press ENTER to confirm.
The display shows: EnA.
1 - SE MODE
Program SEL, LA and tl functions with the SE mode.
LA
FUNCTION
: lamp operation
Press UP-DOWN to select
LA function.
Press ENTER to access
the function.
The display shows one
of the three following
modes:
On - SLO - FSt.
Press UP/DOWN to
define the lamp
operating mode:
•
On the lamp always
stays on
S E
ENTERSELECT
LA
S E
ENTERSELECT
On
• SLO (slow) the lamp turns on and off gradually during
colour change
•
FSt (fast) the lamp turns on and off rapidly during
colour change.
Press ENTER to confirm. The display shows:
LA.
The display shows one of the three following modes:
SE - rA - Au.
2 - rA MODE
Program the rAI function with the rA mode.
3 - Au MODE
Program LA and tl functions with the Au mode.
See 1 - SE MODE.
PROGRAMMING
N.B.: If you have chosen SLO as the lamp’s operating mode,
the projector will automatically set the time for 12 seconds.
You cannot set a shorter time.
Page 3

Press UP/DOWN to
select tIL function.
Press ENTER to access
the function.
S E
ENTERSELECT
L0
The display shows the
minimum position (LO)
for Tilt movement.
Press ENTER to confirm.
S E
ENTERSELECT
H I
Press UP-DOWN to
select the maximum
position (HI) for Tilt
movement.
Press ENTER to confirm.
S E
ENTERSELECT
55
Press UP-DOWN to
select a value between 0
(corresponding to 0°)
and 255 (corresponding
to 208°).
Press ENTER to confirm.
The display shows: LO.
S E
ENTERSELECT
552
Press UP-DOWN to
select a value between 0
(corresponding to 0°)
and 255 (corresponding
to 208°).
Press ENTER to confirm.
The display shows: Hl.
Nota: To select value 0 quickly, press the UP button while
pressing DOWN. Vice versa, to select value 255 quickly,
press the DOWN button while pressing UP.
S E
ENTERSELECT
L
I
Press SELECT to return
to tlL.
S E
ENTERSELECT
d
SP
Press UP/DOWN to
select SPd function.
Press ENTER to access
the function.
The display shows the
set speed.
S E
ENTERSELECT
S P1
Press UP/DOWN to
select the desired speed
from the settings:
SP1 (lowest speed)
SETTING DMX ADDRESS
1
S E
ENTERSELECT
Press SELECT.
The red led lights up.
5
S E
ENTERSELECT
Press UP/DOWN to
select the address.
Press ENTER to confirm.
Example: If the projectors use 4 channels, the first one
should have address 1; the second one address 5; the
third one address 9 and so on.
If the projectors use 6 channels, the first one should have
address 1; the second one address 7; the third one
address 13 and so on.
N.B.: For the last address, you have to consider the
channels used by the last projector so as not to exceed
the maximum value of valid addresses (507).
N.B.:
In the setting phase, if you press DOWN while
pressing UP the address decreases to the minimum
value (1). Vice versa, if you press UP while pressing
DOWN the address increases to the maximum value
(507).
Opt
OPTION MENU
(the options must be set on each individual projector)
S E
ENTERSELECT
OP
Press SELECT twice.
The red led lights up and
the display shows:
OPt.
Press ENTER to confirm.
The display shows: Pln.
S E
ENTERSELECT
lPn
Press ENTER to access
Pln function.
S E
ENTERSELECT
nO
With the UP/DOWN
button, select On to
activate, Off to disconnect.
Press ENTER to confirm.
The display shows:
Pln.
S E
ENTERSELECT
ln
Press UP-DOWN to
select tln function.
Press ENTER to access
the function.
S E
ENTERSELECT
nO
Using the UP/DOWN button, select On to activate,
Off to disconnect.
Press ENTER to confirm.
The display shows:
tln.
P
ROGRAMMING OPERATION WITH
CONTROL UNIT
tlL
FUNCTION
: vertical movement angle
SPd
FUNCTION
:Pan and Tilt movement speed
S E
ENTERSELECT
552
Press UP-DOWN to
select a value between 0
(corresponding to 0°)
and 255 (corresponding
to 360°).
Press ENTER to confirm.
The display shows: Hl.
Nota: To select value 0 quickly, press the UP button while
pressing DOWN. Vice versa, to select value 255 quickly,
press the DOWN button while pressing UP.
S E
ENTERSELECT
PAn
Press SELECT to return
to PA n.
Pln
FUNCTION
:Pan horizontal movement inversion
tln
FUNCTION
:Tilt vertical movement inversion
Hlr
FUNCTION
:Pan/Tilt high resolution
FuC
FUNCTION
: colour disc positioning only
on full colours
S E
ENTERSELECT
lrH
Press UP-DOWN to
select Hlr function.
Press ENTER to access
the function.
With this function, the projector uses 6 control channels
and gives greater resolution to Pan/Tilt movements.
S E
ENTERSELECT
nO
Using the UP/DOWN button, select On to activate,
Off to disconnect.
Press ENTER to confirm.
The display shows:
Hlr.
S E
ENTERSELECT
uCF
Press UP-DOWN to
select
FuC function.
Press ENTER to access
the function.
S E
ENTERSELECT
nO
Using the UP/DOWN button, select On to activate,
Off to disconnect.
Press ENTER to confirm.
The display shows:
FuC.
Press SELECT twice to return to rest mode.
SELECTING SLAVE MODE (SLA)
S E
ENTERSELECT
OP
Press SELECT twice.
The red led lights up and
the display shows: OPt.
S E
ENTERSELECT
Au
Press UP/DOWN to
select the automatic Aut
menu.
Press ENTER to confirm.
The display shows: EnA.
S E
ENTERSELECT
EnA
S E
ENTERSELECT
SLA
Press ENTER to access
EnA operating mode.
The display shows one
of the three following
modes:
SLA - SA - SAt.
Press UP-DOWN to
select SLAVE (SLA)
mode.
Press ENTER to confirm.
The display shows: EnA.
Press SELECT twice to return to rest mode and to
eventually program the functions in the
Opt options menu.
Press SELECT twice to return to rest mode.
DISPLAY AT MAXIMUM LUMINOSITY /
DISPLAY OFF
S E
ENTERSELECT
OP
Press SELECT twice.
The red led lights up and
the display shows: OPt.
Press ENTER to confirm.
The display shows: Pln.
S E
ENTERSELECT
Ond
Press UP-DOWN to
select dOn function.
Press ENTER to access
the function.
S E
ENTERSELECT
nO
Using the UP/DOWN button, select On to activate,
Off to disconnect.
Press ENTER to confirm.
The display shows:
dOn.
dOn
FUNCTION
: display at maximum luminosity
S E
ENTERSELECT
CCS
Press UP-DOWN to
select SCC function.
Press ENTER to access
the function.
S E
ENTERSELECT
nO
Using the UP/DOWN button, select On to activate,
Off to disconnect.
Press ENTER to confirm.
The display shows:
SCC.
SCC
FUNCTION
: turns off the lamp during colour
change
SP2 - SP3 - SP4 - SP5 (highest speed).
Press ENTER to confirm. The display shows:
SPd.
I
S E
L
ENTERSELECT
Page 4

TEST MENU
S E
ENTERSELECT
PO
Press SELECT twice.
The red led lights up and
the display shows: OPt.
S E
ENTERSELECT
CF
Press ENTER to access
FC function.
S E
ENTERSELECT
S
Press UP/DOWN to
select tSt menu.
Press ENTER to confirm.
The display shows: FC.
S E
ENTERSELECT
S E
Press UP/DOWN to
select SE function.
Press ENTER to confirm.
S E
ENTERSELECT
Three segments light up
on the display and an
automatic movement
sequence starts for
testing.
S E
ENTERSELECT
S
Colour
Pan
(Horizontal movement)
Tilt
(Vertical movement)
The letter S appears on the left-hand display and turns on
three segments on the right-hand display, depending on
the current status of the reset sensors.
S E
ENTERSELECT
CF
Press SELECT to exit
the function.
The display shows:
FC.
S E
ENTERSELECT
ES
Press SELECT to exit
the function.
MENU
P ln.
t
ln.
H
lr.
F
C.
S
C.
d
On.
d
OF.
F
AC.
u
C
Pan inversion
Tilt inversion
Pan/Tilt high resolution
Positioning on only full colours
Lamp off during colour change
Display at maximum luminosity
Display off
Resets settings
O t .p
FC .
S
E.
Limit switch sensors test
Automatic test movements
t t .s
A t .u
E nA.
C
OL.
S
EL.
r
l.
L
.
t
l
H
EA.
P
An.
A
A
Operating
mode
Colour disc
operating mode
Colours
selection
Rainbow
Speed
Lamp
operation
Colour disc
step time
Pan/Tilt
movement
Min and max
Pan position
t
lL.
Min and max
Tilt position
S
Pd.
Pan/Tilt
speed
F
AC.
Resets
settings
.
S A.
S
LA.
S
At .
Mode SLAVE (works with DMX signal)
Mode STAND-ALONE (automatic operation)
Mode MASTER (generates DMX signal)
r
A.
S
E
A
u
It is positioned on colours selected with SEL
Colour disc rotation
Selects random colours
.
.
C
1
C
7..
÷
O
n
O
F.F.
6 0.
3
0
1
2.0.
S
LO.
O
n
F
s
Lamp always on
Gradual on and off
Rapid on and off
.
T.
3. 6. 2.1 4.2
0.6 0. 0.42 0.6321
S
nd.
A
u Automatic movement
Movement with sound signal
.
H
l
L
o..0.
0.
5.52
5.52÷÷
O n
O
F.F.
H l
L
o..0.
0.
5.52
5.52÷÷
S P1.
S
P2.
S
P3.
S
P4.
S
P5.
OPTIONS
MENU
AUTO
MENU
TEST
MENU
MENU STRUCTURE
FC
FUNCTION
: status of the limit switch sensors
SE
FUNCTION
: test movements
CLAY PAKY SPA -Via Pastrengo, 3/b - 24068 Seriate (BG) - Italy - Tel. +39-035-654311 (10 linee) - Fax +39-035-301876 - Internet: www.claypaky.it
studio
Rev. 0 07/03 Cod. 099485GB
Press SELECT twice to return to rest mode.
Press SELECT twice to return to rest mode.
S E
ENTERSELECT
OFd
Press UP-DOWN to
select dOF function.
Press ENTER to access
the function.
S E
ENTERSELECT
nO
S E
ENTERSELECT
1
Using the UP/DOWN button, select On to activate,
Off to disconnect.
Press ENTER to confirm.
The display shows:
dOf.
This function turns off the display after 80 seconds if it has
not been used. Press any button to turn it back on.
dOF
FUNCTION
: display off
VIEWING THE DISPLAY THE OTHER
WAY ROUND
Press UP/DOWN at the
same time, out of the
menus (red led off), to
view the display the other
way round or viceversa.
• Press SELECT twice to return to rest mode.
SE
ENTERSELECT
C
FA
Press UP-DOWN to
select settings reset
FAC function.
S E
ENTERSELECT
?
Press ENTER to access
the function.
Press ENTER to reset
settings, or:
SETTING RESETS
You can reset programmed settings in both the Aut
automatic menu and Opt options menu.
Resetting settings in Aut automatic menu
S E
ENTERSELECT
OP
S E
ENTERSELECT
Au
Press SELECT twice.
The red led lights up and
the display shows: OPt.
Press UP/DOWN to
select the automatic Aut
menu.
Press ENTER to confirm.
The display shows: EnA.
• Press SELECT twice to return to rest mode.
SE
ENTERSELECT
C
FA
Press UP-DOWN to
select Settings Reset
FAC function.
S E
ENTERSELECT
?
Press ENTER to access
the function.
Press ENTER to reset
settings, or:
Resetting settings in Opt options menu
S E
ENTERSELECT
OP
Press SELECT twice.
The red led lights up and
the display shows: OPt.
Press ENTER to confirm.
The display shows: Pln.
 Loading...