

Page 1
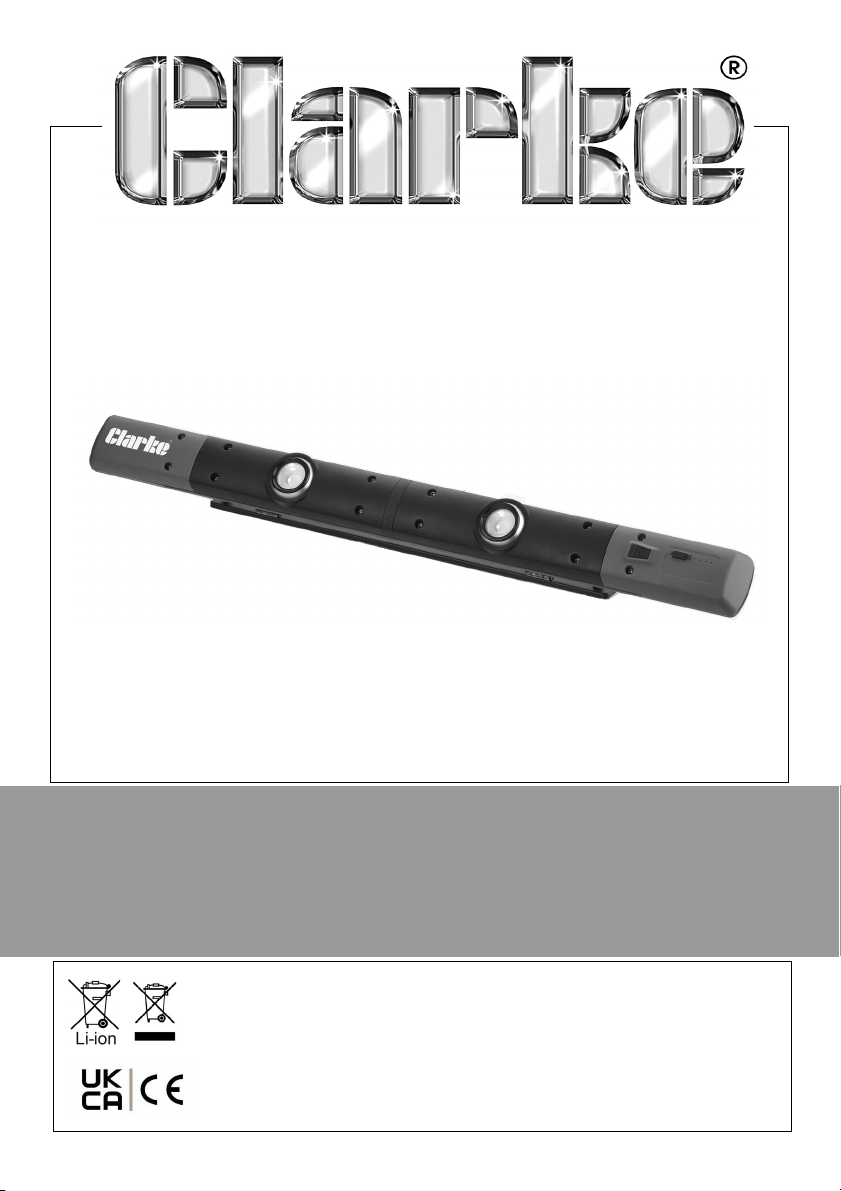
GARAGE WORKLIGHT
MODEL NO: GWL700R
PART NO: 4003541
USER INSTRUCTIONS
ORIGINAL INSTRUCTIONS GC07/23
Page 2
INTRODUCTION
Thank you for purchasing this CLARKE worklight. Before attempting to use this
worklight, please read this manual thoroughly and follow the instructions
carefully.
CONTENTS
•Lamp unit
• 100-240V Charger with USB port
• Micro USB to USB charging cable
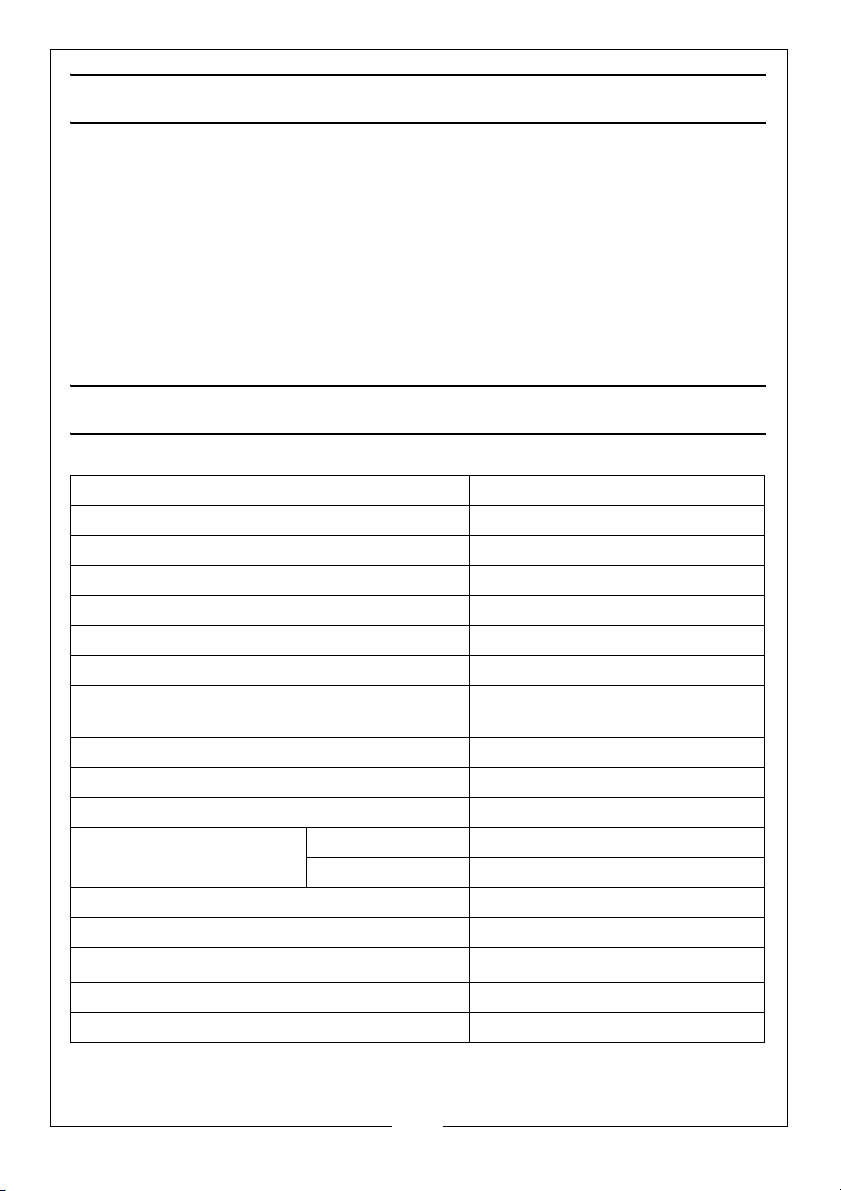
TECHNICAL SPECIFICATIONS
Model GWL700R
Operating voltages 5V(light), 230V(charger)
LED Wattage consumption 10W total
LED replaceable No
Rechargable Lithium battery pack 2 x 3.7V / 5200mAh
Charger output 5V DC, 2A
Lighting source 2 x lamps
Light output (luminous flux) Single light 350-/
two lights 700 Lumen
Colour temperature (rendering) 6000-6800K
Ingress Protection (IP rating) IP20
Battery charging time 5-6 hours
Approximate Run Time Power @ 50% 7 Hours
Power @ 100% 5 Hours
Rated lamp lifetime 30,000 hours
Efficiency 70 Lm/W
Operating temperatures
Dimensions 780 x 70 x 70mm
Weight 1.4Kg
0 to +45
o
C
2
Parts & Service: 020 8988 7400 / E-mail: [email protected] or [email protected]
Page 3

SAFETY INSTRUCTIONS
1. ALWAYS check for damage before using the worklight. Inspect the power
cable and plug for damage. Any damage should be properly repaired or
the part replaced. Consult your local CLARKE dealer.
2. ALWAYS ensure that the voltage marked on the charger matches the
power supply to be used.
3. NEVER use this lamp in a bathroom or in the vicinity of a swimming pool.
4. NEVER cover the lamp.
5. NEVER pull the cable to remove the charger plug from the power supply.
6. DO NOT look directly into the worklight when it is switched on.
7. Keep the worklight out of the reach of children.
8. Charge the worklight in a dry indoor location. DO NOT immerse in water or
any other liquid.
9. ALWAYS fully charge before first use.
10. DO NOT turn on the light when charging.
11. DO NOT leave the worklight on charge for more than 24 hours.
12. DO NOT disassemble the worklight as there are no user changeable parts.
13. This worklight utilises a rechargeable Lithium-ion battery that can rupture,
ignite and cause serious injury if being used improperly.
14. DO NOT put batteries and the worklight in the fire or high temperature.
15. DO NOT puncture or damage the batteries.
16. DO NOT immerse or expose the worklight to water.
17. DO NOT dispose of the worklight in a fire or water.
THE FOLLOWING WARNING SYMBOLS ARE FOUND ON THE PRODUCT
Indoor use
Harmful to aquatic life
Pacemaker hazard (due to magnet)
Not suitable for use by children
3
Parts & Service: 020 8988 7400 / E-mail: [email protected] or [email protected]
Page 4
ENVIRONMENTAL RECYCLING POLICY
Through purchase of this worklight, the customer is taking on the
obligation to deal with the WEEE in accordance with the WEEE
regulations in relation to the treatment, recycling & recovery and
environmentally sound disposal of the WEEE.
In effect, this means that this worklight must not be disposed of with general
household waste. It must be disposed of according to the laws governing
Waste Electrical and Electronic Equipment (WEEE) at a recognised disposal
facility.
The light source contained in this worklight has a life expectancy of
approximately 30000 hours after which the worklight should be disposed of in
an environmentally responsible way.
The Lithium Ion battery falls under the Waste Batteries and Accumulators
Regulations 2009 and should be disposed of in a controlled manner.
GUARANTEE
This worklight is guaranteed against faulty manufacture for a period of 12
months from the date of purchase. Please keep your receipt which will be
required as proof of purchase.
This guarantee is invalid if the worklight is found to have been abused or
tampered with in any way, or not used for its intended purpose.
Faulty goods should be returned to their place of purchase, no worklight can
be returned to us without prior permission.
This guarantee does not effect your statutory rights.
4
Parts & Service: 020 8988 7400 / E-mail: [email protected] or [email protected]
Page 5
CHARGING THE WORKLIGHT
IMPORTANT: Charge the worklight
after each use or when the
battery indicator light shows low.
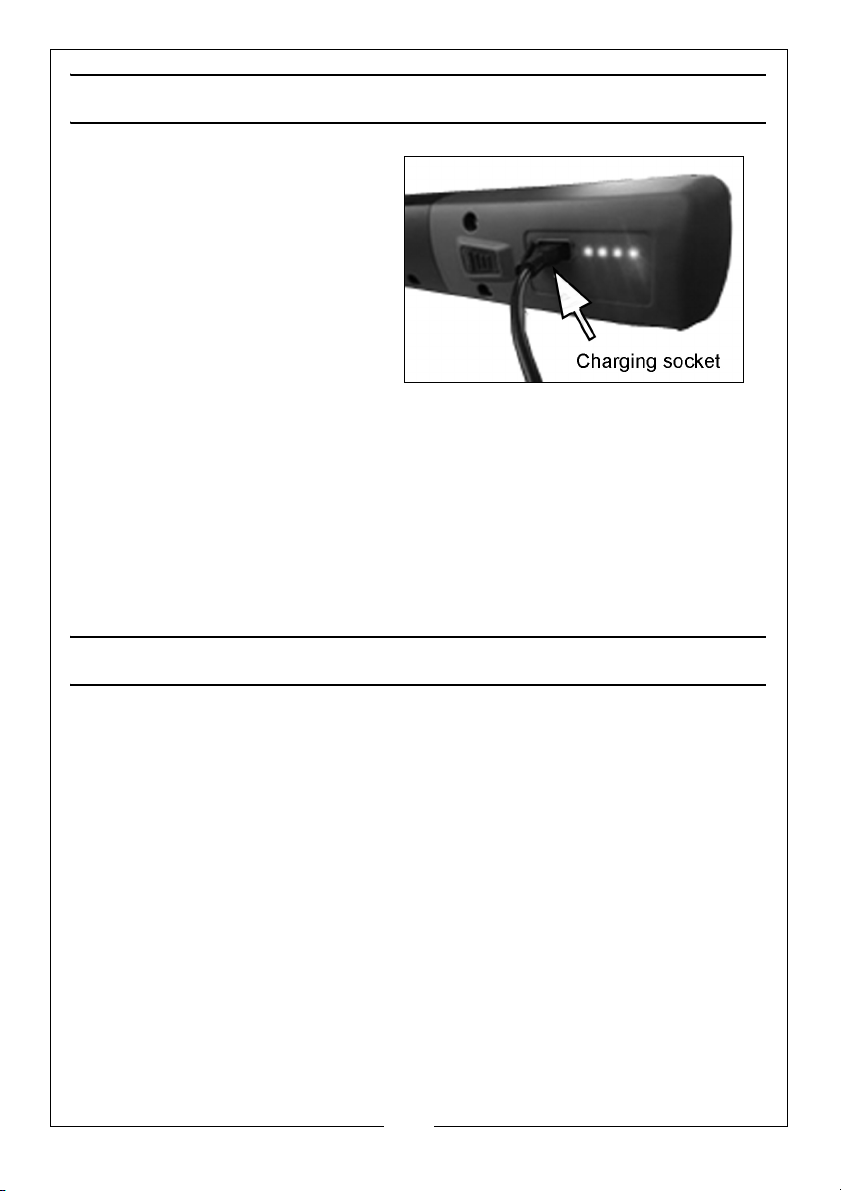
1. Before charging, make sure the
work light is turned off.
2. Connect the micro USB end of
the charging cable to the
micro USB port on the worklight
the USB port on the wall
charger.
3. Plug the AC charger into a live AC outlet.
• The green LEDs will illuminate to indicate battery status. Charging will
typically take 5-6 hours. When the battery is fully charged all four LEDs will
be lit. When fully charged, unplug the charger from the AC outlet and
then from the work light.
4. Charge the battery every 3 months if the worklight is not in regular use to
ensure the longevity of the battery unit. Failure to do this will reduce the
battery’s capacity and may void the warranty.
OPERATION
Charge the internal battery before use.
• Press the power button to ensure there is enough power before use. If low
battery power or no power, continue to charge the worklight.
• 1x press – turns on one light
• 2x presses– turns on two lights
• 3x presses – turns all the light off
The position of each individual light may be rotated for more precise
positioning. Tilt the mainbody tothe desired position.
As the batteries become drained the status LEDs will change from green to
red.
When mounting the worklight to a steel surface ensure both the magnets are i
n contact with the steel surface. i
5
Parts & Service: 020 8988 7400 / E-mail: [email protected] or [email protected]
Page 6
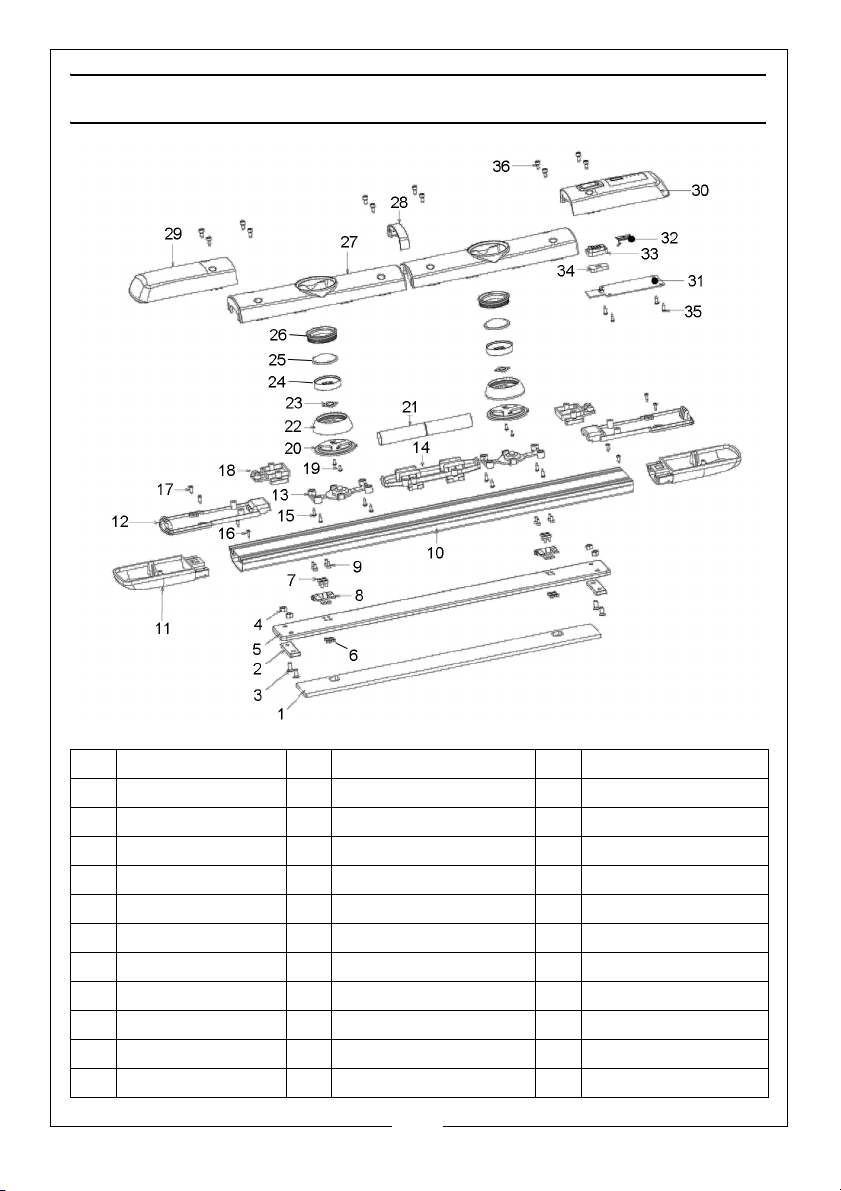
COMPONENT PARTS
1 EVA foam 13 LED base 25 Lens
2 Magnet 14 Battery support 26 LED module-upper
3 Screw 15 Screw 27 Housing-right
4 Nut 16 Screw 28 Housing connector
5 Metal plate 17 Screw 29 Housing -left
6 Nut 18 Lamp base connector 30 USB housing
7 Bolt 19 Screw 31 PCBA
8 Hinge 20 LED module support 32 USB rubber
9 Screw 21 Li-ion battery 33 Switch cap
10 Aluminium body 22 LED module base 34 Switch cap support
11 Handle housing 23 COB 35 Screw
12 Lamp base 24 Reflector 36 Screw
6
Parts & Service: 020 8988 7400 / E-mail: [email protected] or [email protected]
Page 7
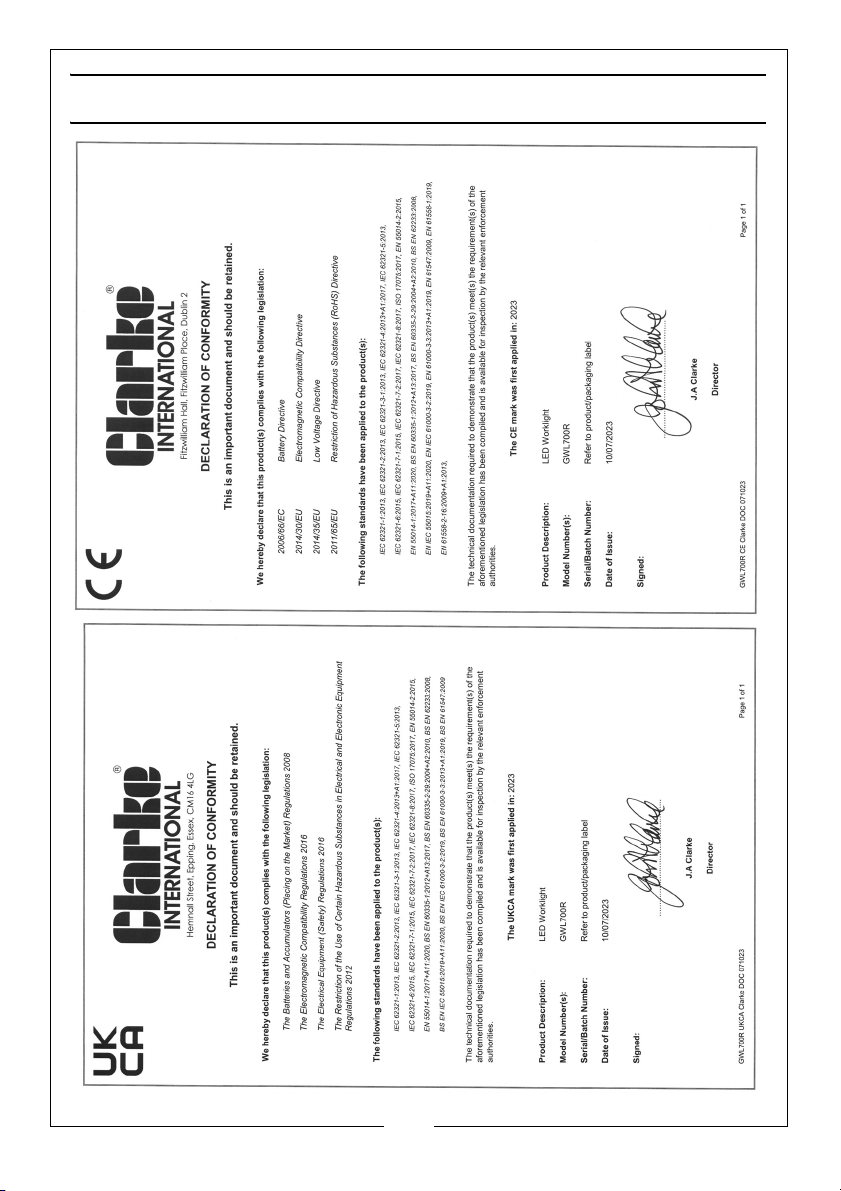
DECLARATIONS OF CONFORMITY
7
Parts & Service: 020 8988 7400 / E-mail: [email protected] or [email protected]
Page 8

 Loading...