

Page 1
WARNING: READ THESE INSTRUCTIONS BEFORE USE
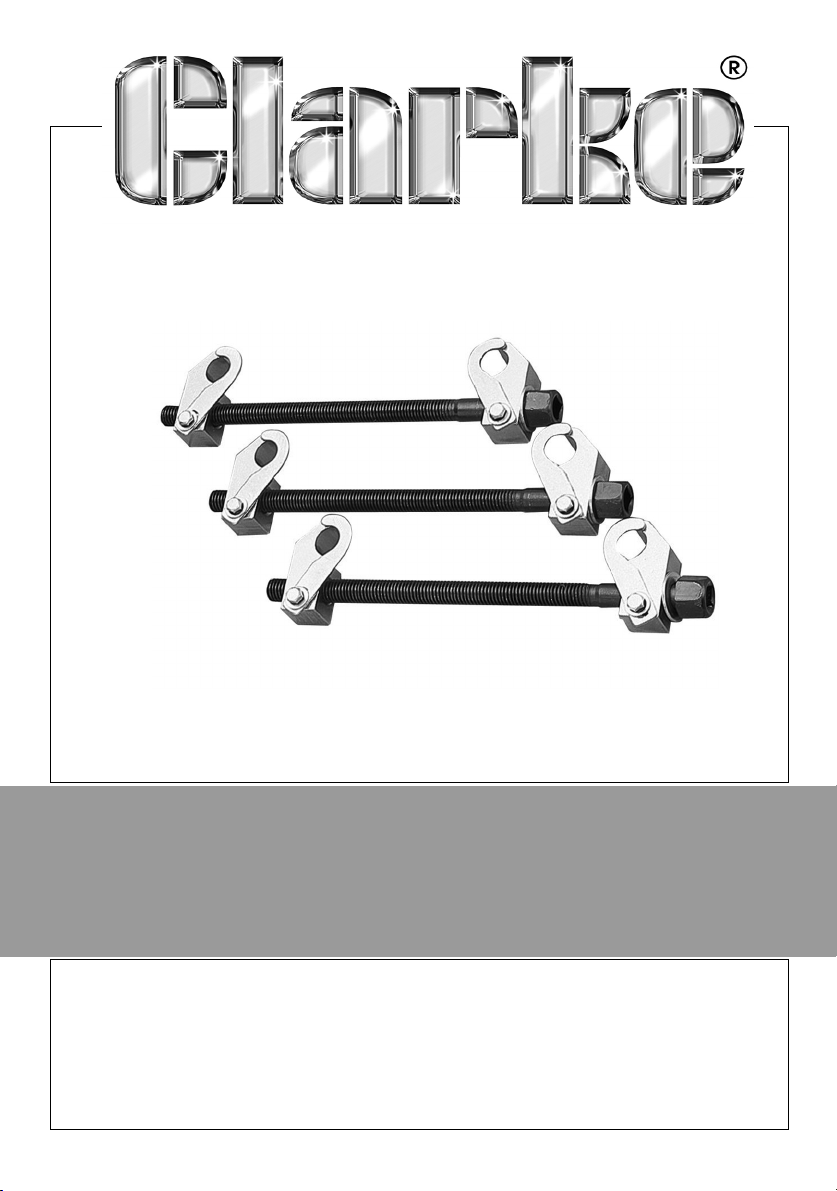
3-PIECE COIL SPRING COMPRESSOR SET
MODEL NO: CHT233
PART NO: 1801233
OPERATION & MAINTENANCE
INSTRUCTIONS
ORIGINAL INSTRUCTIONS
GC0921
Page 2
INTRODUCTION
Thank you for purchasing the CLARKE product.
The 3 piece Coil Spring Compressor Set is essential for the safe dismantling of
vehicle suspension assemblies. It enables operators to have full control over
compression and decompression of the coil spring.
If you do not use the product as described you may damage the product or
the vehicle on which you are working and may also suffer personnal injury.
We cannot consider any warranty claim if you have used the tool in any way
other than that described in these instructions, or if you have used it for any
other purpose than that for which it is intended nor can we be held
responsible in any way for injury caused while using the tool.
Read these instructions through carefully before you use the product.
SPECIFICATIONS
Capacity 1500 kg
Maximum Jaw Opening 225 mm
2
Parts & Service: 020 8988 7400 / E-mail: [email protected] or [email protected]
Page 3

WARNING NOTICES
The following explanations are displayed in this manual and on all other
information provided with this product:
DANGER indicates a hazardous situation which, if not avoided, will result in
death or serious injury.
WARNING indicates a hazardous situation which, if not avoided, could result in
death or serious injury.
CAUTION used with the safety alert symbol, indicates a hazardous situation
which, if not avoided, could result in minor or moderate injury.
3
Parts & Service: 020 8988 7400 / E-mail: [email protected] or [email protected]
Page 4
SAFETY INFORMATION
READ INSTRUCTIONS
• Thoroughly read and understand these product instructions
before using the Coil Spring Compressor Set.
• Keep these product instructions for future reference.
IMPROPER MOTOR VEHICLE REPAIR WORK CAN RESULT IN INJURY OR DEATH!
• Performing automotive repair work can cause injury, vehicle
accidents and death. DO NOT attempt to use this tool or
begin work without proper training and a thorough
understanding of motor vehicle mechanical systems.
• Always consult the manufacturer’s service manual or
reference materials on the particular vehicle under repair
for the proper procedures before using this tool.
IMPROPER VEHICLE JACKING CAN RESULT IN INJURY OR DEATH!
• Always consult the manufacturer’s service manual or
reference materials on the particular vehicle under repair for
the proper jacking procedures.
PINCH HAZARD!
• Keep hands and fingers away from moving components.
EYE INJURY HAZARD!
• Particles may be ejected from components under great
pressure causing eye injury. Wear ANSI approved eye
protection while using.
FALL HAZARD!
• Parts may suddenly shift while being operated. Failure to
ensure proper footing can quickly result in a fall which could
inflict serious personal injury or property damage.
4
Parts & Service: 020 8988 7400 / E-mail: [email protected] or [email protected]
Page 5
OPERATION
DANGER: COIL SPRINGS ARE UNDER TREMENDOUS PRESSURE! SUDDEN
RELEASE CAN RESULT IN INJURY OR DEATH!
DANGER: INJURY HAZARD! CONSULT AN AUTHORISED MANUFACTURER’S
SERVICE MANUAL OR REFERENCE MATERIAL ON THE PARTICULAR VEHICLE
UNDER REPAIR FOR THE PROPER PROCEDURES BEFORE USE. IMPROPER
MOTOR VEHICLE REPAIR WORK CAN RESULT IN INJURY OR DEATH!
CAUTION: DO NOT USE AN IMPACT OR OTHER POWERED DRIVER. USE
ONLY A HAND RATCHET OR WRENCH TO OPERATE.
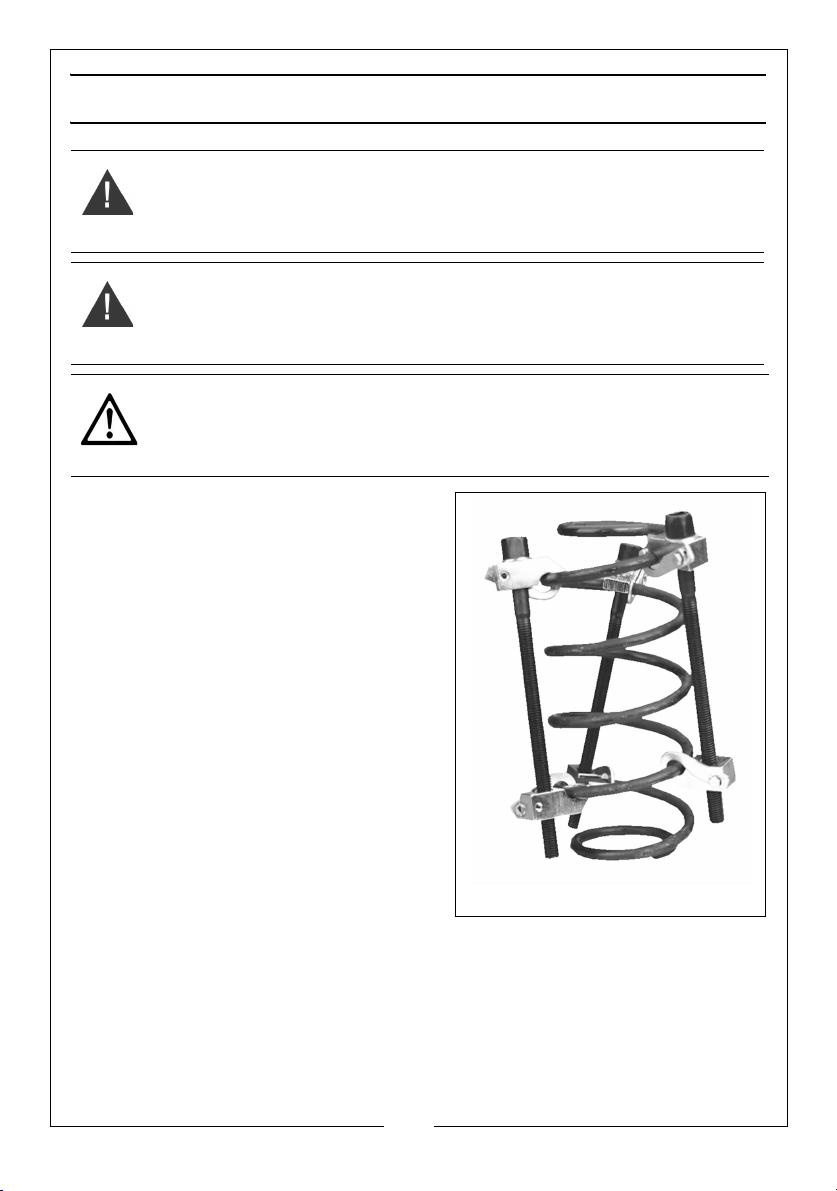
1. Place the spring compressors over the
spring as shown.
• Distribute the spring compressors
evenly around the spring.
• Fit the spring compressors as close
as possible to the top and bottom
coils of the spring.
• Make sure that the safety jaw of
each spring compressor is correctly
closed around the spring coil.
2. Using a 24mm wrench or socket
wrench, tighten all three spring
compressors to remove any slack from
each side until they are gripping the
spring securely and evenly.
• A small amount of lubricant on the
screw threads will assist free
movement during use and protect
the threads from wear.
5
Parts & Service: 020 8988 7400 / E-mail: [email protected] or [email protected]
Page 6
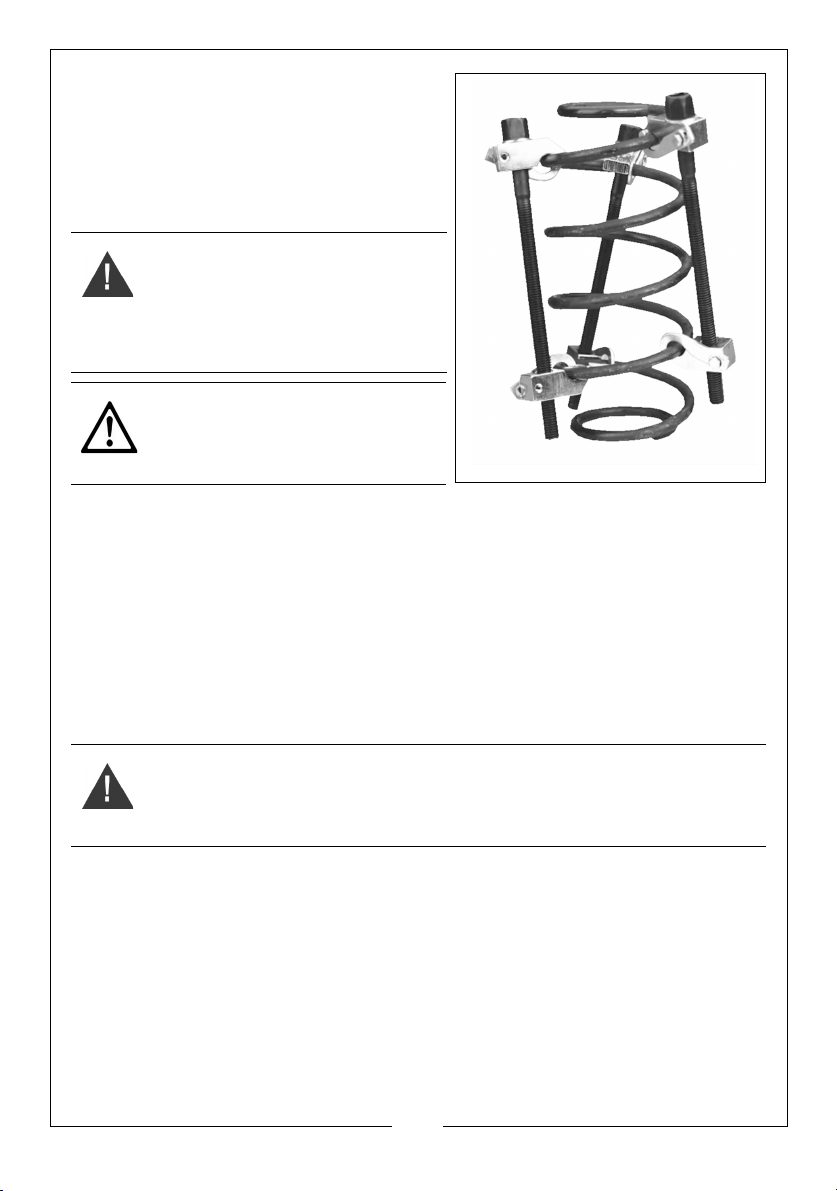
3. Tighten the spring compressor to
compress the spring using equal
pressure from each clamp, ensuring
that the spring remains straight. If the
spring starts to bend to one side,
correct this by tightening the slackest
side.
WARNING: DO NOT TIGHTEN ANY
OF THE SPRING COMPRESSORS
MORE THAN 2 TURNS AT A TIME TO
AVOID UNEVEN TENSION IN THE
SPRING, RESULTING IN SUDDEN
AND VIOLENT RELEASE.
CAUTION: DO NOT USE AN IMPACT
OR OTHER POWERED DRIVER. USE
ONLY A HAND-POWERED RATCHET
OR WRENCH TO OPERATE.
4. When the spring has been sufficiently compressed to be released from the
vehicle suspension components, lift the spring and compressor set
carefully away.
5. If the spring is part of a suspension strut assembly, the top swivel can now
be disassembled from the strut while the spring remains compressed.
Thereafter, the spring can be lifted away complete with the compressor
tool.
6. To release the spring from the spring compressor, carefully slacken each
side of the tool a couple of turns at a time, ensuring that the spring remains
straight at all times.
WARNING: DO NOT SLACKEN ANY OF THE SPRING COMPRESSORS MORE
THAN 2 TURNS AT A TIME TO AVOID UNEVEN TENSION IN THE SPRING,
RESULTING IN SUDDEN AND VIOLENT RELEASE.
7. When the spring is fully relaxed, disconnect the spring compressor set and
remove.
6
Parts & Service: 020 8988 7400 / E-mail: [email protected] or [email protected]
Page 7
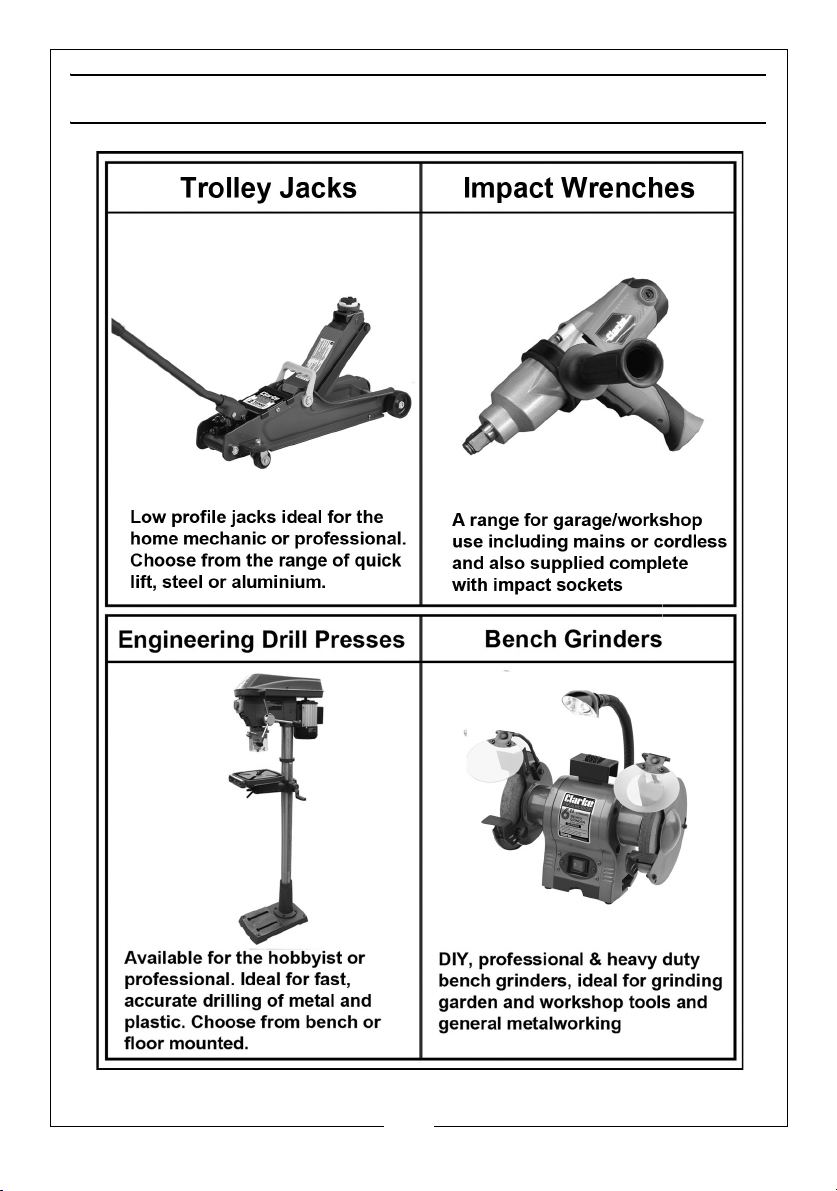
USEFUL ITEMS FROM THE CLARKE CATALOGUE
7
Parts & Service: 020 8988 7400 / E-mail: [email protected] or [email protected]
Page 8

 Loading...