

Page 1

Linksys Wireless Presentation Gateway
User Manual
Page 2

D i s c l a i m e
T r a d e m a r k s
Page 3

D i s c l a i m e r
T r a d e m a r k s
CHAPTER 1
Overview
Introduction
Product Features
Product Overview
Moblized, Cable-less Presentation
Simple and Easy User Experience
Project screens of remote computers
Operated by a remote controller
Application Scheme
Wireless, Instant Screen Projection
Remote Display and Control
Immediate, PC-less Presenta tion
Specifications
Software Functions
Main System
Network
Remote controller
CHAPTER 2
Installation
Introduction
Packing List
Install the Hardware
What you should do
System Info
STEP 1: Locating Wireless Presentation Gateway
STEP 2: Web-based Administration Interface
STEP 3: Prepare to make presentations
CHAPTER 3
Getting Started
Wireless Instant Displa y
Get Connected
Select and Switch Computer Scrteen from the WPG
Slide Show
File Upload
Show the Slide Now
CHAPTER 4
Remote Controller
CHAPTER 5
Appendix
Appendix: User Notice
Page 4
Chapter 1: Overview
Introduction
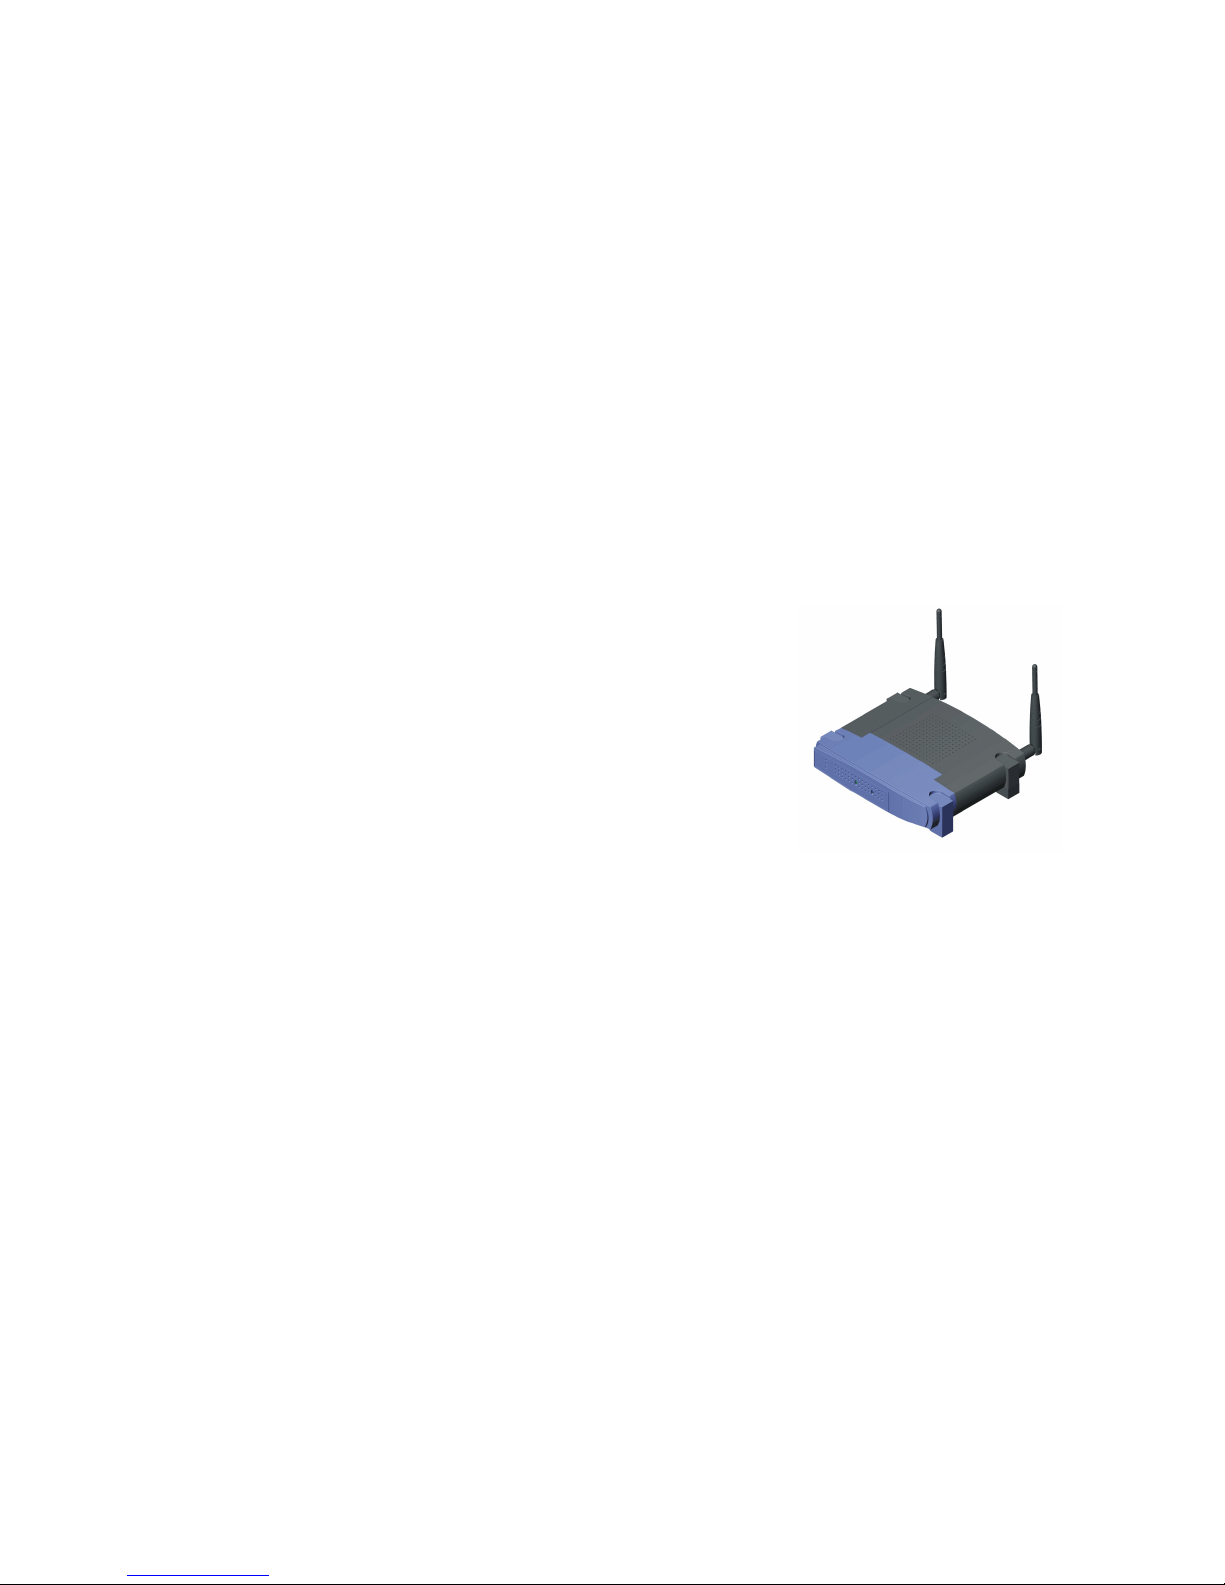
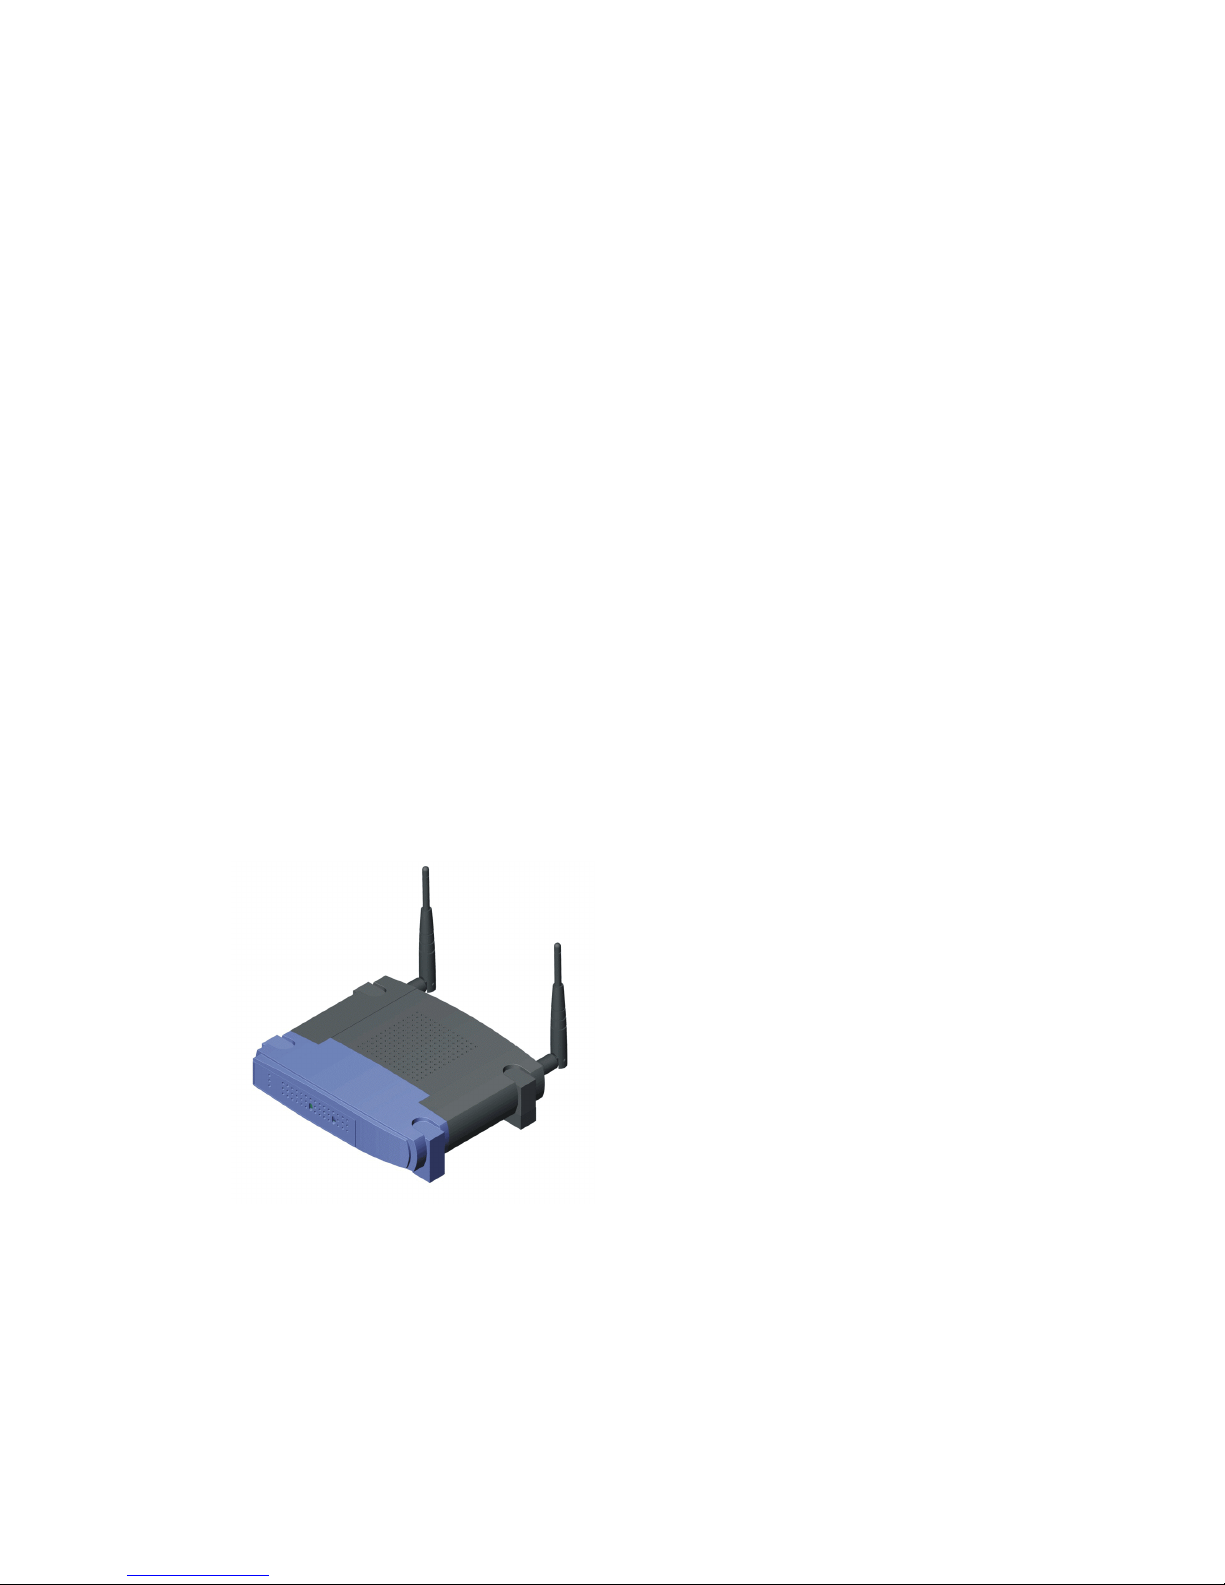
Wireless Presentation Gateway is an innovative appliance designed
for networked, cable-less presentations. Featuring built-in wireless
and wired LAN capabilities, Wireless Presentation Gateway will
immediately upgrade your existing data projector from an isolated
island to a versatile network citizen in the information world.
Product Features
! Network presentation via wireless and wired LAN
! Provide gateway services for one to many wireless communications
! Appliance design, absolutely installation and maintenance free
! Just plug-in, connect your projector to the network in a flash
! Directly project the screens of remote computers via network
! Resident graphic viewer for immediate slide show
! Easy-to-use graphic user interfaces
! Operated by a user-friendly Infra-red remote controller
Product Overview
Moblized, Cable-less Presentation
Wireless Presentation Gateway brings you to a whole new stage of making presentations! No
matter you are bringing along a wireless LAN PC or transporting presentations through wired LAN,
Wireless Presentation Gateway allows you to deliver presentations without inserting cables. It will
Page 5

save the time and hassle on system setups and adjustments in every meeting. It also eliminates
the occasional embarrassments caused by failed links between projectors and computers.
Simple and Easy User Experience
Making presentation has never been easier with Wireless Presentation Gateway! For first time use,
you only need to do simple configurations on the main system but don’t need to install any driver
or software on your personal computer. After that, all you need to do is turning on the power and
you will be ready-to-present immediately. Moreover, you barely need to learn any new software
operations. Simply use your familiar Windows Explore to activate the functions.
Project screens of remote computers
Unlike conventional network projectors that can only support static image files, Wireless
Presentation Gateway offers fully live demo function by simultaneously displaying and controlling
remote computers over network. When presenters want to demonstrate the functions of a software,
an OS, or even some Internet browsing, there are no needs to install everything on a new
computer or lug the remote computers to the conference room.
Operated by a remote controller
Wireless Presentation Gateway can be operated by a hand-held remote controller. Most of the
controls of the system are duplicated on the hotkeys of the controller. In addition, it is supplied with
mouse functions that allows the remote control to act like a mouse. This means that you can
control presentations just like sitting in front of a PC. To facilitate presenters, a head-mounted
laser beam pointer is also built-in.
Application Scheme
Wireless, Instant Screen Projection
Wireless Presentation Gateway comes with wireless LAN capability. With it, you can project the
screen of your notebook computer without physically connecting to a projector by a burdensome
VGA cable. Thus, you no longer have to worry about passing the signal cable from presenter to
presenter. As Wireless Presentation Gateway provides gateway services, many computers can
connect to it wirelessly at the same time.
Remote Display and Control
Wireless Presentation Gateway is also equipped with an RJ-45 Ethernet interface. It can be easily
connected to your corporate network. By using its well-design remote display function, you can
project the screens of remote computers from the conference room. The projected screen can be
switched among different remote computers freely.
Immediate, PC-less Presentation
Page 6

With built-in image viewer and internal storage, Wireless Presentation Gateway eliminates the
need to have a PC in the same room as the projector. All you need to do is preloading the
presentation images into the system in advance, and then you can deliver PC-less presentation
during the meeting. The viewer accepts JPEG, GIF, BMP and PNG file format.
Specifications
Software Functions
! Instant wireless display
" One to many gateway services
# Plug and play
! Resident viewer for immediate slide show
# Supports thumbnail browsing
# Supports JPEG, GIF BMP and PNG graphic formats
! Provide remote display function to project the screens of remote computers
# Free to switch screens between computers
# Presenters can add, delete, clear connections as they need
! Friendly graphic user interface to let users have a simple experience while enjoying powerful
functions.
! File upload: enable pre-loading presentation files to the storage of Wireless Presentation
Gateway main system. File transfer is automatically conducted while doing file uploading.
Main System
! Construction: Heavy-duty steel
! I/O interfaces: one Ethernet and one VGA interfaces
! Internal Storage: 32MB
! Dimensions (W X H X D): 208 x 144 x 33 mm
! Weight: 0.8kg
Network
! LAN: Ethernet 100Base-TX at 100 Mbps (IEEE 802.3u)
! Wireless LAN: 802.11b WLAN 11Mbps per sec
Remote controller
! System: Infra-red remote controller with mouse control
! Laser pointer: built-in
! Power: AAA x 2
! Dimensions (W X H X D): 155 x 58 x 32 mm
! Weight:0.2 kg
Page 7

Chapter 2: Installation
Introduction
Wireless Presentation Gateway provides the following convenient ways for you to deliver
presentations:
1. Slide Show: User can pre-load presentation files to the system before a meeting, and then
give presentations through data projector without bringing along a laptop computer.
2. Remote Display: The concept of remote display is very similar to that of the popular print
server. While print server provides networked printing services, Wireless Presentation
Gateway enables users to directly project the screens of remote computers through network.
3. Wireless Instant Display: In addition, Wireless Presentation Gateway comes with wireless
LAN (WLAN) networking capability. If you are using a computer with WLAN module,
Wireless Presentation Gateway can instantly project the screen of your computer without
physically connecting to a projector by a burdensome VGA cable.
On this section, we will introduce how to do the basic configurations before you want to use "slide
show" and "remote display" functions. This is a one time only procedure. After that, all you need to
do is turning on the power and the system will function normally.
Packing List
Before you get started, please check the package contents first. Below is what comes in the box. If
anything is missing, please contact your Linksys dealer.
! Wireless Presentation Gateway main unit
! AC power adaptor and cord
! One-to-two PS/2 Y cable for mouse and keyboard
! Quick Start Guide
! Product Warranty Card
Page 8
Install the Hardware
In addition to what comes with Wireless Presentation Gateway, you have to prepare the following
by yourself to start installation:
! PS2 keyboard
! Network cable (if use wired network)
! Wireless LAN module for client-end
! Data projector or display (depends on your specific needs)
What you should do
! Connect the PS2 Y cable to the PS2 port on the rear panel
! Connect the PS2 keyboard and PS mouse to the Y cable
! Connect the network cable to the RJ45 port on the rear panel
! Make sure Wireless Presentation Gateway is turned off. Connect the power cord to the power
connector on the rear panel
! Use the Power Switch on the rear panel to turn on / off Wireless Presentation Gateway
! Check the PWR LED indicator on the front panel to make sure if the power is turned on
! Connect the VGA cable to the VGA port on rear panel
! The COM port on the rear panel is temporarily unused
Front view of Wireless Presentation Gateway
Rear View of Wireless Presentation Gateway
Page 9

System Info
You can check the configuration for networking (wired LAN) of Wireless Presentation Gateway.
Click the "System Info" button in the main menu (Fig 3).
Main Menu
Page 10

After you click the "System Info" button, the System Info screen will appear (Fig 4).
You may change those setting through the web-based administration interface.
! Host Name: Shows the Host Name you assigned to this machine.
! IP Address: Shows IP address for this machine
! Wireless LAN Configuration: You can check the configuration status for Wireless LAN here.
! Presentation Settings: The files you uploaded to the Wireless Presentation gateway can be
automatically sweeped, this item shows you the time Slides will be expired.
STEP 1: Locating Wireless Presentation Gateway
After you complete the networking settings on the system, every user connecting to the same
corporate network will be able to see windows that similar to the following (Fig 5) on the
networking neighborhood of the Microsoft Windows Explorer:
Page 11

A. Drshow: The group name of Wireless Presentation Gateway on the corporate network
B. Ds-200-000001: The defaulted identified name of Wireless Presentation Gateway
You may change it through the web-based administration interface.
C. Admin: The folder of administration interface
It provides a user-friendly web interface for you to configure the system and wireless LAN
settings.
D. Prepare: The folder for presentation preparation
Under this folder, there include several functions for you to optimize the way you delivery
presentation. Click here for details
STEP 2: Web-based Administration Interface
Click on the "Admin" (numbered C) folder of Fig 5 will go the URL link of the administration
interface. Click on the link will then lead you to the user-friendly, web-based administration
interface (Fig 6). Type in the default password (which is admin at shipping), you will then enter
the main menu (Fig 7) of system administration.
Page 12

It allows administrators to easily setup the following:
1. System: When click on the "System" button, the following screen (Fig 8) will appear.
! The Hostname of the Wireless Presentation Gateway: The system ship with a default name,
but you can change it to be more easily recognized by all users. For example, if the system is
located in conference room 206, you may name it as "Room 206".
! The Preserved time for uploaded files: To effectively manage the internal storage of Wireless
Presentation Gateway, you can change the defaulted preserved period according to your
needs. Every uploaded file will be kept in the storage within its preserved period (unless you
delete it manually). After that, the uploaded files will be expired and be erased from the
storage.
! The Preserved time for remote connection: To ensure networking security, the registration of
remote display will be automatically expired after the defaulted preserved period. Users will
Page 13

be requested to provide proper passwords to reinstate registration.
2. Wireless LAN: This option allows you to modify the Wireless LAN parameters.
3. Encryption: You can setup encryption options for Wireless LAN here.
4. Password: When click on the "password" button, the following screen (Fig 9) will appear. It
allows you to change the password to enter the administration interface.
5. Logout: After you are satisfied with all of the configurations, you can logout to make sure
nobody else will change them accidentally.
STEP 3: Prepare to make presentations
Clicking on the "Prepare" folder of Fig 10 will lead to the following screen (Fig 10)
Now you are ready to make your network presentations. The purpose for three icons in the folder
are as following:
! NetworkTest: It allows you to check the current network connection quality. It will help you
decide to chose a better way to deliver presentation, either in "Remote Display" or "Slide
Show" mode. If the check result turns out to be good (as Fig 11), either way will do.
Otherwise, you are highly recommended to pre-load the presentation files to Wireless Presentation Gateway, and use the "Slide Show" mode instead.
Page 14

! Register: Register you machine to the meeting gateway
! UploadFiles: Enable file uploading to Wireless Presentation Gateway
Page 15

Chapter 3: Getting Started
Wireless Instant Display
Get Connected
STEP 1: Start the Presentation Gateway Player
The Presentation Gateway Player Utility enables you to conveniently display the desktop of your
PC to the projector or monitor connected to a wireless Presentation Gateway. On the desktop of
your PC, double -click the Presentation Gateway Player icon to start the program. Please make
sure your Presentation Gateway is connected to your Projector or Monitor and both devices are
powered on.
Page 16

STEP 2 : Find the Wireless Presentation Gateway.
After clicking the Next button, the player utility will start searching for available Wireless
Presentation Gateway. You will see the following screen, please wait a second until next screen
appears.
Page 17

After searching completed. You will see a list of devices waiting for your connection.
Choose the Presentation Gateway you would like to display your screen to with the scroll
bar. Click on the Next button to start instant display.
Page 18

If there is no Wireless Presentation Gateway found. Please follow these on screen instructions to
check your set up and try search again.
The system will need a few seconds to establish the connection to your computer.
Page 19

After the connection has been successfully established. You can choose from two
Presentation Options according to your network performance to optimize your presentation. You
can either choose High Speed Transfer (which will transfer less color information) or Low Speed
Transfer (which will make your presentation more colorful). After the Presentation Option has
been decided, you can choose Take Control of the Presentation Gateway to start your
presentation, Give Control to Another User to allow other user taking control of the presentation
or just leave the utility by clicking Exit on the screen.
Select and Switch Computer Screen from the WPG
STEP 1: Click on the "Remote Display" button of the main menu, the "Remote Display"
menu will then appear (Fig 1).
Page 20

The windows at the right hand side in the above screen shows computers that are currently
registered (namely "currently registered list) for "Remote Display". When you click in any of the
computers on the list, the computer will be highlighted (selected) and you can execute the function
you want by pressing buttons on the left column.
STEP 2: Select the function you want
There are five buttons on the left column of Fig 1.
! Connect: When you want to connect to a remote computer for the first time, you will be asked
to enter a password. When pressing the "Connect" button, the system will first check if the
password effective period has been expired. If yes, you will be asked to type in the password
again. Otherwise, "Remote Display" mode will be activated. The projected screen will be
automatically switched to the remote computer and you can enjoy an absolutely live-demo
presentations immediately. Once you have succesfully completed the connection, the
computer entry will be added to the "History List" of Wireless Presentation Gateway.
# Switching from a Remote Computer to Display Server
# To switch back to the menu of Wireless Presentation Gateway while viewing a remote
computer, you may move the cursor to the upper left corner of the screen, when a small
yellow block appears. Stay on the yellow block and right-click the mose button.
Page 21

! Add: This function is only used when you have deleted a registered computer entry from the
"Currently Registered List". When press the "Add" button, the remote display registration
"History List" will then appear. You may add any of them to the "Currently Registered List".
To reinstate the registration, you need to make sure that computers you have added from the
history list has already successfully activated the registration.
! Delete: Click on the button, the selected computer will be removed form the "currently
registered list" .
! Delete All: Press on the button, all computers on the "currently registered list" will be removed.
! Advance Search: This function is only used when you fail to find a registered computer on the
"currently registered list" (this may happens sometime, although the possibility is very low).
You may type in the IP address of the computer directly to reinstate the registration.
Slide Show
File Upload
Step 1: Locating Wireless Presentation Gateway
First of all, please make sure about the following:
1. The hardware accessories are in place.
2. The power of Wireless Presentation Gateway is turned on, properly networked and connected
to a data projector.
You can then easily locate Wireless Presentation Gateway on the networking neighborhood of
your Microsoft Windows Explorer. Click on your targeted Wireless Presentation Gateway icon (Fig
2).
Page 22

Step 2: Click on "Prepare" folder of Fig 3.
Page 23

Step 3: Click on "UploadFfiles" icon of Fig 4
Remark: There is an alternative you can try here. You may drag & drop a PPT file to the
"UploadFiles" icon to process file tranferring & uploading.
Step 4: Select the file you want to upload (Fig 5)
Page 24

Step 5: Automatic File Transfer & Uploading
Before the selected PowerPoint file being uploaded to Wireless Presentation Gateway, the system
will automatically convert that file to a project file (i.e., a group of JPEG images in the sequence of
PowerPoint slides). The PowerPoint software will be launched and start the file conversion (the
time needed for the conversion depends on the file size you are going to transfer). The following
figures shows the detailed steps of file transfer and uploading.
! Notice of launching PowerPoint software
!
Notice of starting file conversion
!
Show the progress of file transfer
Page 25

!
Notice of file uploading competition.
Show the Slide Now
STEP 1: Click on the "Slide Show" button in the main menu, the "Slide Show" menu will
then appear (Fig 9).
Page 26

The left column of the right hand side window in Fig 9 shows the Project files that have been
uploaded to Wireless Presentation Gateway and the very right hand side column shows the
thumbnail view of the JPEG images of the selected Project file. When a user upload a file into
Wireless Presentation Gateway for the first time, the system will automatically make a folder with
the name of the user's computer as the root directory. And the uploaded Project file will be placed
in that folder. Since then, if the same user upload new files to Wireless Presentation Gateway, the
files will be in the same folder unless the computer name is changed.
The effective period of uploaded files are set through administration interface.
When moving your mouse over any item on the right hand side window (either on a Project file or
the thumbnail view of a JPEG image), the item will be highlighted (selected), you can then execute
functions you want by pressing buttons on the left hand side column.
STEP 2: Execute functions you want
There are two buttons on the left hand side column in Fig 9.
! Play: When pressing "Play" button, the selected Project file or JPEG image will be projected.
!
Delete: When pressing "Delete" button, the selected Project file or JPEG image will be
removed.
Page 27

Remote Controller
More information will be avail ab le soo n!
Page 28

Appendix
Appendix: User Notice
1.
While using Remode Display. Wireless Presentation Gateway currently do not support
multimedia level display such as Microsoft Media Player or Realplayer.
2.
Wireless Presentation Gateway doesn’t support Microsoft Windows NT currently
3. If you want to upload a PowerPoint file from a Linux Samba server, please make sure that the
language setting is properly set. Otherwise, there may be some code issues.
4. “File upload” is only supported for systems with Microsoft PowerPoint program properly
installed.
5. If your system has Microsoft PowerPoint program installed already, but you still get the
message of “You have to install Microsoft PowerPoint first” while uploading PowerPoint file to
Wireless Presentation Gateway, it is most likely that there is no sufficient system resources.
You are recommended to close some of the other running programs to release more free
main memory space. Then you will be able to continue the file uploading process.
6.
When you drag & drop to convert PPT files to Project file format, it is possible that the slides’
name will be modified to DOS format filenames while making presentation. This is normal
and there should be no irregular problems. Just simply disregard it.
7.
If you can’t locate Wireless Presentation Gateway on the Network Neighborhood quickly, you
may use “Search” function instead to speed it up.
8.
The internal storage of Wireless Presentation Gateway is refreshed on daily basis. That is, if
you set the preserved period of uploaded files to be less than one day, the files will still be
kept untill the daily refresh time (which is the very beginning time of a new date of the system
time).
9. If you are using PowerPoint 97, when transfer a PPT file with more than 100 slides, it mihgt
cause application crash. In this case, we highly recommend you to divde the PPT file into few
small ones.
10.
You can only change the Hostname of Wireless Presentation Gateway from the
administration interface.
Page 29

FCC Caution:
1. The device complies with Part 15 of the FCC rules. Operation is subject to the
following two conditions:
(1) This device may not cause harmful interference, and
(2) this device must accept any interference received, including
interference that may cause undesired operation.
2. FCC RF Radiation Exposure Statement: The equipment complies with
FCC RF radiation exposure
limits set forth for an uncontrolled environment. This equipment
should be installed and operated with a
minimum distance of 20 centimeters between the radiator and your
body.
3. This Transmitter must not be co-located or operating in conjunction
with any other antenna or transmitter.
4. Changes or modifications to this unit not expressly approved by the
party responsible for compliance
could void the user authority to operate the equipment.
 Loading...