

Page 1
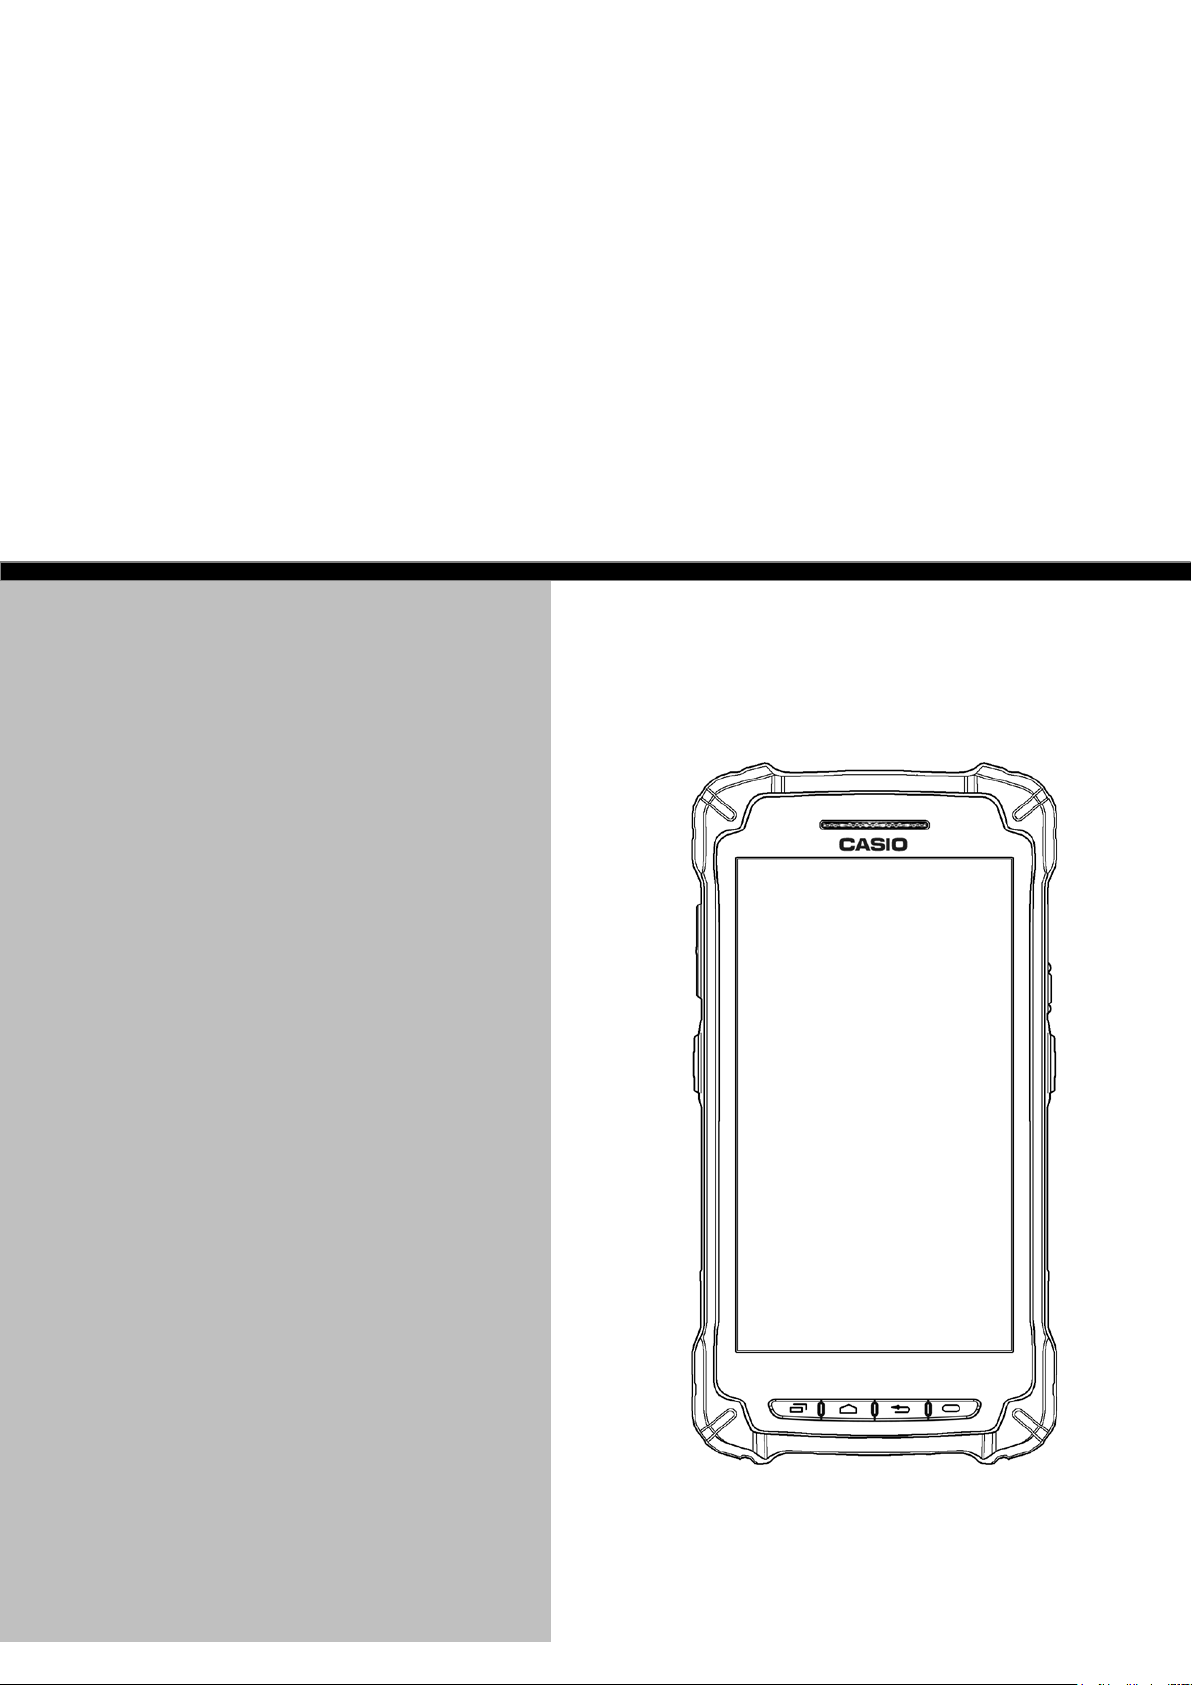
IT-G400 Series
Android 6.0
Quick Start Guide
This document is a Development Guide Book
for IT-G400 application developers.
Ver 1.03
Page 2

No part of this document may be produced or transmitted in any form or by any means, electronic or mechanical,
for any purpose, without the express written permission of CASIO Computer Co., Ltd. in Tokyo Japan.
Information in this document is subject to change without advance notice.
CASIO Computer Co., Ltd. makes no representations or warranties with respect to the contents or use of this
manual and specifically disclaims any express or implied warranties of merchantability or fitness for any
particular purpose.
© 2017 CASIO Computer Co.,Ltd.
• The Bluetooth word mark and logos are regi stered trademarks owned by Bluet ooth SIG, Inc. and any use of such
marks by CASIO COMPUTER CO.,LT D. is under license. Other trademarks and trade nam es are those of their
respective owners.
• Wi-Fi is a registered trademark of Wi -Fi Alliance.
• Android, Android Wear, Google, Google Play, Google Now and other marks are trademarks of Google Inc.
• Other company, product and service names used in t his manual also may be trademarks or regist ered trademarks
of others.
Page 3

- Table of contents -
1. Overview ·········································································································································································· 2
1.1
1.2
1.3
1.4
2.
2.1
2.2
2.3
2.4
3.
3.1
3.2
3.3
3.4
3.5
3.6
Notes of this development kit ·························································································································· 2
Version of this development kit ······················································································································· 3
Structure of the development kit ···················································································································· 4
About manuals ························································································································································ 5
Application development requirement ··················································································································· 6
Needed programing knowledges ······················································································································· 6
Required hardware ················································································································································ 6
Required system ···················································································································································· 7
Required softwares ··············································································································································· 8
Installing the development environment ··············································································································· 9
Installation steps of the development environment ·················································································· 9
Installing JDK ······················································································································································· 10
Installing Android Studio ·································································································································· 13
Downloading Android SDK and USB driver ······························································································· 15
Installing and Updating Device Library (AAR) ·························································································· 17
3.5.1
3.5.2
3.5.3
3.5.4
3.5.5
Preparations ················································································································································· 17
Registering DeviceLibrary ( AAR ) ······································································································· 17
Dependency check of DeviceLibrary ( AAR ) ··················································································· 20
Registering Help files ( Javadoc ) ········································································································· 23
Updating of DeviceLibrary ( AAR ) ·································································································· 25
How to use the DeviceLibrary ( AAR ) ······································································································· 27
4.
Application development and debug ···················································································································· 28
4.1
4.2
4.3
Enabling USB debugging ·································································································································· 28
Installing USB driver ········································································································································· 29
Settings for ADB ( Android Debug Bridge ) ··························································································· 32
Page 4
1. Overview
This document is a developement guide book writen for the IT-G400 application developers.
1.1 Notes of this development kit
Notes for using this development kit are as follows.
There is a dependency between the version of Android Studio and the version of the DeviceLibrary. For
details, refer to "2.4 Required softwares (p.8)" in the Quick Start Guide (this document).
Please contact your distributor to get the latest version of development Kit.
2
Page 5
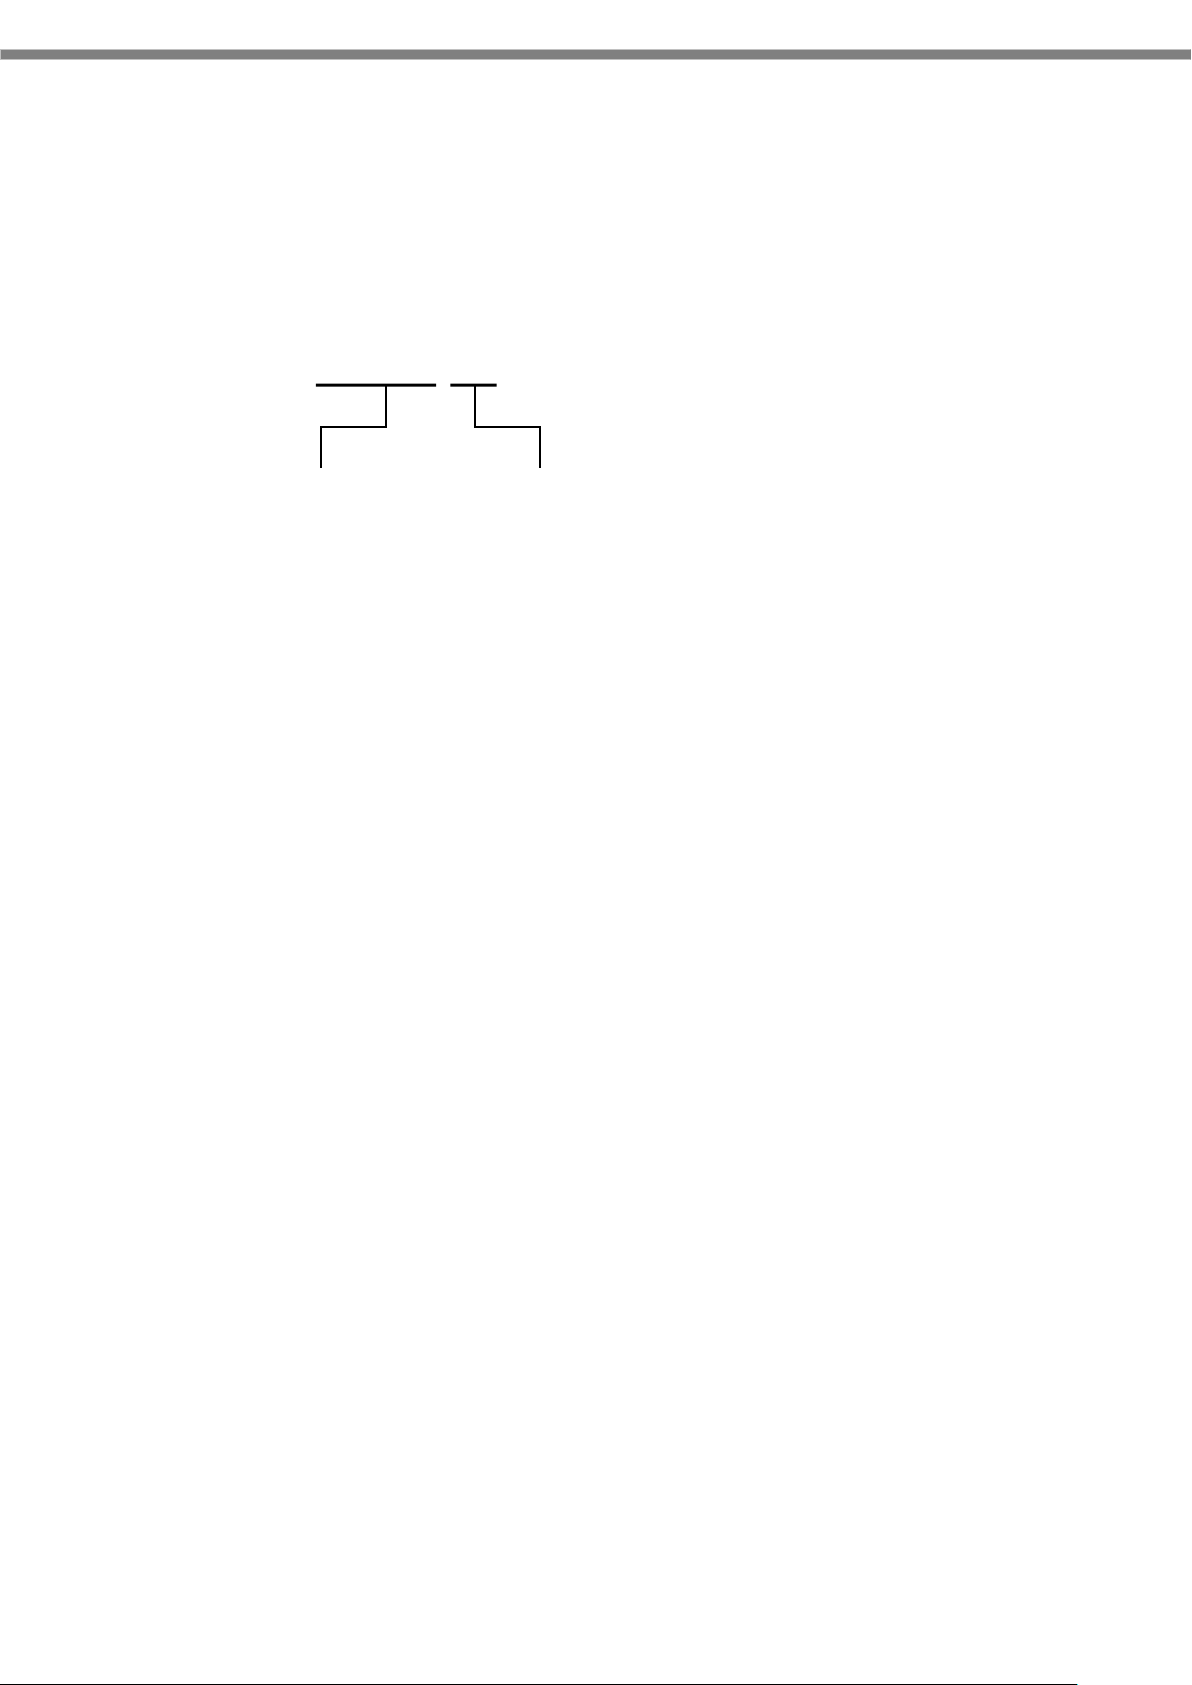
1.2 Version of this development kit
1.02.1
Major version
Minor version
The version number of this development kit consists of a combination of major version and minor version,
as shown below.
The major number represents the version of DeviceLibrary( i.e. DeviceLibrary.aarAAR).
So, when a newer version of development kit is released, if it includes newer version of DeviceLibrary, its
major version number is increased, and the minor version is returned to zero.
If changes other than DeviceLibrary ( i.e. manuals, tools, etc. ) are included, its minor version number is
increased.
3
Page 6
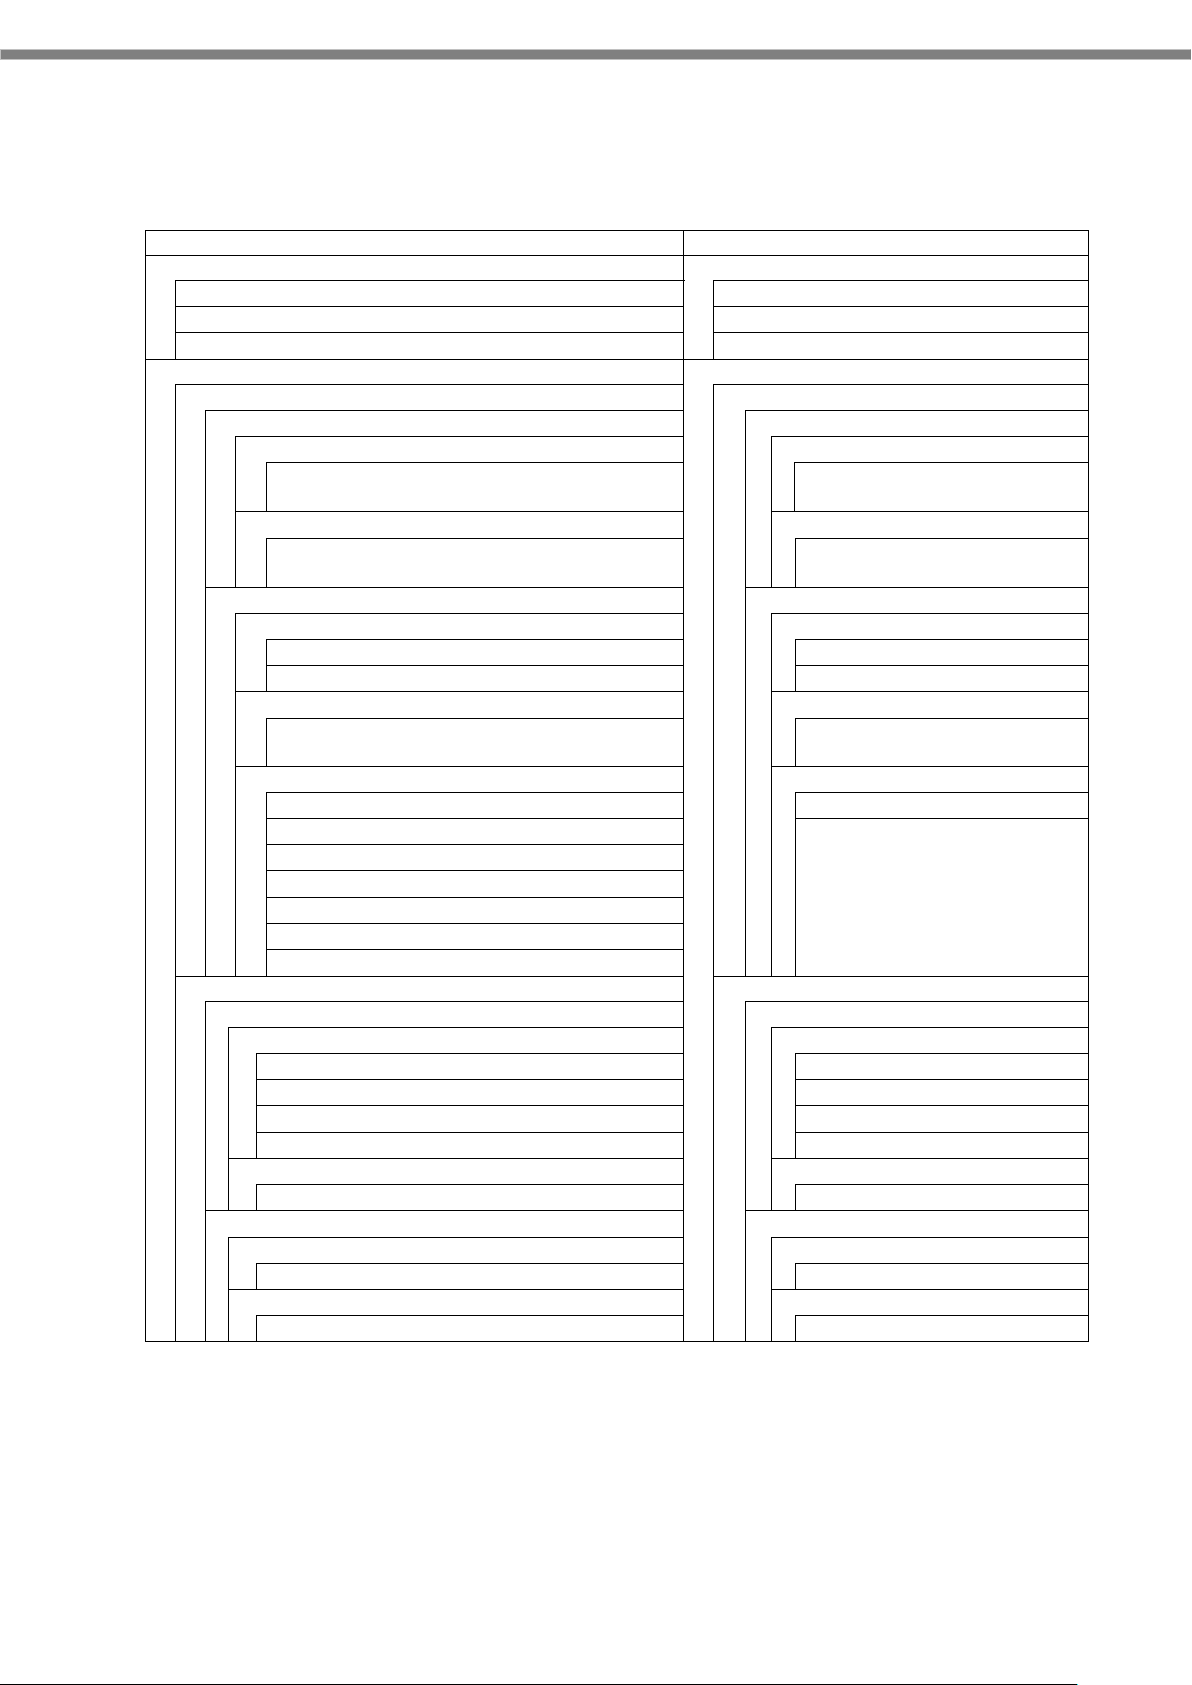
1.3 Structure of the development kit
QuickStartGuide.pdf
Read this document first.
/MANUAL
/This folder contains manuals.
QuickStartGuide.pdf
Quick start guide
SoftwareManual.pdf
Software manual
DeviceLibraryManual.pdf
Device library manual
/SOFTWARE
/This folder contains softwares
/BDK
/Basic development kit
/CasioAndroidAddons
/Casio Addons for android
/bin
/Program’s folder
CASIOAndroidAddons0100010005.apk
CasioAndroidAddons
(binary)
/manual
/Manual’s folder
CasioAndroidAdons.pdf
Casio Android Addons
manual
/DeviceLibrary
/Device Library’s folder
/javadoc
/javadoc’s folder
index.html
javadoc index file
etc.
Other files.
/bin
/Program’s folder
DeviceLibrary.aar
Device Library file
(binary)
/samples
/Sample files’s folder
KeyLibrarySample.zip
KeyLibrary samples
SymbolScan.zip
ScannerLibrary samples
RangeScan.zip
InverseScan.zip
CenteringWindowScan.zip
TriggerScan.zip
ImageCapture.zip
/TOOLS
/Tools folder
/KittingTool
/KittingTool folder
/bin
/Program’s folder
KitSettings0100010008.apk
Backup/Restore settings
KitDevice0100080008.apk
for Device setting
KitApp0100010001.apk
for Application setting
KitData.xls
Kitting scenario file
/manual
/Manual’s folder
KittingToolManual.pdf
KittingTool manual
/OSUpdateService
/OSUpdateService folder
/bin
/Program’s folder
OSUpdateService0100000000.apk
OS Update Service
/samples
/Sample files’s folder
OSUpdateSample.zip
OS Update Sample
The following figure shows the structure of this kit.
4
Page 7
Title
Contents
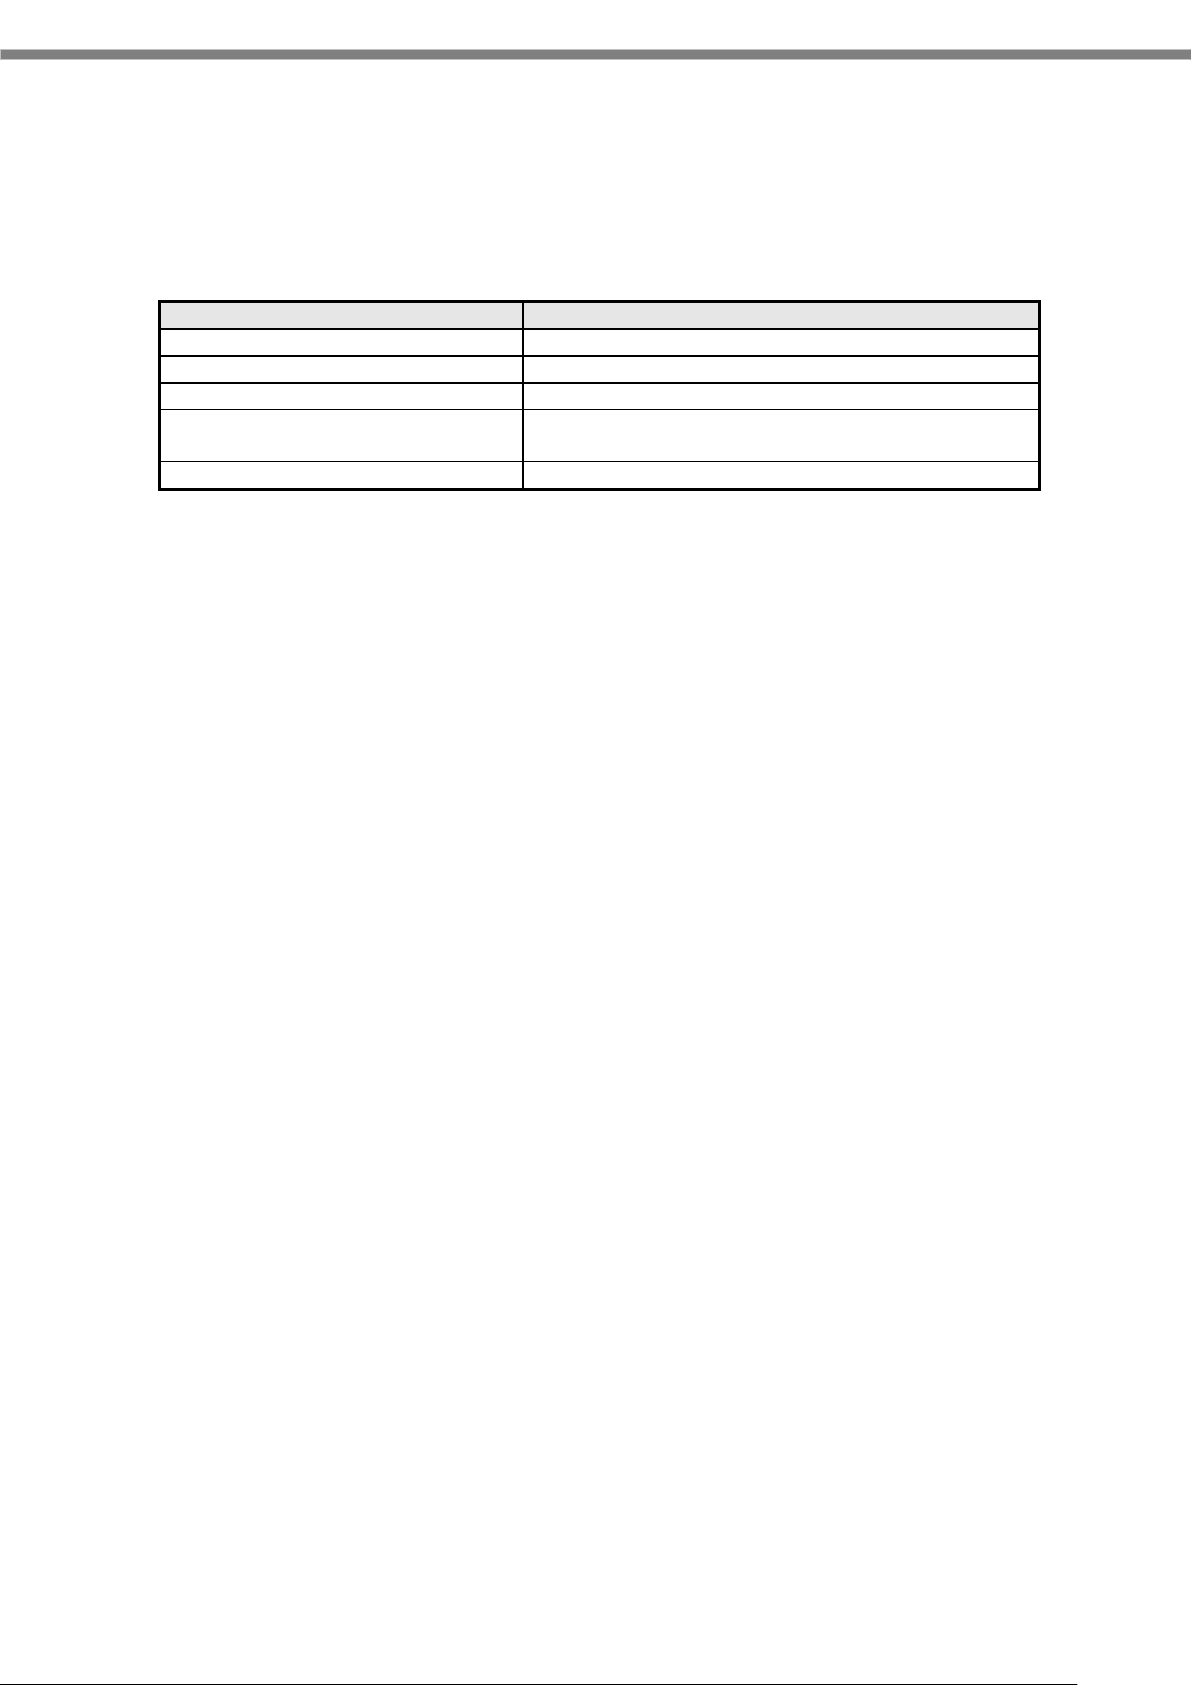
Quick start guide
This document
Software manual
Software specification of IT-G400
DeviceLibrary manual
Describing the specifications of the device library
CasioAndroidAddons manual
Describing the specifications of the
CasioAndroidAddons.
KittingTool manual
Describing the specifications of the KittingTool.
1.4 About manuals
The following is a list of manuals provided with this development kit.
5
Page 8
2. Application development requirement
IT-G400
2.1 Needed programing knowledges
IT-G400 application can be developped using the following language.
• Java
And, also the knowledge about the followings are needed.
• Android OS
• Android allication development
• Android Studio
• Networks, etc.
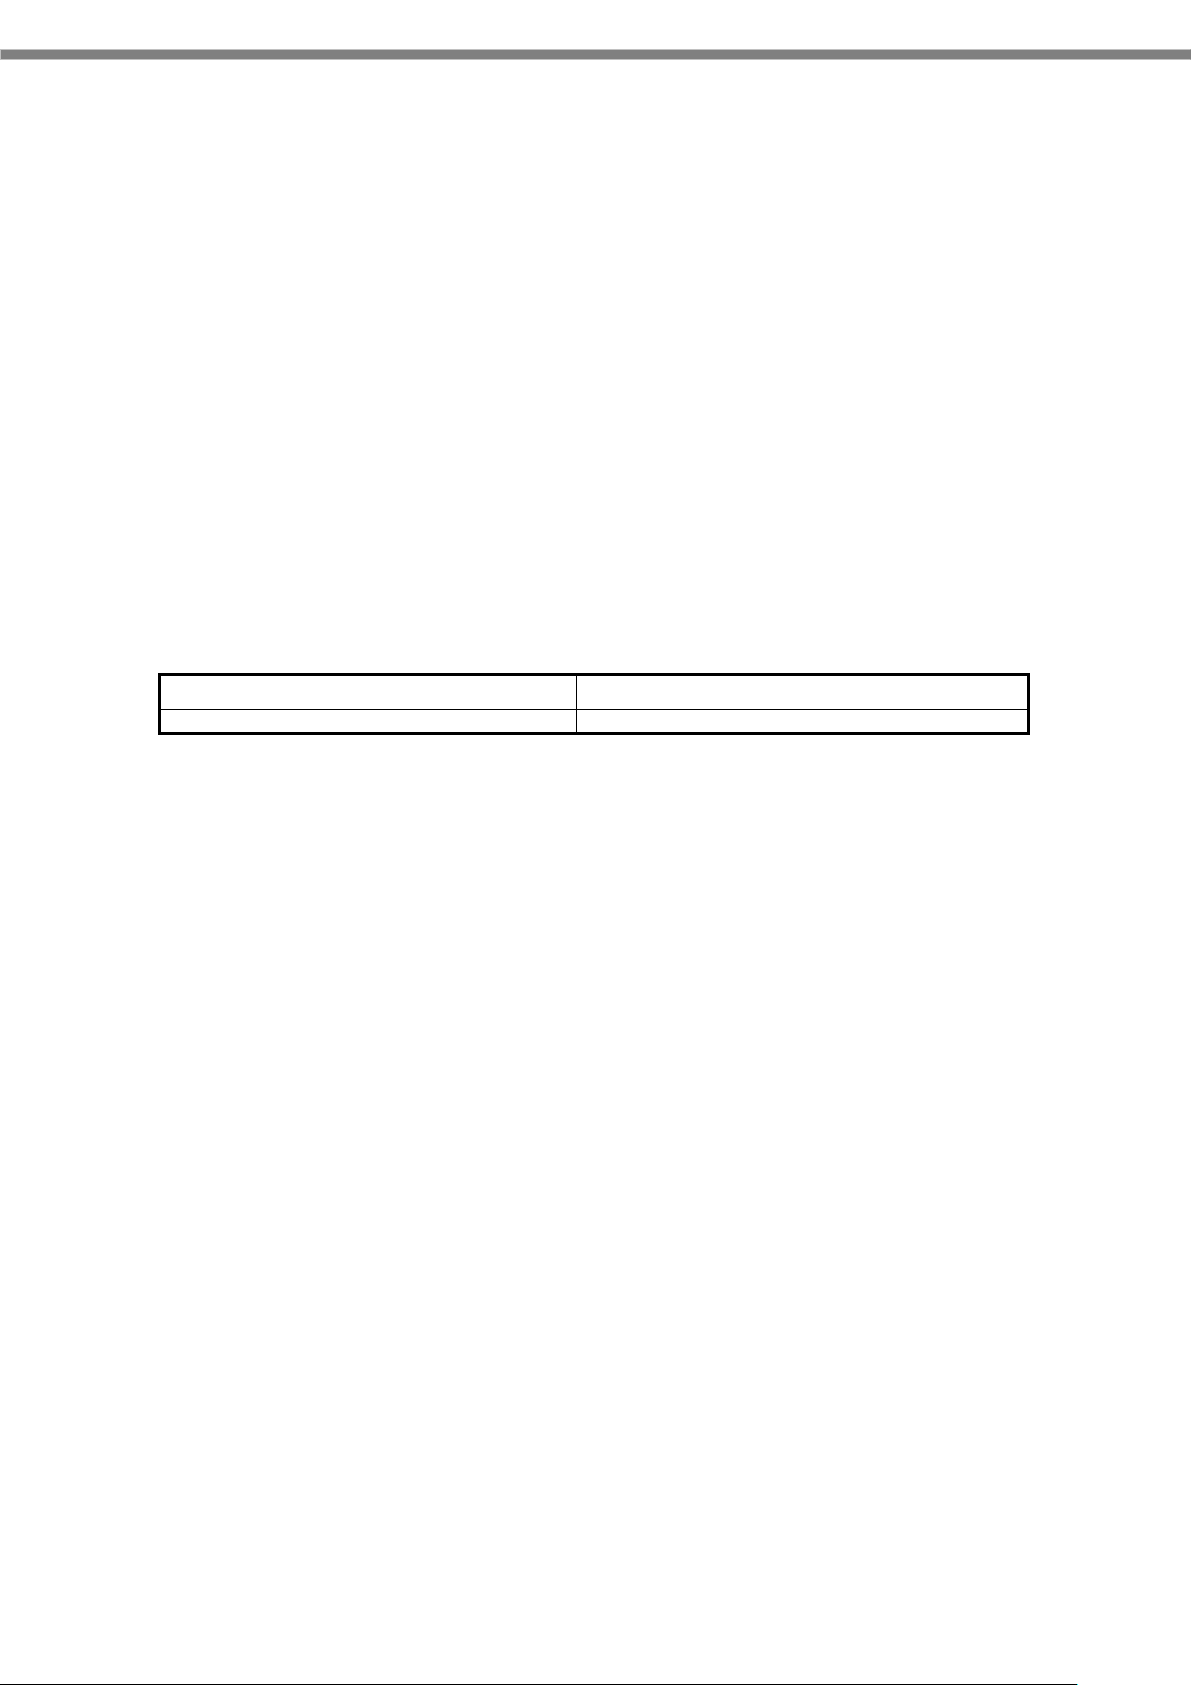
2.2 Required hardware
Product name Remarks
6
Page 9

2.3 Required system
[ Windows ]
Microsoft® Windows® 7/8/10 (32- or 64-bit)
3 GB RAM minimum, 8 GB RAM recommended; plus 1 GB for the Android Emulator
2 GB of available disk space minimum,
4 GB Recommended (500 MB for IDE + 1.5 GB for Android SDK and emulator system image)
1280 x 800 minimum screen resolution
For accelerated emulator: Intel® processor with support for Intel® VT-x, Intel® EM64T (Intel®
64), and Execute Disable (XD) Bit functionality
[ Mac ]
Mac® OS X® 10.10 (Yosemite) or higher, up to 10.12 (macOS Sierra)
3 GB RAM minimum, 8 GB RAM recommended; plus 1 GB for the Android Emulator
2 GB of available disk space minimum,
4 GB Recommended (500 MB for IDE + 1.5 GB for Android SDK and emulator system image)
1280 x 800 minimum screen resolution
[ Linux ]
GNOME or KDE desktop
Tested on Ubuntu® 14.04 LTS, Trusty Tahr (64-bit distribution capable of running 32-bit
applications)
64-bit distribution capable of running 32-bit applications
GNU C Library (glibc) 2.19 or later
3 GB RAM minimum, 8 GB RAM recommended; plus 1 GB for the Android Emulator
2 GB of available disk space minimum,
4 GB Recommended (500 MB for IDE + 1.5 GB for Android SDK and emulator system image)
1280 x 800 minimum screen resolution
For accelerated emulator: Intel® processor with support for Intel® VT-x, Intel® EM64T (Intel®
64), and Execute Disable (XD) Bit functionality, or AMD processor with support for AMD
Virtualization™ (AMD-V™)
Caution! The explanation after the next chapter is all for Windows. If you are using Mac or Linux as a
development environment, you are responsible for building the environment at your own risk.
7
Page 10
Development
language
Development platform (Recommended)
Java
Android Studio 2.2 or above
JDK7 or above
Android Studio
2.2 or later
3.0 or later
development kit
1.01 or later
1.02 or later
1.01
1.02 or later
OS
all version
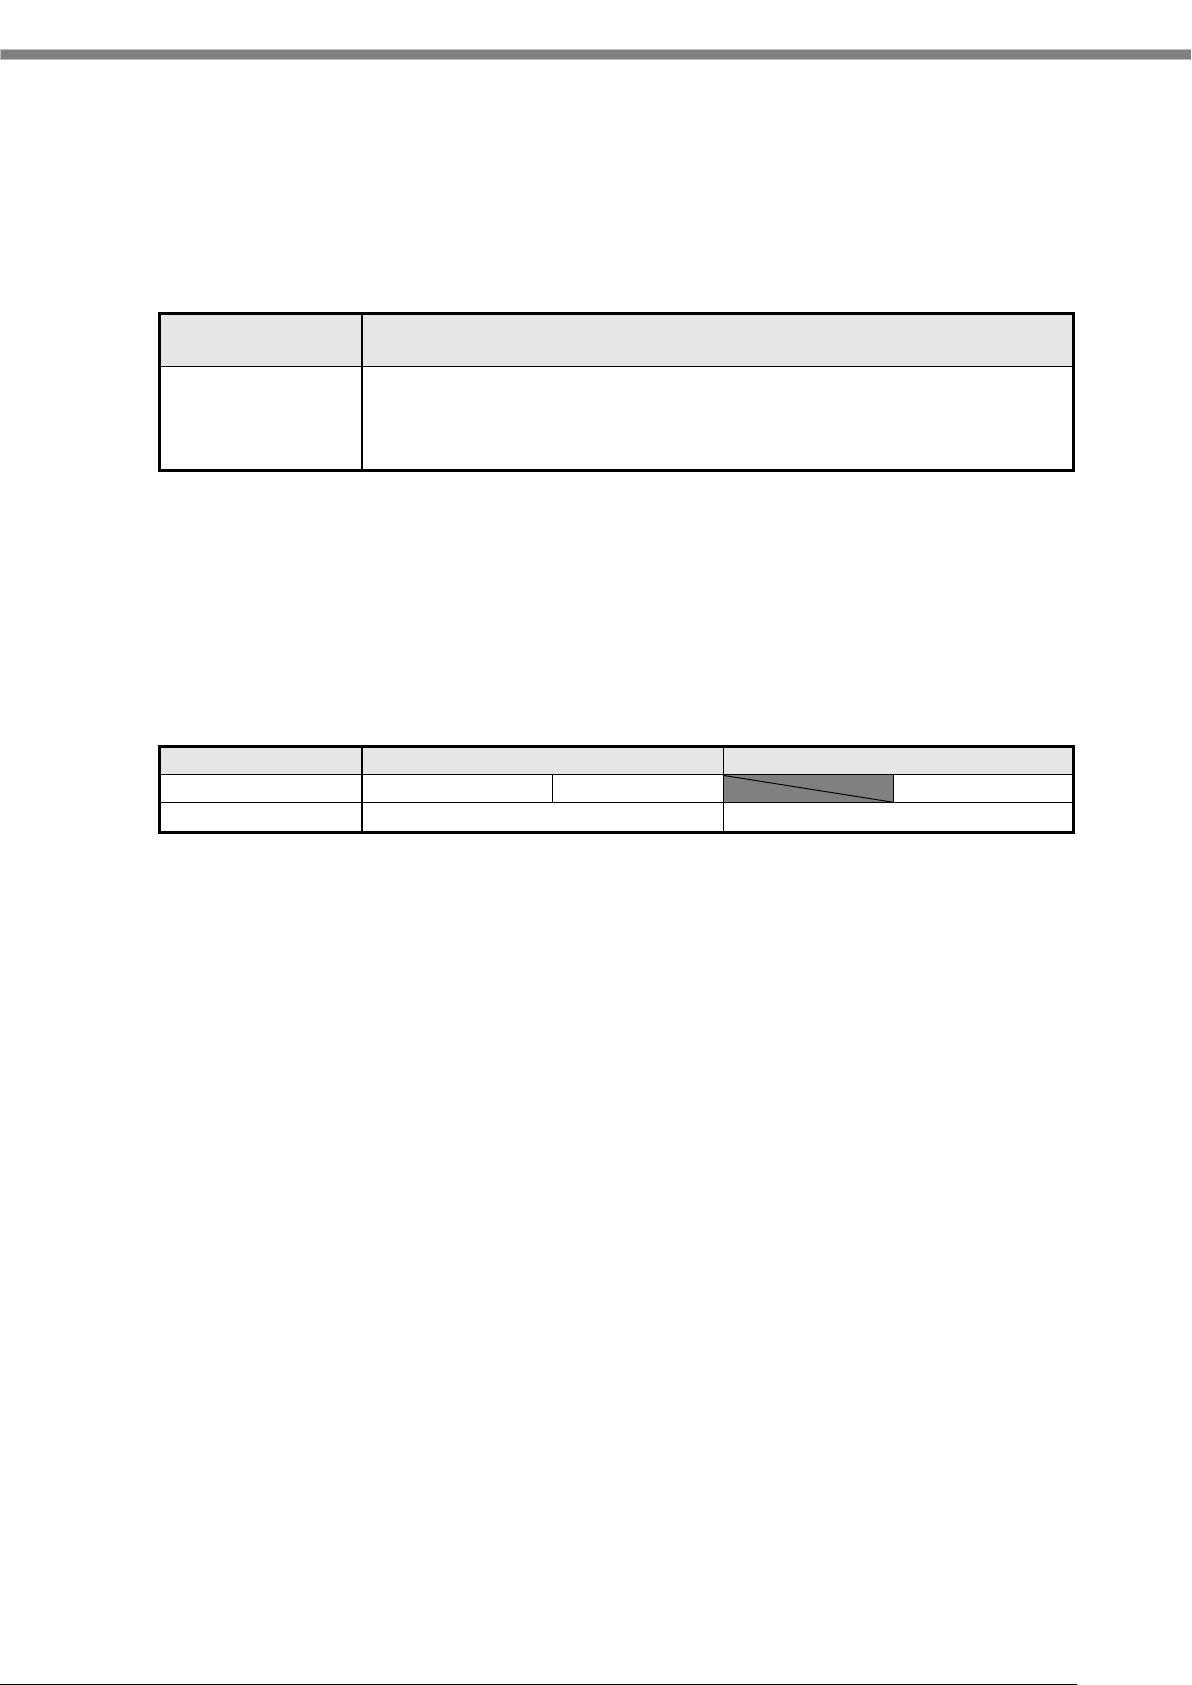
2.4 Required softwares
In order to develop IT-G400 application programs, it needs the development environment of Android.
Development platform (Recommended)
Android SDK (API level 17 - 23)
Google USB driver
Caution !
Using the old development kit with the new Android Studio may cause problems. Be sure to use the latest
development kit when upgrading Android Studio version.
The combinations currently available are as shown in the table below.
←
8
Page 11

3. Installing the development environment
Due to version upgrade of Android SDK, environment may not be installed by the following procedure. In
that case, please refer to the procedure described on Google's website etc. and build the environment.
3.1 Installation steps of the development environment
The followings are the basic steps to install the development environment.
(1) Installing JDK
Before installing Android Studio, JDK ( Java Development Kit ) has to be installed.
Regarding JDK, refere “2.4 Required softwares (p.8)”.
Regarding JDK installation detail, refere “3.2Installing JDK (p.10)”.
(2) Installing Android Studio
Install Android Studio to your PC.
Regarding the requirement of Android Studio, refere “2.4 Required softwares (p.8)”.
Regarding Android Studio installation detail, refere “3.3 Installing Android Studio (p.13)”.
(3) Downloading of Android SDK/USB driver
Download Android SDK and USB driver from Google via Android Studio.
Android SDK will be installed automatically after downloading.
Regarding USB driver installation detail, refere “4.2 Installing USB driver (p.29)”.
Regarding the requirement of Android SDK, refere “2.4 Required softwares (p.8)”.
(4) Setting of PATH
Add the path to Android SDK to "PATH" of the system environment variable.
For the setting method, refer to "4.3 Settings for ADB ( Android Debug Bridge )(p.32)".
(4) Installing DeviceLibrary
Place the DeviceLibrary (AAR) to any where on your PC, and register it to the each of your projects
via Android Studio.
Regarding DeviceLibrary installation, refere “3.5 Installing and Updating Device Library (p.17)”.
(6) Application development and debug
Use the installed Android Studio and SDK to develop the application.
For details on how to use the device library, refer to "Device Library Manual".
To debug the application, connect the PC and the IT-G400 via the ADB (Android Debug Bridge)
interface. For details, see "4 Application development and debug (p.28) ".
9
Page 12

3.2 Installing JDK
Java SE JDK can be downloaded from the Java site. Visit the site and download the Java SE JDK package
corresponding to your Windows platform.
http://www.oracle.com/technetwork/java/javase/downloads/index.html
The URL and contents of the Java site may differ from the contents described in this document due to the
update of the site. When downloading the JDK, please access the Java site via the search engine etc. and
follow the description of the site.
In the following example, "jdk-8u121-windows-i586.exe" (64 bit) is downloaded.
For the 32 bit Windows, 32 bit version of JDK must be needed.
※ Because JDK is frequently updated, it's better to install the latest version at that time.
10
Page 13

Execute the downloaded file with administrator privileges. Basically, it is not needed to change the value
from default.
11
Page 14

12
Page 15

3.3 Installing Android Studio
Android Studio can be downloaded from Android site of Google.
http://developer.android.com/sdk/index.html
Agree to the “Terms of Conditions”, then start downloading.
Once executing the downloaded file, follow the instructions to proceed the installation.
13
Page 16

During installation, you will be prompted to specify the installation destination by the dialog below. The
"Android SDK Installation Location" on the figure below is also necessary when installing the USB driver,
it's better to take a note.
When the dialog shown below is displayed, installation of Android Studio is completed.
14
Page 17

3.4 Downloading Android SDK and USB driver
Launch Android Studio, and chose "SDK Manager" from Configure tab.
Select “SDK Platform” tab, then check "Android 6.0 (API Level 23)".
Then, select “SDK Tools” tab and check "Google USB Driver".
15
Page 18

Once agree to the “License Agreement”, then press “OK” to start installation.
The downloaded files are stored under "Android SDK Installation Location" that you noted in "3.3
Installing Android Studio (p.13) ".
The USB driver is stored in "extras¥google¥usb_driver" under "Android SDK Installation Location".
16
Page 19

3.5 Installing and Updating Device Library (AAR)
This chapter explains how to register the device library and its help file to Android Studio project.
3.5.1 Preparations
Device Library ( AAR ) and its help files ( Javadoc ) are needed to be registered to the each project via
Android Studio. Therefore, the method described here is necessary every time when creating new project
that uses the device library.
The following chapter explains the procedure for registering the device library and its help files to the
project. It is better to copy the DeviceLibrary and its help files from the IT-G400 Basic Development Kit to
the local folder beforehand.
3.5.2 Registering DeviceLibrary ( AAR )
Once open the project from the Android Studio, open the "New Module" dialog with [File] → [New] →
New Module.
17
Page 20

On the dialog shown below, select "Import .JAR/.AAR Package" and proceed with "Next".
Press the
of "File name" and select the DeviceLibrary (AAR) you copied beforehand.
By the above, the registration of the device library to the project was completed. You can see that the AAR
file name has been added to the Android Studio Project tree.
18
Page 21

19
Page 22

3.5.3 Dependency check of DeviceLibrary ( AAR )
Project Structure...
The registration of the device library was completed with "3.5.2 Registering DeviceLibrary (p.17)".
However, somehow the dependency relationship of the DeviceLibrary to the project is not set correctly in
some cases.
If the dependency is not set correctly, "3.5.4 Registering Help files ( Javadoc ) (p.23)" can not be done
correctly, in that case follow the explanation in this section.
First, select "Project Structure ..." from File menu.
Open the "Dependencie" tab and check if "DeviceLibrary" (red frame in the figure below) exists. If it exists,
subsequent operations are unnecessary.
If it does not exist, tap "+ button" at right end and select "Module dependency".
20
Page 23

Confirm that "DeviceLibrary" is displayed as shown below and tap "OK".
By the above, "DeviceLibrary" has been added to the tab of "Dependencies".
21
Page 24

22
Page 25

3.5.4 Registering Help files ( Javadoc )
<JAVADOC>
</JAVADOC>
This section explains how to enable pop-up help (pops up help message when you move the cursor to the
function name) of Device Library.
First, associate Javadoc which is the help file of Device Libraries to Device Library registered to Android
Studio.
The Javadoc file can be placed anywhere as long as it can be referenced on the PC. It assumes that it is
placed in the "docs/DeviceLibrary" folder here.
When registration of the device library is completed, a xml file whose name is same as the library is
automatically created under the “". Idea" folder. At moment, the item "<JAVADOC>" in this xml file has
not been set. Specify the location of the javadoc file (folder path with index.html) in this item
"<JAVADOC>".
<root url="file://$PROJECT_DIR$/app/docs/DeviceLibrary" />
By the above, the registration of the help file was completed.
Next, enable "Quick documentation on mouse move" which is the function of Android Studio.
23
Page 26

Select "Settings ..." from File menu of Android Studio.
Settings
Show quick documentation
on mouse move.
Show quick documentation
on mouse move.
Next, check a box of "Show quick documentation on mouse move".
Now, if you hover the mouse cursor over the function name, help of the function will be poped up.
24
Page 27

3.5.5 Updating of DeviceLibrary ( AAR )
In order to update the device control library registered in the project of Android Studio (exchange to the
new version), once you need to unregister (unassociate) them and register new one.
This section explains how to unregister (unassociate) them from the project.
(1) Unassociate Library ( AAR )
Open your project in Android Studio and select [File] -> [Project Structure ...]. Select "app" from
"Modules" in the left frame and open the "Dependencies" tab. Select DeviceLibrary and press the right
“-“ button to cancel the association.
(2) Unregister Library ( AAR )
Next, select "DeviceLibrary" from "Modules" in the left frame and tap "- button" in the upper left.
25
Page 28

A dialog to confirm deletion of DeviceLibrary appears, so tap [Yes].
By the above, Device Library was unregistered. Follow "3.5Installing and Updating Device Library(p.17)"
to register the new Device Library.
26
Page 29

3.6 How to use the DeviceLibrary ( AAR )
To use an AAR file, just like jar, it is needed to inport it in order to create class object.
If a class that has not been imported is used, popup message as shown below is comes.
27
Page 30

4. Application development and debug
In order to develop / debug applications using IT-G400, the following preparation is necessary.
(1) Enable USB debugging (ADB connection) of IT-G400.
(2) Install IT-G400 USB driver to your PC.
(3) Set PATH to the debug tools on your PC.
These steps are described below.
4.1 Enabling USB debugging
Since USB debugging is a function for developers, you first need to activate the Developer
options by the following procedure.
Open [Settings] → [About phone] and tap "Build number" on the bottom line seven times,
[Developer options] is added above [About phone].
28
Page 31

Tap [Developer options] and enable "USB debugging" on the opened screen.
4.2 Installing USB driver
Install the USB driver for connecting the IT-G400 and PC with the ADB (Android Debug Bridge) protocol.
Files necessary for installation are downloaded as described in "3.4 Downloading Android SDK and USB
driver (p.15)”.
Connect the IT-G400 to a PC using a USB cable or a USB cradle. Then, open the Device Manager by
[Control Panel] → [Hardware and Sound] → [Device Manager].
29
Page 32

In the Device Manager, “Android” is displayed as an unknown device as shown below.
By right-click the red frame (“Android”) in the above figure, displays its properties, and press [Update
Driver].
When the dialog below is displayed, press "Let me pick from a list of drivers on my computer " at the
bottom. In the driver list, with "Show all devices" is highlighted and press [Next].
30
Page 33

When you click [Hard Disk…] in the displayed dialog, a dialog box for specifying the location of the driver
opens, so click [Browse…] to open the file dialog box. In the file dialog box, search for
“extras¥google¥usb_driver¥android_winusb.inf” under the “Android SDK Installation Location" that you
took note in “3.4 Downloading Android SDK and USB driver (p.15)” and specify it.
The following driver selection screen will appear. Select "Android Composite ADB Interface" and press
[Next]. Answer "Yes" to "Driver Update Warning" and press "Install" of "Windows Security" dialog.
By the above, the installation of the USB driver for ADB protocol was completed.
31
Page 34

4.3 Settings for ADB ( Android Debug Bridge )
In order to use Android SDK tools such as adb from the command prompt, it is needed to add the path to
Android SDK to the system environment variable. Add the following two paths.
The "tools" folder under "Android SDK Installation Location" that you took note.
The "platform-tools" folder under "Android SDK Installation Location".
In the above example, the path to add is as follows.
C:¥Users¥casio¥AppData¥local¥Android¥sdk¥tools
C:¥Users¥casio¥AppData¥local¥Android¥sdk¥platform-tools
32
 Loading...