

SYSTXCCITW01 &
SYSTXCCITN01
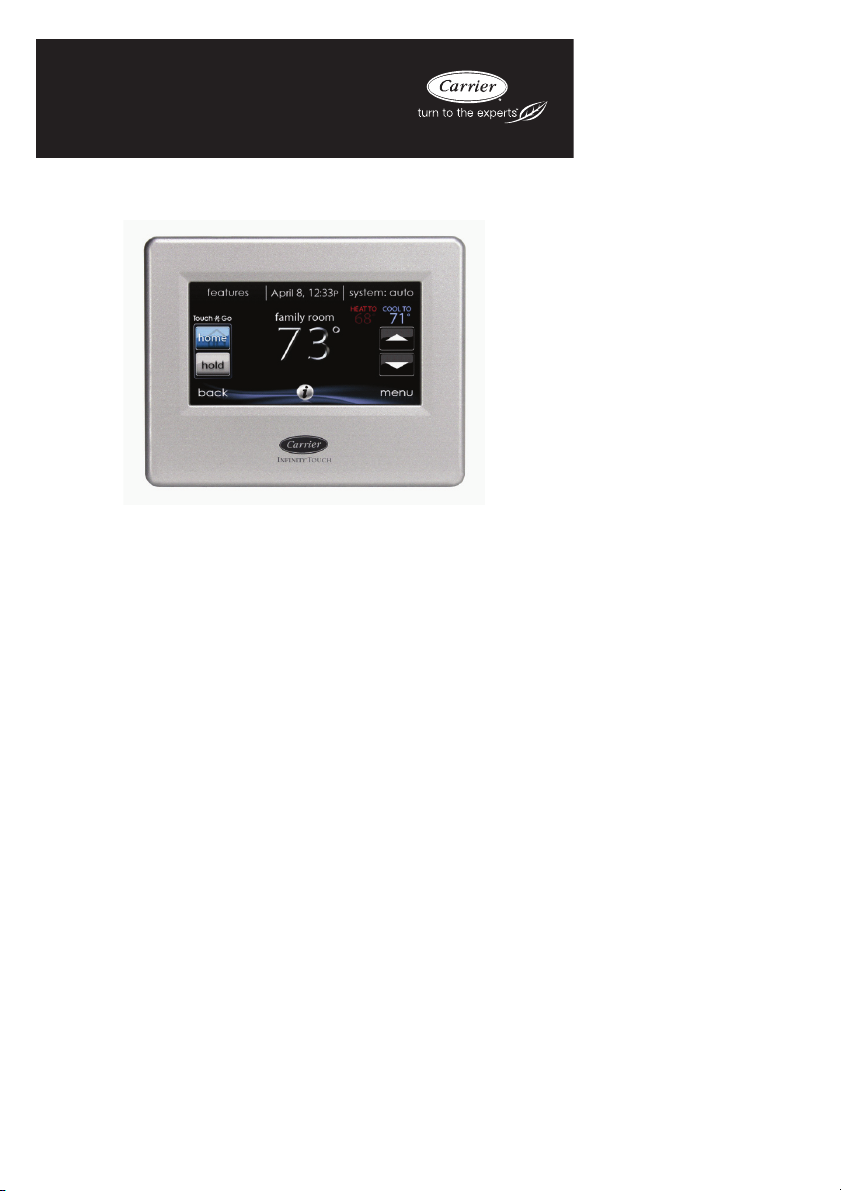
Infinityr Touch Control
Owner’s Manual
NOTE: Read the entire instruction manual before starting the installation.
US Patents: Carrie rr U.S. Pat No. 7,243,004, Carrierr U.S. Pat No. 7,775,452,
pointSETt U.S. Pat No. 7,415,102


TABLE OF CONTENTS
PAGE
Introduction 1.....................................................
Home Screen 1....................................................
Information Displayed 1...........................................
Information Buttons 2.............................................
Main Screen 2....................................................
System Mode 2..................................................
Set Day and Time 3..............................................
Adjust Temperature (Temporary Hold) 3..............................
Adjusting Comfort Activities (See Comfort Profiles on Page 7) 3...........
Adjusting Heating 4..............................................
Adjusting Cooling 4..............................................
Adjust Temperature (Permanent Hold) 5..............................
Adjusting Comfort Activities (See Comfort Profiles on Page 7) 5...........
Adjusting Heating 5..............................................
Adjusting Cooling 6..............................................
Features 6........................................................
Adjust Fan Speed 6...............................................
View Current Humidity Level 6.....................................
Menu Screen 7....................................................
Comfort Profiles 7...............................................
Home Humidity Control 8.........................................
Home Fresh Air Control 9.........................................

TABLE OF CONTENTS (cont.)
PAGE
Away Humidity Control 9..........................................
Away Fresh Air Control 10.........................................
Programming the Infinityr Touch Control 11...........................
Schedule Yourself 11.............................................
Guide Me through Scheduling 12....................................
Upload My Schedule 14...........................................
Set Time and Date 14.............................................
Operating Status 15..............................................
Accessories Status 16.............................................
Zone Status (if applicable) 16.......................................
Vacation Settings 17..............................................
Energy Tracking 18..............................................
Wireless Set --up (if applicable) 19...................................
Screen Lock 24..................................................
Weather Forecast 25..............................................
Service 26......................................................
Photo Upload 26.................................................
Accessory Reminders 27..........................................
Display 28.....................................................
Heat Source (if applicable) 29......................................
Zone Names (If Applicable) 29.....................................
INTRODUCTION
CONGRATULATIONS! Your decision to choose the InfinityR Touch Control puts
you in a select group of homeowners who understand the value of precise comfort
control and appreciate the simplicity of an easy --to --use, intuitive, control.
Your new Infinity Touch Control offers high quality comfort technology. Please
take a few moments to carefully read through this manual. Next set up a comfort
profile and schedule that makes sense for your lifestyle; then relax and enjoy the
new comfort of your home!
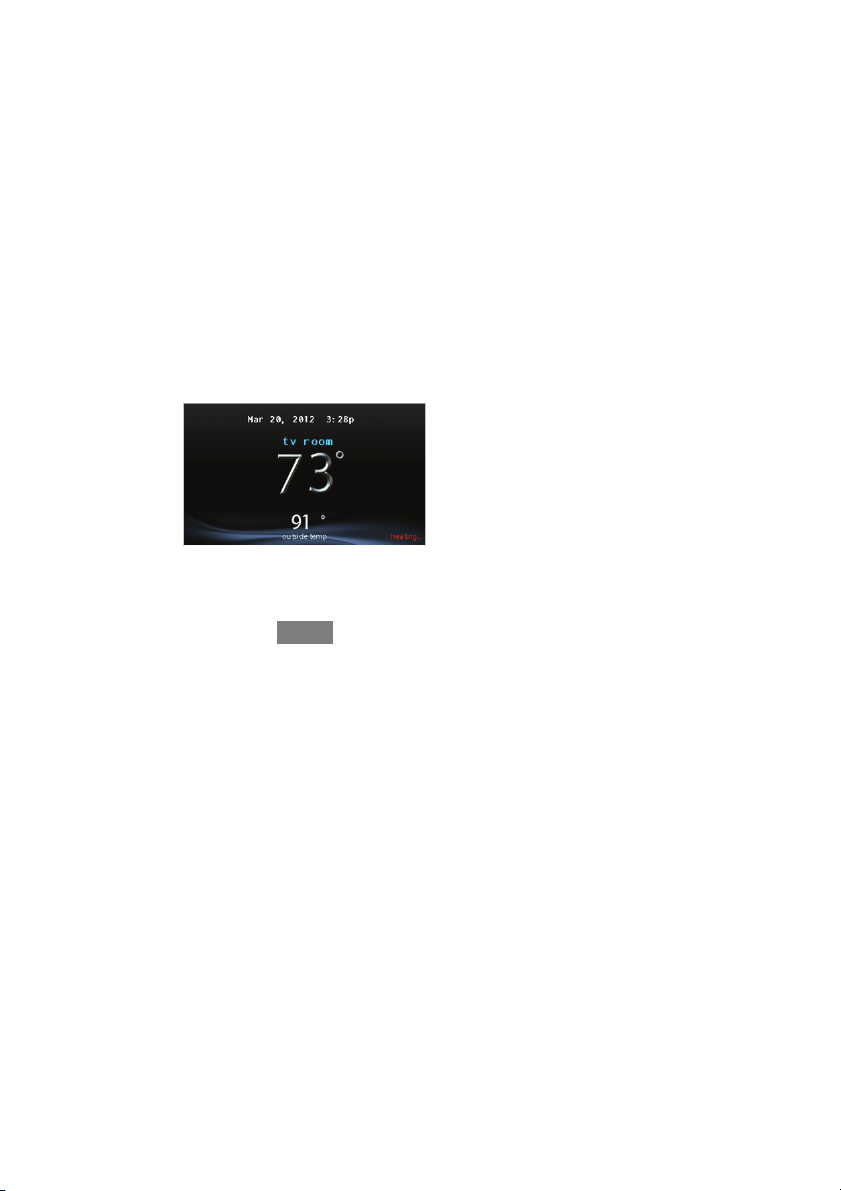
HOME SCREEN
Information Displayed
The information displayed on the home screen will appear when there has been no
interaction with the Infinity Touch Control for at least one minute. The basic
information displayed on the Home Screen consists of the current date and time, the
room temperature (zone temperature if applicable), the outdoor temperature, and
current weather condition.
If you have uploaded a photo to the control (see page 26), it will act as your home
screen until an interaction has occurred.
A12102
1

Information Buttons
On the bottom of some screens will be an information icon. By pressing the
information icon, a text box will display to show what interactions are available on
that particular screen. To close the text box, press the information icon again.
FIGURE PLACE HOLDER
A12103
MAIN SCREEN
The main screen is where most interactions will take place. Touch anywhere on the
screen to arrive at the main screen.
System Mode
S Once in the main screen,
S To access your system mode touch the MODE label located in the upper
right of the control.
S The drop--down menu will allow you to choose between AUTO, HEAT,
COOL, FAN ONLY and OFF.
S If OFF is selected that means your heating and cooling systems are not
operational.
S If AUTO is selected, the Infinity Touch Control automatically switches
between heating and cooling to maintain your comfort during transitional seasons.
2

S If HEAT is selected then the Infinity Touch Control operates only the
heating system.
S If COOL is selected then the Infinity Touch Control operates only the
cooling system.
S If FAN ONLY is selected, then the Infinity Touch Control operates the
indoor fan.
Set Day and Time
S To set the day and time for your home screen enter the main screen by
touching anywhere on the control.
S Touch the DAY and TIME label located at the top middle of the screen
or access by going through the menu screen (see page 14).
S To set t h e HOUR, MINUTE, MONTH, DAY,orYEAR touch the fea-
ture you wish to change.
S Use the Up (Y) and Do wn (B) buttons to make the appropriate
changes.
S When you have completed all of the settings, touch SAVE.
S If you make a mistake you may touch CANCEL and begin again.
Adjust Temperature (Temporary Hold)
The Infinity Touch Control allows you to temporarily override your programmed
schedule by adjusting the indoor temperature at any time to meet your needs.
Adjusting Comfort Profiles (See Comfort Profiles on Page 7)
S To adjust the comfort activity, enter the main screen by touching any-
where on the control.
S Touch the activity under the Touch N Got feature on the left side of the
screen; then select the desired activity of HOME, AWAY, SLEEP,or
WA K E .
3

S Use the Up (Y) and Do wn (B) buttons to change the time to temporar-
ily hold the desired temperature in 15 minute increments.
S When the correct time interval is displayed, touch DONE.
S To return to the scheduled program, touch HOLD UNTIL,andthen
select PER SCHEDULE.
Adjusting Heating
S To adjust the heating temperature, enter the main screen by touching
anywhere on the control.
S With the system in either AUTO or HEAT mode, use the Up (Y)and
Down (B) buttons to set the desired temperature.
S On the left hand side of the screen, the comfort profile will switch to
manual, and the system will be placed in a temporary hold.
S Use the Up (Y) and Do wn (B) buttons to change the time to temporar-
ily hold the desired temperature in 15 minute increments.
S When the correct time interval is displayed, touch DONE.
S To return to the scheduled program, touch HOLD UNTIL,andthen
select PER SCHEDULE.
Adjusting Cooling
S To adjust the cooling temperature, enter the main screen by touching
anywhere on the control.
S With the system in either AUTO or COOL mode, use the Up (Y)and
Down (B) buttons to set the desired temperature.
S On the left hand side of the screen, the comfort profile will switch to
manual, and the system will be placed in a temporary hold.
S Use the Up (Y) and Do wn (B) buttons to change the time to temporar-
ily hold the desired temperature in 15 minute increments.
S When the correct time interval is displayed, touch DONE.
4

S To return to the scheduled program, touch HOLD UNTIL,andthen
select PER SCHEDULE.
Adjust Temperature (Permanent Hold)
The Infinity Touch Control allows you to permanently override your programmed
schedule by adjusting the indoor temperature at any time to meet your needs.
Adjusting Comfort Profiles (See Comfort Profiles on Page 7)
S To adjust the comfort activity, enter the main screen by touching any-
where on the control.
S Touch the activity under the Touch N Got feature on the left side of the
screen; then select the desired activity of HOME, AWAY, SLEEP, or
WA K E .
S Touch the HOLD UNTIL button, then touch HOLD.
S To return to the scheduled program touch HOLD, and then touch PER
SCHEDULE.
Adjusting Heating
S To adjust the heating temperature, enter the main screen by touching
anywhere on the control.
S With the system in either AUTO or HEAT mode, use the Up (Y)and
Down (B) buttons to set the desired temperature.
S On the left hand side of the screen, the comfort profile will switch to
MANUAL.
S Touch the HOLD UNTIL button, then touch HOLD.
S To return to the scheduled program, touch HOLD, and then touch PER
SCHEDULE.
5

Adjusting Cooling
S To adjust the cooling temperature, enter the main screen by touching
anywhere on the control.
S With the system in either AUTO or COOL mode, use the Up (Y)and
Down (B) buttons to set the desired temperature.
S On the left hand side of the screen, the comfort profile will switch to
MANUAL.
S Touch the HOLD UNTIL button, then touch HOLD.
S To return to the scheduled program, touch HOLD, and then touch PER
SCHEDULE.
FEATURES
Adjust Fan Speed
The Features function of Infinity Touch Control allows you to adjust the fan speed
during continuous fan operation.
S To adjust the fan speed, enter the main screen by touching anywhere on
the control.
S Touch FEATURES on the top left of the screen.
S A drop down menu will appear. Touch FAN selection.
S Use the Up (Y) and Do wn (B) buttons to set the fan to OFF, LOW,
MEDIUM or HIGH, then touch DONE.
View Current Humidity Level
The Features function of Infinity Touch Control allows you to view the current
humidity level within the conditioned space.
S Enter the main screen by touching anywhere on the control.
S Touch FEATURES on the top left of the screen.
6
S In the drop down menu you will see your measured humidity levels
within the conditioned space.
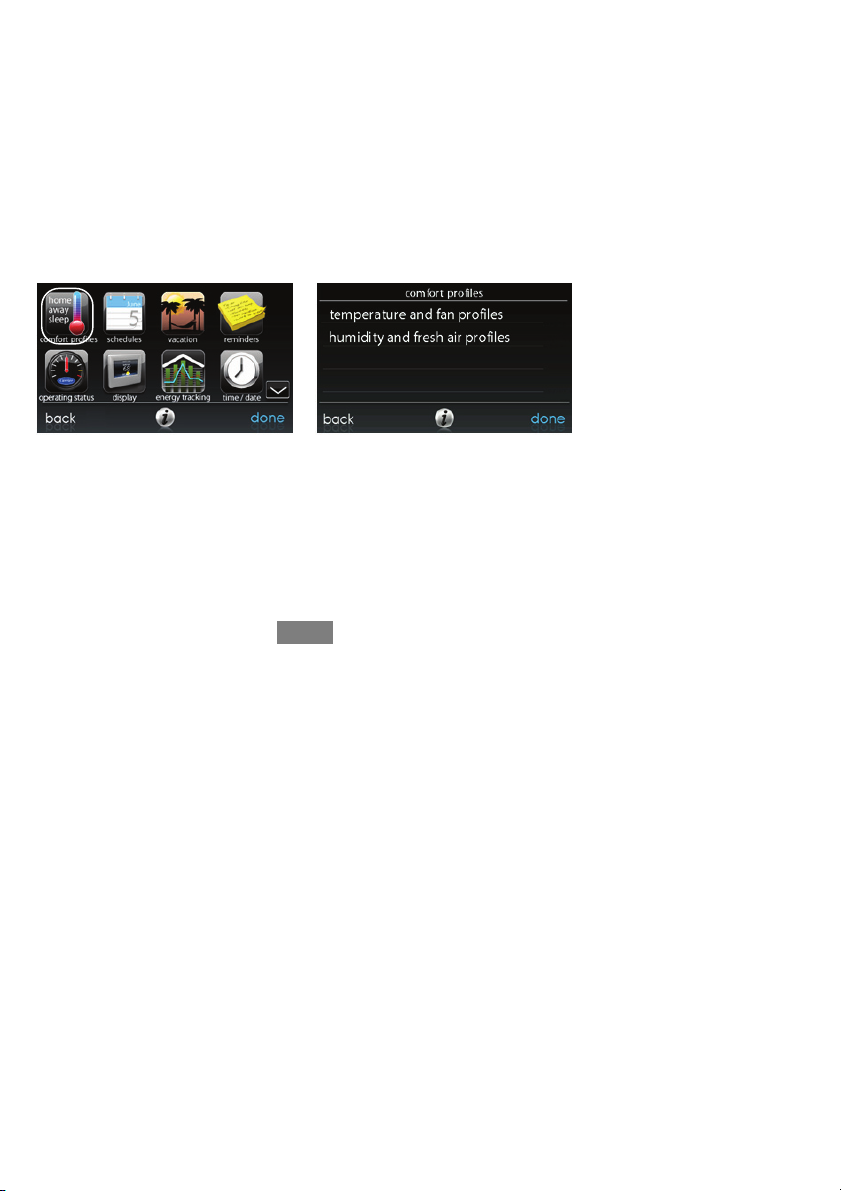
MENU SCREEN
Your menu screen offers more features and control for your Infinity Touch Control.
Touch the menu button at the bottom right of the main screen.
Comfort Profiles
You will need to set the comfort profiles before you attempt to program your new
Infinity Touch Control.
S The COMFORT PROFILES button allows you to set comfort settings
for temperature and humidity for your entire home or for various rooms
if you have InfinityR Zoning.
A12104
S Set your desired heating and cooling temperatures and your fan setting
using the TEMPERATURE AND FAN PROFILES for each activity.
d For example to change your HOME comfort profile, touch the
HOME icon.
d Use the Up (Y) and Down (B) buttons to change the fan settings,
heating and cooling temperatures. When you are done, press the
SAVE button on the bottom right.
7

d Do the same thing to change the WA K E and SLEEP profiles.
d The AWAY profile provides an extra feature called Smart Setback.
It allows the Infinityr System to dynamically determine the away
temperature automatically to save the most amount of money, yet
reach your comfort settings when you return home.
d Use the Up (Y) and Down (B) buttons to change the fan settings
and temperature settings. The temperature settings are the range in
which you choose to keep your home conditioned while you are
away. The Smart Setback function will maintain your temperature
within this range.
S Set your desired humidity and fresh air (if applicable) using the HU-
MIDITY AND FRESH AIR PROFILES for each activity.
Home Comfort Profile Humidity Control
S Touch WHEN AT HOME to set your humidity settings while the home
is occupied to enjoy superior comfort.
S If you have a humidifier installed for your system, touch HEATING
HUMIDITY to set the desired humidity level within the home.
d You will have the option to choose to USE HUMIDIFIER TO
HUMIDIFY and USE VENTILATOR TO DEHUMIDIFY. Select
YES or NO to the options that apply to your system.
d If you choose YES for either, next touch the SET HUMIDITY
button.
d You will have the option of choosing between WINDOW PRO-
TECT or MANUAL.
d Choosing MANUAL, allows you to set the humidity level between
5--45%. Use the Up (Y) a nd Down (B) buttons to set the desired
humidity level.
8

d Choosing WINDOW PROTECT, the system will pick the right
settings to keep condensate from forming on your windows, based
on the outdoor temperature and the quality of your windows.
S Next, select your desired humidity level during cooling by touching
COOLING HUMIDITY.
d Use the Up (Y) and Down (B) buttons to set the desired dehumidi-
fication level between 46--58%.
d Touch YES or NO for the system to over--cool the conditioned
space by up to 3º F to remove as much humidity out of the air as
possible.
Home Comfort Profile Fresh Air Control
S If applicable, with a ventilator, next select the amount of fresh air to
circulate during heating mode by touching HEATING FRESH AIR.
d You will have the option of choosing between AUTO, MANUAL,
or OFF.
d Use the Up (Y) and Down (B) buttons to set the desired ventilator
speed level.
d If applicable, next select the amount of fresh air to circulate during
cooling mode by touching COOLING FRESH AIR.
d You will have the option of choosing between AUTO, MANUAL,
or OFF.
d Use the Up (Y) and Down (B) buttons to set the desired ventilator
speed level.
Away Comfort Profile Humidity Control
S Touch WHEN AWAY to set your humidity settings while you are away
from home to save the most amount of energy.
9

S If you have a humidifier installed for your system, touch HEATING
HUMIDITY to set the desired humidity level when you are away home.
d Use the Up (Y) and Down (B) buttons to set the minimum humid-
ity level between 0 --20%.
S To set the desired humidity level during cooling, touch COOLING
HUMIDITY.
d Use the Up (Y) and Down (B) buttons to set the maximum dehu-
midification level between 55 --65%.
d Touch YES or NO for the system to over--cool the conditioned
space by up to 3_ F to remove as much humidity out of the air as
possible.
Away Comfort Profile Fresh Air Control
S If applicable, with a ventilator, select the amount of fresh air to circulate
during heating mode by touching HEATING FRESH AIR.
d You will have the option of choosing between AUTO, MANUAL,
or OFF.
d Use the Up (Y) and Down (B) buttons to set the desired ventilator
speed level.
S If applicable, select the amount of fresh air to circulate during cooling
mode by touching COOLING FRESH AIR.
d You will have the option of choosing between AUTO, MANUAL,
or OFF.
d Use the Up (Y) and Down (B) buttons to set the desired ventilator
speed level.
10

Programming the Infinity Touch Control
Touching the SCHEDULES icon provides three options. You may select to be
guided though the process, choose to handle the scheduling yourself or upload your
schedule from a USB drive.
A12105
Schedule Yourself
S To set a specific day use the Left (A) and Right (") buttons beside the
day names.
d If you wish to copy this schedule to other days, touch COPY above
the day.
d Select the days you wish to have the same schedule, then touch
COPY.
S To select the time the activity starts, touch the TIME icons. Use the Up
(Y) and Down (B) buttons to set the desired start time.
S If you want to delete a time period, touch the TIME icon, then touch
DELETE.
S To change the desired activity touch the ACTIVITY icon then select the
desired activity (WAKE, HOME, AWAY or SLEEP buttons).When
finished touch SAVE.
11

S For Zoning
d To set a specific room, use the Left (A) and Right (") buttons
beside the zone name.
d If you wish to copy this schedule to a different zone, touch COPY
above the zone name.
d Select the zones you wish to have the same schedule, then press
COPY.
Guide Me through Scheduling
The Guide Me through Scheduling feature will prompt you with simple questions to
help set a schedule that meets your desired comfort level and lifestyle.
If you are satisfied with your comfort settings, proceed to the next screen.
If you are not, go through the process outlined under Comfort Profiles (page 7).
1. If you have a zoning system, the next question will prompt you to pick the
zone you wish to schedule.
S Select the desired zone to program, then touch NEXT.
S If you do not have a zoned system, the control will skip this question.
2. The next question will prompt you to select the days you wish to schedule.
S You may select individual days, all days or weekdays by touching their
respective buttons.
S After you have selected the desired days, touch NEXT to continue.
3. The next question will ask what time you wake up on the scheduled days.
S Use the Up (Y) and Do wn (B) buttons to set the time you wake up.
S After you have selected the correct time, touch NEXT to continue.
4. The next question will ask if someone is home all day.
S Simply touch YES or NO to answer this question.
12

S If you select NO, the next question will ask what time you leave the
home.
d Use the Up (Y) and Down (B) buttons to set the time you leave.
d After you have selected the correct time, touch NEXT to continue.
S You will then be asked what time you will return to your home.
d Use the Up (Y) and Down (B) buttons to set the time you return
home.
d After you have selected the correct time, touch NEXT to continue.
5. If you select YES or have completed the previous steps, the next question
will ask if you want different sleep settings.
S If you select YES, the next question will ask what time you go to sleep.
d Use the Up (Y) and Down (B) buttons to set the time you go to
sleep.
d After you have selected the correct time, touch NEXT to continue.
6. If you select NO or have completed the previous steps, you will be shown a
screen that the scheduling process is complete for the selected days and
zones (if applicable).
S If you have completed the schedule, touch SA VE continue.
S If you touch CANCEL, it will prompt you back to step 5.
7. If you touched SAVE in step 6, you will be asked if you want to schedule
more days.
S Simply touch YES or NO to answer this question.
S If you select YES, you will return to step 2 and follow the process.
8. If you select NO, the screen control will show you the newly created schedule.
S If you have a zoning system, you will be asked if you want to schedule
another zone.
13

d If you select YES, you will return to step 2 and follow the process.
d If you select NO, you will see the newly created schedule.
Upload My Schedule
The Upload my Schedule feature will allow you to upload your schedule using a
standard USB drive.
S After you have programmed your schedule using the PC application,
found at MyInfinity.carrier.com
save it to a standard USB drive.
S Place the USB drive into the USB port on the bottom of the Infinity
Touch Control.
S The control will automatically upload your schedule.
S Once complete, you will receive a confirmation that your schedule is
loaded.
Set Time and Date
The TIME/DATE icon allows you to set the time and date for your Infinity Touch
Control.
A12112
S To set t h e HOUR, MINUTE, MONTH, DAY,orYEAR, touch the
feature you wish to change.
14

S Use the Up (Y) and Do wn (B) buttons to make the appropriate
changes.
S When you have completed all of the settings touch SAVE.
S If you make a mistake you may touch CANCEL and begin again.
A12106
Operating Status
The operating status menu gives a quick look at the status of your InfinityR
Heating and Cooling System.
A12173
15

Within the operating status, you can view which function is operating, and what
stage the heating or cooling equipment is in. When you are finished looking at the
operating status, press the DONE button to return to the previous menu.
Accessories Status
Within the accessory status, you can view how much of each accessory has been
consumed, and reset the counter for each accessory.
S To reset the counter for your installed accessory, touch the RESET but-
ton, then press SAVE.
S To return to the previous menu, press CANCEL.
A12108
Zone Status (if applicable)
Zone status allows you to take a quick look at the actual temperatures, and
temperature set points for each zone in your system.
S When you are done looking at your zone status, press DONE.
The system will indicate which mode is running by showing an arrow, which points
to either the heating or cooling set point.
If the system is preparing for the next program period, an indicator will be
displayed to show that the system is moving the temperature toward the next
programmed set point.
16

Vacation Settings
Touch the VACATION icon in order to set a prolonged vacation schedule.
S Touch PLAN VACATION to begin your vacation schedule.
S Use the Up (Y) and Do wn (B) buttons to set the time and date of when
your vacation begins; then touch NEXT.
S Use the Up (Y) and Do wn (B) buttons set the fan speed and the tem-
perature range you wish to keep your house; then touch NEXT.
S Use the Up (Y) and Do wn (B) buttons to set the time and date of when
plan to return from your vacation; then touch NEXT.
17
A12109
A12174

S Review your vacation schedule to make sure it is accurate. If it is cor-
rect, touch SAVE to complete your vacation schedule.
A12110
Energy Tracking
The Infinity Touch Control has the ability to monitor and estimate the energy
consumption of certain models, of your Infinity System.
A12111
S Once inside the energy tracking screen, you can view the estimated
energy consumption in daily, monthly or annual time intervals.
S You also have the ability to view energy consumption by units (kWh &
Therm) or in dollars.
S To enter your current utility rates, press the ENERGY PRICES button.
18

d Use the Up (Y) and Down (B) buttons to set the costs per KWH
and cost per Therm.
d Once the correct pricing is entered, press SAVE.
A12113
Wireless Set--up (if applicable)
With the appropriate model, the Infinity Touch Control can connect to your in home
Wi--Fi to connect your Infinity System to the Internet. Select the WIRELESS icon
from the menu screen.
To install the Wi--Fi connectivity to the Infinity Touch Control, connect the WAN
(BLUE port) connection of TP --LINKR Wireless Access Point to the homeowner’s
existing router LAN port using the provided Ethernet cable. The ports on the back
of the TP--LINK Wireless Access Point should not be used for other devices. The
TP--LINK Wireless Access Point should only be used for connection of the Infinity
Touch Control and is not intended to be used wired or wirelessly with any other
devices.
Please call 1-800-CARRIER for support with the installation and setup of the
TP-LINK Wireless Access Point and connection of the Infinity Control to the
Wireless Access Point.
The ability to remotely access and adjust the settings of the InfinityR Touch
Control with the MyInfinity web and mobile applications is dependent on the
compatibility of the user’s computer/network or mobile device, the Infinity Touch
19

Control, and/or the MyInfinity web server with, and the availability of, the user’s
internet service provider or mobile device carrier service. Carrier Corporation
makes no representations or warranties, express or implied, including, to the extent
permitted by applicable law, any implied warranty of merchantability or fitness for
a particular purpose or use, about the compatibility of the user’s computer/network,
or mobile device, with the Infinity Touch Control, and/or the MyInfinity web server,
with, and the availability of, the user’s internet service provider or mobile device
carrier service, or that the ability to remotely access and adjust the settings of the
Infinity Touch Control will not be negatively affected by the network--related
modifications, upgrades, or similar activity of the user’s internet service provider or
mobile device carrier service.
A12114
S Make sure the Wi--Fi connection is enabled, by touching ENABLED.
S Touch SETUP A WI--FI CONNECTION to begin the process.
S Next, touch SCAN FOR AVAILABLE ACCESS POINTS.
20

A12115
S Select the myHVACxxxxxx connection from the list, then touch NEXT
(myHVAC is followed by the last 6 digits of your Wireless Access
Point’s MAC address; see the label on the bottom of the TP--LINK Wireless Access Point).
SSID & Security Key
A12357
d You may have to use the down arrow to scan to the next screen to
find “myHVACxxxxxx”.
21

A12116
S Use the on screen keyboard to enter the Wi--Fi security key, then touch
NEXT.
d Touch in the security key area, and the keyboard will appear.
d The security key can be found on the back of the TP --LINK Wire-
less Access Point.
A12117
S The control will inform you if the connection is successful. If so, touch
DONE.
d If the connection is unsuccessful, verify that the proper information
has been entered before you touch RETRY. The control will go
through the process again.
22

A12118
S After your control has connected to the network, go to
www.myinfinity.carrier.com
to register the unit and begin remote access.
This requires the MAC address and serial number of the InfinityR
Touch Wall Control, NOT the Wireless Access Point. To find the serial
number and MAC address of the Infinity Touch Wall Control, click on
Menu, Down Arrow, Wireless and View My Infinityr Info. This screen
will provide the information needed on the MyInfinityr website during
registration.
S If you have any issues, please contact your servicing dealer.
S When the connection to the MyInfinity web server has been established,
the status screen will show Connected fo both Wi--Fi and the server.
23

A12356
Screen Lock
The screen may be locked by selecting the screen lock icon. A message will pop up
asking if you want to proceed with the screen lock. Selecting Yes will lock the
screen and take you back to the home screen. To unlock the screen, touch the
padlock for 10 seconds. The screen will change and the control will then be
accessible. If the screen is to be locked again, return to the menu, select the screen
lock and touch Yes.
A12347
24

A12348
Weather Forecast
When the Infinity Touch Control is connected to a Wi--Fi network, use the
WEATHER icon to retrieve the weather forecast based your postal code.
A12119
S To enter your postal code, touch CHANGE CURRENT LOCATION.
S Next, select your country (United States, Canada, or Mexico).
S To enter your postal code, touch in the blank area; then enter your postal
code using the on screen keyboard.
S After you have entered your postal code, touch SAVE.
25

A12120
Service
Your dealer information is easily accessible and probably programmed in your
control. Select the SERVICE icon from the menu screen.
S Either your dealer’s contact information or 1--800--Carrier will appear.
A12121
Photo Upload
With the Infinity Touch Control, you can upload a personal photo to act as a screen
saver. Select the PHOTO UPDATE icon from the menu screen.
26

A12122
S Use the PC application to upload the photo on the control and save it to
a standard USB drive. Go to https://www.myinfinity.carrier.com
and
select the Infinity Touch Control and click the downloads tab to down load the MyInfinity application for either PC or MAC. Install the software on your computer, then go to the Menu and select Photo Export.
Follow the instructions on--screen in the PC application.
S Touch the upload photo icon on the menu screen on the Infinity Touch
Control.
S Place the USB drive into the USB port on the bottom of the Infinity
Touch Control when prompted.
S The control will automatically upload the photo.
S Once complete, you will receive a confirmation that your photo is
loaded.
Accessory Reminders
With the Infinity Touch Control, there are accessory messages to remind you when
it is time for maintenance. Select the REMINDERS icon from the menu screen.
27

A12123
S You have the option of choosing a pop --up reminder for your air filter,
humidifier, UV lights, or ventilator pre --filter.
S To enable a reminder, touch YES.
S After you have selected your desired reminders, touch SAVE.
Display
With the Infinity Touch Control, you can change aspects of the display for your
personal preferen ces. Select the DISPLAY icon from the menu screen.
A12154
S Use the Up (Y) and Do wn (B) buttons to set change the brightness of
back lighting.
28

S To allow a photo to act as a screen saver, touch ENABLE;otherwise,
touch DISABLE.
S To allow a buzzer to sound on each touch of the screen, touch EN-
ABLE; otherwise, touch DISABLE.
Heat Source (if applicable)
With the Infinity Touch Control, you can select the desired heat source of your
system, if your system is equipped as a HYBRIDHEATR System. Select the
HEATSOURCE icon from the menu screen.
A12155
S The default is for the system to control the heat source.
S To have only the furnace control, select FURNACE ONLY.
S To have only the heat pump, select HEAT PUMP ONLY.
S When you have made the appropriate selection, touch SAVE.
Zone Names (If Applicable)
With the Infinity Touch Control, you have the ability to customize zone names.
Select the ZONE NAMES icon from the menu screen.
29

A12156
S Touch the zone in which you choose to change the name.
S Choose between selecting a COMMON NAME or CREATE A CUS-
TOM NAME.
d If you choose select a common name, touch the name you want for
that particular zone.
d If you choose create a custom name, use the (≤) button to erase the
existing zone name. Then, use the on--screen keyboard to type in
the name you want for that particular zone.
30


Infinity, Touch--N --Go and HYBRIDHEAT are trademarks or registered trademarks
of Carrier Corporation in the United States and other countries. Other brands and
product names are trademarks of their respective holders.
Copyright 2012 Carrier Corp. S 7310 W. Mo rris St. S Indianapolis, IN 46231
Edition Date: 07/12 997-011290-3-R
Manufacturer reserves the right to change, at any time, specifications
and designs without notice and without obligations.
Catalog No: OMSYSTXCCITW--- 03
Repla ces: OMSYSTXCCITW --- 02
 Loading...