

ENGLISH
Versatile Monitoring Software
User’s Manual
2
Introduction
Thank you for purchasing WebView Livescope MV Ver. 2.1 LE.
To take best advantage of this software, please first read this manual thoroughly.
After reading this manual, please store it in a safe place for future reference.
The latest product information is available at the following Website.
http://www.canon.com/webview/
Requests to Customers
The content of this manual may not be reproduced in its entirety or in part without prior
permission.
The content of this manual is subject to change without notice.
All possible measures have been taken to ensure that the content of this manual is accurate. If
you happen to notice errors, omissions or other faults, please contact Canon.
Irrespective of items above, Canon accepts no liability for any results arising from the operation
of this product.
Trademarks
● Canon and Canon logo are registered trademarks of Canon Inc.
● Microsoft, W indows, Windows NT, and Microsoft Internet Explorer are trademarks or registered trademarks of
Microsoft Corporation in the United States and other countries.
● Windows is legally recognized as Microsoft Windows Operating System.
● All other company or product names used in this manual are trademarks or registered trademarks of their
respective holders.
Icons Used in This Manual
Indicates notes of caution or limitations that must be kept in mind concerning operation. Be sure to
read these notes.
Indicates supplemental explanations or references that are useful for operation.
Copyright Information
Please note that copyright laws prohibit the customer from using recorded videos and still pictur es f or any purpose
other than personal enjoyment without permission from the copyright holder.
e
Tip
c
Note

3
ENGLISH
Contents
Introduction ..........................................................2
1. Overview..........................................................4
2. System Configuration.....................................5
Example of System Configuration ..................................... 5
Operating Environment ....................................................... 5
3. Installing ..........................................................6
Prior to Installation... ........................................................... 6
Preparing the PC ............................................................................... 6
Installing the Camera Servers ...........................................................6
Installation ............................................................................ 7
4. Registering the Cameras ...............................8
Registering Cameras Using “Register Camera” .............. 8
Registering Cameras Using “Search Camera”................. 9
5. Operating from the Menus...........................10
Detailed Settings................................................................ 11
Changing the Registration Order of Cameras ................................ 11
Setting Connection Protocols .......................................................... 11
6. Operating from the Toolbar..........................12
Main Operations................................................................. 13
Switching Viewer Display Methods ................................................. 13
Switching Cameras being Viewed...................................................14
Reconnecting ...................................................................................14
Taking/Saving Snapshots ................................................................14
Pausing Videos................................................................................14
Displaying Full Screens ...................................................................15
Viewing Connection Information ..................................................... 15
7. Operating the Cameras................................16
Operating Cameras from the Camera Control Panel..... 16
Operating a Camera with the Control Buttons ................................16
Controlling the Camera with Panorama ..........................................17
Operating Cameras from the Viewer ............................... 17
8. Options ..........................................................18
Setting the Video Relay ..................................................... 18
Setting HTTP ...................................................................... 18
9. Troubleshooting ............................................19
10. Error Messages.............................................20
4
1 Overview
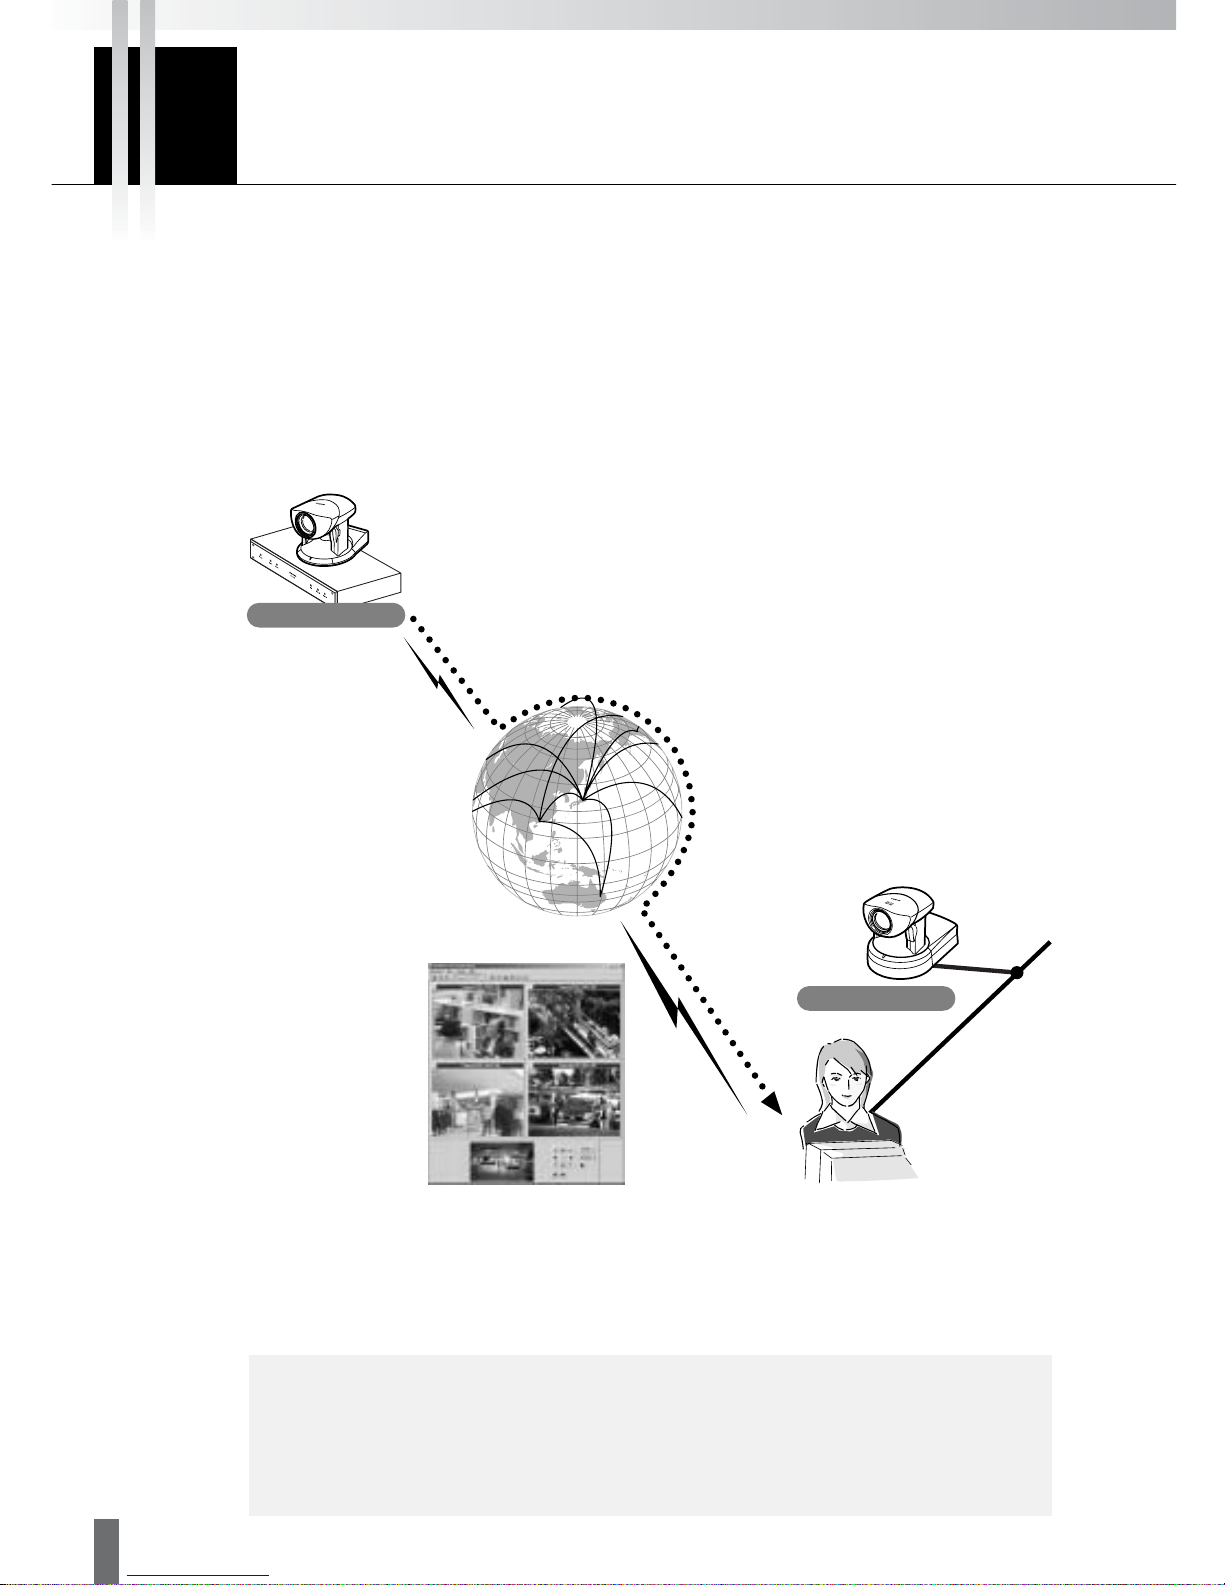
WebView Livescope MV Ver. 2.1 LE (hereafter referred to as MV LE) is software that allows you to use an
Intranet or the Internet to monitor video distributed from the Network Camera Server VB150/VB101 or the
Network Camera VB-C10/VB-C10R (hereafter referred to as “camera server”).
Since MV LE uses the wizard format for registering camera servers, there is no need to learn complex
operations. MV LE lets you access camera servers, freely remote control cameras, and simultaneously
view images from camera servers installed in more than one location (up to 4 locations), providing an
efficient monitoring environment.
*When using VB101, upgrade the firmware to version 3.0.
MV LE is a limited edition of WebView Livescope MV Ver. 2.1. WebView Livescope MV Ver. 2.1 provides
you with a wide variety of functions such as creating versatile monitoring screens to suit specific
applications, viewing and managing recorded pictures, and notification of input events from external
devices and controlling output, to enable more efficient and reliable monitoring. Please use WebView
Livescope MV Ver. 2.1 if you wish to use more advanced monitoring functions.
I
N
T
E
R
N
E
T
Monitoring via the Internet
Monitoring on an Intranet
V
C
-
C
4
C
O
M
M
U
N
I
C
A
T
I
O
N
C
A
M
E
R
A
f
:
4
6
4
m
m
1
:
1
.
4
2
.
8
Network Camera Server
Network Camera
e
Tip
Changes from MV Ver. 2.0 LE are as follows:
● Added support for the Network Camera Server VB150 (
→ →
→ →
→ P.5, 13, 18).
● Added “Control on Side” to the View menu that displays the camera control
panel on the right hand side of the window (
→ →
→ →
→ P.13).
5
ENGLISH
MV LE
VC-C4R
VB101
VC-C4
VB150
ETHERNET
INTERNET
ISDN Line
LAN
MV LE
Router
Distributes
video and
picture data
Monitoring
Controls camera angle,
zoom, etc., and monitors
camera images
Monitoring
via Internet is
also possible
Monitoring via ISDN line
Router
Controls camera angle,
zoom, etc., and monitors
camera images
Monitoring
VB-C10
VC-C4
NU-700
2 System Conf iguration
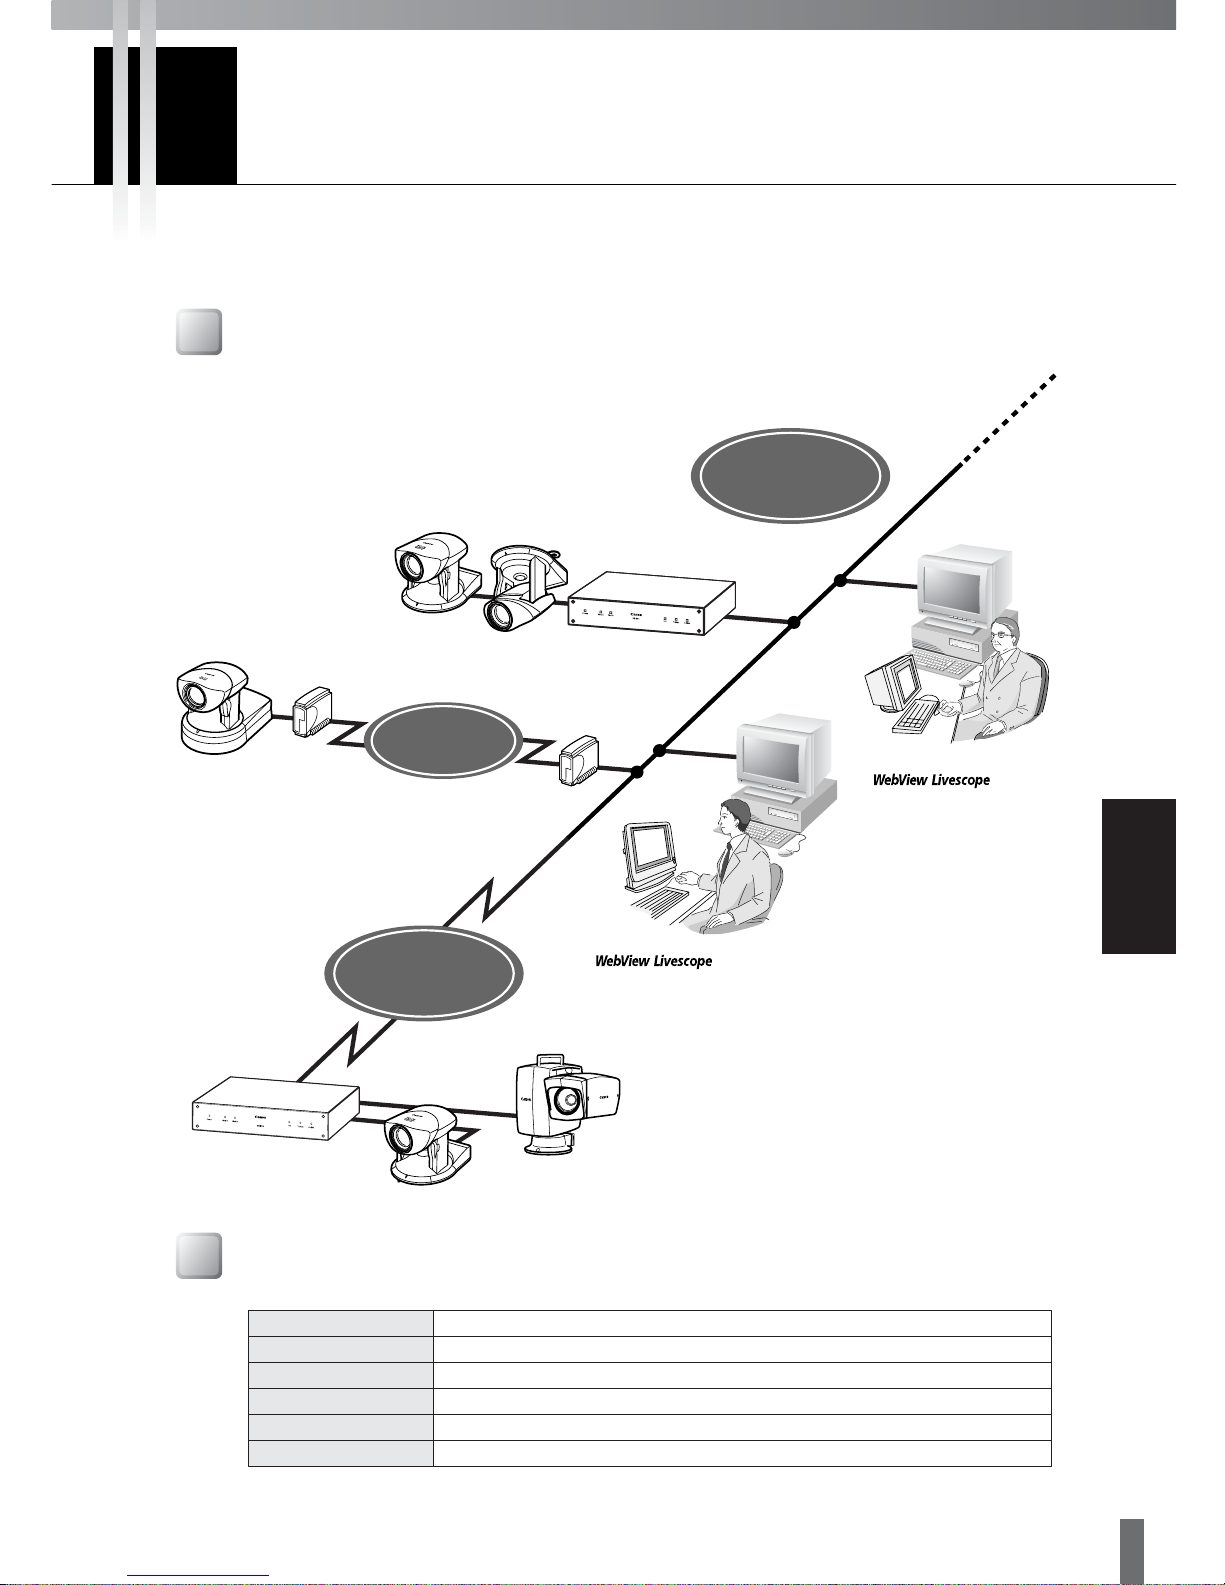
MV LE connects to camera servers using TCP/IP protocol. Connections can be made via the Internet or an
Intranet.
Example of System Configuration
Operating Environment
CPU
Pentium III 600 MHz or better
Internet Explorer 5.0 or later required
Operating System
Web Browser
128 MB or better
Memory
Available space of 20 MB or better
Hard Disk
XGA (1024 × 768) or better with high-resolution 16-bit color display or better
Monitor
Windows Me/Windows 2000 (Service Pack 1 or later)/Windows XP
6
3 Installing
Prior to Installation...
Before installing MV LE, be sure that the PC in which it is to be installed and the camera servers satisfy
the conditions described below.
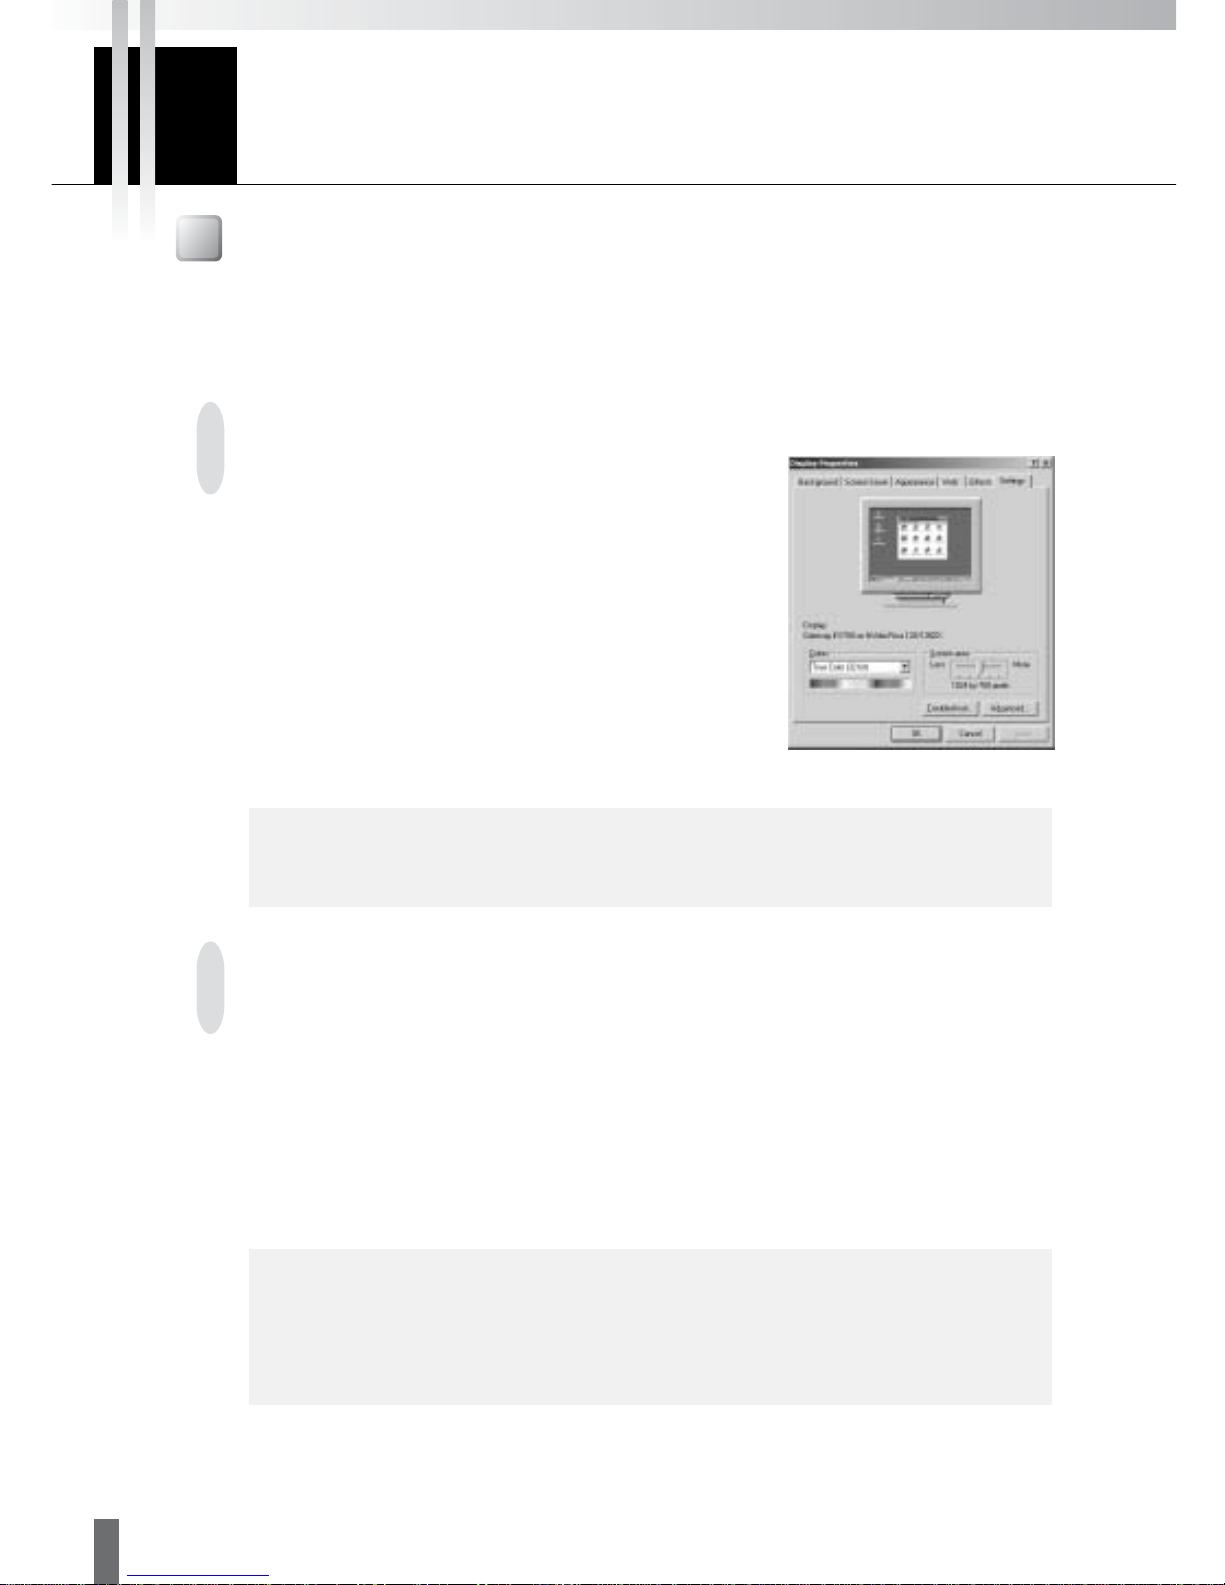
Preparing the PC
Check that the PC where MV LE is to be installed satisfies
the operating environment of MV LE(
→ →
→ →
→ P.5). Be sure to set
the screen resolution to XGA (1024 × 768) or higher.
Display Properties
c
Note
If your screen resolution is set to XGA, use the “Control on Side” mode for the
camera control panel display (
→ →
→ →
→ P.13).
Installing the Camera Servers
If the VB-C10/VB-C10R or VB150 is being used, there is no need to upgrade the firmware.
However, if the VB101 is being used, check to be sure that the firmware version is 3.0 or later. The
firmware is available for free at the following.
URL:http://www.canon.com/webview/
Check to be sure the camera server has been correctly installed and that the initial settings
(network settings) have been made. Then connect to the network.
Please refer to the manual supplied with the camera server for procedures on how to install and set
the camera server.
c
Note
The camera server’s “Maximum Number of Clients” setting must be set to 4
or more for the VB150 (or VB101). To make settings, use the setting page on
the camera server. While factory default settings meet the above
requirements, the settings must be checked if any changes are made.
7
ENGLISH
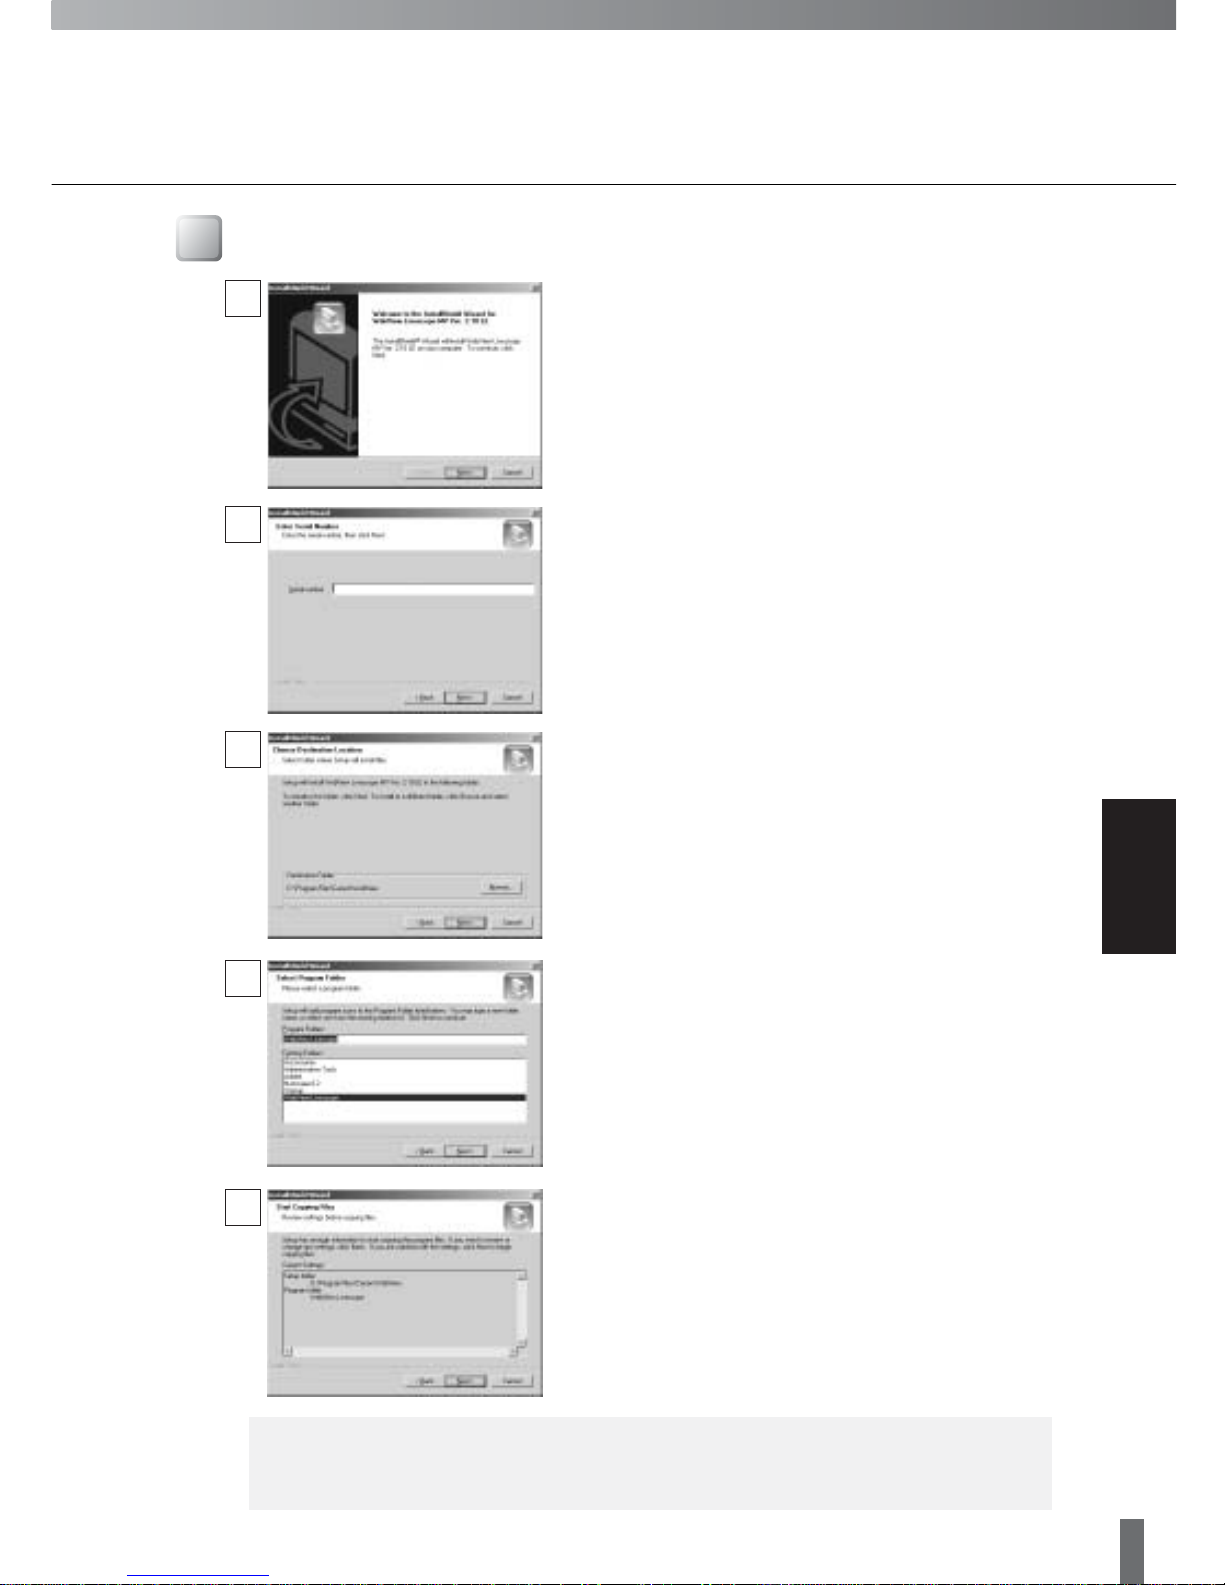
Installation
When you load the WebView Livescope MV LE installer
CD-ROM, the installer automatically starts and the
installation process begins. If it does not start, in
Explorer, double-click “Setup.exe” on the CD-ROM and
click Next to proceed with the installation.
1
Enter the Serial number and click Next. The Serial
number is indicated on the seal attached outside the
software package.
2
A screen appears where you can specify a folder in which
MV LE is to be installed.
To specify a folder other than the one indicated, click
Browse and select the folder you want.
When the folder has been specified, click Next.
3
Specify a name to be registered in the Program menu
under the Start menu, then click Next.
4
Check the items you have specified and selected thus far,
then click Next. The installation will be performed by
copying files and setting the registry.
When installation is complete, click Finish to exit the
installer.
5
e
Tip
If you are upgrading MV from Ver. 2.0 LE, the information on registered
cameras can be used with Ver. 2.1.

8
Click the Register Camera button to start up the Register Camera
Wizard.
In the Camera server address field, enter the IP address or the
host name of the camera server.
The default HTTP port No. that was set as an option (→ P.18)
appears in the HTTP port field. The HTTP port No. is usually 80,
but if another value is preferred, enter that in the HTTP port field.
Click Next.
2
When the Administration Account dialog box appears, enter the
Administrator ID and Password that were set in the camera
server.
Click OK.
3
Communication with the camera server occurs, and cameras that
can be registered are displayed. Select the cameras you want to
register, then click Finish.
4
1
Cameras must be registered in order to monitor images from them with MV LE. There are two ways to
register a camera: Using “Register Camera” in which the network address of a camera server is entered
manually, and “Search Camera” in which camera servers connected to the network are automatically
searched and detected cameras are registered.
First, double-click the desktop icon, or in the Start menu, choose
[Program]-[WebView Livescope]-[MV 2.1]-[LE Viewer], to start up
MV LE.
Choose Register Camera in the Operation menu. The Camera
Registration dialog box appears.
Up to 4 cameras can be registered. Registration is possible from
more than one camera server.
4 Registering the Cameras
Registering Cameras Using “Register Camera”
If you know the IP address or the host name of the camera server, you can register the cameras which are
connected to the camera server by entering these items.
 Loading...