


Getting Started
Guía de inicio
Read Safety and Important Information
(addendum) rst.
Lea primero Información de seguridad
e información importante (apéndice).
1
2
Installing the Printer ...........................................................page 1
Instalación de la impresora.............................................página 1
Connecting with Computer and Smartphone/Tablet ..........page 4
Conexión con el ordenador y con el teléfono inteligente
o latableta .......................................................................página 4
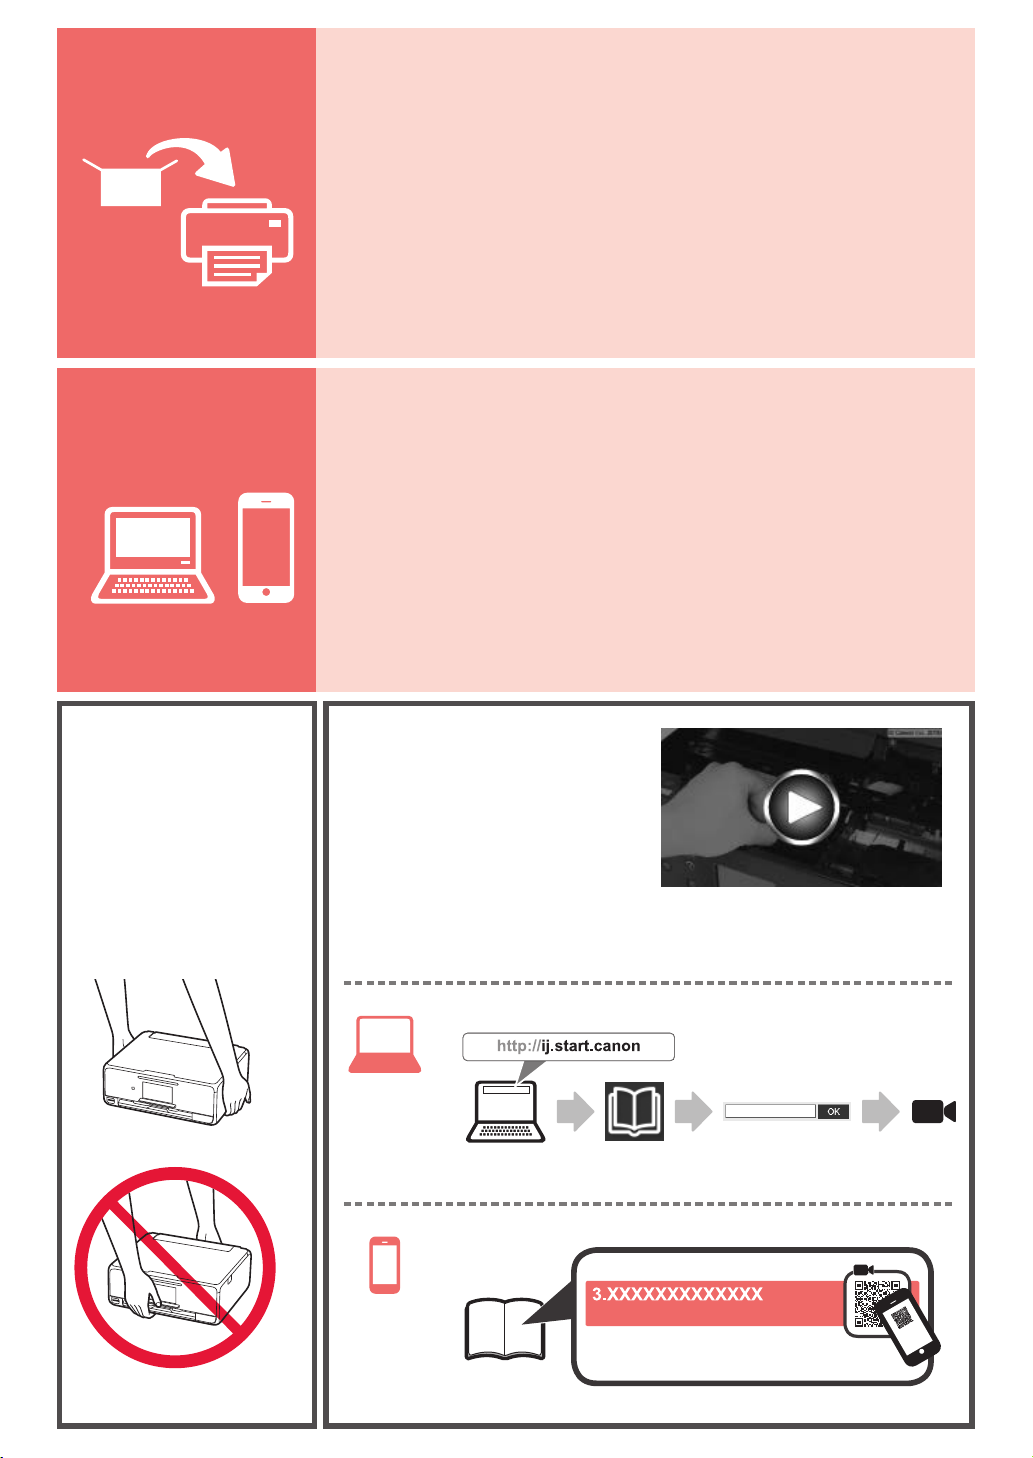
How to Hold Printer Explanatory Movies
Cómo sujetar
la impresora
Películas explicativas
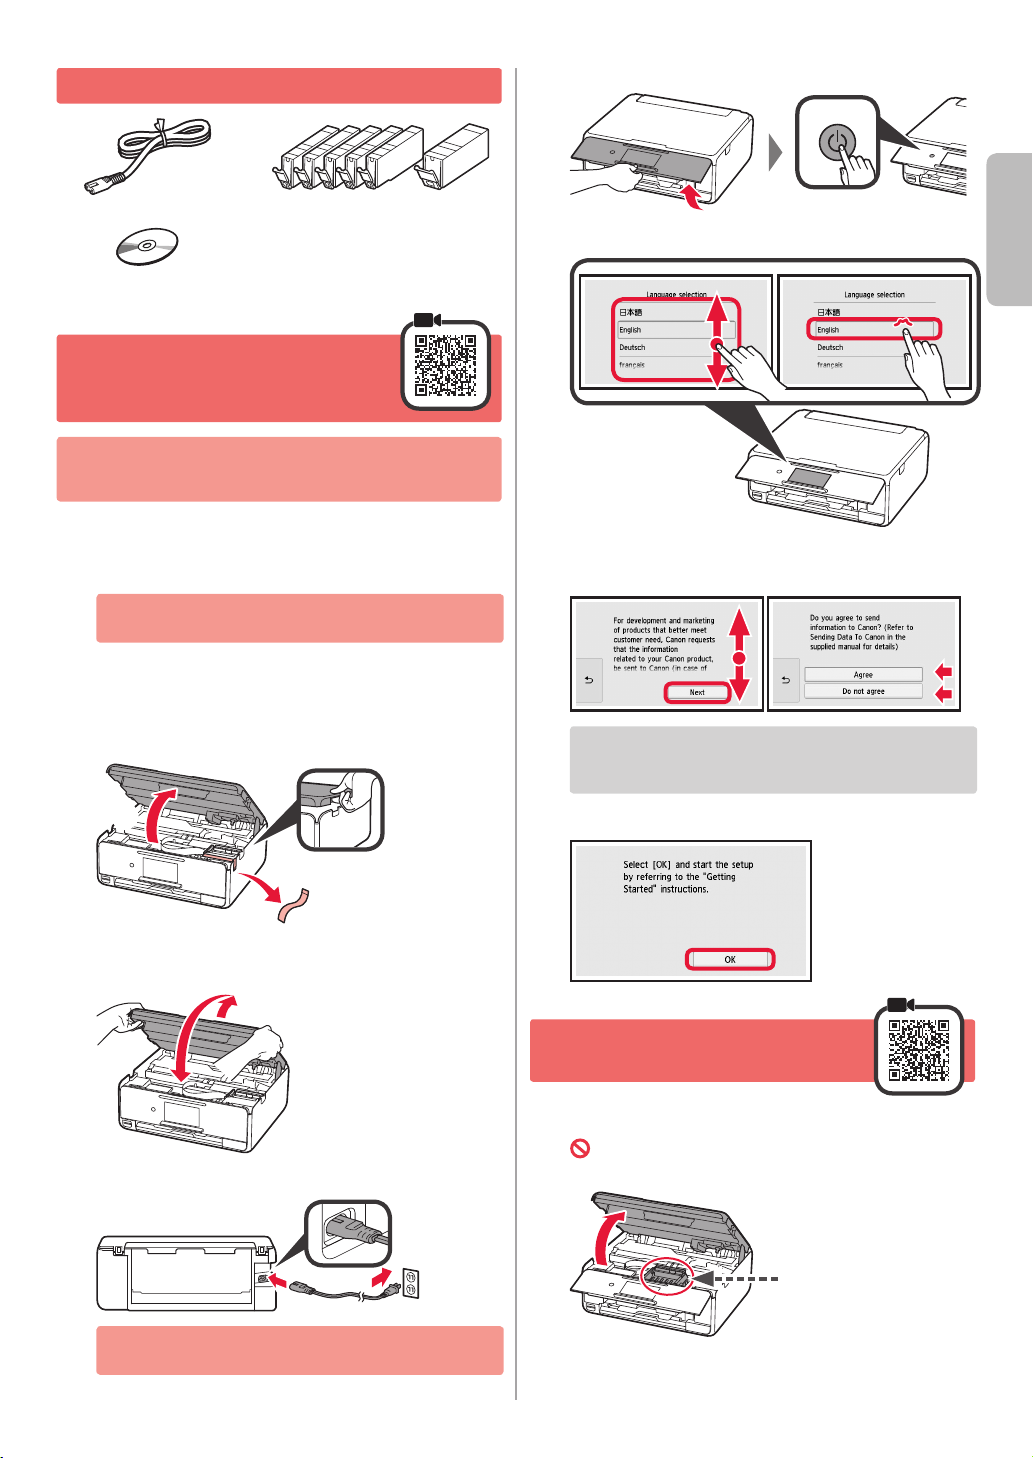
1. Checking Included Items
b
a
Lift the operation panel and press the ON button.
5
□ Power cord
□ Setup CD-ROM for
Windows PC
□ Ink tanks for setup
□ Safety and Important Information
□ Getting Started (this manual)
2. Removing Packing
Materials / Turning on
Printer
When printing starts, the operation panel lifts up
automatically and the paper output tray comes out. Do
not put anything in front of the printer.
Remove the packing materials (such as orange
1
tape and protective lm on the touch screen) from
outside the printer.
Using the printer with the protective lm attached
may cause malfunction.
aHook the hollows on the both sides of
2
the printer with your ngers and open the
scanning unit / cover.
bRemove the orange tape.
Drag the screen and tap the language to select.
6
Read the messages and follow the on-screen
7
instructions.
For details about information that is sent to Canon,
refer to "Sending Data To Canon" in Safety and
Important Information.
ENGLISH
LIFT UP the scanning unit / cover, and then close
3
it.
Connect the power cord diagonally from the back.
4
Back
Do not connect any cables except the power cord
yet.
Select OK.
8
3. Installing Ink Tank
Open the scanning unit / cover.
1
Do not touch the print head holder (A) until it
stops.
(A)
1

aCOMPLETELY remove the orange tape.
a
b
a
b
2
bRemove the protective wrap.
Hook the orange cap with your nger to remove it
3
GENTLY.
Do not push the both sides of the
ink tank with the Y-shape air hole
blocked.
Insert the ink tank into the print head and push it
4
down rmly until it snaps into place.
The color of the ink tank that you set appears on
screen.
Do not touch.
LIFT UP the scanning unit / cover, and then close
6
it.
If an error message appears on the screen, make
sure the ink tanks are installed correctly.
4. Loading Paper / Aligning
Print Head
To obtain a better print result, print a pattern for Print Head
Alignment and scan it.
aPull out the cassette.
1
bRemove the cassette cover.
If the color is not displayed on the screen even
though you have installed the ink tank, the color
of the ink tank may be wrong or you may have
installed an ink tank, such as one with a different
model number, that is not supported by this printer.
Either install an ink tank for the correct color or use
the provided ink tank for setup.
Install all the ink tanks the same way as in step
5
4, and then conrm that all the colors appear on
screen.
Open the paper guides, and then align the guide in
2
front with the mark of LTR or A4.
2

aLoad plain LTR or A4 size paper with the print
a
b
c
a
b
3
4
side facing down.
bSlide the right paper guide to align it with the
side of the paper stack.
cAlign the paper stack with the paper guide in
front.
Attach the cassette cover and insert the cassette.
aOpen the document cover.
7
bLoad the printed pattern on the platen glass.
After closing the document cover, select OK.
8
If the following screen appears, select OK.
9
ENGLISH
The following gure shows the state after the cassette
is inserted.
Side
If the following screen appears, select OK.
5
The paper output tray comes out automatically.
Make sure that a pattern is printed for Print Head
6
Alignment.
It takes about 4 minutes to nish printing.
If the orange tape remains on the paper output tray,
remove it.
3

Mac OS
Windows
5. Preparing for Connection
In the following description, smartphones and tablet
devices are collectively described as smartphone.
Select Next.
1
Make sure that the following screen appears.
2
From here on, proceed to a step according to how you use
the printer.
• To use the printer by connecting only to a computer or both to a computer and smartphone
"6-A. Connecting to Computer"
• To use the printer by connecting only to a smartphone
"6-B. Connecting to Smartphone" on page 6
• To use the printer without connecting to a computer or smartphone
"Use Only Printer"
Use Only Printer
aTap the Stop button.
bSelect Do not connect > Yes in this order.
The setup is now complete.
6-A. Connecting to Computer
You need a connection setup for each computer. Proceed with the setup from step 1 for each computer.
Start the setup le for either method or method .
1
Downloading from the Internet
aOpen a web browser ( etc.) on your computer.
bInput the following URL and access the Canon
website.
cSelect Set Up.
dInput the model name of your printer and click OK.
You can select a model name from the list.
eClick Setup.
The procedures for Windows and Mac OS are shown
below. If you are using a computer with an OS other
than Windows or Mac OS, such as a Chrome OS, do
the setup according to the on-screen instructions.
fClick Download and download the setup le.
gExecute the downloaded le.
4
Proceed to step on the next page to
continue.
 Loading...