

Canon IRIS IRIScan Desk 5 Pro, IRIS IRIScan Desk 5 User Manual
Less Paper,
PDF
More Content
User Guide
IRIScan™ Desk 5
IRIScan™ Desk 5 Pro

2
User Guide – IRIScan™ Desk 5 / Pro 5
Contents
1. Introduction ............................................................................................................................................................................................. 4
1.1 Advantages ......................................................................................................................................................................................... 4
1.2 IRIScan™ Desk Editions: Specifications .............................................................................................................................................. 4
2. System Requirements .............................................................................................................................................................................. 5
3. Getting started ......................................................................................................................................................................................... 6
3.1 Box content ........................................................................................................................................................................................ 6
3.2 Registration, Software download and Installation ............................................................................................................................. 6
3.3 Hardware installation ......................................................................................................................................................................... 7
3.3.1 Integrated lamp........................................................................................................................................................................... 7
3.3.2 External capture button (Pro 5) .................................................................................................................................................. 7
4. Exploring the Interface ............................................................................................................................................................................. 8
4.1 Discovering the main screen .............................................................................................................................................................. 8
4.1.1 The General Settings ................................................................................................................................................................... 8
4.1.2 The Ribbon: main functions ........................................................................................................................................................ 9
4.1.3 The scanner toolbar .................................................................................................................................................................... 9
4.1.4 The preview window ................................................................................................................................................................. 10
4.1.5 The scanner settings bar ........................................................................................................................................................... 11
4.1.6 The Output panel ...................................................................................................................................................................... 11
4.2 Discovering the main functions and their Settings Options ............................................................................................................. 13
4.2.1 Document.................................................................................................................................................................................. 13
4.2.2 Book .......................................................................................................................................................................................... 16
4.2.3 Barcode (Pro 5) ......................................................................................................................................................................... 17
4.2.4 ID Documents (Pro 5) ................................................................................................................................................................ 19
4.2.5 Video ......................................................................................................................................................................................... 19
5. Using the integrated tools...................................................................................................................................................................... 20
5.1 Using the Compare Tool ................................................................................................................................................................... 20
Comparing images ............................................................................................................................................................................. 20
Save Result ......................................................................................................................................................................................... 21
5.2 Using the File Conversion Tool ......................................................................................................................................................... 22
The Image File List .............................................................................................................................................................................. 22
The Output Options ........................................................................................................................................................................... 23
The Picture Preview ........................................................................................................................................................................... 23
The Export Button .............................................................................................................................................................................. 23
5.3 Using the Document/Book Page Editor Tool ................................................................................................................................... 24
6. Creating new documents: How to ......................................................................................................................................................... 26
6.1 How to scan a single page document? ............................................................................................................................................. 26
6.2 How to scan a multiple page document?......................................................................................................................................... 27
6.3 How to combine multiple images files into one PDF file? ............................................................................................................... 29
6.4 How to open and convert an image file? ......................................................................................................................................... 30
6.5 How to scan a book? ........................................................................................................................................................................ 31
6.6 How to scan barcodes and list the result in an EXCEL+JPG file? (Pro 5) .......................................................................................... 33

3
User Guide – IRIScan™ Desk 5 / Pro 5
6.7 How to scan barcodes and use the barcode number to name the image file? (Pro 5) ................................................................... 34
6.8 How to scan an MRZ code and save the result in an EXCEL file? (Pro 5) ......................................................................................... 35
6.9 How to combine an ID Document scan with a photo of the person? (Pro 5) .................................................................................. 37
6.10 How to scan multiple ID cards into one PDF file? (Pro 5) .............................................................................................................. 38
6.11 How to record a video including facecam? .................................................................................................................................... 39
7. Troubleshooting ..................................................................................................................................................................................... 40
7.1 Known limitations ............................................................................................................................................................................ 40
7.2 Undetected IRIScan™ Desk device ................................................................................................................................................... 42
7.3 Product Support ............................................................................................................................................................................... 43
8. Scanner Specifications ........................................................................................................................................................................... 44
9. Legal Notices .......................................................................................................................................................................................... 45

4
User Guide – IRIScan™ Desk 5 / Pro 5
1. Introduction
1.1 Advantages
Capture/Scan
This software is a powerful image/video capturing and processing software, dedicated to work together with a USB based camera
scanner. This software allows you to:
• capture photos,
• scan documents,
• scan images into PDF files,
• record videos (also Facecam recorder),
• scan barcodes (Pro 5),
• scan ID documents with built-in I.R.I.S OCR feature to export the result into Word/Text/Excel formats. (Pro 5).
Processing
This software offers a built-in multi-language OCR which can support more than 125 different languages (OCR technology by I.R.I.S. SA).
It also comes with
• some intelligent recognition algorithms, such as automatic image cropping, paper edge detection, automatic page
orientation or barcode recognition (Barcode technology by I.R.I.S. SA).
Export
This software offers the mainly used output formats to export your work.
Usage
When correctly used, this software, along with a dedicated camera scanner, can work as a powerful replacement for many traditional
devices used in the office or in the educational environment.
1.2 IRIScan™ Desk Editions: Specifications
IRIScan™ Desk 5
IRIScan™ Desk PRO 5
Camera resolution
8MPX
12MPX
Scanning size
Up to A4
Up to A3
USB Powered
138 OCR languages
Convert to PDF, Word, Excel
Document scanning
Book scanning
(Pocket size only)
Video recording (+Facecam)
Barcode scanning
ID and Passport scanning
Business card scanning (Cardiris™)
External capture button

5
User Guide – IRIScan™ Desk 5 / Pro 5
2. System Requirements
To ensure the performance of this software, the following hardware system requirement is needed:
Minimum System Requirements
Operating System
Windows® 7 SP1, 8, 8.1, 10 (32 or 64-bits)
CPU
Intel® or AMD processor
RAM
4GB or 6GB
Graphics card
Standard Graphics card with minimum SVGA resolution.
Free disk space
4GB
USB
USB 2.0 or above (1 available port)
WARNING: This software version does not work on Apple macOS or Linux system.

6
User Guide – IRIScan™ Desk 5 / Pro 5
3. Getting started
3.1 Box content
You have just purchased a new IRIScan™ Desk. You should be able to find the following main components in your box:
(1) IRIScan™ Desk scanner,
(2) USB cable,
(3) ScanPad,
(4) Getting Started Guide
(5) External capture button (Pro 5)
3.2 Registration, Software download and Installation
WARNING:
Before installing this application software, it is recommended to close the antivirus program or security software running on your
system. Install the software before the hardware.
1. Go to http://www.irislink.com/start
2. Scroll down to IRIScan™ Desk.
3. Select the version you acquired and click Getting Started.
4. Then click Start now.
5. Complete the form and click Register now.
6. Select the required Operating System.
7. Click Download to download the software.
8. Go to the location where you downloaded the software, and run the installation file (.exe).
9. Once the installation process has started, follow the on-screen instructions.
NOTE: The installation language is the same as your Operating System's.
10. Click Finish to finish the installation program.
WARNING: We recommend you to accept the restart of your computer.
7
User Guide – IRIScan™ Desk 5 / Pro 5
3.3 Hardware installation
After installing the IRIScan™ Desk software, you can install your IRIScan™ Desk scanner. Double check the following procedure before
you proceed:
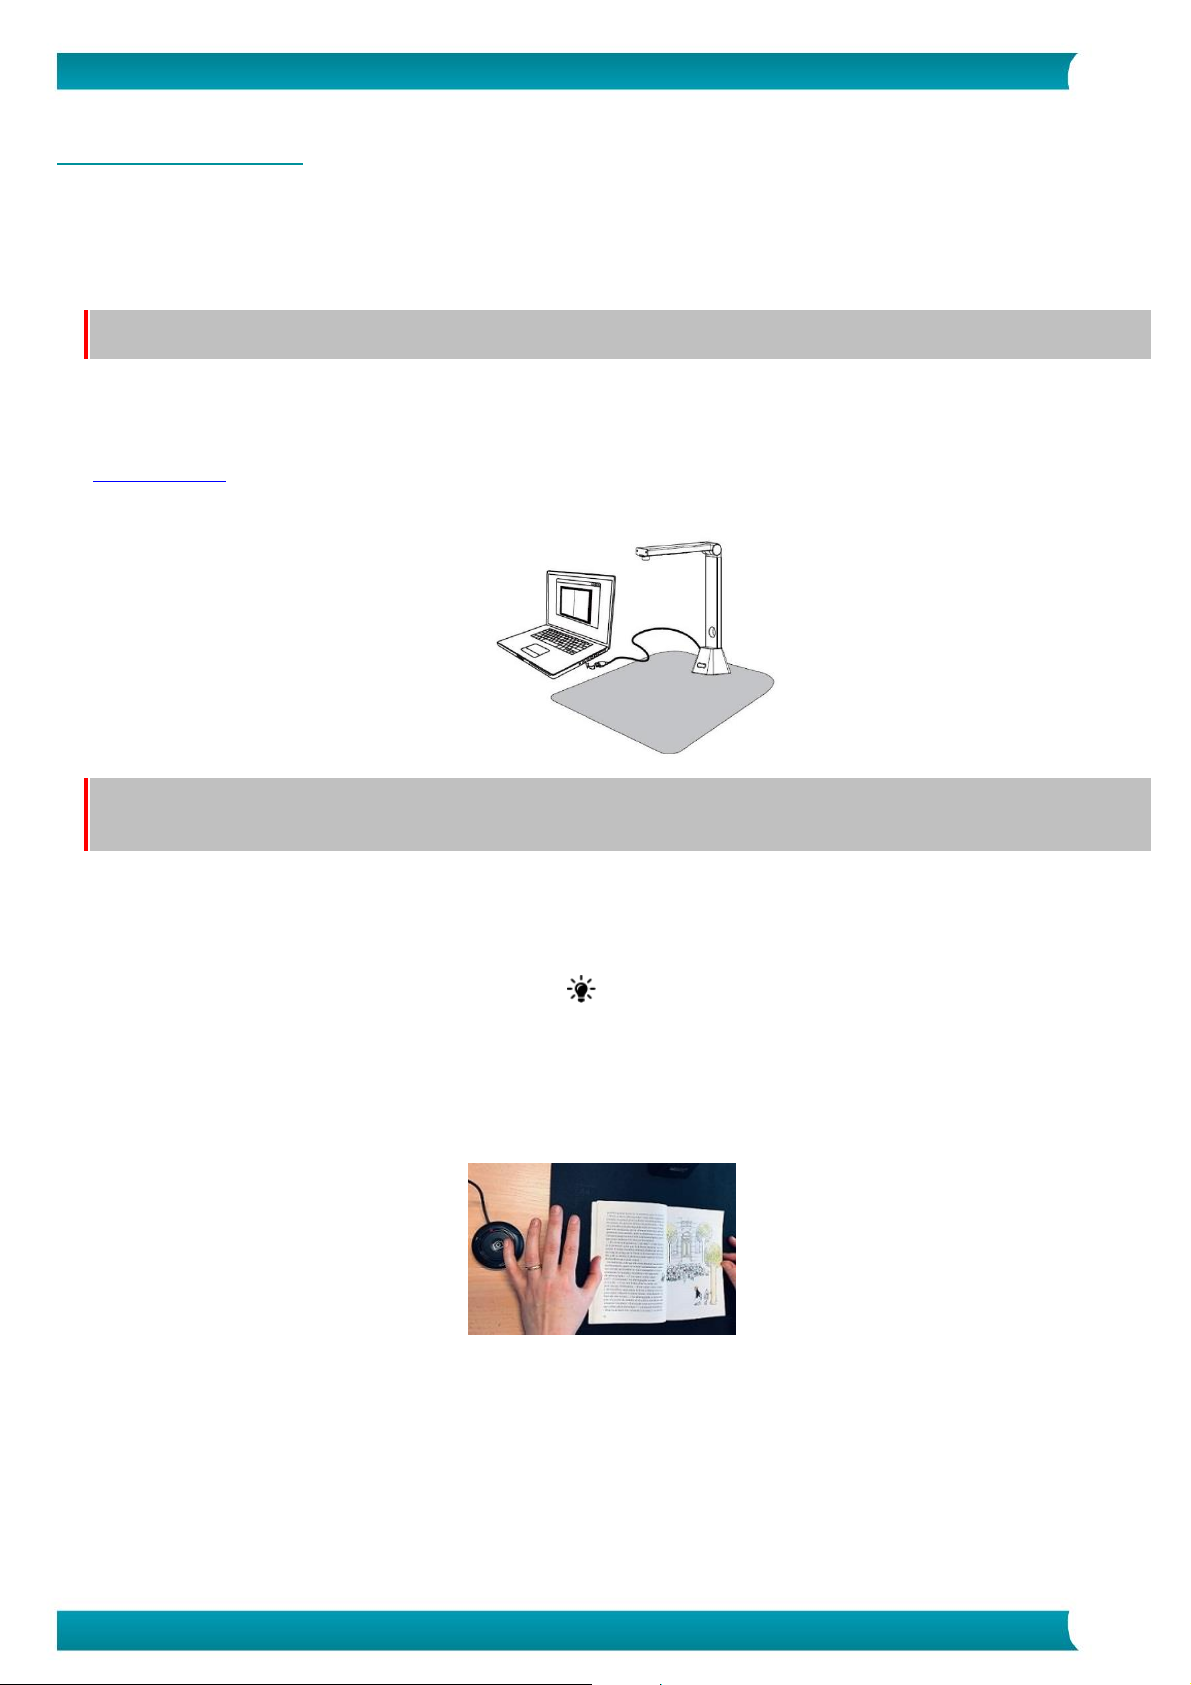
1. Place the ScanPad on your desk next to your PC, and then place the IRIScan™ Desk on the far end of the ScanPad (some marks are
drawn on the mat).
WARNING: The dark color ScanPad is used to ensure a good image and accurate cropping of the targeted objects. Not using it
may give bad results.
2. Connect the IRIScan™ Desk scanner to your PC via a USB cable.
3. Now you are ready to proceed to the next step for the software installation process.
If the device is not detected correctly, the detection keeps turning and a message is displayed on the screen to help you. See also
Troubleshooting.
WARNING: This software is distributed with a dedicated scanner: the IRIScan™ Desk. This software can bring out its full and
powerful potentials only when working with the qualified scanner hardware. If working with non-qualified scanners, some or all
of the features in this software might NOT work.
3.3.1 Integrated lamp
IRIScan™ Desk comes with an integrated lamp offering 3 luminous intensities.
It can be useful in case your scanning environement is quite dark.
To switch it on, simply touch the forefront of the scanner arm ( ). Per default, the first luminous intensity is the strongest.
To change intensity, simply touch it again. At the fourth touch, the lamp switches off.
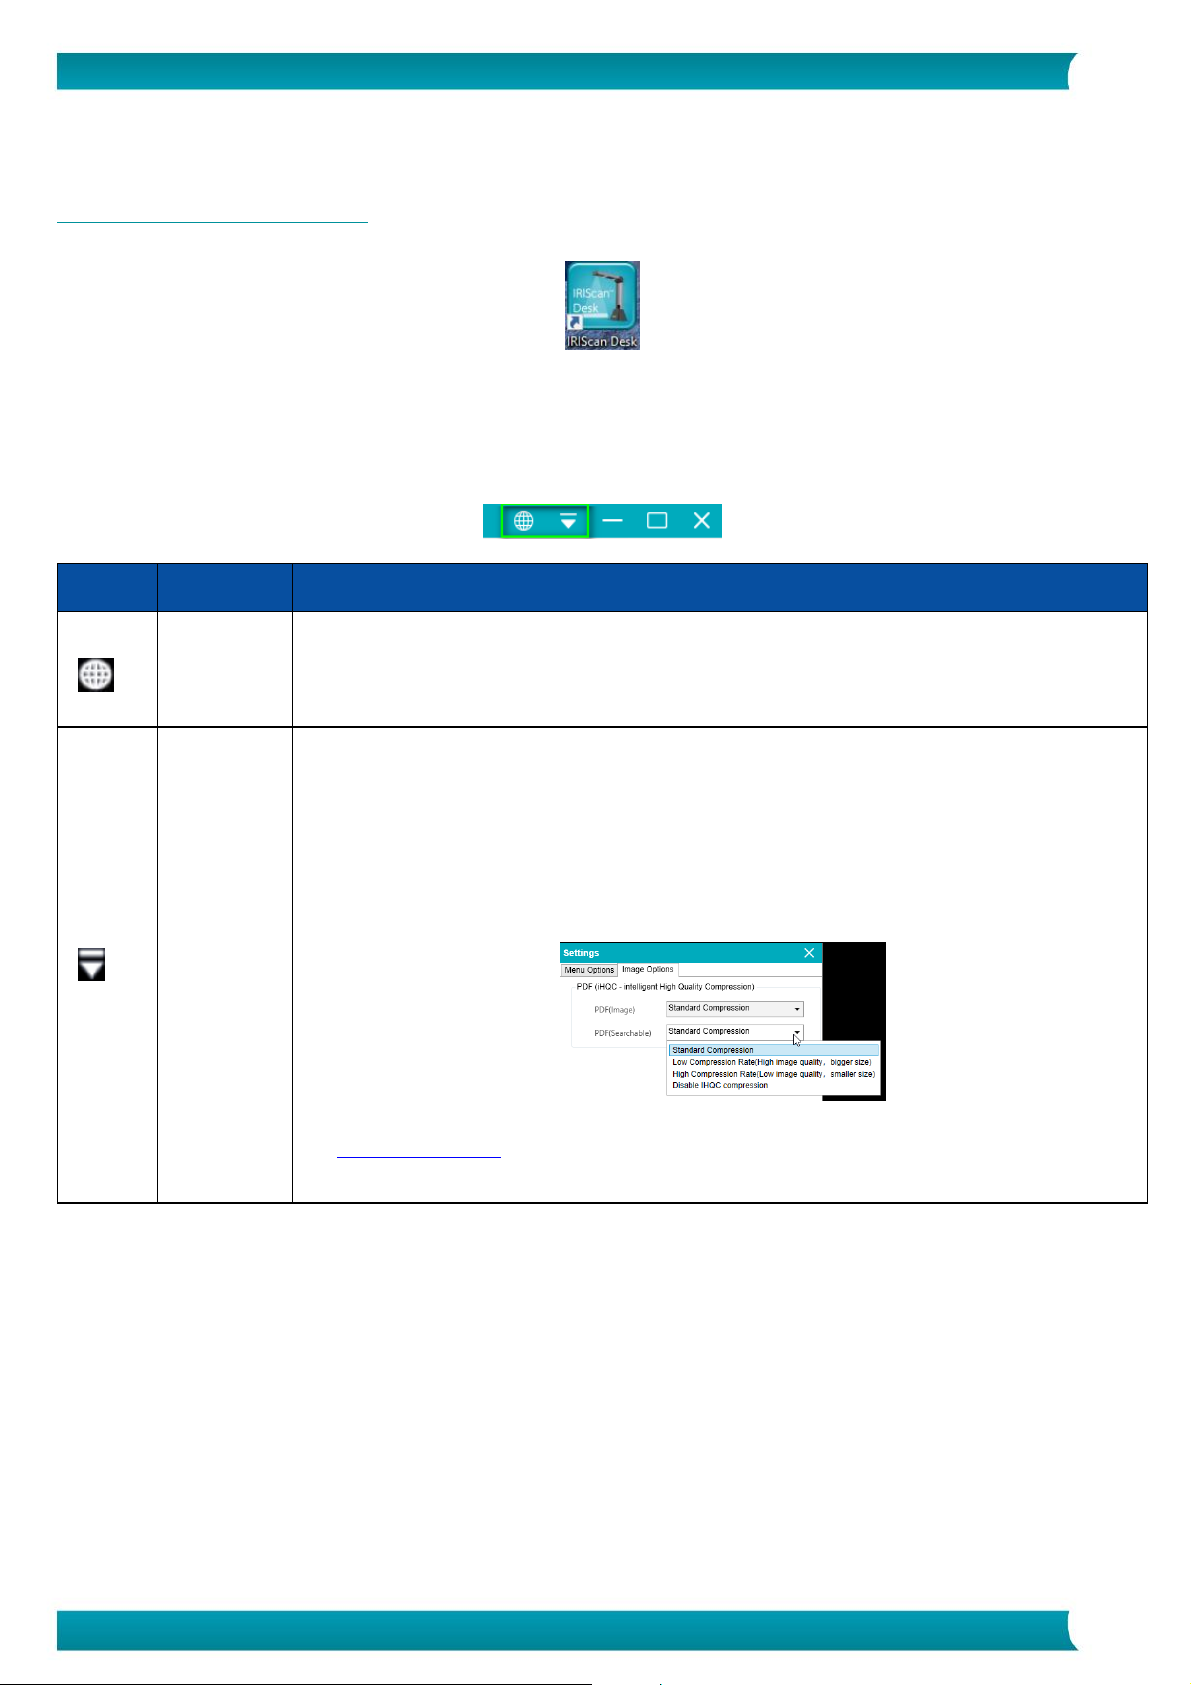
3.3.2 External capture button (Pro 5)
A physical scan button can be plugged in the IRIScan™ Desk scanner or directly in your PC thanks to the USB connector. It can replace
the scan button available in the ribbon of each tab in the software.
8
User Guide – IRIScan™ Desk 5 / Pro 5
4. Exploring the Interface
4.1 Discovering the main screen
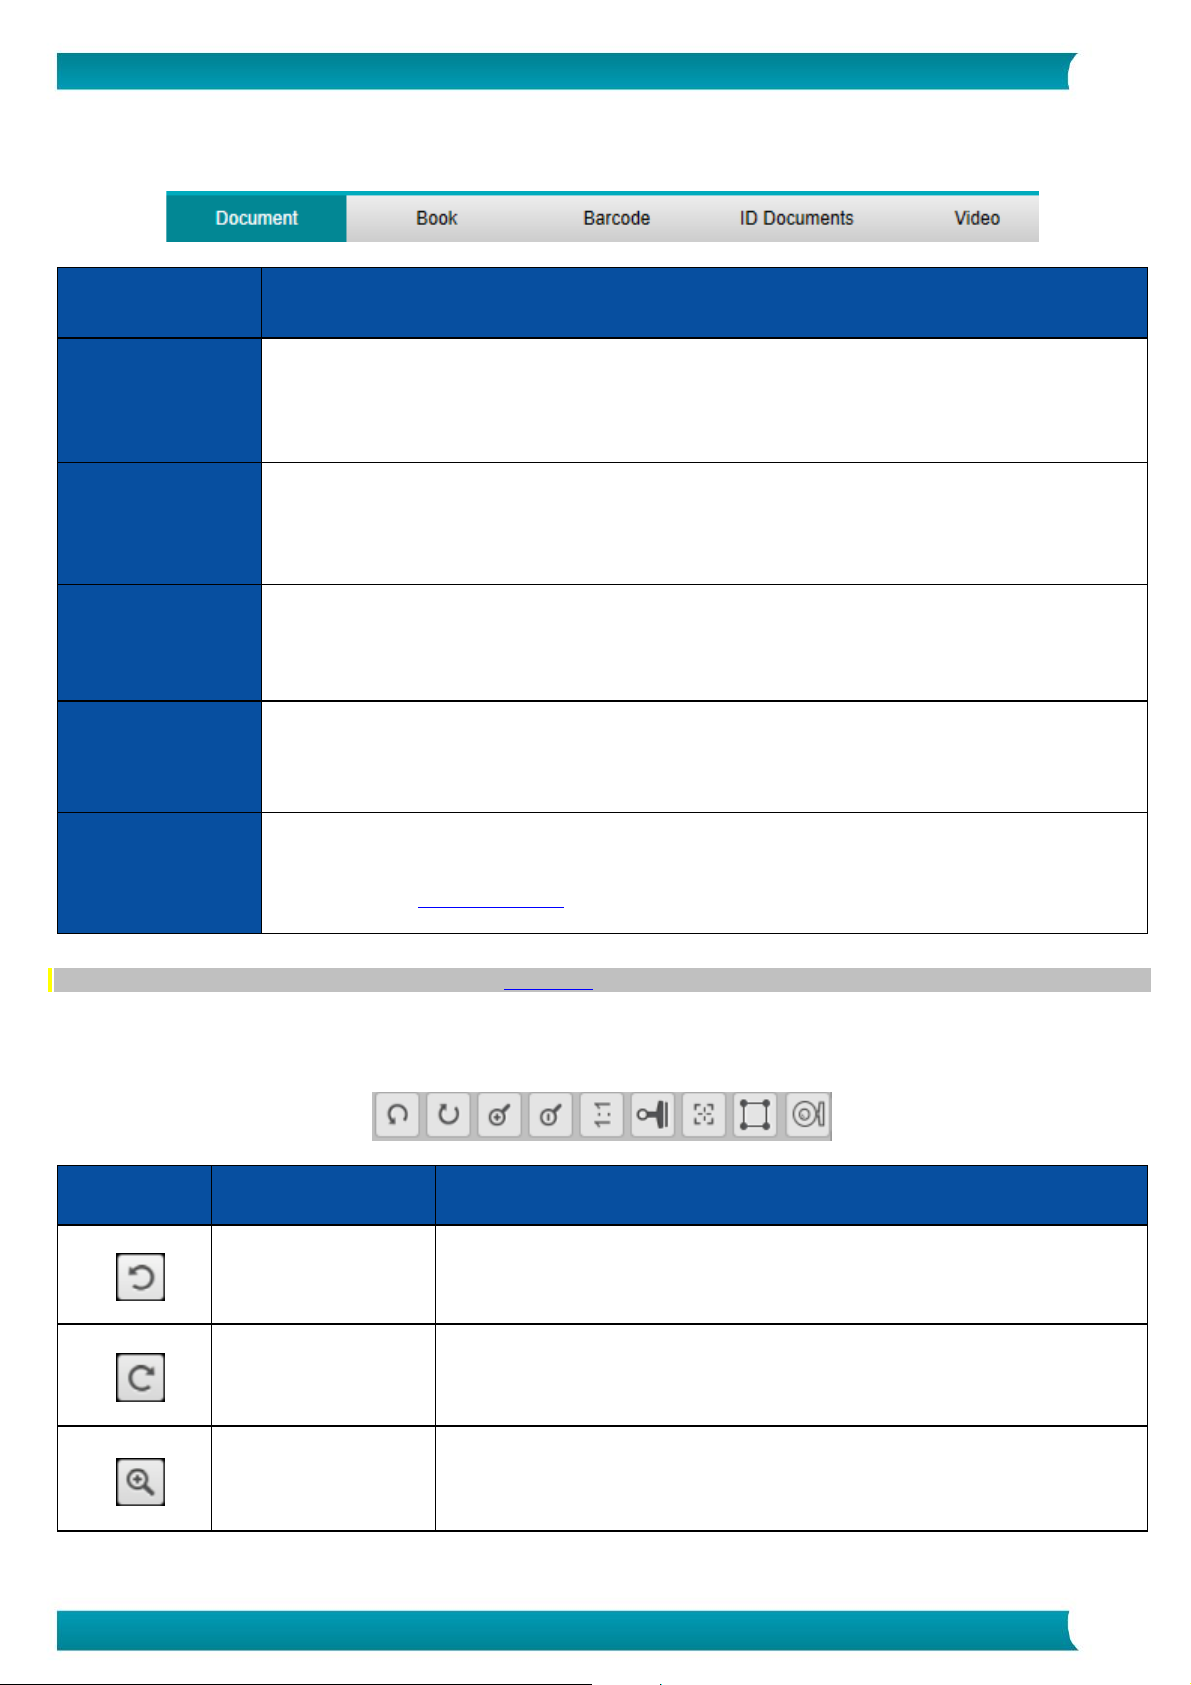
To start the IRIScan™ Desk application, double-click on the icon on the desktop.
The IRIScan™ Desk interface contains the following elements:
4.1.1 The General Settings
On the top right side of the screen, two control buttons are available
Buttons
Explanations
Note
User interface
Language
By default, the user interface language is the same as your Operating system's. However, you can
choose your interface language among 9 languages (English, French, German, Spanish, Italian, Dutch,
Portuguese, Traditional Chinese or Simplified Chinese).
1. Settings
2. Help
3. About
1. Settings:
• Menu Options: you can choose or not to display the tooltips when you hover your mouse
over an option.
• Image Options: I.R.I.S offers a PDF compression technology called iHQC. Three levels of
compression are available for PDF (image) and PDF (searchable): standard, low and high.
Compression level has an impact on the image size and on the image quality. The more you
compress, the more the image size is small, but it reduces the image quality. The less you
compress, the more the image size is big, but the image quality is respected.
2. Help: clicking on Help opens your browser and goes to the technical support page of our website
irislink.com/support
3. About: informs you about the version of this software
9
User Guide – IRIScan™ Desk 5 / Pro 5
4.1.2 The Ribbon: main functions
The Ribbon presents you with the main functions of this software. One tab contains the settings of one function.
Functions
Explanation
Document
Scan documents, enhance image quality, run OCR to extract text
Save result in
• Image formats: JPG, PDF image
• Formats with recognized text: PDF searchable/Word/Text/Excel
Book
Scan pages from books, run OCR to extract text
Save result in
• Image formats: JPG, PDF image
• Formats with recognized text: PDF searchable, EPUB
Barcode
(Pro 5)
Scan for barcodes
Save result in Excel+JPG/Text+JPG/Excel (list)/Text (list)/JPG/PDF(image) formats
ID Documents
(Pro 5)
Scan ID card or passport. Run OCR to recognise text.
Save result in PDF (searchable) format
Video
Capture videos (using the video compression standard H.264)
Save video into AVI/MP4/FLV/WMV formats
Allows the option Facecam recorder
NOTE: Inside those tabs, each function contains all the commands you need to process your documents
4.1.3 The scanner toolbar
On the left side of the screen, Control Buttons related to the scanner are available:
Buttons
Explanations
Note
Rotate Left 90 Degrees
Rotate Right 90 Degrees
Zoom In
Zoom in by stage of 10%
10
User Guide – IRIScan™ Desk 5 / Pro 5
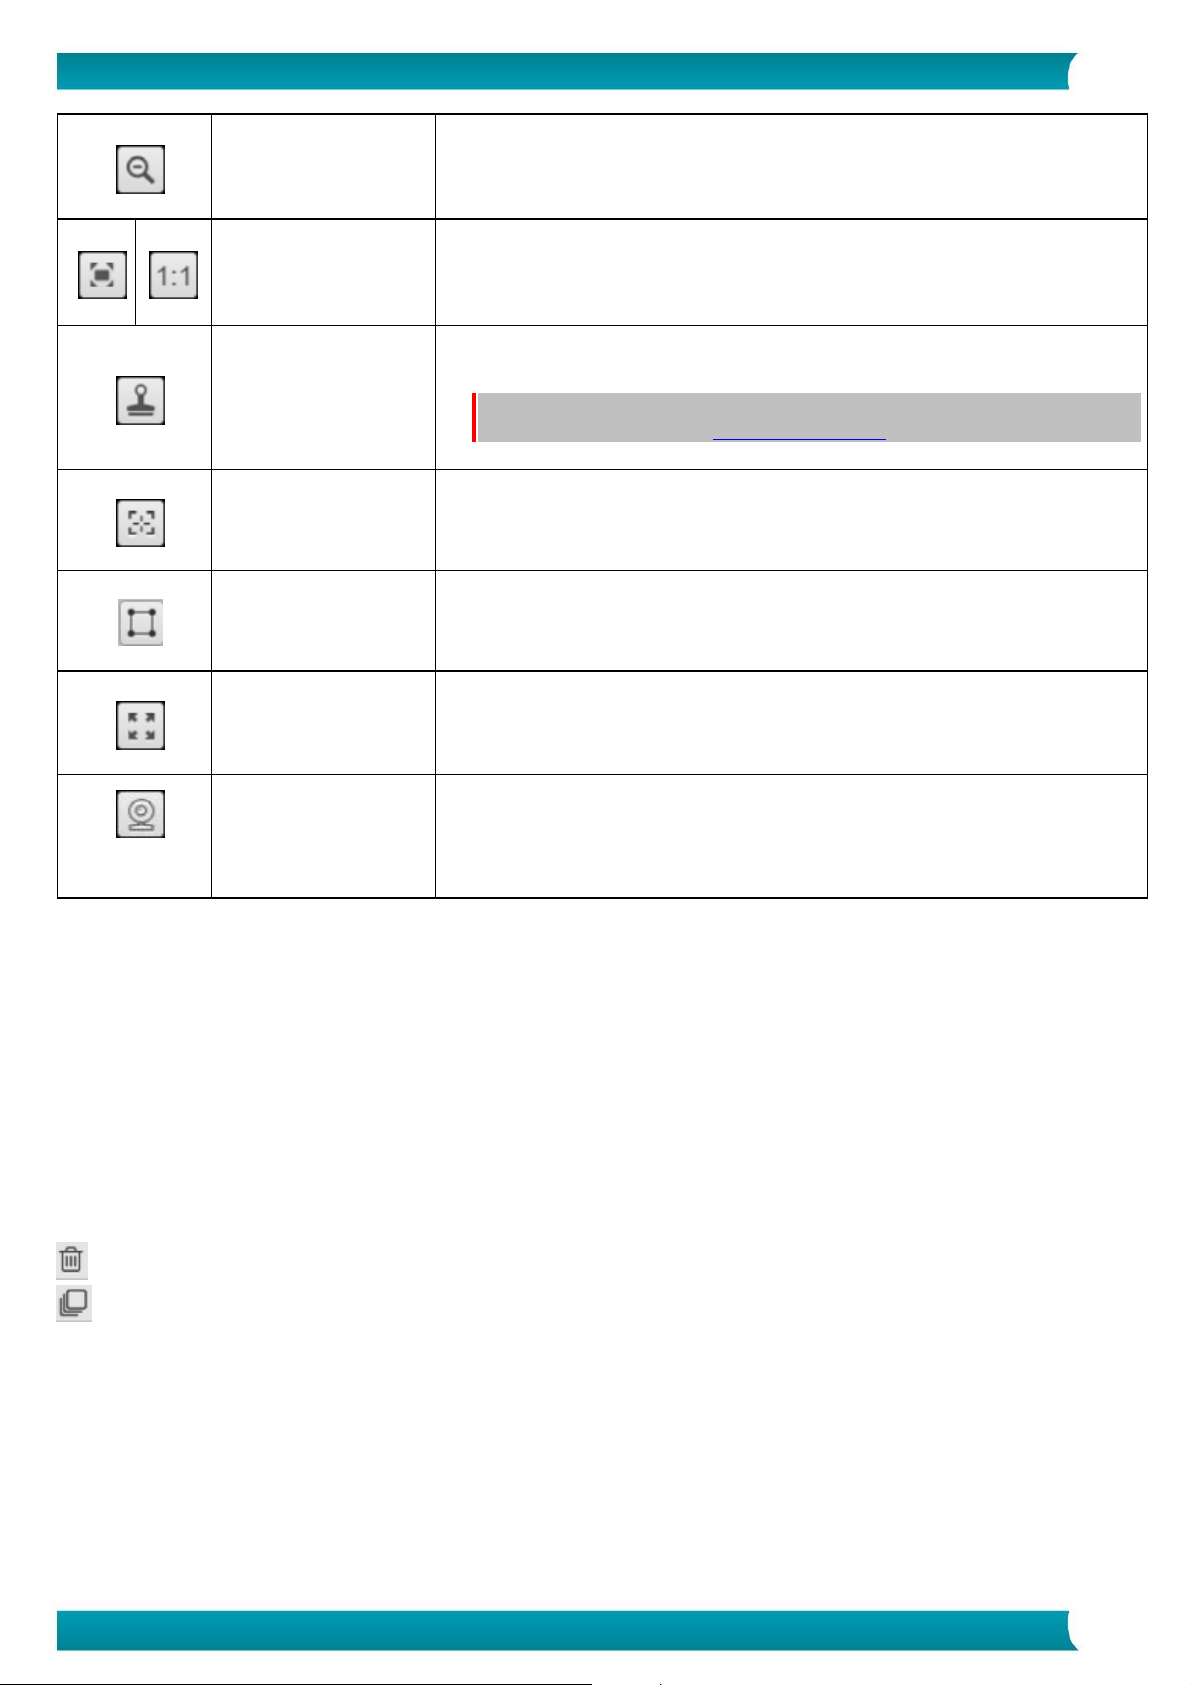
Zoom Out
Zoom out by stage of 10%
Fit Screen / 1:1 Display
1:1 Display: the zoom value is 100%
Fit screen: the real zoom value is calculated and set, e.g. 32%.
Watermark
(Add watermark on
images)
A pop-up window opens to define the settings of the watermark.
Not Available for Video.
WARNING: If your output format is one that runs OCR, make sure to set the
watermark outside the text. Cf. Known limitations
Focus
(Triggers the Auto-Focus
action)
Can be needed if the light on your original paper is changing.
Manual Cropping
Full Screen
(Enter Visual Presenter
mode)
Only available in the Video tab
At the bottom of
the toolbar
Webcam
Available for ID Documents and Video (if your computer is equipped with a
webcam).
Allows you to add facial expression coming along with the narration in the video
(Facecam recorder). Very useful for tutorial makers.
4.1.4 The preview window
In the middle part of the screen, you see the Preview from the scanner.
If you don't see the preview from the scanner, you can double check the following items:
1. Make sure your IRIScan™ Desk is connected to your PC via a USB cable;
2. Make sure you have lift up the horizontal arm of your scanner, which is supposed to be 90 degrees from its vertical stand. (If
the scanner arm is closed, you will likely see a complete black background even if the scanner is working correctly.)
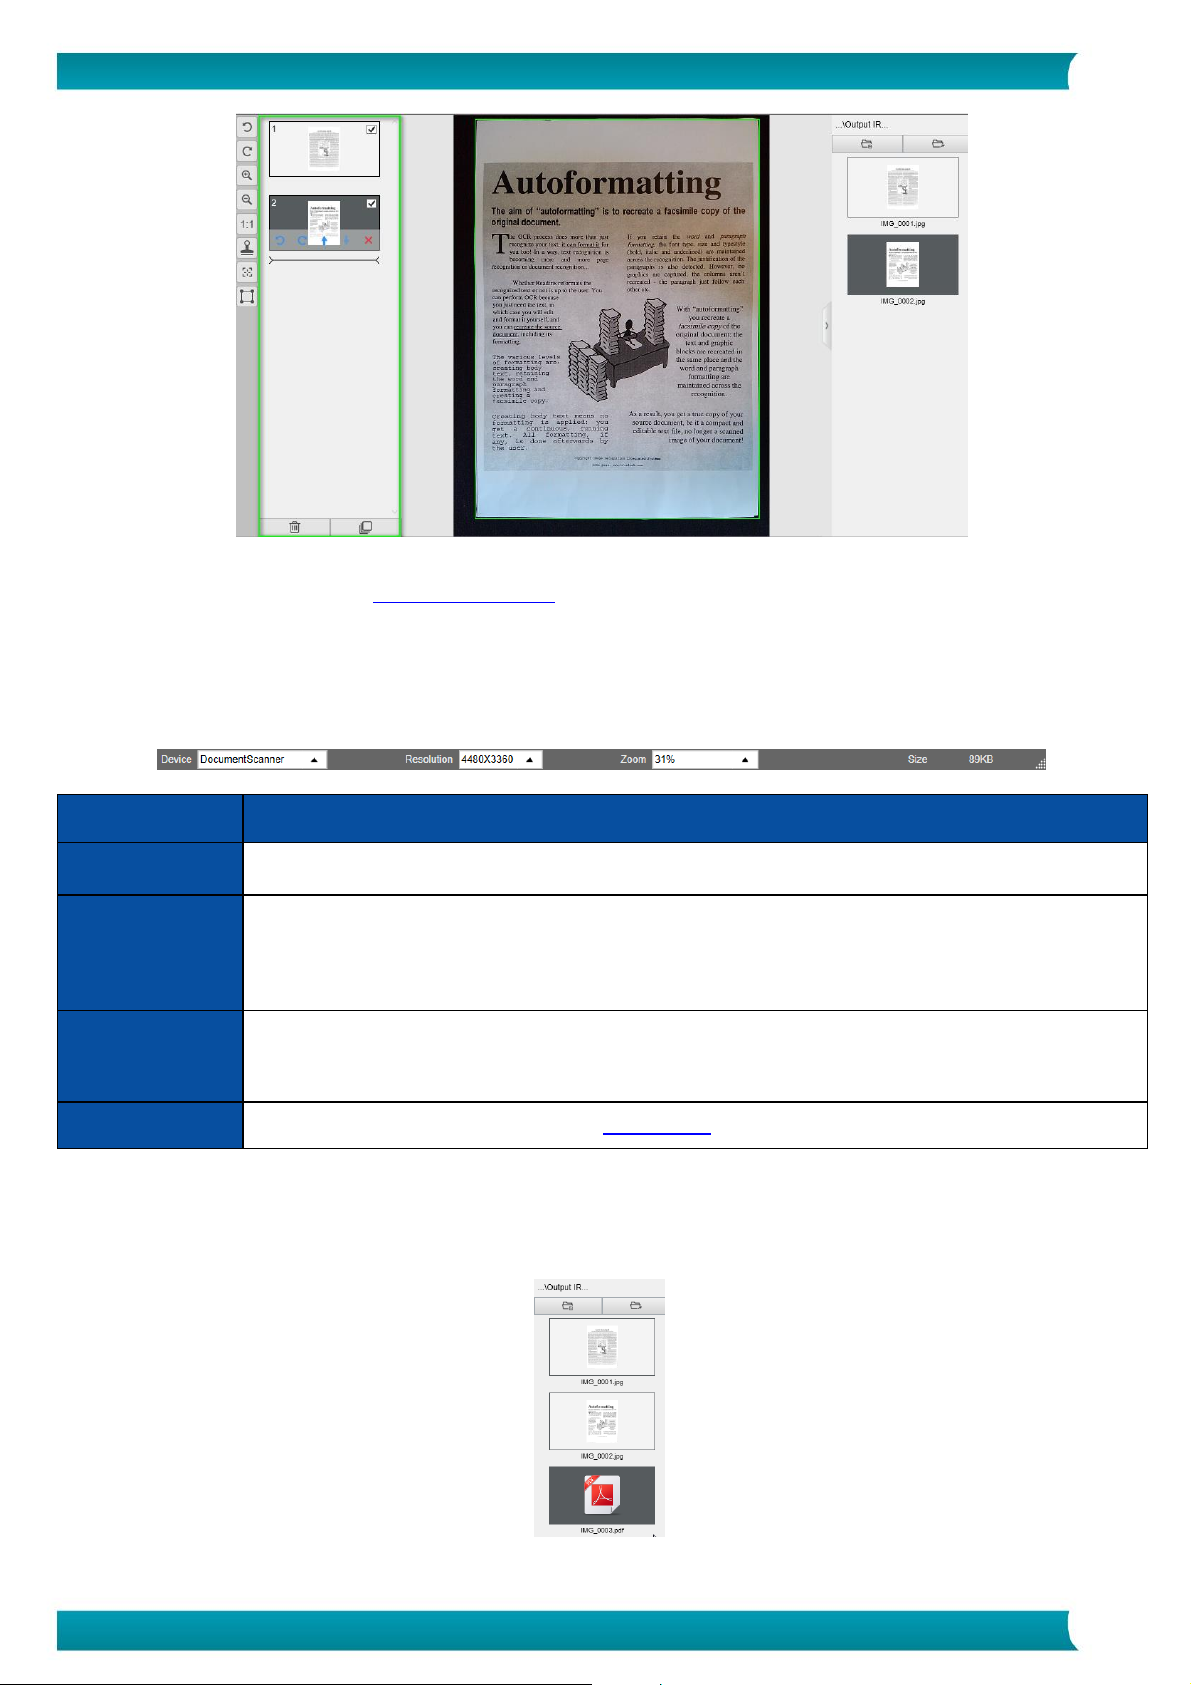
The Preview thumbnails
The thumbnails give you a preview of all your pages before the Export. On each thumbnail, some actions are also possible: you can
rotate 90° left, rotate 90° right, move a page up or move a page down, or delete a page.
The bin at the bottom of the screen deletes all the pages. A confirmation message is displayed.
This icon allows you to unselect all or select all the thumbnails.
11
User Guide – IRIScan™ Desk 5 / Pro 5
Preview window and Preview thumbnails
By double-clicking on a thumbnail, the Document Page Editor opens. This Editor allows you to rework the result of your scan, page per
page.
4.1.5 The scanner settings bar
On the bottom bar of the screen, some control settings for the device are available:
Settings
Explanations
Device
Document Scanner
Resolution
Select the scanner/video resolution in mega pixel (MP).
If you are scanning a document or capturing a still image, select the highest resolution available.
If you are recording a video, then selecting a lower resolution may bring a smoother video experience.
(Selecting higher resolutions will cause lower video frame rates).
Zoom
Select the zoom for the preview display. This is real size of camera scanner 100%. Zoom in 1.5 times (150%),
2 times (200%) or 3 times (300%).
You can also use your mouse scroll wheel to change the zoom value step by step.
Size indicator
Indicates the size of the selected file in the Output panel
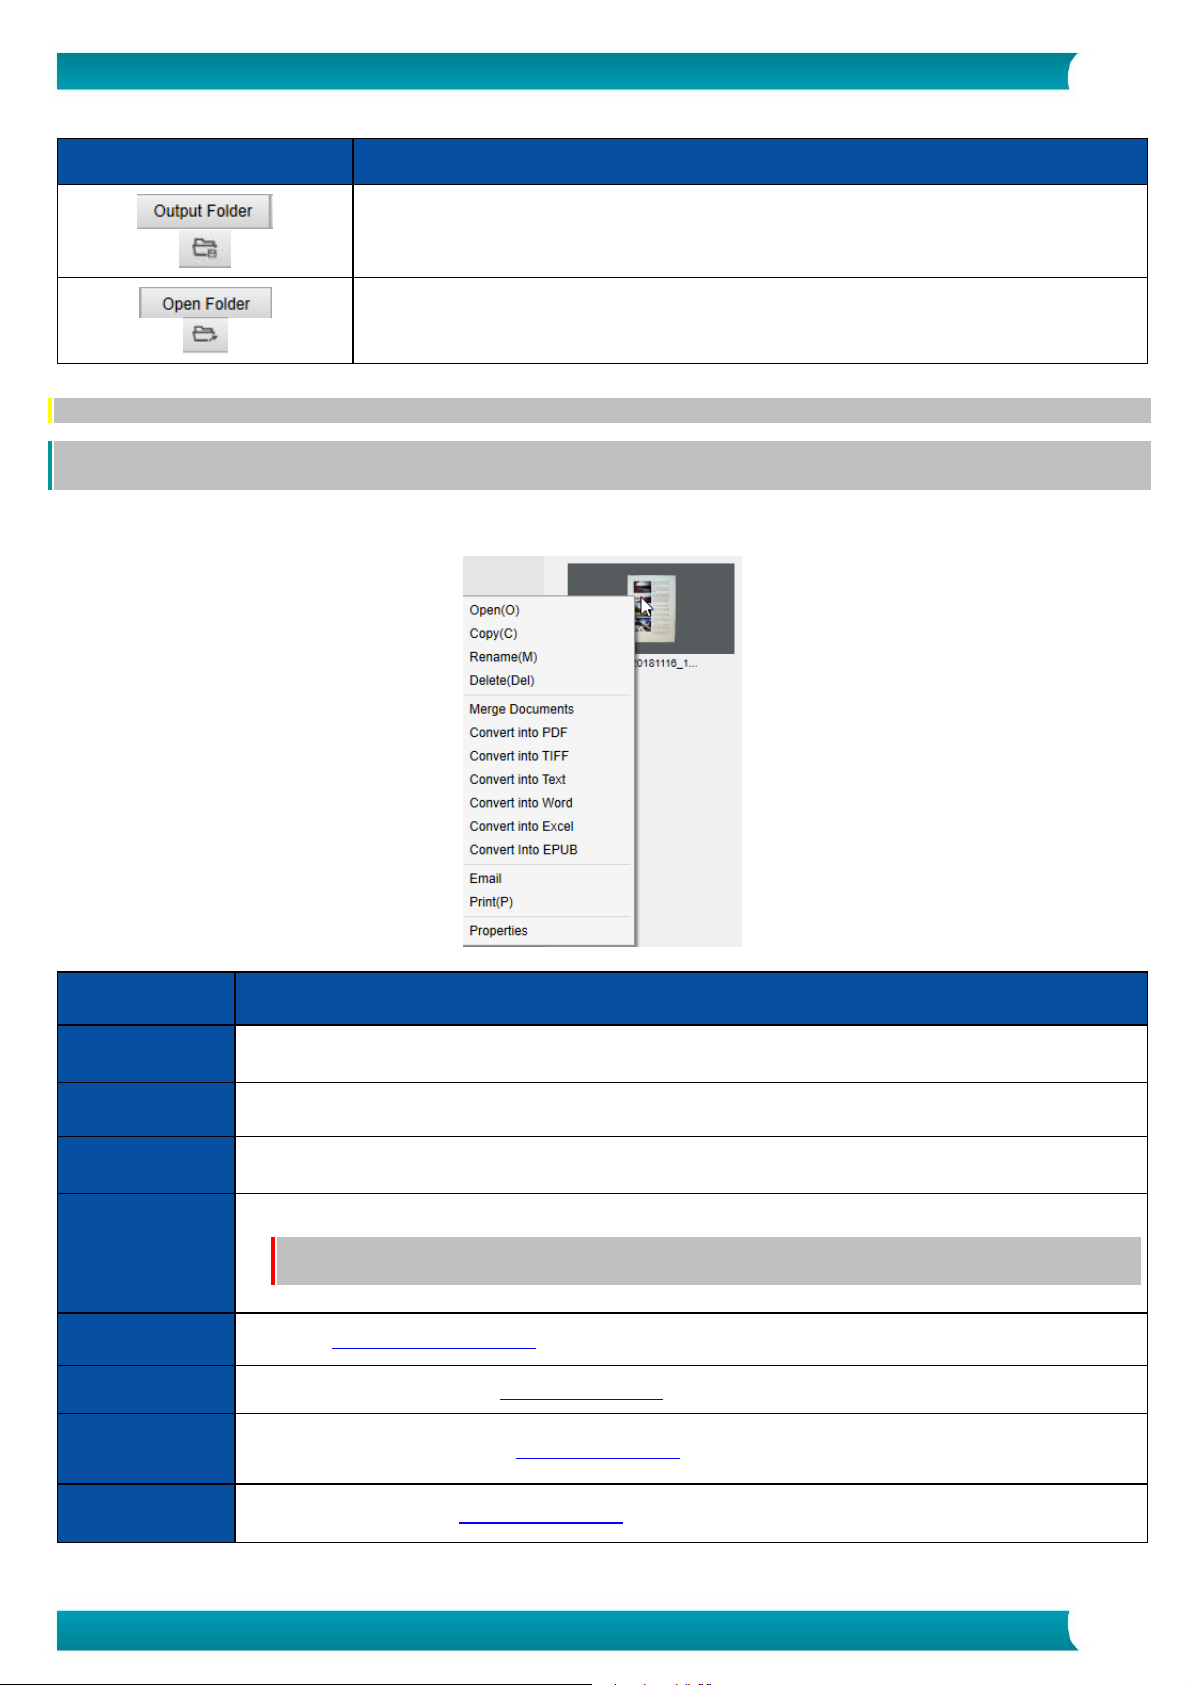
4.1.6 The Output panel
On the right side of the screen are the setting options for saving files:
12
User Guide – IRIScan™ Desk 5 / Pro 5
Button
Explanations
Opens the file browser of Windows®. Select a folder.
The chosen folder will contain the saved files.
Opens the current file folder (cf. Windows® Explorer)
NOTE: After this software installation, all Main Functions have their default saving directory path set to ...\Documents.
TIP: By clicking on Output Folder in each Tab, you can set a different saving directory path for each of them. By doing this, you can
capture different types of files into different directories.
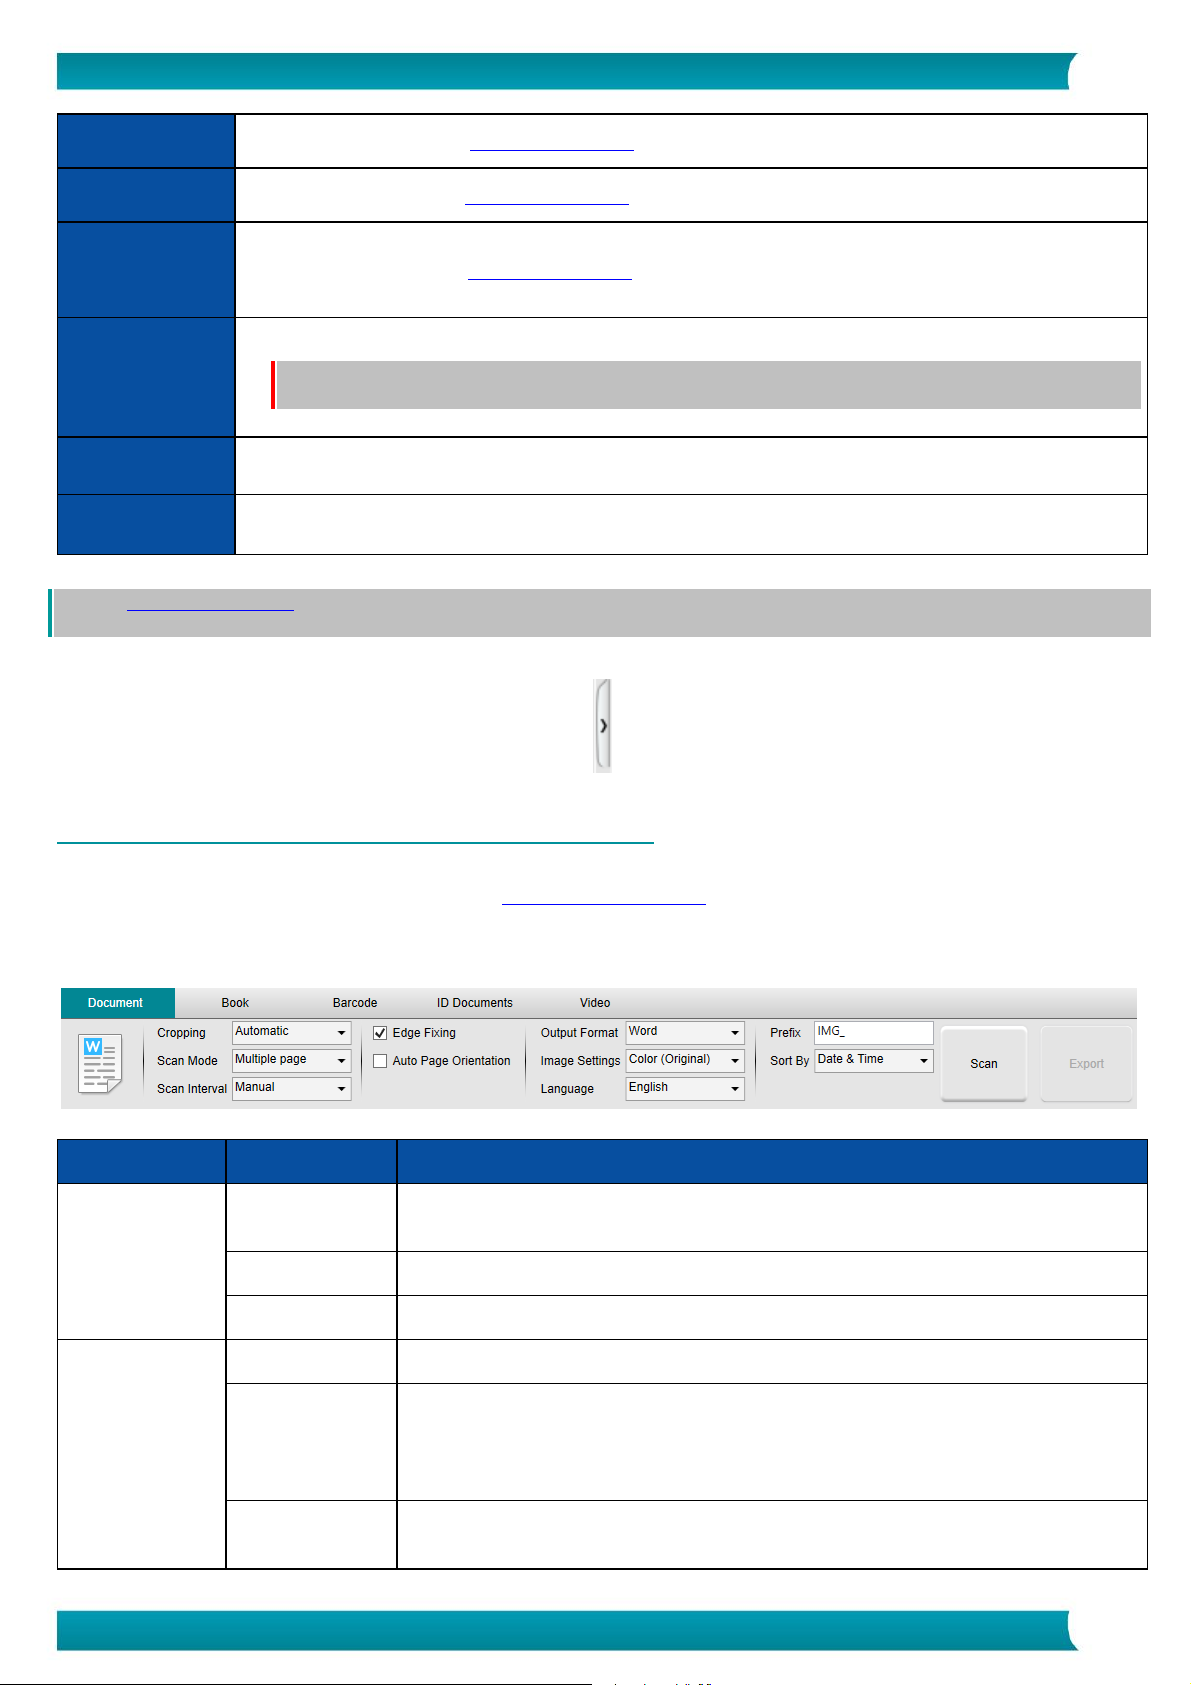
When you right-click on the file images shown in the Output Folder column, a drop-down list menu opens with the following options:
Right Click Options
Explanations
Open
Opens the file
Copy
Copies the file to clipboard
Rename
To Rename the file
Delete
Deletes the file. You can also Press Delete on your keyboard. A confirmation is required.
WARNING: Deleting files via this Output Panel also deletes the files in the Source folder (cf. Windows®
Explorer)
Merge Documents
Opens the Compare and Merge tool to compare multiple images side by side
Convert into PDF
Convert file into a PDF file. The File Conversion Tool opens.
Convert into TIFF
Convert file into a TIF image. The File Conversion Tool opens.
Convert into Text
Convert file into Text. The File Conversion Tool opens.
13
User Guide – IRIScan™ Desk 5 / Pro 5
Convert into Word
Convert file into Word. The File Conversion Tool opens.
Convert into Excel
Convert file into Excel. The File Conversion Tool opens.
Convert into EPUB
Convert file into EPUB. The File Conversion Tool opens.
E-mail
Opens your e-mail client to send the file as an e-mail attachment (.zip format)
WARNING: To use the E-mail function, make sure your computer have installed an e-mail software client,
such as Microsoft Outlook.
Print
Prints an image file by using a printer (a printer must be configured)
Properties
Opens the properties window of the file
TIP: The Compare and Merge function can work on one or more image files at the same time. You can press the 'shift key' or 'Ctrl key'
on the keyboard to help select multiple image files.
You can hide this panel by clicking on the hide button
Hide button
4.2 Discovering the main functions and their Settings Options
Each function offers Settings that are described and explained below.
For more full description of use cases, refer to chapter Creating new documents
4.2.1 Document
Feature
Settings Options
Explanations
Cropping
Automatic
Auto-cropping based on the contrast between the black ScanPad and the document
placed on it.
No cropping
No cropping
Self-Defined
Manual cropping
Scan Mode
Single page
Scan one page at a time. The export is done after each page. One image = one document.
Multiple page
2-step procedure: first, scan multiple pages. You can see the scanned pages in the
'thumbnails Preview'. Then, export/save all at once when you are ready. The export
results in one single document if the output format supports multipage. If not, it
generates one file per page (e.g. JPEG output).
Merge
horizontally
Scan 2 pages: A and B. A and B are merged side by side. The 'thumbnails Preview' shows
you the expected result. If needed, you can use the Rotate option on the thumbnail.
14
User Guide – IRIScan™ Desk 5 / Pro 5
Merge vertically
Scan 2 pages: A and B. A and B are merged one above the other. The 'thumbnails Preview'
shows you the expected result. If needed, you can use the Rotate option on the
thumbnail.
Scan interval
Manual
You manually trigger the capture by pressing Scan
Automatic
The system automatically detects the page turning and triggers the Scan button
Repeat (5sec)
Automatic capturing by countdown of 5 seconds
Repeat (7sec)
Automatic capturing by countdown of 7 seconds
Edge Fixing
Yes or No
Automatic correction of the document edges if the paper edges are damaged.
For example, if a paper's corner is ripped off due to a staple, then this edge-fixing feature
will produce a fake corner for this paper (it fills in the missing parts with white)
WARNING:
Side effect: Edge Fixing may also hide some parts of a picture in the document
because the black color is also detected as a zone to be hidden. Cf. Known limitations
Auto Page
Orientation
Yes or No
Automatic orientation of the page. This automation setting occurs before scanning only.
If you wish to correct the orientation between scanning and exporting, you can use the
thumbnails preview actions.
Output Format
(OCR technology by
I.R.I.S when OCR
applicable)
JPG
Save to JPEG format. Will generate one JPG file per page.
PDF (Image)
Save to PDF format (as an image). No text recognition (OCR) is executed on your
document. Your PDF file will not be text-searchable, it only contains the image of your
original document.
By default, Standard Compression is applied when exporting to this format. See iHQC
preferences in the General Settings.
PDF (Searchable)
Scan Image, run OCR to extract text, save result in PDF searchable format.
This file type is most commonly used. It contains two layers: the recognized text, and the
original image on top of the text. This way, you have both access to the recognized text
and you still see the original image.
NOTE: since the image covers the text, any recognition mistakes will not be visible.
By default, Standard Compression is applied when exporting to this format. See iHQC
preferences in the General Settings.
NOTE: when exporting to this format, the suffix 'SCH' is added to the file name.
PDF (Text)
Run OCR to extract text, save result in PDF searchable format. This file type contains the
recognized text, but does not contain the original image of your document. Any images in
the original document are included as graphics in the PDF file.
NOTE: when exporting to this format, the suffix 'TXT' is added to the file name.
Text
Run OCR to extract text, save result in Text format (.txt)
Word
Run OCR to extract text, save result in Word format (.docx)
Excel
Run OCR to extract text, save result in Excel format (.xlsx)
Image Settings
B&W (Document)
Output image in Black & White
Color (Original)
Output image in original color style
GrayScale
Output image in gray style
 Loading...