

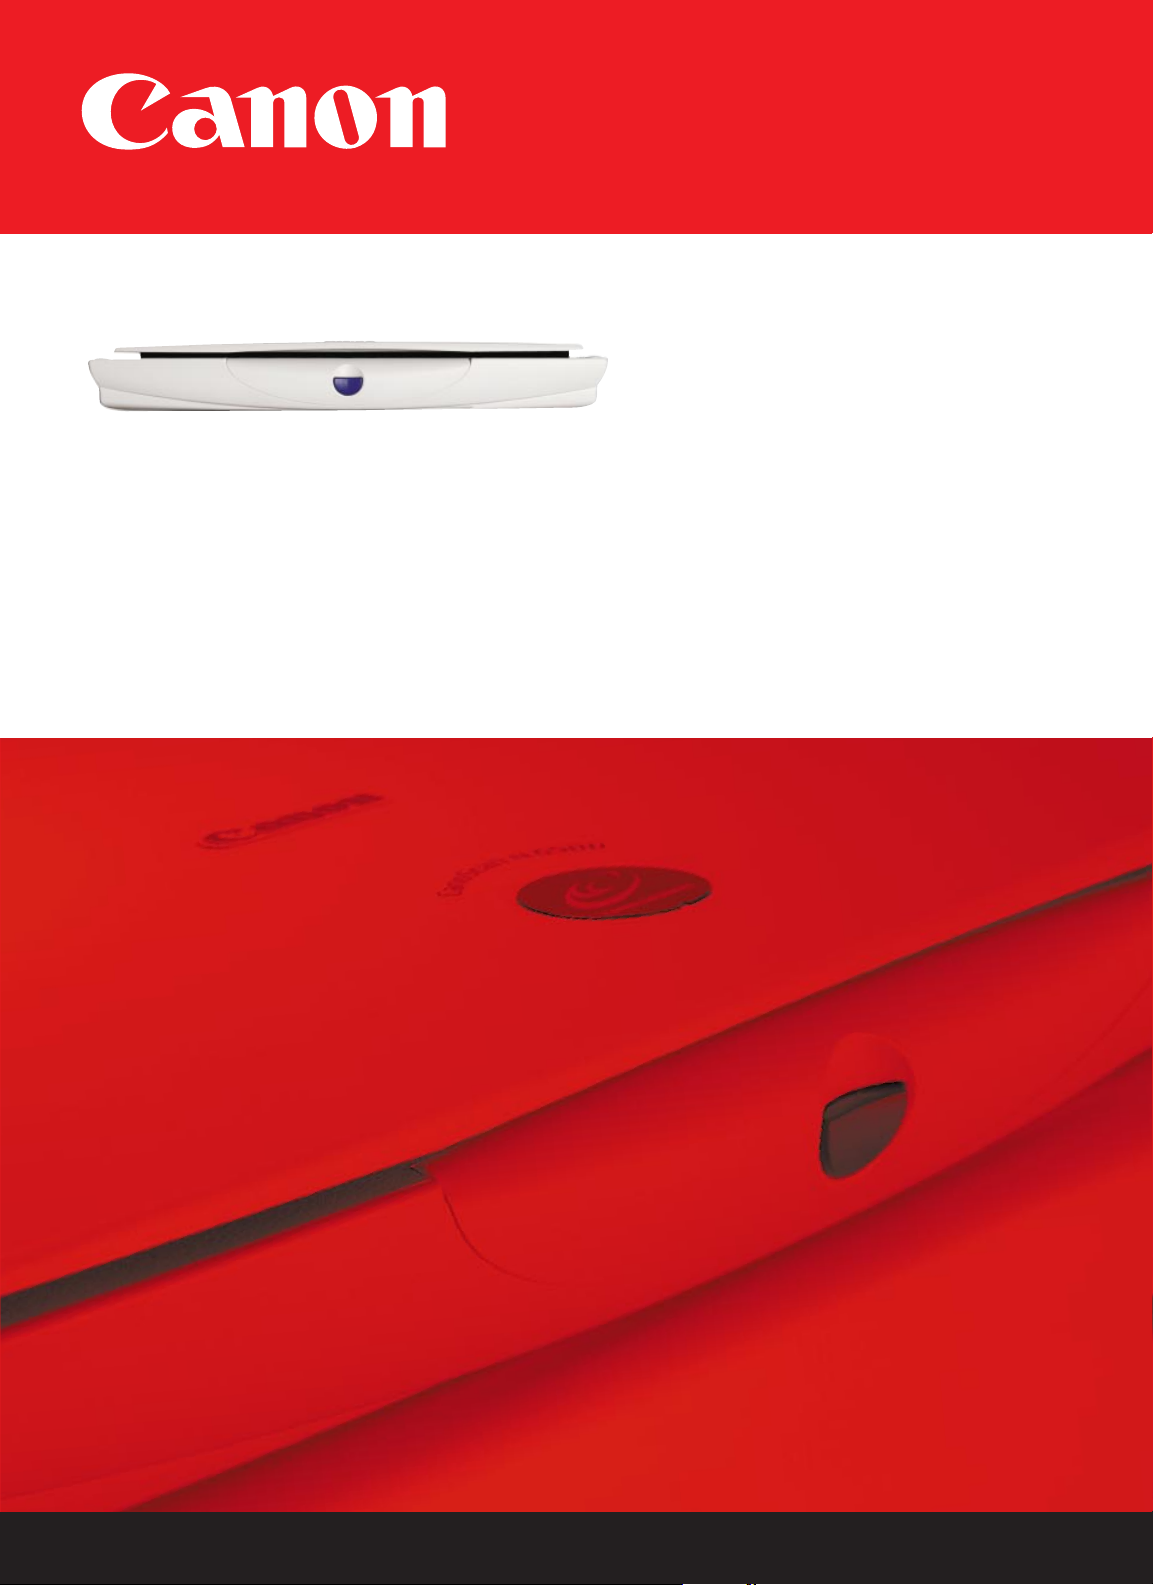
Page 1
IMPORTANT
Follow the steps in this
Getting Started Guide
to unpack, set up and
begin using your new
CanoScan Scanner.
Getting
Started
Guide
USB Flatbed Scanner
CanoScan
®
N650U
N656U
N1220U
Page 2
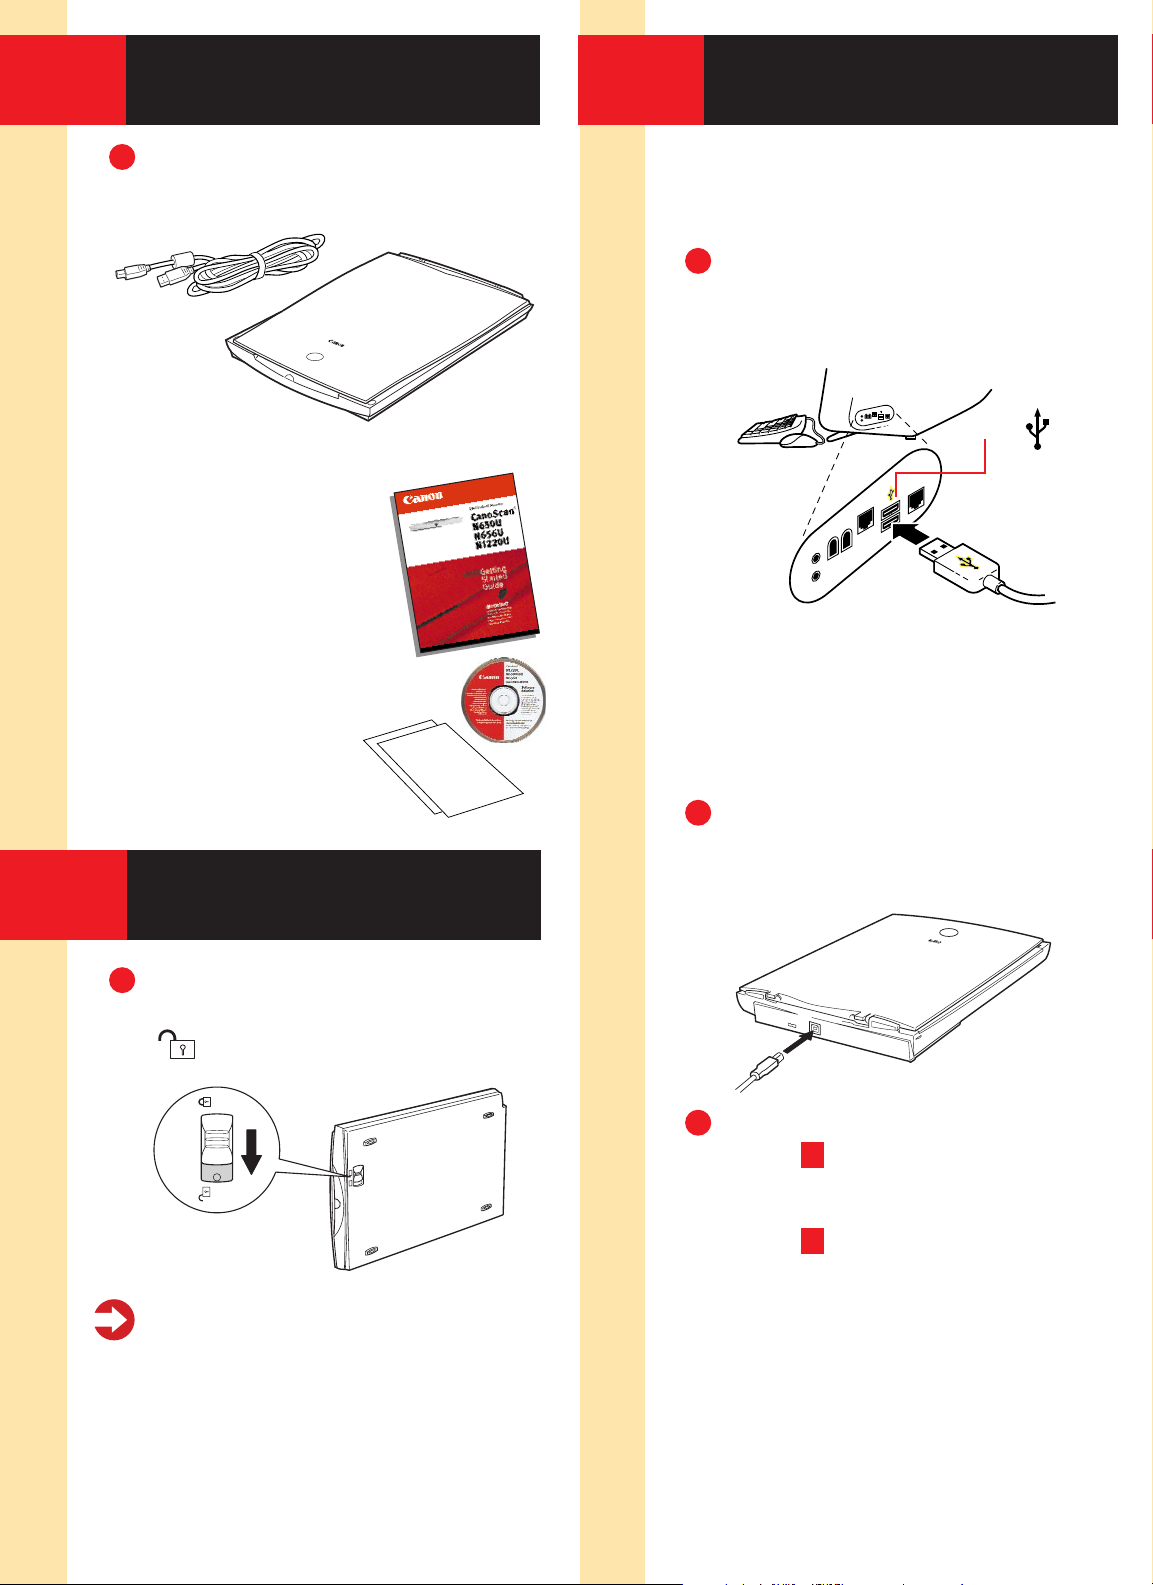
Carefully remove all items from
the box.
Gently turn the scanner on
its side and unlock the scanner
( ).
Caution!
Be sure to unlock the
scanner before plugging in the USB
interface cable. Operating the scanner
while in the locked position may
damage the equipment.
Note: Before you begin, make sure
you’ve turned on the computer and
have quit all applications.
Connect the supplied USB
interface cable to the computer’s
USB port.
Note:
Multiple USB ports may be
located on the front, side, or back of
your computer. The USB interface cable
powers the scanner. A separate power
cord is not used with this scanner.
Connect the other end of the
USB interface cable to the
scanner’s USB port.
• For Windows setup, go to
Step 4 .
• For Macintosh setup, skip to
Step 6 .
1
Unpacking
2
Unlocking the
Scanning Unit
3
Connecting the Scanner
1
1
1
Scanner
USB Interface Cable
Getting Started Guide Kit:
• Getting Started Guide
• Canon Software Solutions CD-ROM—
■
Macintosh®Plug-in Module:
Scanning software for Macintosh
■
PC TWAIN driver: Scanning software
for Windows
®
■
CanoScan®Toolbox CS (Macintosh)
and ScanGear
®
Toolbox CS
(Windows): One-click software for
easier scanning; loads software and
scans and prints images
■
ArcSoft PhotoStudio™2000:
Image editing software
■
ArcSoft PhotoBase™: Image
organization software; create
image albums and slide shows
■
OmniPage: Text scanning software
(optical character recognition)
■
Adobe Acrobat Reader: Software
for viewing scanner manuals in
electronic format
USB Port
2
3
Page 3

Note: Windows 2000 screens will look
different than the screens shown below.
When you
see this
dialog box,
insert the
Software
Solutions
CD-ROM. Click Next.
Note:
If you don’t see this dialog box
or accidentally close it, unplug the USB
cable and then reconnect it.
Select
“Search for
the best
driver...”
Click Next.
Select CD-
ROM drive.
Click Next.
Click Next.
Click Finish.
When you see this dialog box,
click Install the Software.
Click Start Installation.
The following software
will be installed:
• ScanGear
®
Toolbox CS
• OmniPage
• Arcsoft PhotoStudio 2000
• Arcsoft PhotoBase
• Adobe Acrobat Reader
Follow the on-screen instructions.
Restart your computer after all
of the above listed software has
installed.
Step 1: Placing the Image
Open the document cover.
Place your picture face down
on the glass of your scanner.
Line up the image with the arrow
on the scanner bed.
Close the document cover.
Step 2: Scanning the Image
Press the scanner’s Start button.
5
Your First Scan
for Windows
4
Installing the Scanner
Software for Windows
®
1
6
7
2
2
3
4
5
8
9
1
3
1
Page 4

Click Custom1.
In ScanGear CS-U, click the
Preview button.
Use the mouse to draw a box
around the portion of the image
you want to scan.
Click the Scan button.
ScanGear CS-U closes. You see
your image in PhotoStudio 2000.
Use the editing tools in
PhotoStudio 2000 to modify your
image as desired.
Save your image by selecting Save
As in the File menu. Select a loca-
tion, enter a name and click Save.
To scan another image, or to scan
the current image at a different
resolution, repeat Steps 1 - 7.
Note:
For more scanner tips on resolu-
tion, go to Step 8 .
Insert the Software Solutions
CD-ROM into your CD-ROM drive.
Note:
If the CanoScan Setup Utility does
not start automatically, double-click the
CD-ROM icon, then the Setup icon.
Click the Install the
Software button.
The following software
will be installed:
• OmniPage
• Arcsoft PhotoStudio 2000
• Arcsoft PhotoBase
• CanoScan Toolbox CS
• Canon Plug-in Module
• Adobe Acrobat Reader
Click the Start Installation button.
Finish the installation by following the on-screen instructions.
After each application has
installed successfully, click the
Quit button.
Restart your computer after all
of the above listed software
has installed.
6
Installing the Scanner
Software for Macintosh
®
3
2
3
4
1
6
7
2
4
5
8
6
5
Page 5

Step 1: Placing the Image
Open the document cover.
Place your picture face down on the
glass of your scanner. Line up the
image with the arrow on the
scanner bed.
Close the document cover.
Step 2: Scanning the Image
Press the scanner’s Start button.
In the toolbox, click the Scan button.
Click the Preview button.
Use the mouse to draw a box
around the portion of the image
you want to scan.
Slide the Resolution bar to:
• 200 dpi—for an inkjet printer
• 72 dpi—for e-mail or Web
Click the Scan button.
In the File menu,
select Save.
To scan another
image, or to scan
the current image
at a different resolution, repeat
Steps 1 - 7.
7
Your First Scan
for Macintosh
1
2
3
1
2
3
5
6
7
4
Drag and drop applications for image editing or text scanning
onto these buttons to open them with a single click.
8
Page 6

Register your product via the
Web at:
www.ccsi.canon.com/register
Technical Support
Canon Scanners
Canon Computer Systems, Inc. offers a full range of
customer technical support* options:
• For e-mail technical support, the latest driver downloads and answers to frequently asked questions
(www.ccsi.canon.com)
• 24-hour, 7-day-a-week automated support for
troubleshooting issues on most current products
(1-800-423-2366)
• 24-hour, Fax-On-Demand System for product specifications and technical information (1-800-526-4345)
• Free technical support Monday–Saturday (excluding
holidays) for products still under warranty**
(1-757-413-2848)
• Technical support 7 days a week (excluding holidays)
for products no longer under warranty, for $24.99 per
call (1-800-423-2366), or for $2.50 per minute, to a
maximum of $25.00 per call (1-900-246-1200)
NOTE: Within Canada, call for technical support 24 hours
a day, 7 days a week (1-800-OK-CANON).
*Support program specifics subject to change without notice.
**Refer to individual product information for warranty details.
PhotoStudio 2000 or PhotoBase
Phone: 510-440-9901; Fax 510-440-1270;
e-mail: support@arcsoft.com; www.arcsoft.com
OmniPage
Phone: 408-395-8319
Quick Tips on the Web
Go to www.canoscan.com for
helpful tips on:
• Scanning for e-mail attachments
• Scanning and posting to
the Web
• Cropping an image
• Adjusting dots per inch,
and more!
Product Manuals on
the CD-ROM
Open the CanoScan Setup
Utility by reinserting the
Software Solutions CD-ROM.
Click View the Electronic Manuals.
Click on the manual desired.
For more information about Canon Products, call
1-800-OK-CANON or visit our Web site at:
www.ccsi.canon.com
Canon Computer Systems, Inc.
2995 Redhill Avenue • Costa Mesa, California 92626 U.S.A.
©2000 Canon Computer Systems, Inc. Canon, CanoScan and ScanGear are registered
trademarks of Canon Inc. Canon Print Planet is a service mark of Canon Computer
Systems, Inc. All other products and brand names are trademarks of their respective owners.
35-36256-0700
1
1
1
2
3
8
Learn More About
Your Scanner
Windows
Macintosh
9
Registering Your Product
Tips on Scanning Resolution:
Saving Time and Disk Space
Purpose Suggested
Resolution
Viewing images on-screen or web 75 dpi
Convert a printed document
to text (OCR) 300 dpi
Printing a color drawing or
color graphic 180 dpi - 360 dpi
Printing a color photo on
specialty paper 200 dpi - 360 dpi
Printing a black and white
line art
360 dpi - 600 dpi
 Loading...